• Skip to primary navigation
  • Skip to main content
  • Skip to primary sidebar
  • Home
  • Reviews
    • Book Index
    • Fiction
    • Non-Fiction
    • Top Ten Tuesdays
The Hungry Bookworm

The Hungry Bookworm

reading + eating

  • Recipes
    • Drinks
    • Snacks, Sides & Apps
    • Main Dishes
    • Desserts
    • 5 Ingredients or Less
  • About
    • Meet Megan
    • How I Rate
    • Review Policy
    • Contact

baking

The Summer of Impossible Things + Italian Rainbow Cookies

September 22, 2017 by Megan 1 Comment

Imagine my surprise when a few months ago, I came across another Hungry Bookworm blog since that’s my blog’s name! We bloggers introduced ourselves and I found out that she’s based in England, and where my blog was named to evoke a combination of food and books, hers was named after the beloved children’s book The Hungry Caterpillar. We decided to try our hand at a collaboration, reviewing the same book and posting our own thoughts. If you'd like to check out her post on this novel, go here. (If anyone’s visiting from Julie’s blog, welcome!)

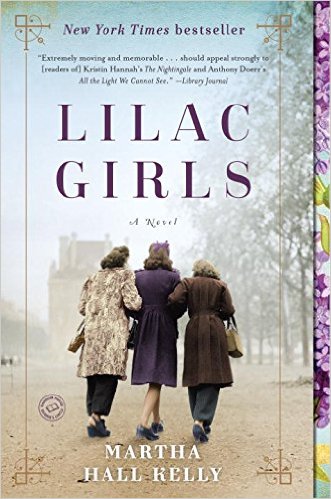
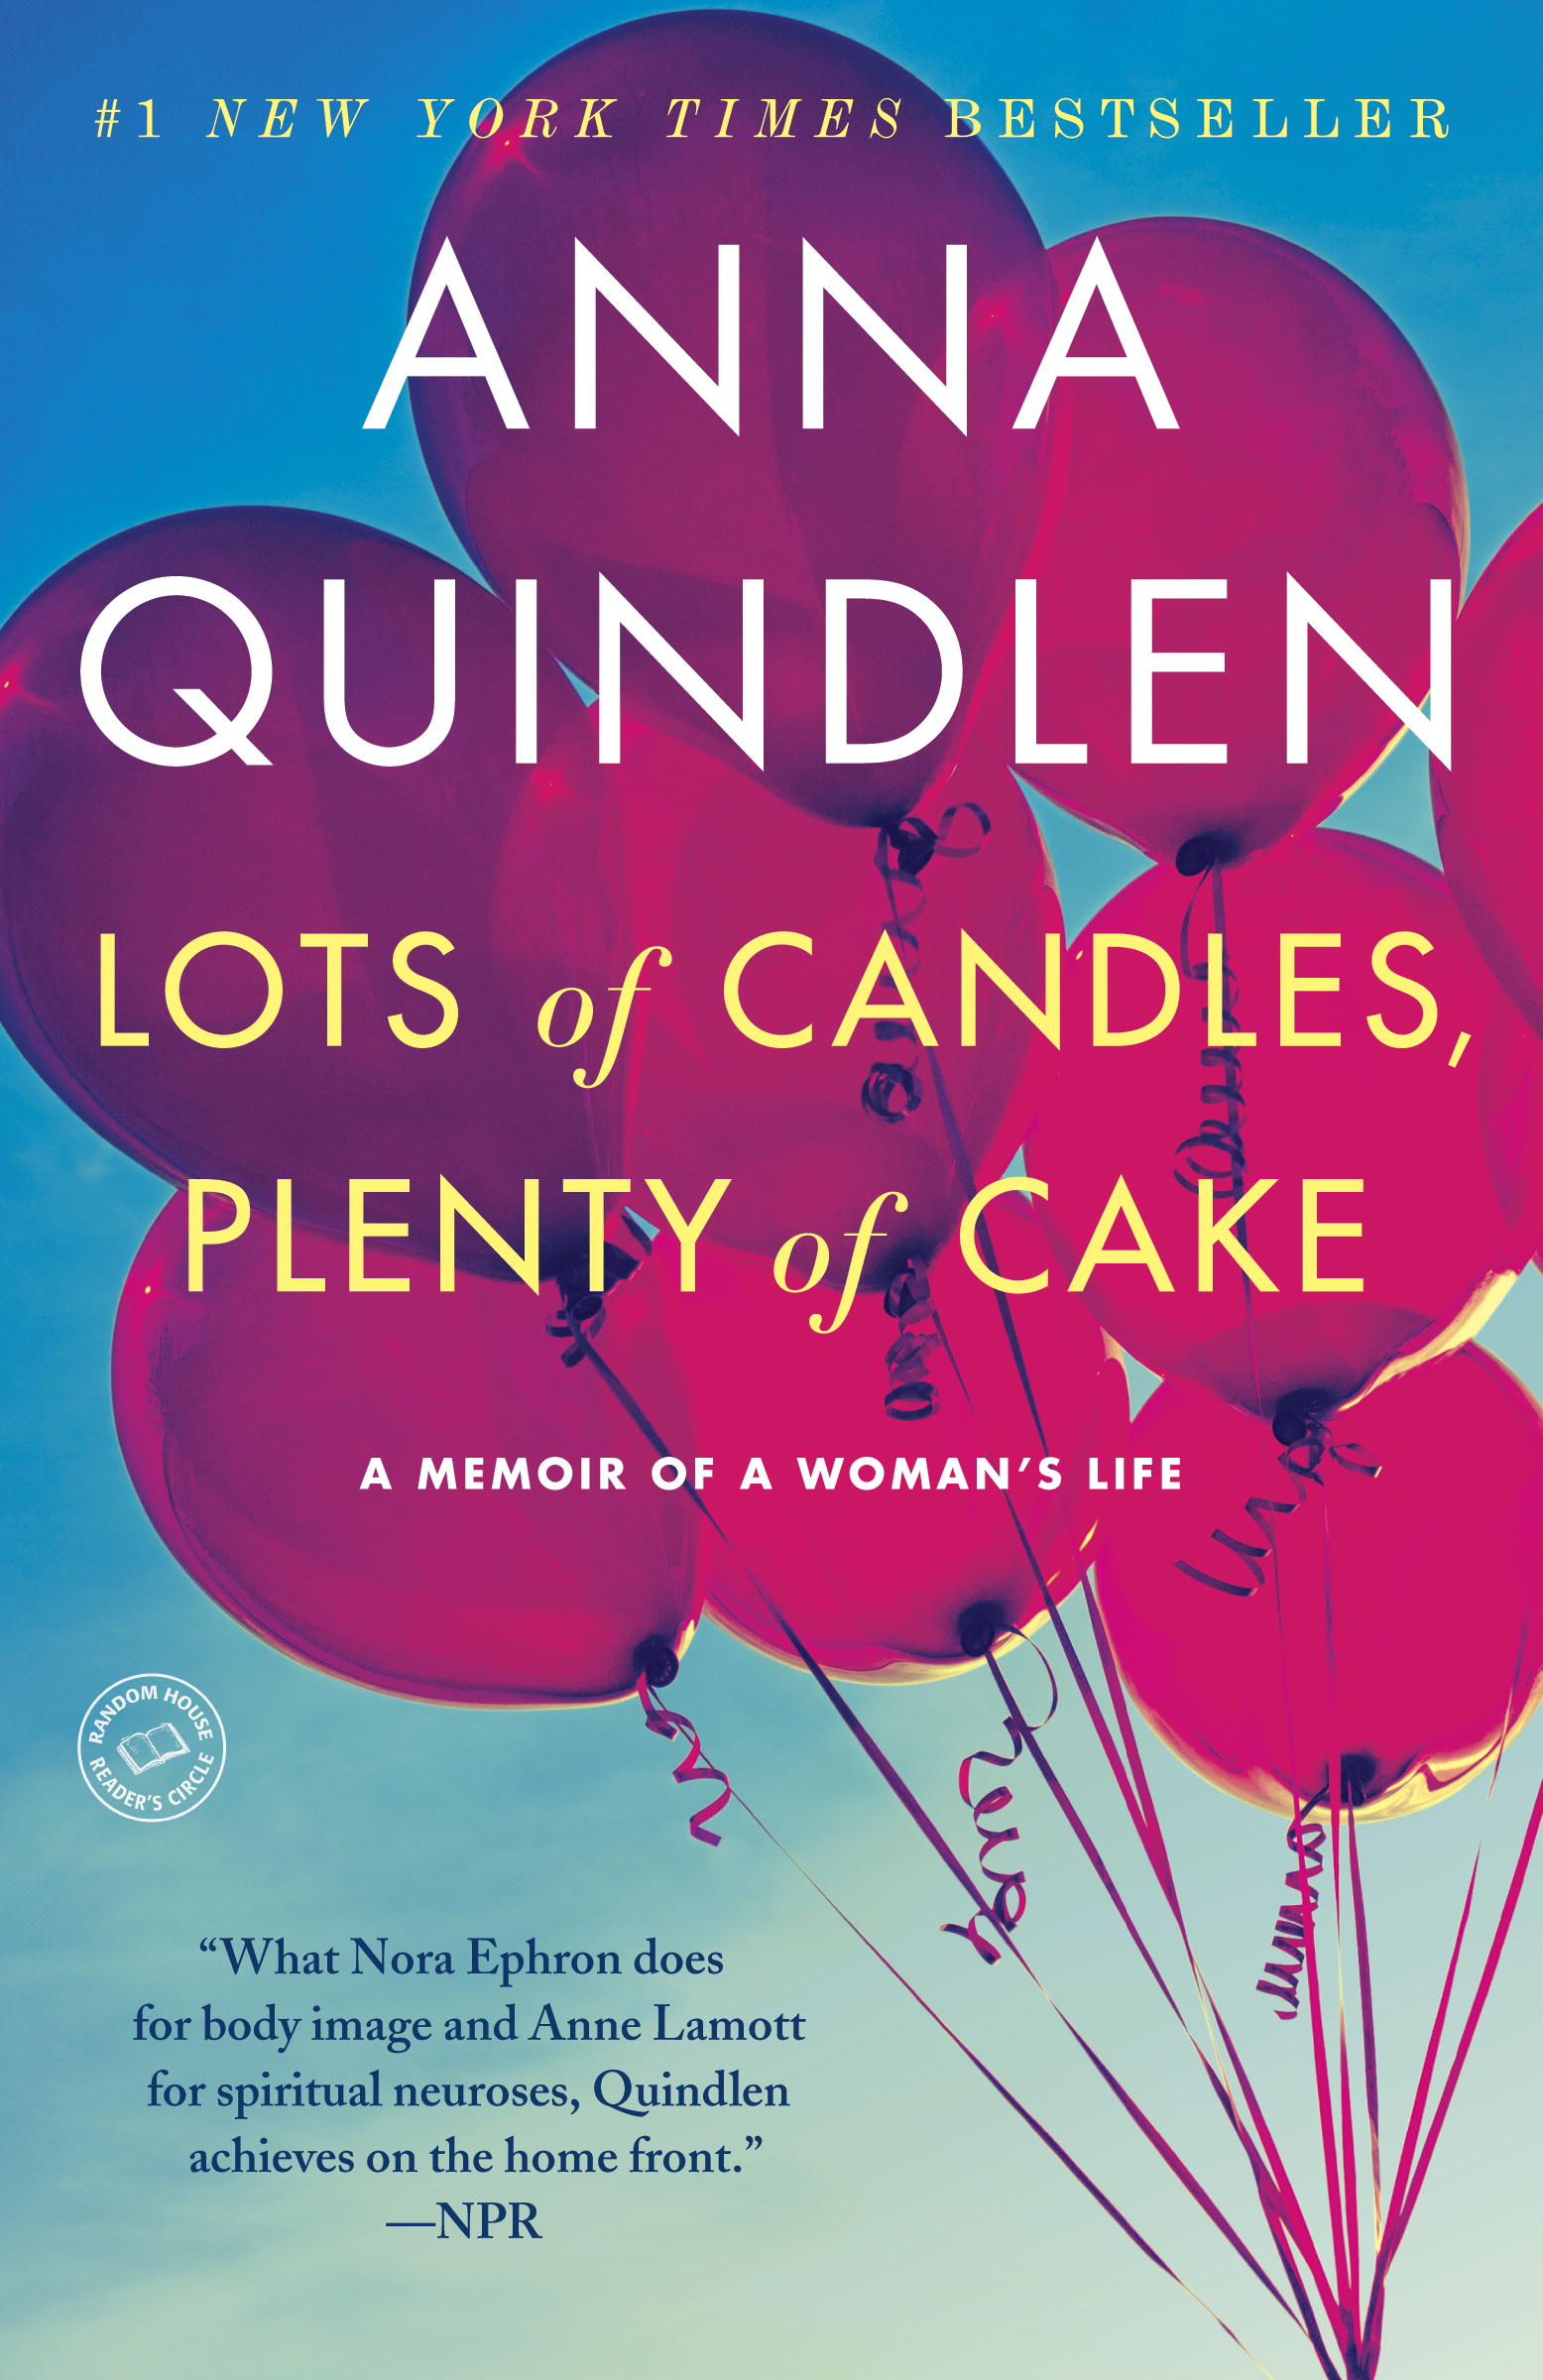
I chose our first title, opting for a British book I had heard amazing things about: The Summer of Impossible Things by Rowan Coleman. It wasn’t easy to find over here in the states for free (fair warning, readers), but since it wasn’t in the library and I really wanted to give it a try, I bit the bullet and bought it from Amazon, which did have a few copies available. As you all know, I don’t usually buy books before knowing I like them, but I’m glad I took a chance on this one!

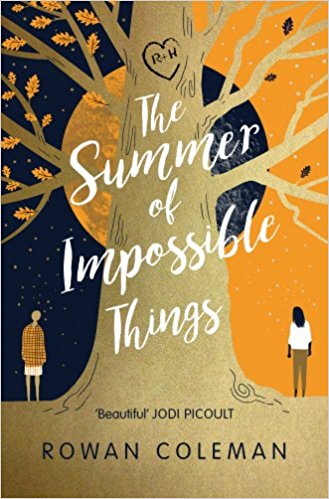
This book is along the lines of other “realistic time travel” love stories, as I call them - books like The Time Traveler’s Wife and movies like the lovely About Time - though it’s not exactly a traditional love story. If you’ve seen the movie Frequency, it’s more akin to that. Coleman’s novel is about a daughter’s seemingly impossible quest to save her mother - with a will and power she didn’t even realize she had.

I found this book to be very immersive, and though it’s a concept I’ve seen (and loved) in many other stories, I thought it was accomplished in its own unique way. I didn’t expect the love story that develops, but I quite enjoyed it. And not to give it away too much, but it was the inspiration behind the recipe I chose to make - at some point in 1977, our main character Luna stumbles into someone who works in (and I think eventually owns) an Italian bakery.

Though they’re not mentioned in the book, when I think of Italian pastries, I often think of the popular tri-color, or rainbow cookies, and their pop of color reminded me of the seventies. Instead of finding a recipe online, like I often do, I turned to a good friend (and fellow food lover), who graciously shared their family recipe with me. These cookies intimidated me, but I was assured they were very easy. My friend makes them every Christmas, and he’s right, I had no reason to be nervous about them.

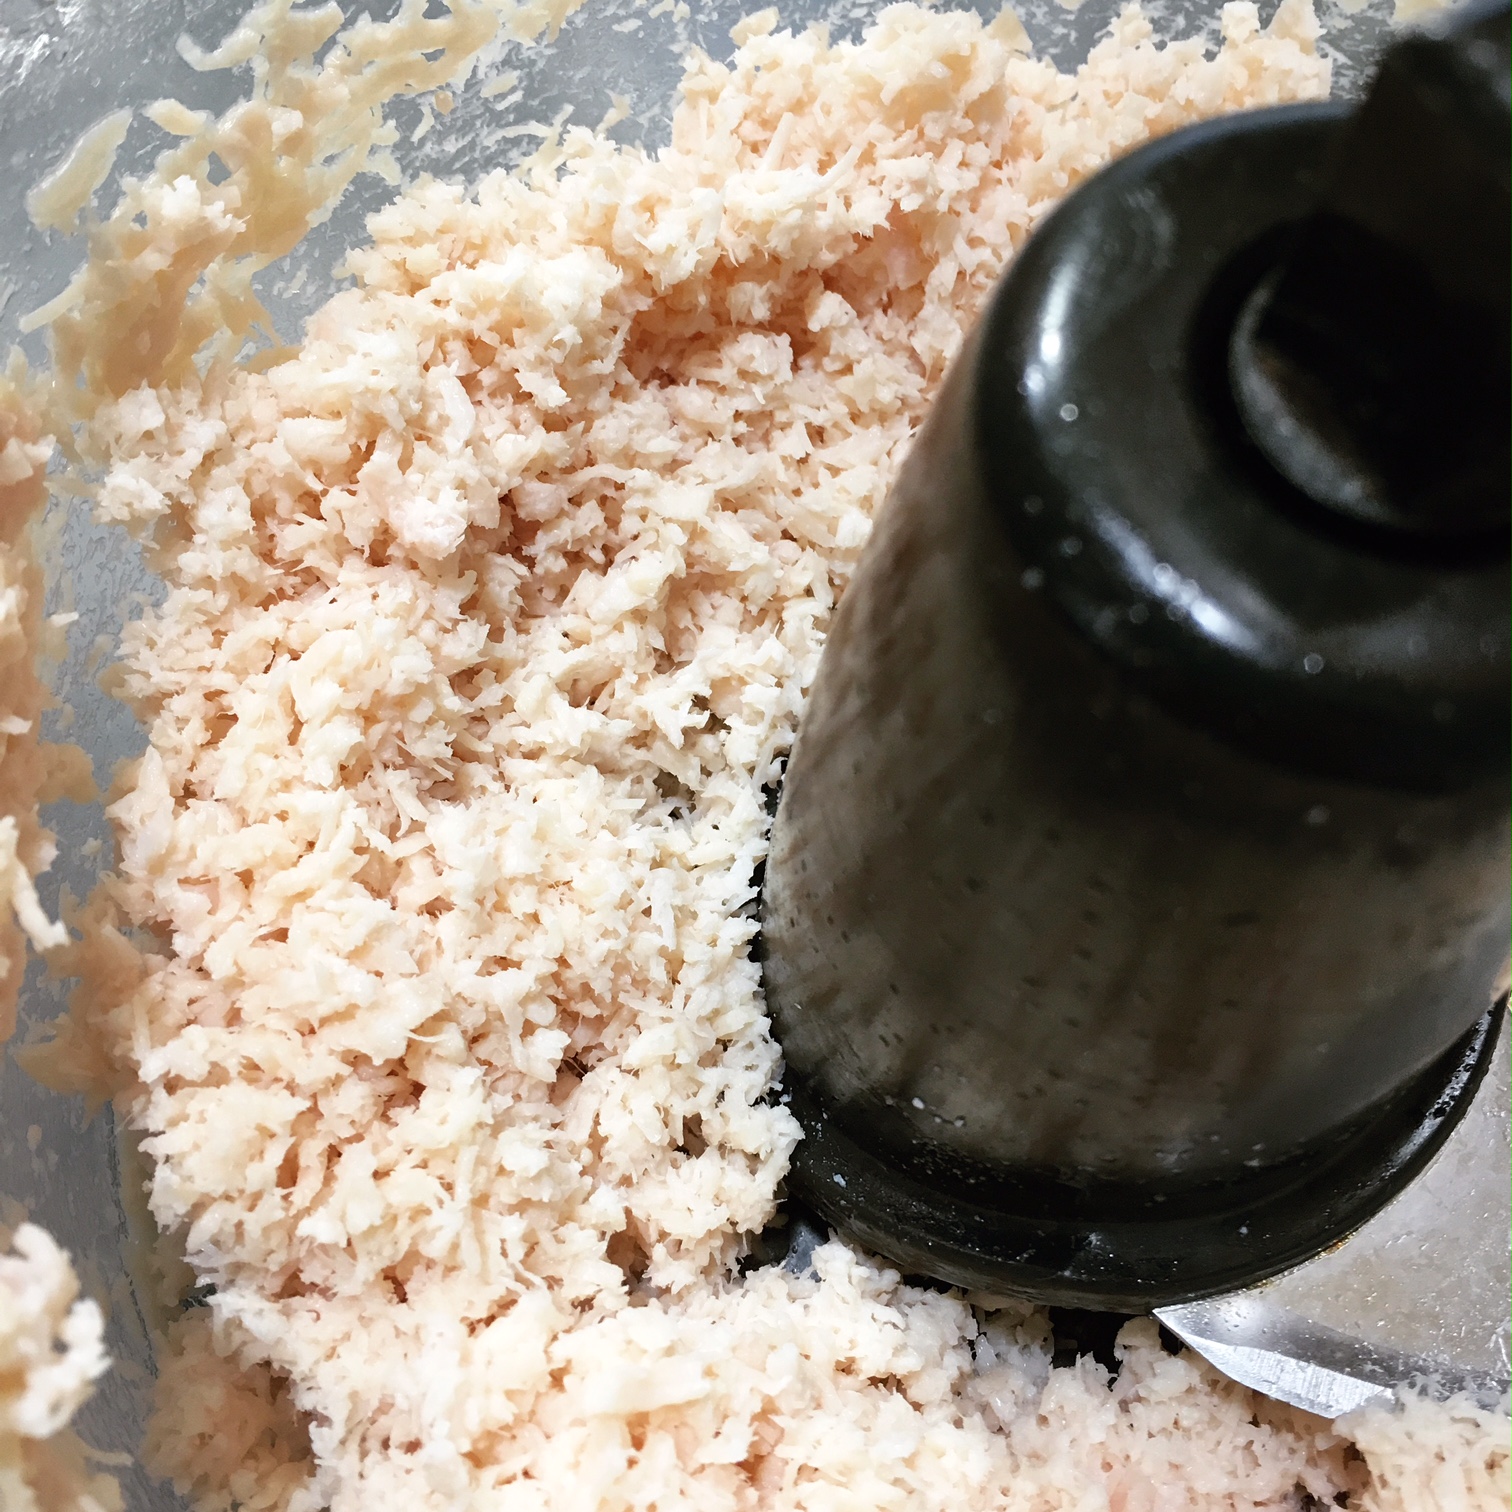
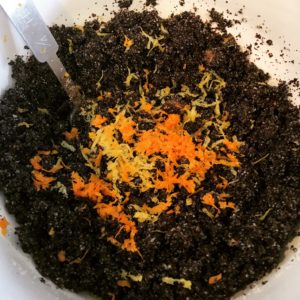
First, I began with the almond paste and sugar, crumbling them together in the food processor. This recipe was the perfect opportunity to use some almond paste that I’d made myself, primarily because I couldn’t find it in the store when I looked for a previous recipe, but I’m told it’s not that hard to find. (Perhaps I was looking in the wrong spot, but if you have the same problem, it is quite easy to make; recipe link below.)

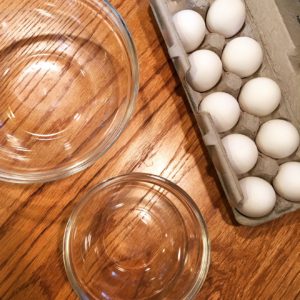
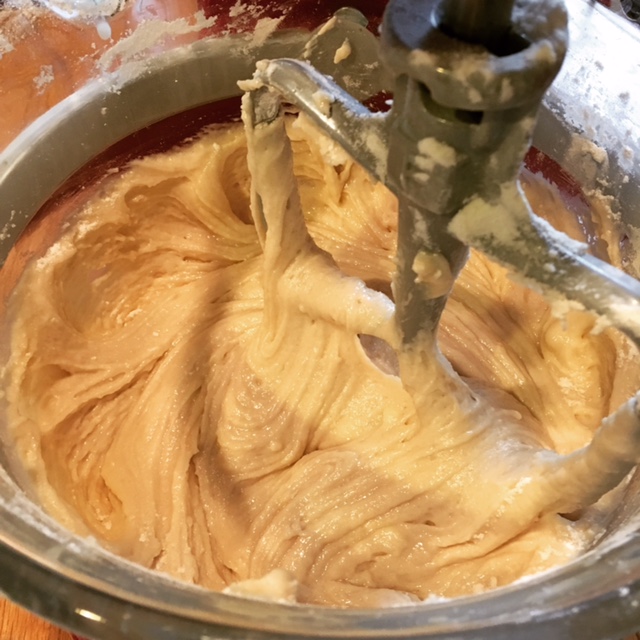
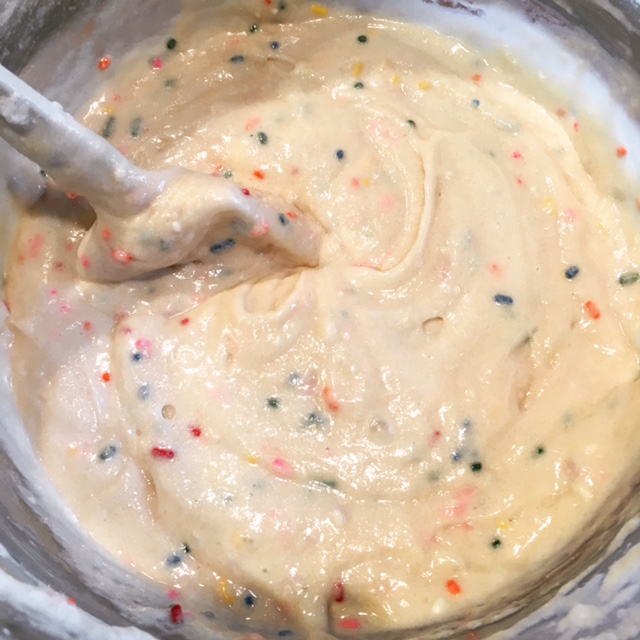
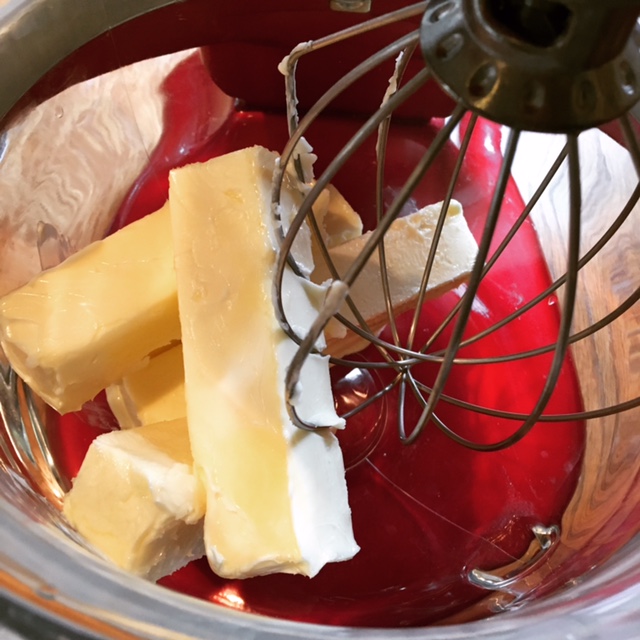
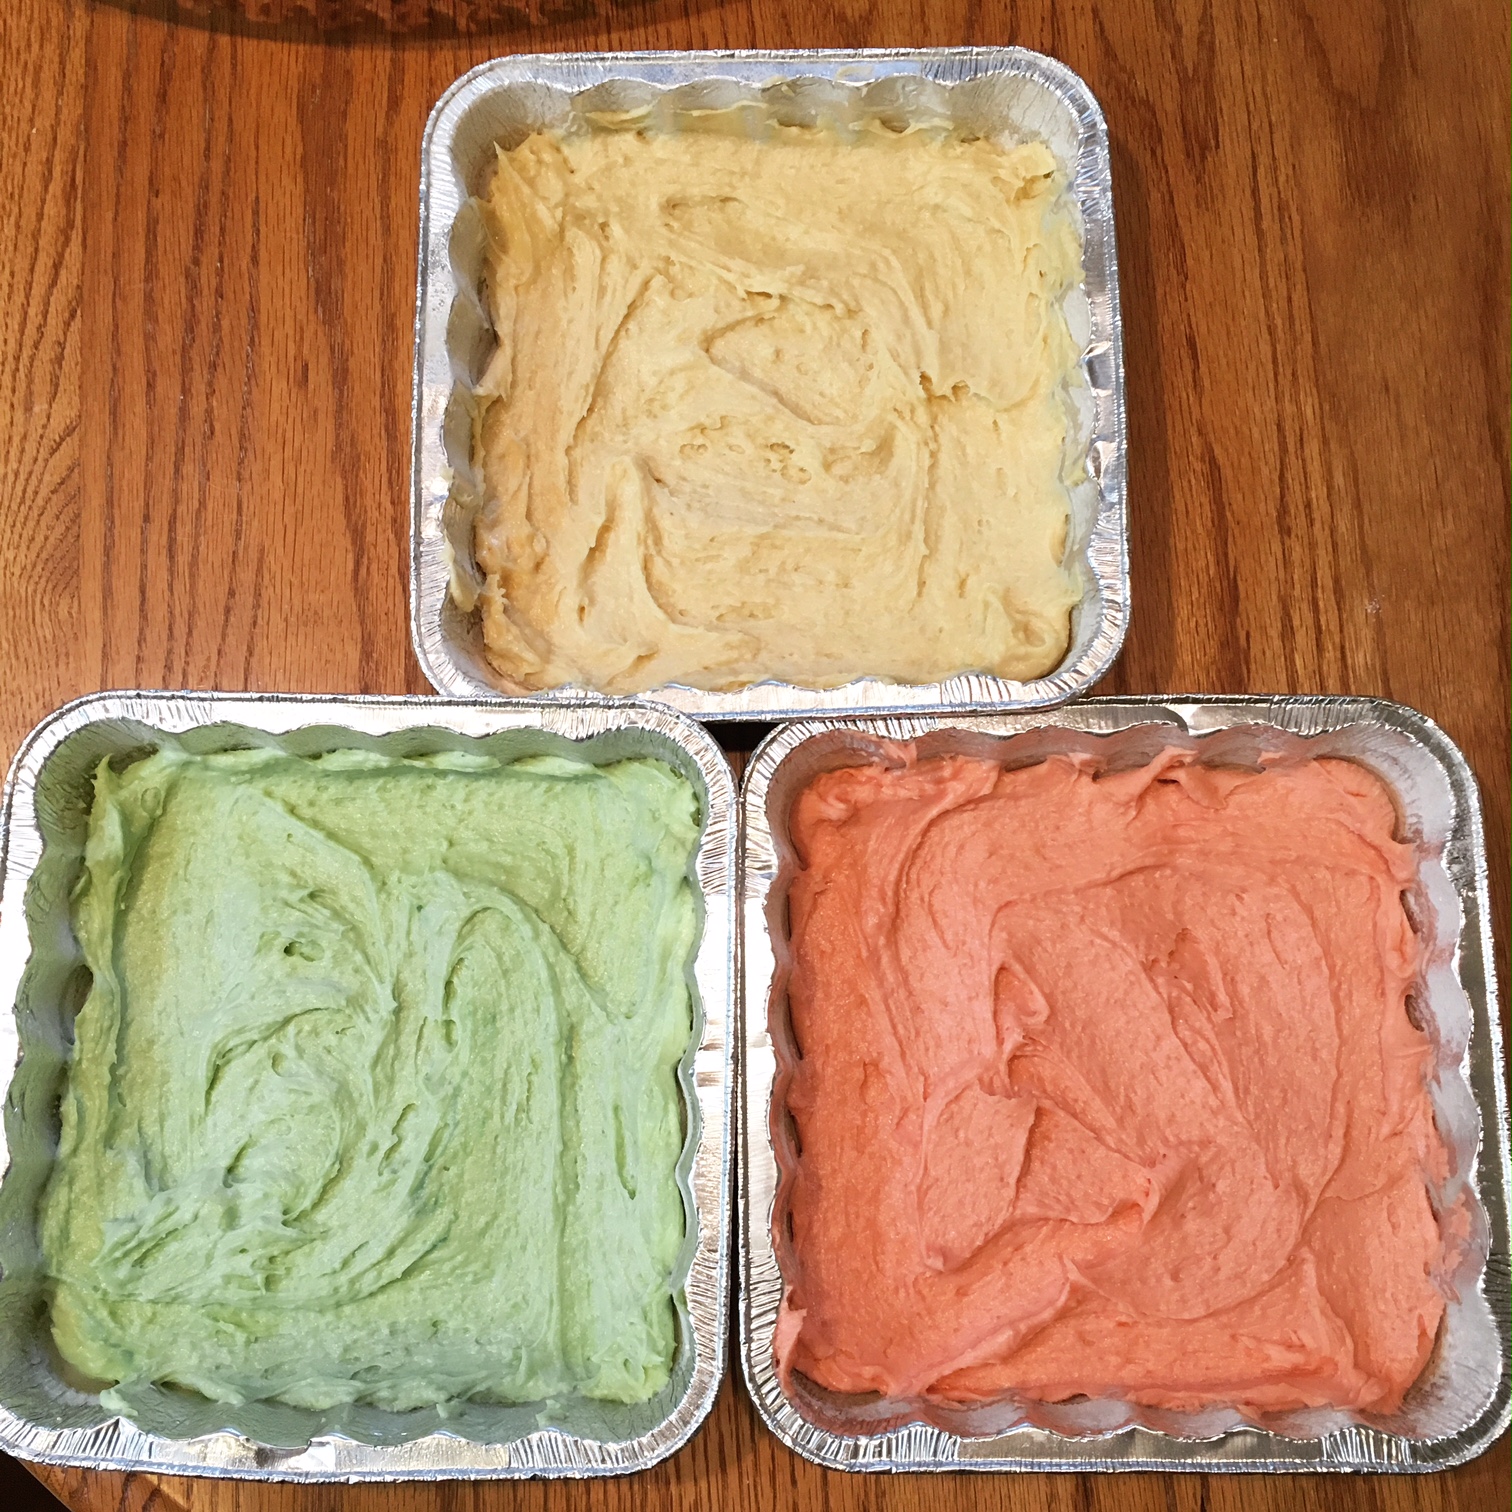
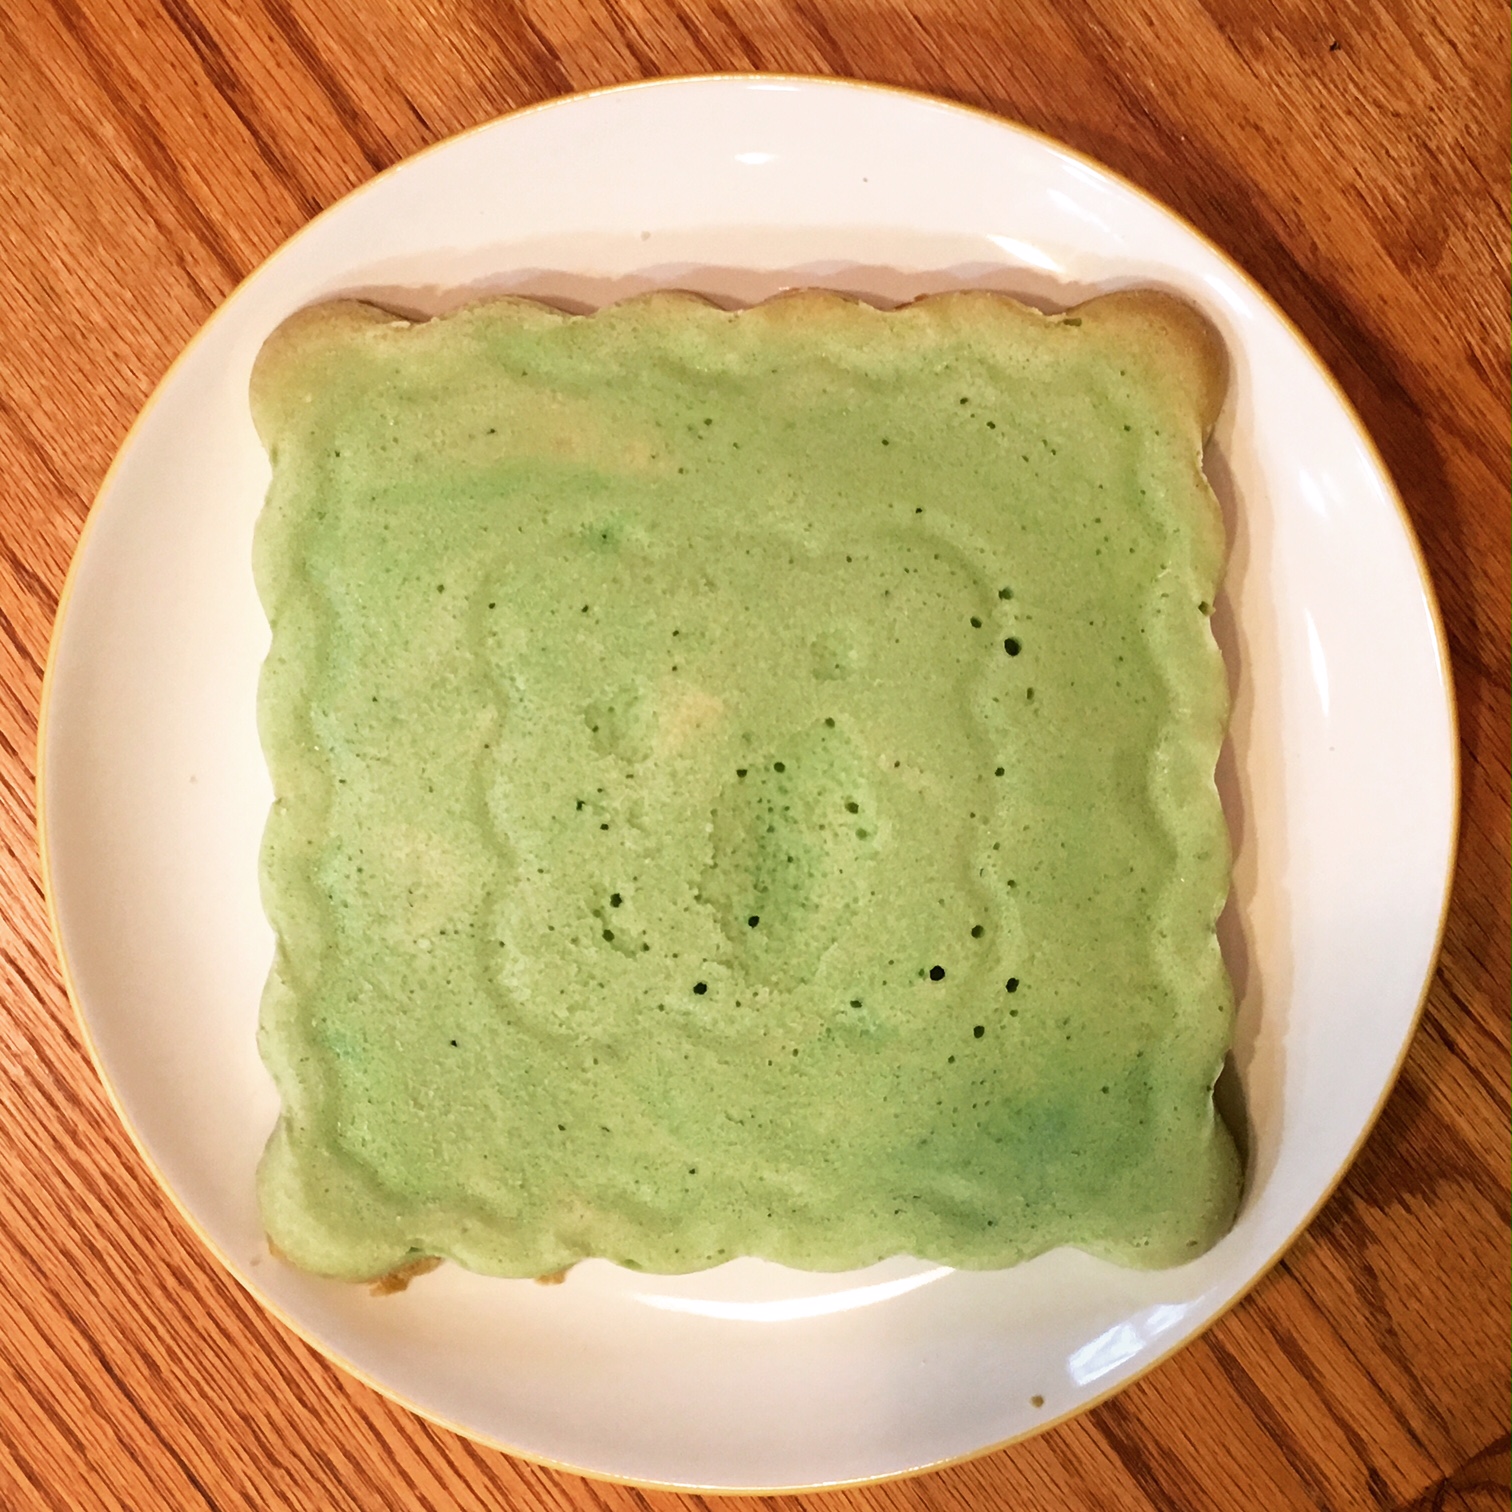
Then, I transferred my almond paste and sugar mixture to a bowl and beat in the softened butter (2 sticks). I also beat in the eggs, 1 at a time, making sure it was well-blended before I stirred in the flour. It was time to color the batter, so I split my batter into 3 different bowls and, using food coloring, colored one of the bowls pink and one of the bowls green. The third bowl remained uncolored.

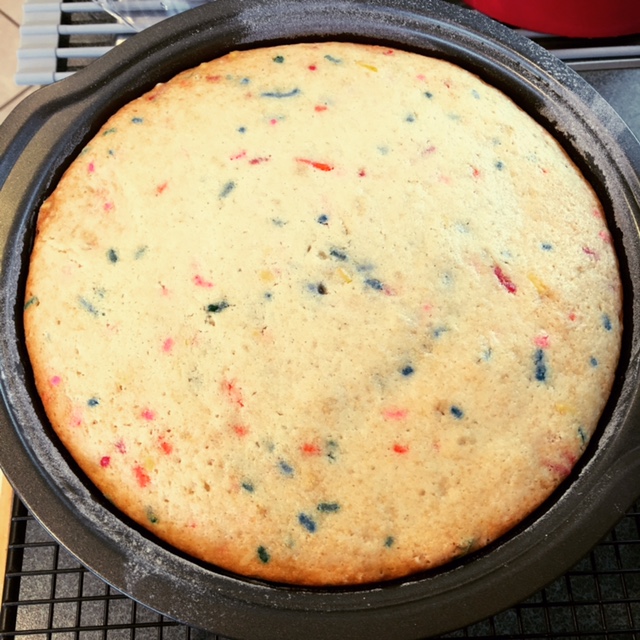
I spread each batter evenly in its own pan before popping into a preheated 350 degree F oven for about 11 minutes.

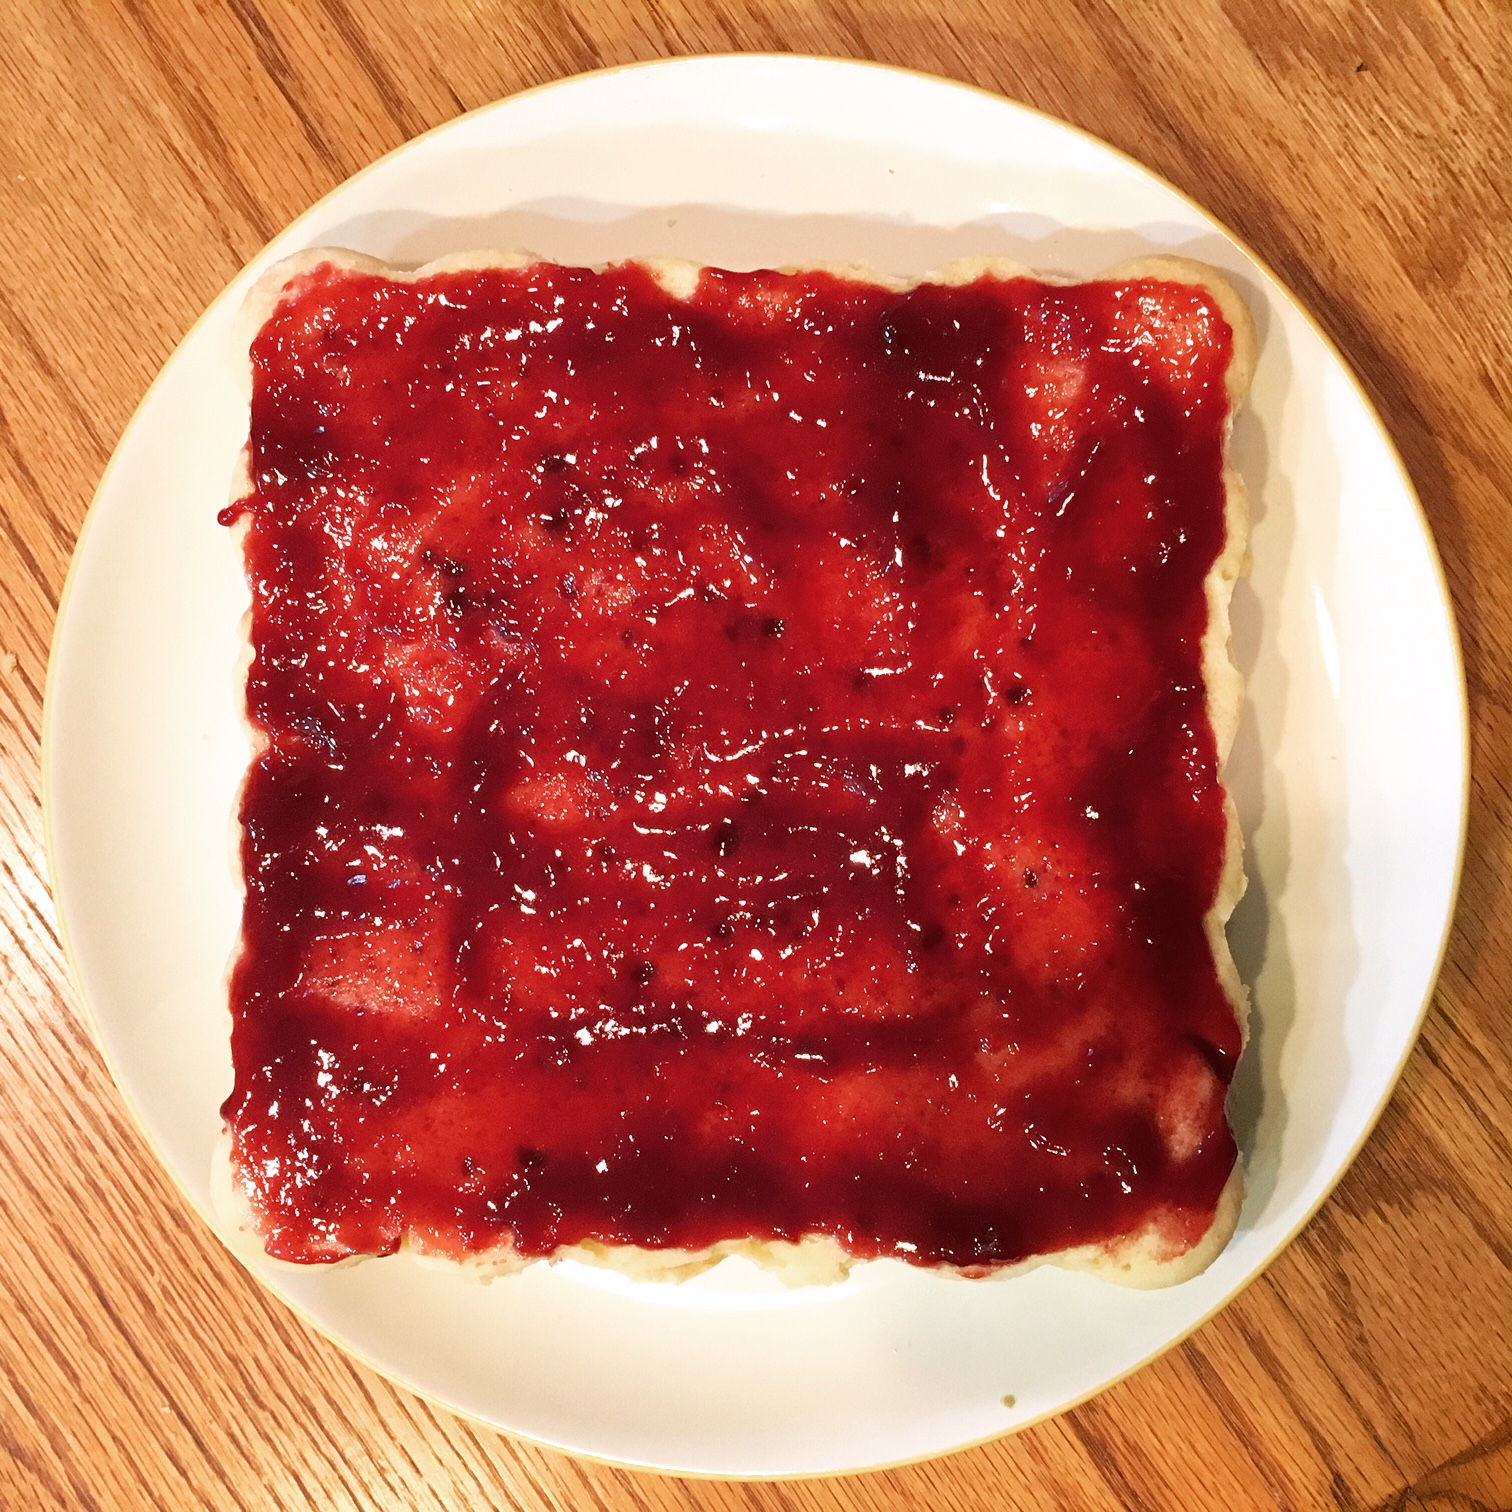
While the layers baked, I made the chocolate glaze by heating semi-sweet chocolate and heavy cream in the microwave. I then set it aside to cool. I also heated the raspberry jam (my preferred flavor, but you can use apricot instead) in a small saucepan until it was smooth and spreadable.

I turned each layer out onto the cooling rack, and once it had cooled a bit and was no longer warm to the touch - about 10 to 15 minutes - I began assembling the final cookie. Green layer goes on the bottom.

I spread about half of the jam (I heated approximately a cup) on top of the green, added the white layer, pressed gently, and spread the rest of the jam on top of that.

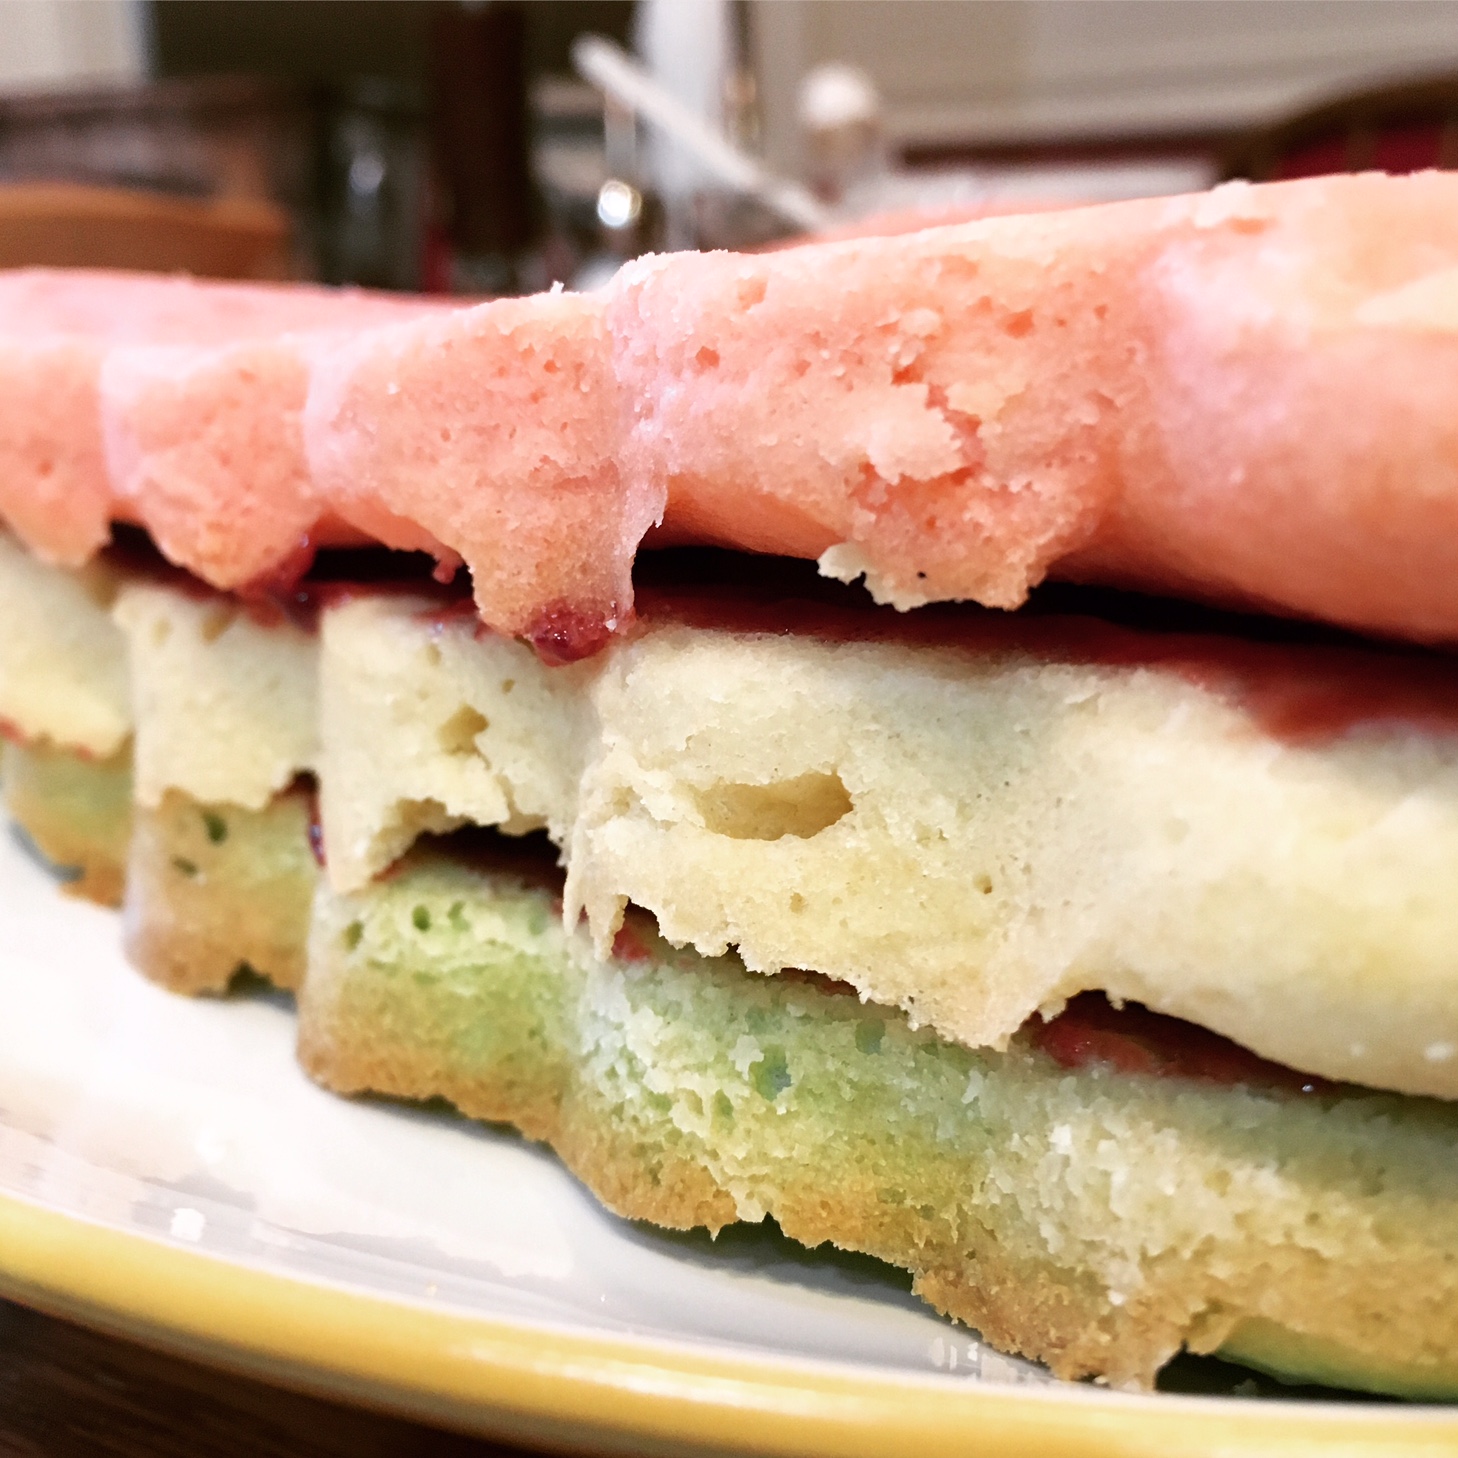
Then, I added the final layer - the pink layer, pressed gently and topped with the chocolate glaze.

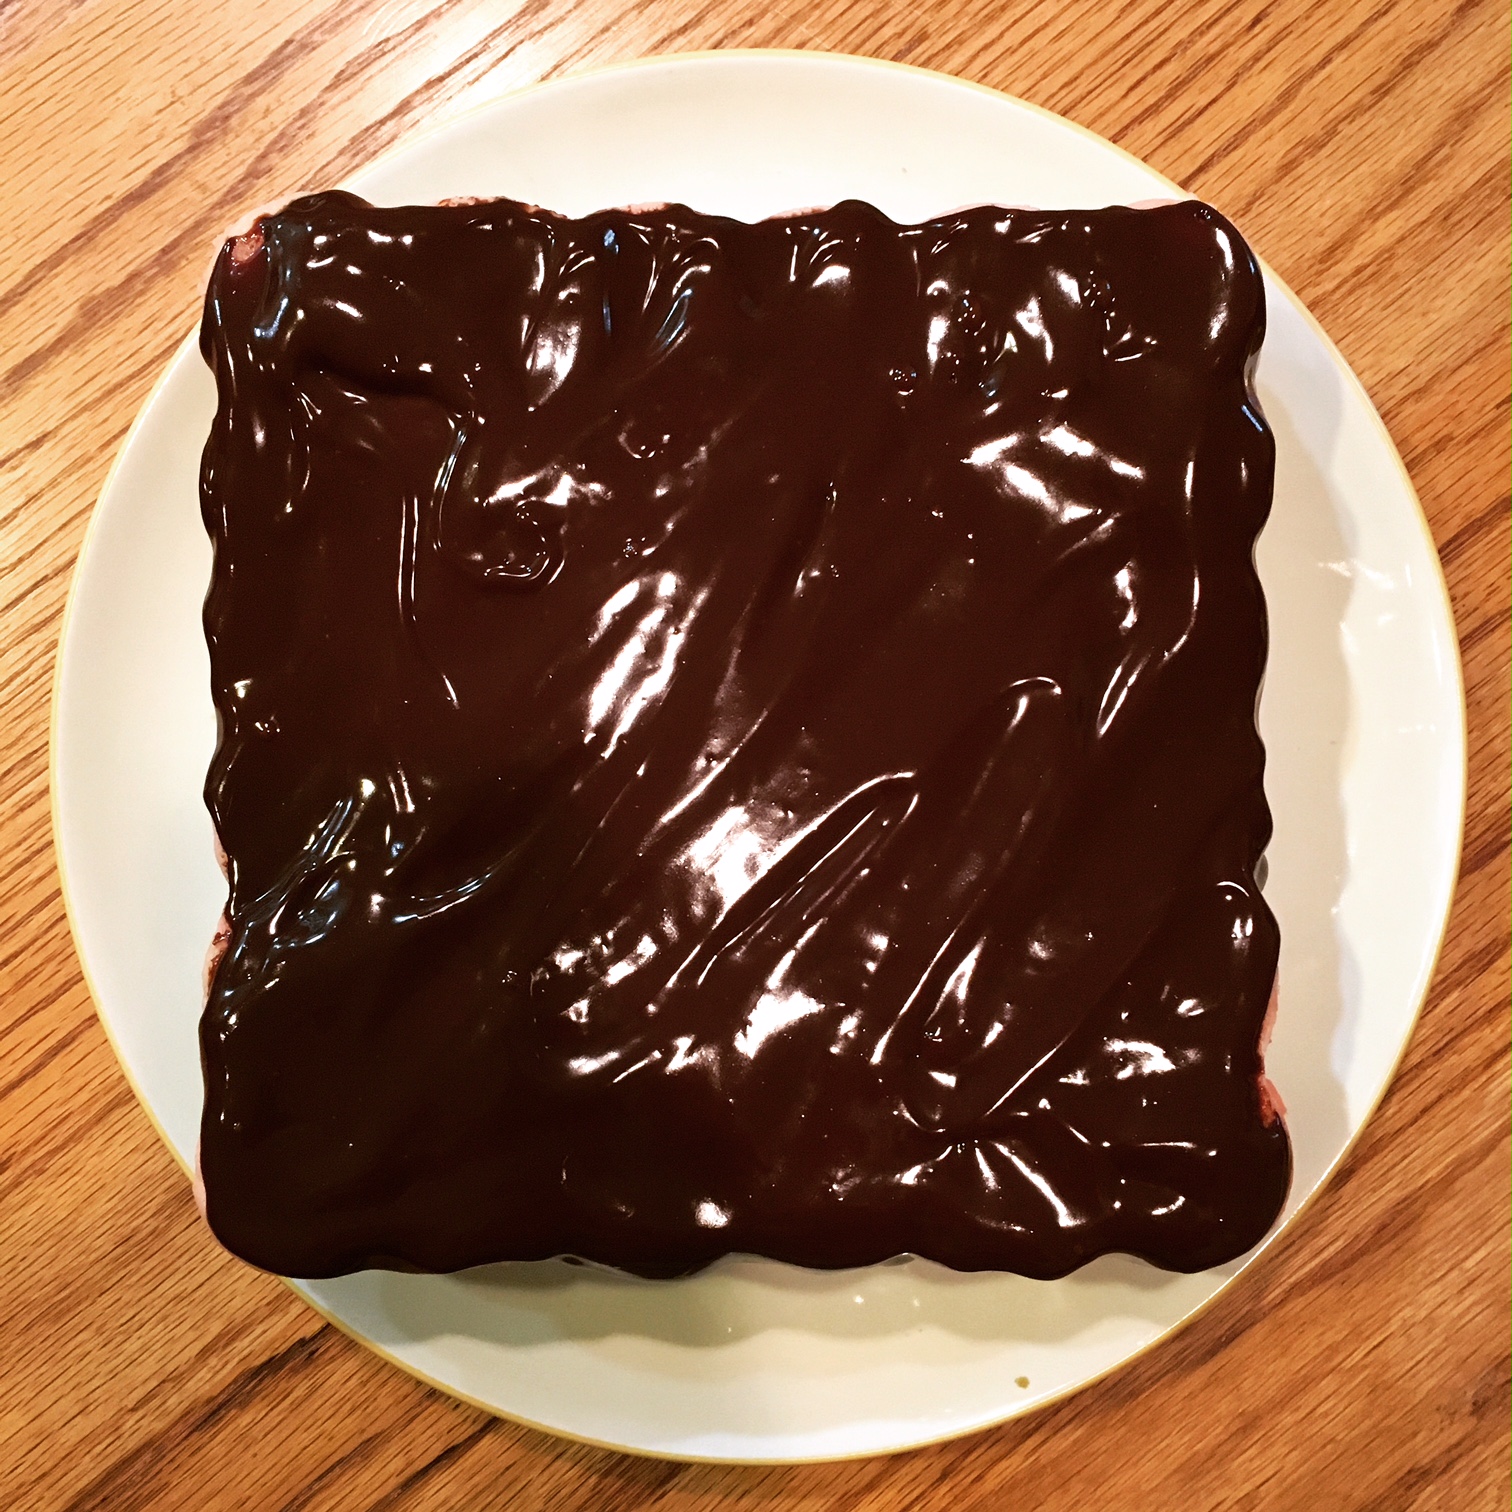
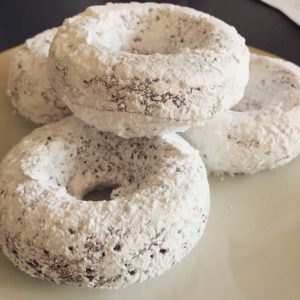
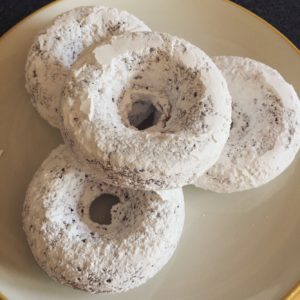
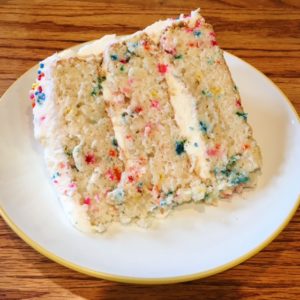
This does need to sit for about 30 more minutes, to make sure the glaze sets before slicing it into pieces, so I had to be patient. Once cooled, first order of business is to trim the edges and then they can be sliced, resulting in these little cookies as my final product.

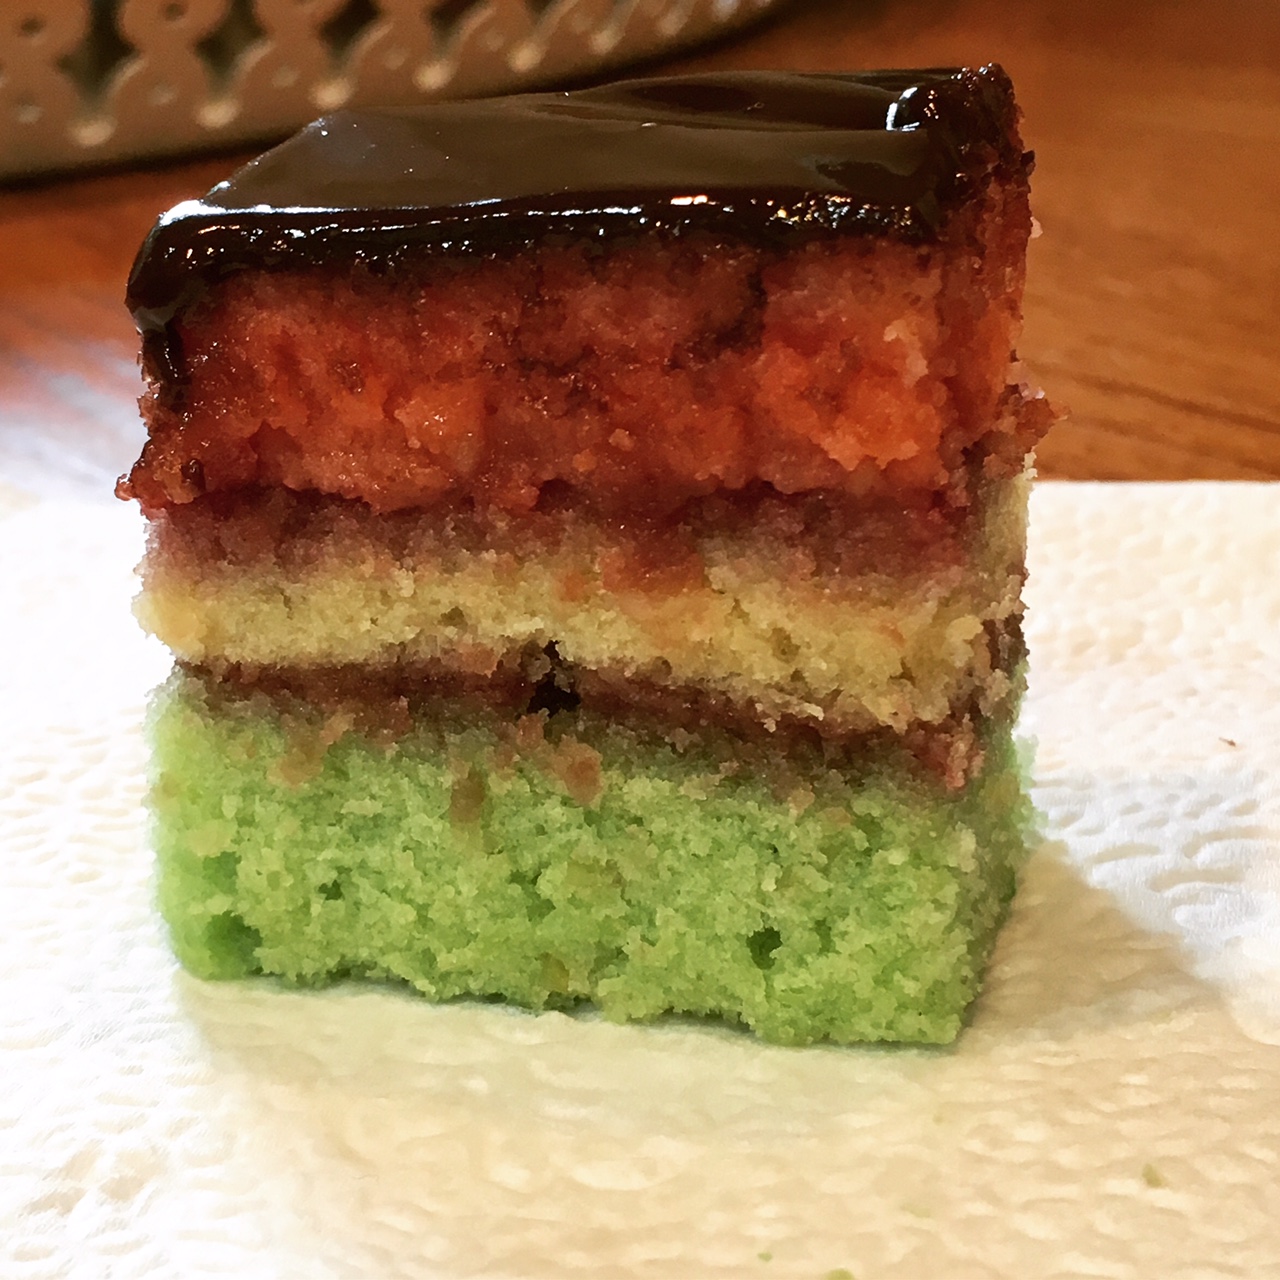
Mine turned out a bit thicker than I remember them being when I had eaten them in the past. They’re still delicious, but more than a mouthful’s worth of cookie - mine are better eaten with a fork, like a tiny cake. (Please see my notes below on pan size.) These are a quite cakelike cookie, and more delicious than I recall as well, so they’re definitely worth a try. Thank you so much to my friend, for sharing their recipe with me and the blog! I hope our novel’s Italian bakery owner would be proud. 🙂

Tri-Color Cookies (Italian Rainbow Cookies)

  • Servings: 50-72 cookies
  • Time: about an hour
  • Print

Ingredients

  • 1 cup sugar
  • 1 can/tube (8 oz) almond paste*
  • 1 cup butter (no substitutions), softened
  • 4 large eggs
  • 2 cups flour
  • 6 drops red food color
  • 4 drops green food color
  • For assembly and the glaze:

  • ⅓ cup heavy cream
  • 3 oz. semi-sweet baking chocolate, chopped
  • Apricot or raspberry jam (seedless)

Directions

  1. Lightly coat three 8x8** pans foil baking pans with vegetable cooking spray and dust with flour.
  2. In a food processor, pulse the sugar and almond paste until the almond paste is crumbled and broken into small pieces. Transfer the mixture to a large bowl.
  3. Beat in butter, scraping the bowl with a rubber spatula, until smooth. Beat in eggs, 1 at a time, blending well after each addition. Stir in flour.
  4. Divide batter evenly into 3 bowls. Tint 1 bowl of batter pink (food color amounts above are a guide and can be adjusted as needed to achieve correct color) and tint 1 bowl of batter light green. The last bowl will remain uncolored.
  5. Evenly spread each type of batter onto its own prepared pan. Bake for approximately 11 minutes, or until the top springs back when gently pressed with finger. Allow each pan to cool slightly before inverting onto a cooling rack.
  6. Meanwhile, make the glaze. Microwave the heavy cream and chocolate in a small bowl on high for 1 minutes. Stir until smooth. Let cool until slightly thickened, about 30 minutes.
  7. Heat the jam in a small saucepan on the stove, until it’s no longer gloopy.
  8. Once the layers have cooled for about 10-15 minutes, place green layer on a plate or serving tray. Brush the top with half of the heated jam. Top with the white layer and gently press. Brush remaining jam over the white layer and top with the pink layer, press gently.
  9. Spread cooled glaze over the top of the layered cookie. Let stand for at least 30 minutes so the glaze can set.
  10. With a serrated knife, trim the edges. Cut crosswise into six 2-inch wide strips. Cut each strip into 12 slices.
From: A friend’s family recipe

Notes: *If you prefer to make your own almond paste, that’s what I did for a previous recipe. It’s really easy and leftovers can be frozen for up to 3 months. Use this recipe from Taste of Home. **If you are doubling the recipe, use the larger foil pans, 11½ x 16½. However, if you still want to make only a single batch, I would recommend using 9x9 pans instead so the cookies are not quite as thick as mine ended up. 😛

This post contains affiliate links. Full disclosure here.

Filed Under: book review, recipe Tagged With: baking, contemporary, cookies, dessert, fiction

The Art of Racing in the Rain + Chicken Dog Treats

September 9, 2017 by Megan 1 Comment

Garth Stein’s novel The Art of Racing in the Rain had a lot of promise when it was chosen as our most recent book club selection - it had a cute dog on the cover, it has over four stars on Goodreads, and oh yeah, it’s an international bestseller. Honestly, my biggest concern when I started it was that the dog would die, and after the Lily and the Octopus crying-on-a-plane debacle, I wasn’t sure I could handle that.

From the start, however, it’s quite clear that Enzo the dog (and narrator) may die. As a very old dog with what seems to be hip dysplasia, he is suffering quite a lot in the opening chapter. However, as a highly enlightened animal, Enzo doesn't seem bothered and spends much of the book talking about his ultimate goal of becoming a human through reincarnation upon his death. And, for much of the rest of the novel, he spends his time making comparisons between life and racing that were a bit of a stretch at best and boring distractions from the rest of the story at worst.

For me, honestly, the downfall of this novel was not that the dog was narrating nor that the majority of the characters were unlikeable - including Enzo, who I thought could not have been more pompous and un-doglike if he was a cat - but that it tried way too hard and missed the mark. And while all of us in book club didn’t feel exactly the same way, three of us (including the lovely lady who chose it) absolutely hated it.

It’s an interesting concept, and who doesn’t love a good dog story? But it could have been so much more. It could have felt like a dog and not a philosophy professor was leading us on this journey. It could have been packed with just slightly less drama. I guess I didn’t think the title would be so literal, but I didn’t care for the racing comparisons. Overall, though, it just didn’t feel genuine.

On the plus side, lots of dogs got to enjoy treats because of this novel, and so that brings me lots of happiness. In the novel, Enzo’s owner Denny always gives him some chicken “bedtime treats” at the end of every day, and so I set out to find a chicken treat I could make myself. I found one from Use Real Butter that is extremely homemade, fresh and delicious. I chose to make it more semi-homemade, using both canned chicken and canned sweet potato, which required less prep time.

First, I drained the chicken and popped it into my food processor, pulsing it a few times to break it down into smaller pieces.

Then, I added everything to the bowl of my standing mixer - chicken, sweet potato puree, shredded cheddar cheese, an egg and half of the flour. I used the paddle attachment to combine the ingredients partially before adding the rest of the flour. This is where you’ll need to eyeball it and likely add more flour to get a less sticky consistency. Once the dough comes together, put it on a lightly floured work surface and roll it out to a thickness of about ¼”.

I found this adorable paw-shaped cookie cutter on Amazon, but you can really use any shape you have on-hand.

Once I had 2 cookie sheets full of treats, I put them in the oven to bake. (I ended up covering 3 cookies sheets in total and made somewhere between 175 and 200 treats.) I opted for treats on the chewy side, but I have included the directions from the original recipe below so you can make them crispier if you’d like to.

Once they were cool, I gave some to Beta to taste test. She absolutely approved! In fact, she liked the smell of them so much that she had a hard time holding back while I tried to snap some pictures.

Almost 200 treats is a lot! So I also wrapped them up in little gift bags to give to my coworkers who have dogs and asked them all to take photos of their dogs enjoying them too. Quite a good looking bunch! It seemed the treats got puppy approval all around.

Chicken

  • Servings: 150+
  • Time: 40
  • Print

Ingredients

  • 12.5 oz, or one large can, of canned chicken (Premium Chunk White Chicken Meat), pulsed in a food processor
  • 10 oz (approx.) canned sweet potato purée
  • 1 cup cheddar cheese, shredded
  • 3 cups all-purpose flour (and more as needed, plus extra for rolling out)
  • 1 large egg

Directions

  1. Preheat oven to 350°F. Mix all of the ingredients together until the dough is well blended. The dough should come together without being too sticky. Add more flour as needed (by the ¼ cup) until you achieve a consistency that holds together but isn’t wet. (Additionally, more egg or sweet potato could be added if, for some reason, the dough is too dry.)
  2. Roll the dough out on a lightly floured work surface to 1/4-inch thickness. Cut out shapes and arrange on a foil- or parchment-lined baking sheet. Bake time will depend on size of the treats. For 1-inch diameter treats, start testing doneness after 15 minutes by lightly poking the center of a treat with your finger. For larger treats, allow for more baking time (but keep an eye on it the first time around). Treats should be slightly soft in the middle at which point you can remove them for soft treats. For crunchy treats, shut off the heat and leave the oven door closed. Let the treats dry out in the residual heat, but check to see that they aren’t burning at the edges.
  3. Store soft treats in a sealed container in the refrigerator for up to a week. Store hard treats in an air-tight container for up to a week. If storing for longer, refrigerate or freeze them. Makes 150+ 1-inch treats.

Adapted from: Use Real Butter

Notes: I didn’t do an exact count, but my recipe made well more than I expected. Definitely in the 150-200 range, but probably closer to 200. This will depend most of all on the size of the cookie cutter, but also on how thickly you roll the dough. The large quantity makes this a great recipe to save money and stock up on homemade treats for your own dog, or to give as gifts to other dog owners!


This post contains affiliate links. Full disclosure here.

Filed Under: book review, recipe Tagged With: 5 ingredients or less, animals, baking, book club, chicken, dog treats, fiction, quick read

Cloud Atlas + Cloud Eggs

August 3, 2017 by Megan 1 Comment

My friend Deanna, who you may know recognize from my short series of Gilmore posts, absolutely loves David Mitchell’s Cloud Atlas. I had read one of his other novels a while back and wasn’t a fan, so when she actually let me borrow it (an embarrassingly long time) ago, I was reluctant to read it and find it underwhelming. But, I finally decided I should rip off the bandaid, so to speak, and recently gave it a try. It was definitely not underwhelming.

Cloud Atlas David Mitchell Book Cover

Cloud Atlas is a complicated story five spanning centuries, going from the 1800s to the distant future and back again. Each character has only two chapters, one where they’re introduced as we move through the future and one as we head back in time to the beginning. (Excepting one, of course, who is there only in the middle of the story.) It’s a very interesting concept, and I probably wouldn’t have chosen to start it on a boat in the middle of the 1800s, but it is what it is. Thankfully, Deanna had warned me about the first chapter, and though it took quite a while to get into, I persevered.

As with all books, there were characters I liked better than others and some i disliked altogether. The problem with the structure, however, was that I was stuck with the ones I didn’t really like for a long time in a row and then I had to “look forward to” seeing them again on the boomerang back. The novel was also a little too self-aware for my taste. Mitchell wrote a lot of commentary on the structure and the characters and the meaning of it all into his own characters’ mouths and thoughts, which I typically don’t enjoy.

I know my review isn’t exactly glowing, but I didn’t hate it. I’m actually glad I read it, and I can see why Deanna (and others) like it so much. The story it tells is very intriguing. Weirdly, it made me want to see the movie for a different and visual perspective. It also made me want to make some cloud eggs. A book that fit perfectly with the latest hipster trend - what luck! (Kidding, but only a little bit.)

In my research, I found a recipe that wasn’t too intimidating (though most of them seemed mostly doable). I also found an interesting article from NPR that made me feel a lot better about the whole cloud egg trend. Wouldn’t you know it, what’s old is new again - in food as in everything else.

To start, I preheated my oven to 450 degrees and assembled my ingredients and bowls. I separate the old-fashioned way (hands only), so I just had a couple of bowls to divide the whites and yolks into.

Eggs, Cheese, Breakfast

With the whites separated, I seasoned them with salt and pepper and used a hand mixer to whip them into stiff peaks. I carefully folded in the Parmesan cheese. On the baking sheet, I made 4 separate mounds of the whipped whites and indented them so my yolks would have somewhere to lie later.

Egg Whites, Cloud Eggs, Baking

After they baked for 3 minutes, I took the sheet out of the oven and added one egg yolk to each egg white cloud. It went back into the oven for 3 more minutes, until the yolks were set. I served with toast, perfect to mop up the runny yolks.

Eggs, Breakfast, Brunch, Cloud Eggs
Eggs, Breakfast, Brunch, Cloud Eggs, Toast, Jam, Jelly

Cloud Eggs

  • Servings: 2
  • Time: 20 minutes
  • Print

Ingredients

  • 4 large eggs
  • salt and freshly ground black pepper
  • ½ cup freshly grated Parmesan
  • 3 TBS finely chopped fresh chives, for garnish (optional)

Directions

  1. Preheat oven to 450 degrees F and line a large baking sheet with parchment paper. Spray lightly with baking spray.
  2. Separate egg whites and egg yolks, placing the egg whites in a large bowl and each yolk in its own small bowl.
  3. Season the egg whites with salt and pepper. Using a whisk or a hand mixer, beat the egg whites until stiff peaks form. Gently fold in Parmesan.
  4. On the prepared baking sheet, create 4 mounds of egg whites and indent the centers of each to look like nests. Bake until slightly golden, about 3 minutes.
  5. Carefully add an egg yolk to the center of each egg white cloud. Season yolk with salt and pepper. Bake until the yolks are just set, about 3 minutes more. Garnish with chives, if using, and serve immediately.

Adapted from: Delish

The original recipe doesn’t call for spray the parchment paper, but I found that my finished eggs were a bit difficult to get off after baking. Additionally, the original recipe has you add all egg yolks to one bowl - obviously this creates less dish cleaning afterward, but it’s much trickier to get them out later without breaking them. (I broke two, despite being extremely careful.) The call is ultimately yours, but be careful!


PLUS: If you haven't entered for your chance to win a free book yet, there's still time! Enter my 1 Year Anniversary Giveaway through Friday, 8/11. More details in Sunday's post.

This post contains affiliate links. Full disclosure here.

Filed Under: book review, recipe Tagged With: baking, breakfast, brunch, easy prep, fiction, long read

The Sisters Chase + Powdered Donuts

July 15, 2017 by Megan 2 Comments

I’m a sucker for stories about sisters. I love the relationship between Elizabeth and Jane in Pride and Prejudice. Little Women is, of course, sister-centric and wonderful. I’ve never read the book, but whenever I watch In Her Shoes, I cry. So, it will come as no surprise that for my June BOTM I chose The Sisters Chase by Sarah Healy. I probably would’ve chosen it on the name alone, but it had the added benefit of coming highly recommended in my online book group as well.

Mary and Hannah Chase grow up in a small beach motel owned by their mother, Diane. When a car accident leaves the sisters on their own, eighteen-year-old Mary becomes Hannah’s guardian and takes it upon herself to do anything in her power to protect her. While Mary is at ease living a life in flux as they travel the country, Hannah aches for a real home where she can attend school and make friends. All Mary wants is for Hannah to be happy, but giving in may mean exposing a long-kept secret and risking an unbearable loss.

As an older sister, I definitely related to Mary and her willingness to do anything for her little sister, even if it seemed to be to her own detriment. Healy’s pacing and familiarity with the characters - they felt so real - resulted in a well-crafted story that wasn’t at all what I predicted. When I finished, it had me wanting to go back for a re-read.

Instead, I made some powdered donuts, like those the sisters’ mother piled high on a plate each morning for the motel’s guests. I wanted to bake them, since it’s less messy and somewhat healthier, so it gave me the perfect opportunity to use the donut pans I’ve had since two Christmases ago (thanks to my new sister-in-law, Kelly!).

The last time I made donuts was in middle school home ec class, and I remember being freaked out by splattering oil and the cleanup being such a process. This was MUCH easier. So much so that I may start making donuts more often.

First, I mixed the dry ingredients together - flour, sugar, baking powder and salt. In a separate bowl, a combined the egg, milk, vanilla extract and melted butter. I added these to the dry ingredients and mixed together.

Then, using a spoon, I added the batter into my greased donut pans, filling them about halfway.

I popped them into a 425-degree F oven and let them bake for 12 minutes. I let them cool in the pan for about 10 minutes.

Then, I dropped them into a paper grocery bag two at a time with some powdered sugar and shook and shook until they were well coated. Honestly, this happened really quickly (a few shakes at most). It was the most fun part of donut-making by far.

Everyone at work loved them, and I can’t wait to try new and different flavors. I always love when a book leads me a recipe I can use over and over again 🙂 Hope you enjoy!

Baked Powdered Sugar Donuts

  • Servings: 10
  • Time: 25 minutes
  • Print

Ingredients

  • 1¼ cups cake flour (see notes)
  • ¾ cup granulated sugar
  • 1¼ tsp baking powder
  • ¼ tsp salt
  • 1 large egg
  • ¼ cup milk
  • 1 tsp vanilla extract
  • 3 Tbsp unsalted butter, melted
  • 3 Tbsp heavy cream
  • 1 cup powdered sugar, for coating baked doughnuts

Directions

  1. Preheat oven to 425°F. Lightly grease doughnut pan; set aside.
  2. In a medium bowl, add all of the dry ingredients (cake flour, granulated sugar, baking powder and salt). Stir until well mixed.
  3. In a separate bowl, whisk together the egg, milk, vanilla extract, melted butter and heavy cream.
  4. Add the liquid ingredients to the dry ingredients; stir until just mixed.
  5. Spoon or pipe the batter into the greased doughnut pan. (Tip: Fill each doughnut circle about half full of batter.)
  6. Bake at 425°F for 12-14 minutes, or until doughnuts begin to turn golden brown on the edges.
  7. Let doughnuts cool in the pan.
  8. Place powdered sugar in paper bag. Once doughnuts have cooled, shake doughnuts (one at a time) in the bag with the powdered sugar until well coated. Tap off any excess powdered sugar. Repeat with remaining doughnuts. Serve immediately. (Note: If you plan on serving these doughnuts later, store them uncoated in an airtight container. Shake them in powdered sugar just before serving.)

From: Spiced Blog

If you don’t have cake flour, which I didn’t, and don’t want to buy some just for this recipe, it’s easy to make your own with all-purpose flour. For each cup of flour you need, take 1 cup of all-purpose flour, remove 2 TBSP and replace with 2 TBSP of cornstarch. Mix well to ensure it’s combined. I used 1½ cups flour with 3 TBSP for this recipe (and discarded the remaining ¼ cup).


This post contains affiliate links. Full disclosure here.

Filed Under: book review, recipe Tagged With: baking, book of the month, breakfast, contemporary, fiction, quick read

Lilac Girls + Poppy Seed Cake

July 8, 2017 by Megan 1 Comment

No matter how many WWII novels I read or stories I hear, I’m still astonished at the atrocities that took place and how many people were able to overcome and survive such horrifying ordeals. Though I usually devour these books, which are often natural page-turners, I find them hard to get through mentally. Martha Hall Kelly’s Lilac Girls was no exception.

Inspired by the real Caroline Farriday and a group of Polish prisoners called “the Rabbits,” this novel tells the story of three women whose lives intersect at the Ravensbruck, the only Nazi concentration camp for women. In alternating chapters, we follow Kasia, a Polish teenager who becomes one of the Rabbits; Herta Oberhauser, a German doctor stationed at Ravensbruck; and Caroline, a New York City socialite, who does her best to assist in the war effort from abroad.

Though I’d be interested in finding out more about the real Caroline, I found her chapters to be the least compelling. Honestly, her storyline was the reason I couldn’t give this book a full 4 stars on Goodreads. (I would’ve given it 3.5 if Goodreads allowed it, but they don’t - one of my pet peeves.) Kasia’s and Herta’s chapters, on the other hand, had me turning the page constantly. I liked that Kelly told the story from such different points of view.

In one of the bright spots at Ravensbruck, Kasia and her sister receive a package from their father and unwrapped it to find not only chocolate and a sign of hope, but some poppy-seed cake as well. As she put it, “Polish cake would be good medicine.” I hadn’t heard of poppy seed cake before, but I knew it was the recipe to make this time around. I found one from Jenny Can Cook and set to work.

Upon starting the recipe, I realized I only had half as many poppy seeds as I needed. I’d bought one 2.6 oz bottle of poppy seeds at the grocery store, because the pickings were slim. If you find yourself in the same situation, you may want to pick up two containers, or if you’re trying this for the first time, you may want to make a smaller loaf instead, like I did. When I made it, I adjusted the recipe and made a half-sized loaf instead of the full recipe (I included the full recipe below).

First, I ground the poppy seeds 2 Tablespoons at a time, until they were moist and looked a lot like wet coffee grounds. I added boiling water to a small bowl and stirred in the poppy seeds until they were all moistened, letting them stand uncovered. Then, using the same grinder, I ground up my toasted almonds.

In a large bowl, I combined the flour, yeast, sugar and salt. To that I added, the warmed milk (slightly less than 120 degrees F since I was using active dry yeast), followed by the oil and the egg. Using an electric mixer, I beat it on high for about 2 minutes, and then added in the extra flour, beating it until it formed a mass. Mine was slightly sticky when I transferred it to the board, so I ended up adding about a Tablespoon more of flour (to my halved recipe). I should’ve taken a picture of my messy dough fingers, but it wouldn’t have been safe to grab my phone to do so. Dough everywhere!

I kneaded it and let it rest for 10 minutes while I combined the filling. To the poppy seeds, I added the ground almonds, lemon and orange zests, sugar and vanilla extract.

I rolled the dough out to about 5” x 6” (again with the halved recipe) and spread the filling on the top, almost to the edges.

Then, I carefully rolled it, placed it seam-side down, and tucked the ends under, placing it on a parchment-lined baking sheet. I covered it with a cloth and left it untouched in a warm place (aka my upstairs on an 80-degree July day) for about an hour and a half.

I opted to top it with an egg wash and poppy seeds before baking, thinking the glaze might make it too sweet. It also didn’t seem like Papa’s bread for his girls would’ve included a glaze, but I could be wrong. If you prefer a glaze, see the recipe notes.

I baked it for slightly less than the recipe called for due to size, but even with halving the recipe, I think it could’ve used maybe 5 minutes longer (or 30 minutes total) in the oven. It was hard to let it cool for a long time once it came out of the oven, but trust me, it’s much better when it’s fully cooled. I also personally like the outside thirds of the bread better than the middle third.

I hope you enjoy! Have you read the Lilac Girls? What did you think?

Poppy Seed Cake

  • Servings: 1 loaf
  • Time: 2 hours, 45 minutes
  • Print

Dough Ingredients

  • 1½ cups bread (or all purpose) flour
  • 1 packet (2 tsp/7 gms/1/4 oz) yeast - instant or active dry yeast
  • ¼ cup sugar
  • ½ teaspoon salt
  • ⅔ cup 1% milk heated to 120-130° F for instant yeast (or 110-120°F for active dry)
  • 2 Tablespoons oil
  • 1 egg
  • about ¾ cup extra flour

Filling Ingredients

  • 1 cup poppy seeds
  • ⅓ cup boiling water
  • ¼ cup ground toasted almonds (20 count)
  • ½ cup sugar
  • ½ teaspoon vanilla extract
  • zest of ½ a lemon and ½ an orange

Directions

  1. Grind poppy seeds (see note below). Place in a small bowl, stir in boiling water & let stand uncovered.
  2. Grind almonds and set aside.
  3. Place flour, yeast, sugar, and salt in large mixing bowl.
  4. Stir in milk followed by oil and egg.
  5. Beat on high for 2 minutes. Stir in extra flour until dough forms a mass.
  6. Place dough on floured board and knead 100 turns (about 2 minutes). Cover and let rest 10 minutes.
  7. Meantime, add ground almonds, sugar, vanilla and zests to poppy seeds.
  8. Roll dough into a 10 x 12 shape. Spread filling almost to edges, roll starting at 10-inch end and place on parchment-lined baking sheet, seam side down. Pinch and tuck ends under.
  9. Cover with a towel and rise in a warm spot for 1½ hours or until double in size.
  10. Before making, brush with egg wash and sprinkle with additional poppy seeds.
  11. Preheat oven to 350° F and bake for 35 minutes. Allow to cool fully before slicing and serving.

From: Jenny Can Cook

Instead of coating the top with poppy seeds, if you prefer a sweeter bread you can add a glaze. Allow baked cake to cool for 10 minutes and drizzle with glaze, made using 1 cup powdered sugar and about 2 Tablespoons milk, added slowly.

If using a spice grinder, grind seeds slowly, about 2 Tablespoons at a time, until they feel moist – about 10 seconds per each portion. Scoop out any that stick to the bottom of the grinder as you go. Once they are all ground, use the same grinder to grind the almonds.


This post contains affiliate links. Full disclosure here.

Filed Under: book review, recipe Tagged With: baking, bread, drama, historical fiction, tough topics

Lots of Candles, Plenty of Cake + Funfetti Cake

June 1, 2017 by Megan 5 Comments

I added Anna Quindlen’s memoir Lots of Candles, Plenty of Cake to my to-read list almost four years ago. I don’t remember my reasoning for wanting to read it back then, but I know that I decided to finally rescue it from my too-long list - which currently sits at 436 books - because I wanted to make a cake.

Quindlen_Lots-of-Candles-Plenty-of-Cake.jpg

I knew nothing of Quindlen when I began reading, and over the course of her “memoir,” I can’t say I know that much more about her. Really it seemed more like a carryover from her columns in the New York Times as she described them - a collection of her thoughts on life and aging, coupled with bits of advice.

Perhaps I wasn’t exactly the target market for this book - I am roughly half her age, really just at the beginning of my career, not yet married and currently without children. I’m still figuring a lot of things out, and while in some ways she is too, we are figuring out very different things about life. I was able to glean a few interesting insights from her writing, but ultimately, I think this book is one I’d like to try again a couple of decades down the road.

The cake I envisioned when I chose this book was a towering cake ablaze with an unsafe amount of candles. So, I began my recipe search by buying four dozen tall, skinny, colorful candles to cover my imaginary cake. (Thank you, Amazon!) After all, candles do come first in the title - lots of them - and the plenty of cake comes second.

With the candles secured, I sought out a recipe for funfetti cake and found a great one from Sugar Spun Run. The homemade, triple-layer cake suited my needs perfectly. Now, I just had to execute…

I started the night before by setting out my frozen sticks of butter to soften overnight. Between the frosting and the cake, there was so much butter (over a pound and a half!). In the morning, I preheated my oven, separated my eggs and floured the pans to get started.

Then, I added the butter for the cake (1 stick, plus 1 tablespoon) to the stand mixer and beat until creamy. In went the sugar and oil, beaten until well-combined and creamy. I used a scraper on the sides of the bowl and added in the vanilla extract.

In a separate bowl, I whisked together the flour, baking powder and salt. Then, as instructed, I alternated between adding the flour and the milk to the butter-sugar mixture in the mixer, beating on medium speed until combined.

IMG_3094

I whipped the egg whites into stiff peaks and measured out a half cup of sprinkles to add to the cake batter.

IMG_3095

I gently folded them into the batter until both the egg whites and sprinkles were well-incorporated and the funfetti batter was complete.

IMG_3097

I only had 2 cake pans, so I put my best estimate of one-third of the batter into each of my cake pans, saving the last third to bake after the first two layers were finished. I baked them together for about 35 minutes, using a toothpick to test each one before allowing them to cool. After 15 minutes, I removed each cake layer from the pan so they could finish cooling on a rack. Then, I baked my last layer.

IMG_3098

After all of the cake layers were out of the oven and cooling, I set to work on my frosting. First, allll of the butter - 6 softened sticks - went into the stand mixer. (I increased the recipe by 50%, according to the recommendation, so I wouldn’t run out. I ended up having more than enough - please read my notes in the recipe.)

IMG_3099

Once the butter was creamy, I added salt and beat for about 20 more seconds. I did my best to add the powdered sugar gradually without making a mess, but I wasn’t quite successful. My lovely red mixer looked like it had been in a snowball fight by the time I was done! I let it incorporate approximately 1 cup at a time and then added in the vanilla extract.

My cake layers weren’t 100% even because I had had to estimate, so I started with the thickest layer at the bottom. I frosted the top of that, placed the next layer and frosted that, before placing the last layer and frosting the top and sides of the entire cake. As suggested, I put the cake with the crumb coat into the freezer for about 15 minutes before finishing the frosting with a final thicker layer.

IMG_3100

The last step to decorating the cake - but certainly not the least! - was adding the sprinkles. I watched quite a few tutorials on the best way to add the sprinkles without making a mess. My frosted cake was on a cardboard cake round, so I set that on a cooling rack nested into a baking sheet with sides. I cupped my dominant hand (in my case, my left) and filled it with sprinkles, carefully tipping them onto the side of the cake. Most of the extras fell into the baking sheet as expected!

I continued to rotate and sprinkle until the entire bottom third of the cake was covered in sprinkles. Lastly, I carefully covered the outside of the top of the cake with a thick line of sprinkles to match the bottom. It was easier than I expected it to be! And, as someone who is usually terrified of cake-decorating, I found that sprinkles not only do sprinkles look super festive, they cover a lot of errors. 🙂

IMG_3101

Last but not least, it was time for the candles. I didn’t end up using all of the four dozen candles I bought, but I covered the cake pretty well. The candles looked impressive. I have honestly never been more proud of a cake I’ve made - especially from scratch. Hope you enjoy it as much as Scott, my sister and brother-in-law, and my co-workers did! (I know I didn’t have to twist any arms, but thanks to all for taste-testing.)

Triple-Layer Funfetti Cake

  • Servings: 14
  • Time: 1 hour, 30 minutes
  • Print

Cake Ingredients

  • 9 TBS butter, softened
  • 3 cups sugar
  • 1 cup canola oil (vegetable oil would also work)
  • 4 tsp vanilla extract
  • 4 cups + 2 TBS all-purpose flour
  • 4½ tsp baking powder
  • 1½ tsp salt
  • 1½ cup milk
  • 9 egg whites (room temperature preferred)
  • ½ cup sprinkles

Buttercream Frosting Ingredients

  • 1 lb unsalted butter, softened to room temperature
  • ¼ tsp salt
  • 6 cups powdered sugar
  • 6 TBS heavy cream
  • 2 tsp vanilla extract

Cake Directions

  1. Preheat oven to 350F and prepare 3 8-inch round cake pans by generously greasing and flouring. Be sure to shake out excess flour.
  2. In stand mixer, beat butter on medium-low speed until creamy.
  3. Add sugar and oil and beat until all ingredients are well-combined and creamy.
  4. Scrape down the sides and bottom of the bowl and then stir in your vanilla.
  5. In separate bowl, whisk together your flour, baking powder, and salt.
  6. Measure out your milk. Then, with mixer on medium speed, gradually alternate between adding the flour mixture and the milk, starting and ending with the flour mixture. Stir until each one is almost completely combined before adding the next. Pause occasionally to scrape down sides and bottom of bowl.
  7. In separate bowl, combine your egg whites and, with a hand-mixer on high-speed, beat until stiff peaks form.
  8. Using a spatula, gently fold your egg whites and sprinkles into your batter. Take care to scrape the sides and bottom of the bowl so that ingredients are well-combined, and take care not to over-mix.
  9. Evenly divide cake batter into prepared pans.
  10. Bake on 350F for 35-40 minutes, or until a toothpick inserted in the center of each cake layer comes out clean or with few crumbs (should not be wet). For best results, rotate your cake pans halfway through baking to ensure even baking. Cakes will be a light golden brown when done.
  11. Remove cakes from oven and allow to cool in pans for 15 minutes. Run a butter knife around the inside rim of each pan and invert each onto a cooling rack. Allow to cool completely before frosting.

Frosting Directions

  1. In stand mixer, beat butter on medium-speed until creamy.
  2. Add salt and beat again for about 20 seconds.
  3. Gradually, about 1 cup at a time, add powdered sugar, waiting until each cup is completely mixed before adding the next cup.
  4. Then, 2 tablespoons at a time, add the heavy cream on medium-high speed, waiting until each addition is well-combined before adding the next 2 tablespoons.
  5. Add vanilla extract and stir on medium-high for 30 seconds.
  6. Transfer one layer of your cooled cake to serving platter. Use frosting to ice the top. Add the next layer, ice the top of that. Add your third layer on top and ice the top, and then do a thin "crumb coating" around the entire cake.
  7. Transfer to freezer for 10-15 minutes, then remove and apply a clean, thick coat of frosting around the entire cake.

From: Sugar Spun Run

Original recipe based on this technique from I Am Baker to frost cakes. She recommended increasing the above frosting recipe by 50% to ensure full coverage, but I had a TON leftover. I don’t like overly frosted cakes, but mine was still well-frosted according to taste testers (a good amount), so it’s up to you and your preferences.

This cake may also be made in 3 9" pans, just decrease the baking time. Start checking the cakes for doneness at 25 minutes.


P.S. It will apparently take me only 8 years (a shockingly short amount of time!) to finish my TBR list...assuming I don’t add any more books. If you’d like to calculate your own TBR time, check out Read It Forward’s calculator. Let me know in the comments how many years of reading you have ahead of you!

Screen Shot 2017-05-26 at 12.40.27 PM


This post contains affiliate links. Full disclosure here. 

Filed Under: book review, recipe Tagged With: baking, celebration, dessert, memoir, quick read

  • « Go to Previous Page
  • Go to page 1
  • Interim pages omitted …
  • Go to page 10
  • Go to page 11
  • Go to page 12
  • Go to page 13
  • Go to page 14
  • Go to Next Page »

Primary Sidebar

About

The Hungry Bookworm brings together literature and food. Megan has an insatiable appetite for both.

As C.S. Lewis said, “Eating and reading are two pleasures that combine admirably.” Enjoy!

  • Bloglovin
  • Facebook
  • Instagram
  • Pinterest

Subscribe

Don't miss out on bookish content, exclusive giveaways, and of course, book club-friendly recipes. Get notified of new posts via email.

Join 2879 subscribers.

Search for Ingredients, Recipes, or Books

Recent Posts

  • Subscriber Box Review: Literati Book Club - Roxane Gay's Audacious Book Club
  • Arsenic and Adobo + Ensaymada
  • Review of The Kindred Spirits Supper Club
  • Kids Edition: Sometimes I Like to Curl Up in a Ball + "Dirt" Pudding Cups
  • The Midnight Library + Broccoli and Ricotta Toast

Goodreads

Tags

5 ingredients or less appetizer baking book club book list book of the month books about food bread breakfast brunch chicken contemporary cookies cultural dessert dinner dinner party dystopia easy prep favorites fiction fruit historical fiction holiday ice cream linkup lunch meat memoir mini review nonfiction pasta quick read reading challenge science fiction seafood show us your books side dish snack soup TBR list thriller top ten tuesday vegetarian veggies

Archives

Other Great Book Blogs

Literary Quicksand
Never Enough Novels
Death by Tsundoku
Professional Reader 25 Book Reviews
Privacy & Cookies: This site uses cookies. By continuing to use this website, you agree to their use.
To find out more, including how to control cookies, see here: Cookie Policy

Footer Widget Header

Megan’s Instagram

Copyright © 2023 · Hungry Bookworm