• Skip to primary navigation
  • Skip to main content
  • Skip to primary sidebar
  • Home
  • Reviews
    • Book Index
    • Fiction
    • Non-Fiction
    • Top Ten Tuesdays
The Hungry Bookworm

The Hungry Bookworm

reading + eating

  • Recipes
    • Drinks
    • Snacks, Sides & Apps
    • Main Dishes
    • Desserts
    • 5 Ingredients or Less
  • About
    • Meet Megan
    • How I Rate
    • Review Policy
    • Contact

recipe

Gilmore Girls: A Year in the Life + Mac and Cheese in a Jalapeno-Chipotle Cream Sauce

December 11, 2016 by Megan 4 Comments

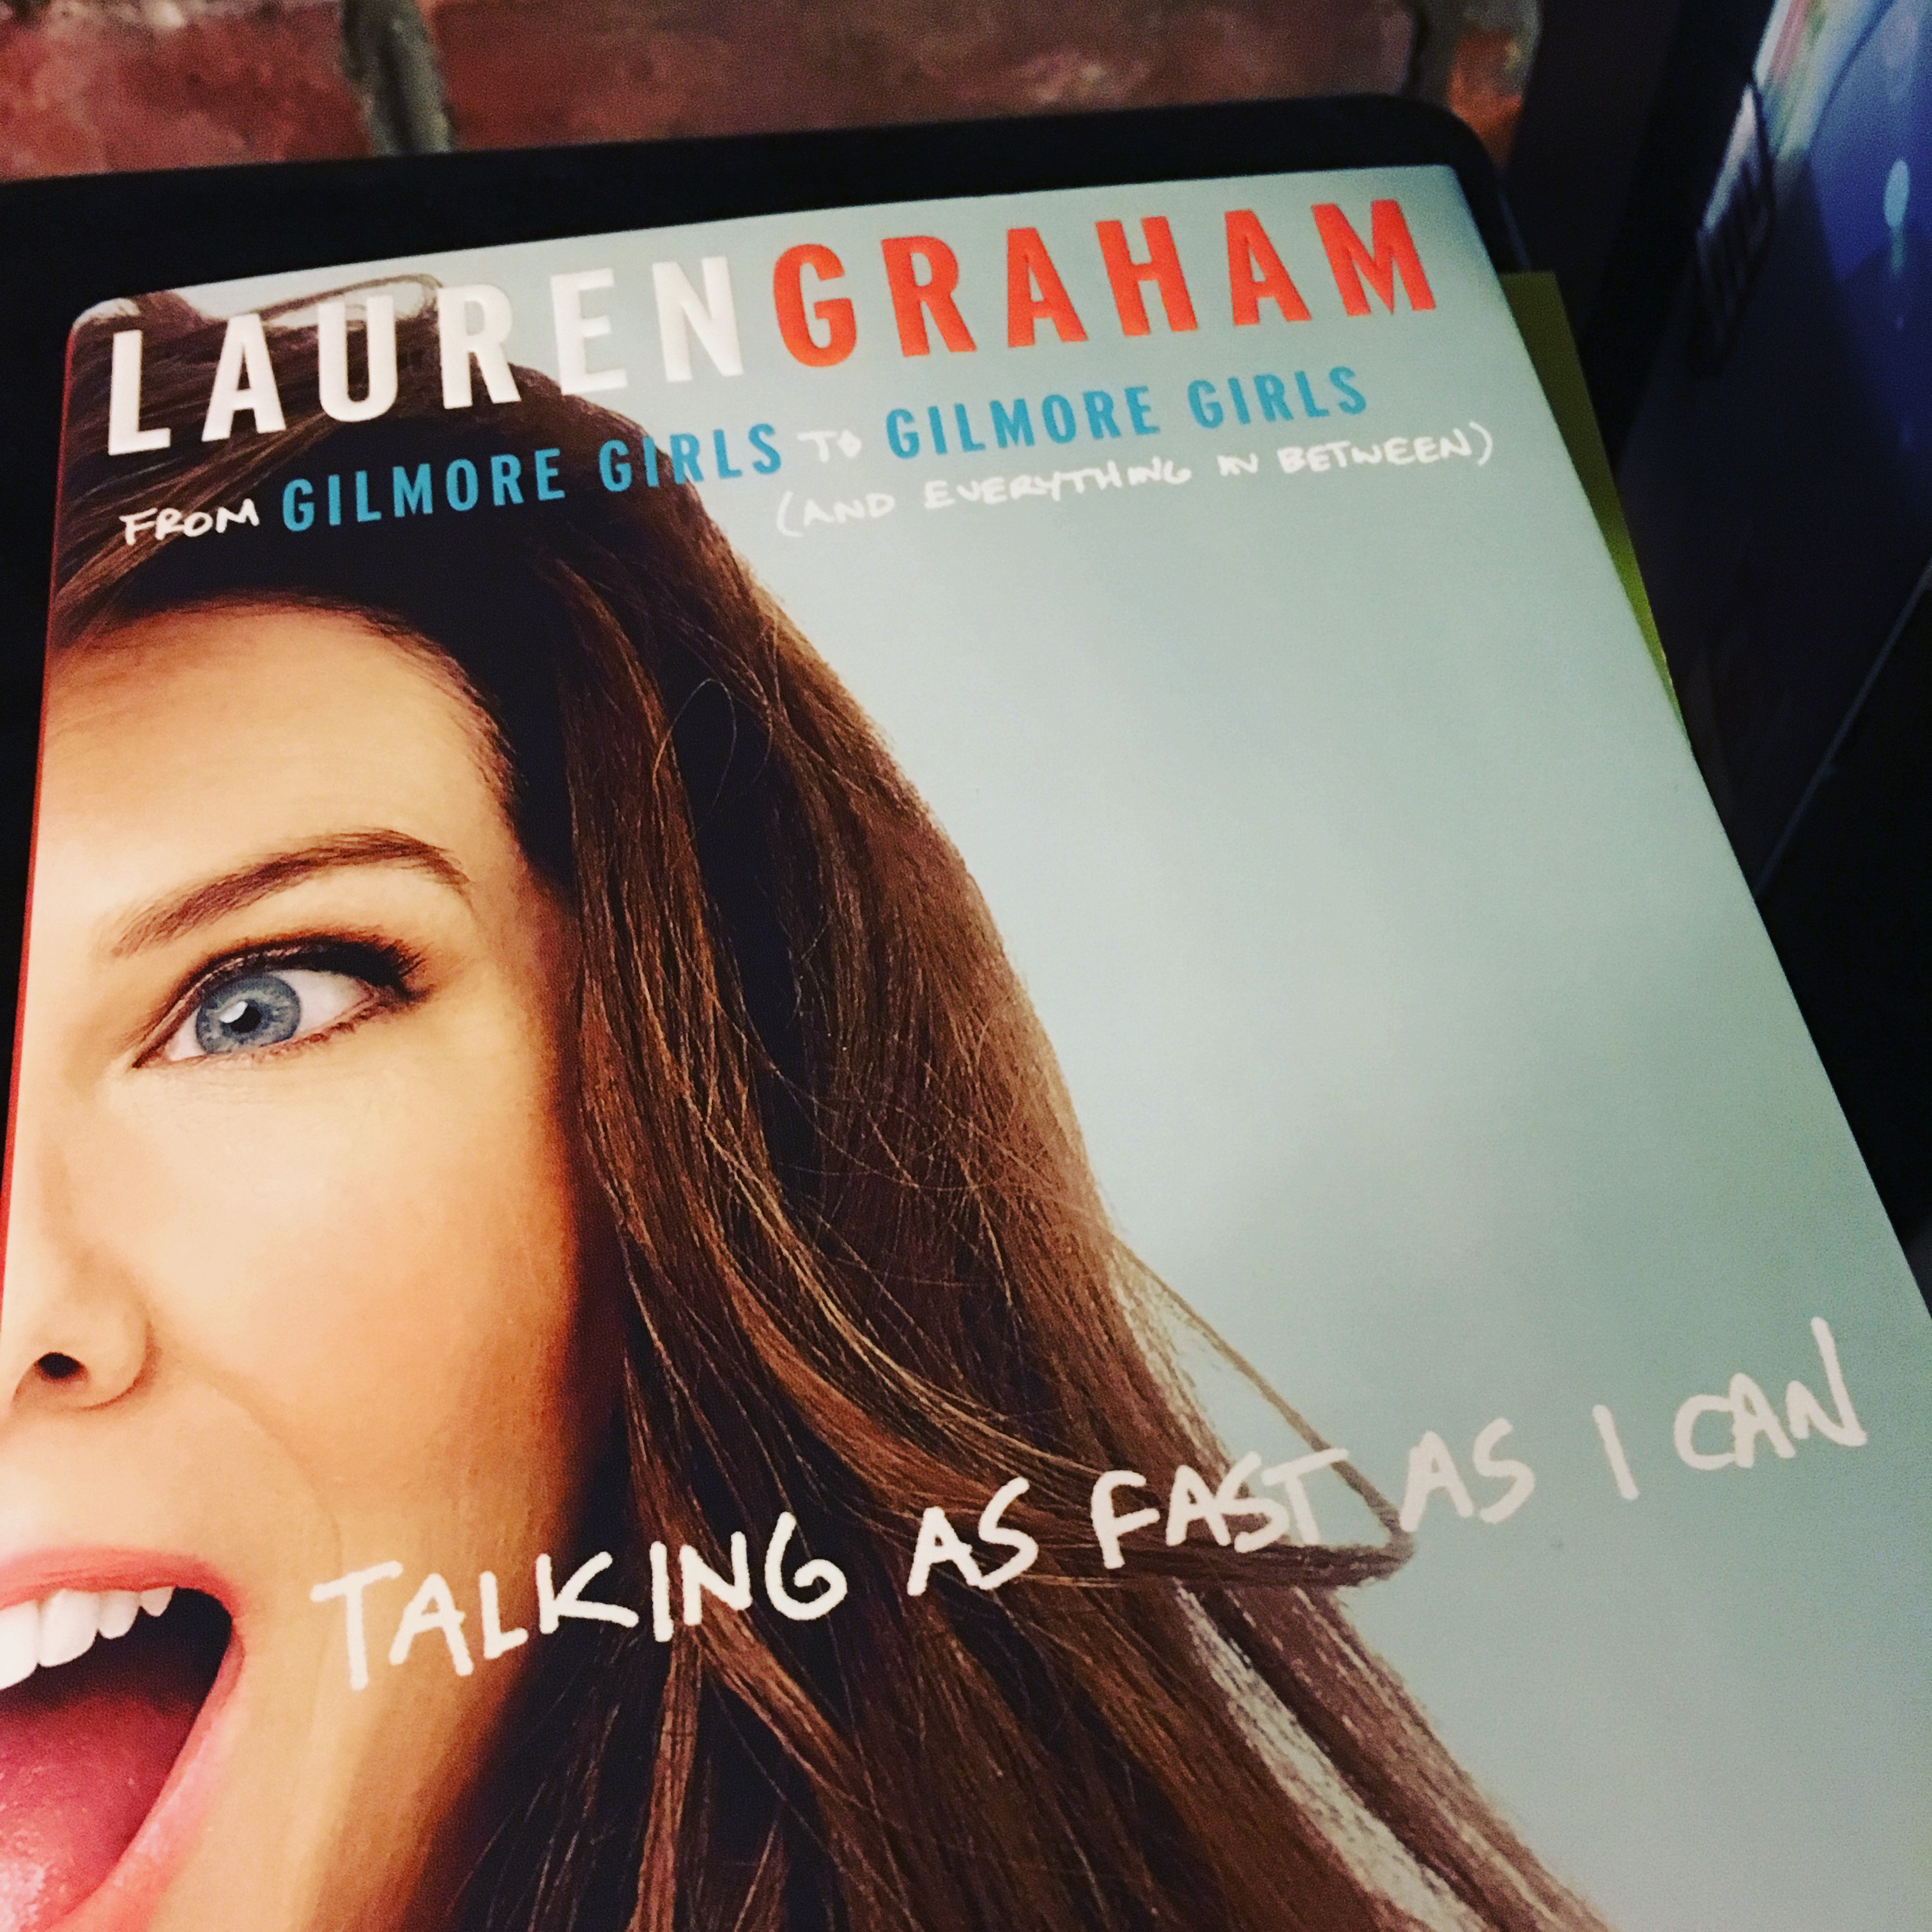
I have been wanting to talk about Gilmore Girls: A Year in the Life since I watched the long-awaited last four words two weeks ago. Even though I started it a little late because of my trip, I still finished it before most of my friends. [SPOILER ALERT: Scroll down to the recipe if you’d like to avoid potential spoilers for any/all of the four new episodes.]

rs_1024x694-161115115116-1024-gilmore-girls-key-art-ch-111516
Photo Credit: E-Online

I have to admit, like many, I was a little disappointed in the Netflix revival. It was certainly enjoyable to see the familiar faces around Stars Hollow and revisit the beloved characters. There were peaks where they seemed to really have their rhythm back (gotta love those fast talkers) and poignant moments that captured the essence of the show, but for me, those were few and far between.

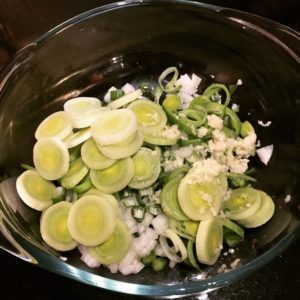
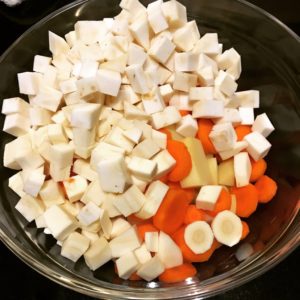
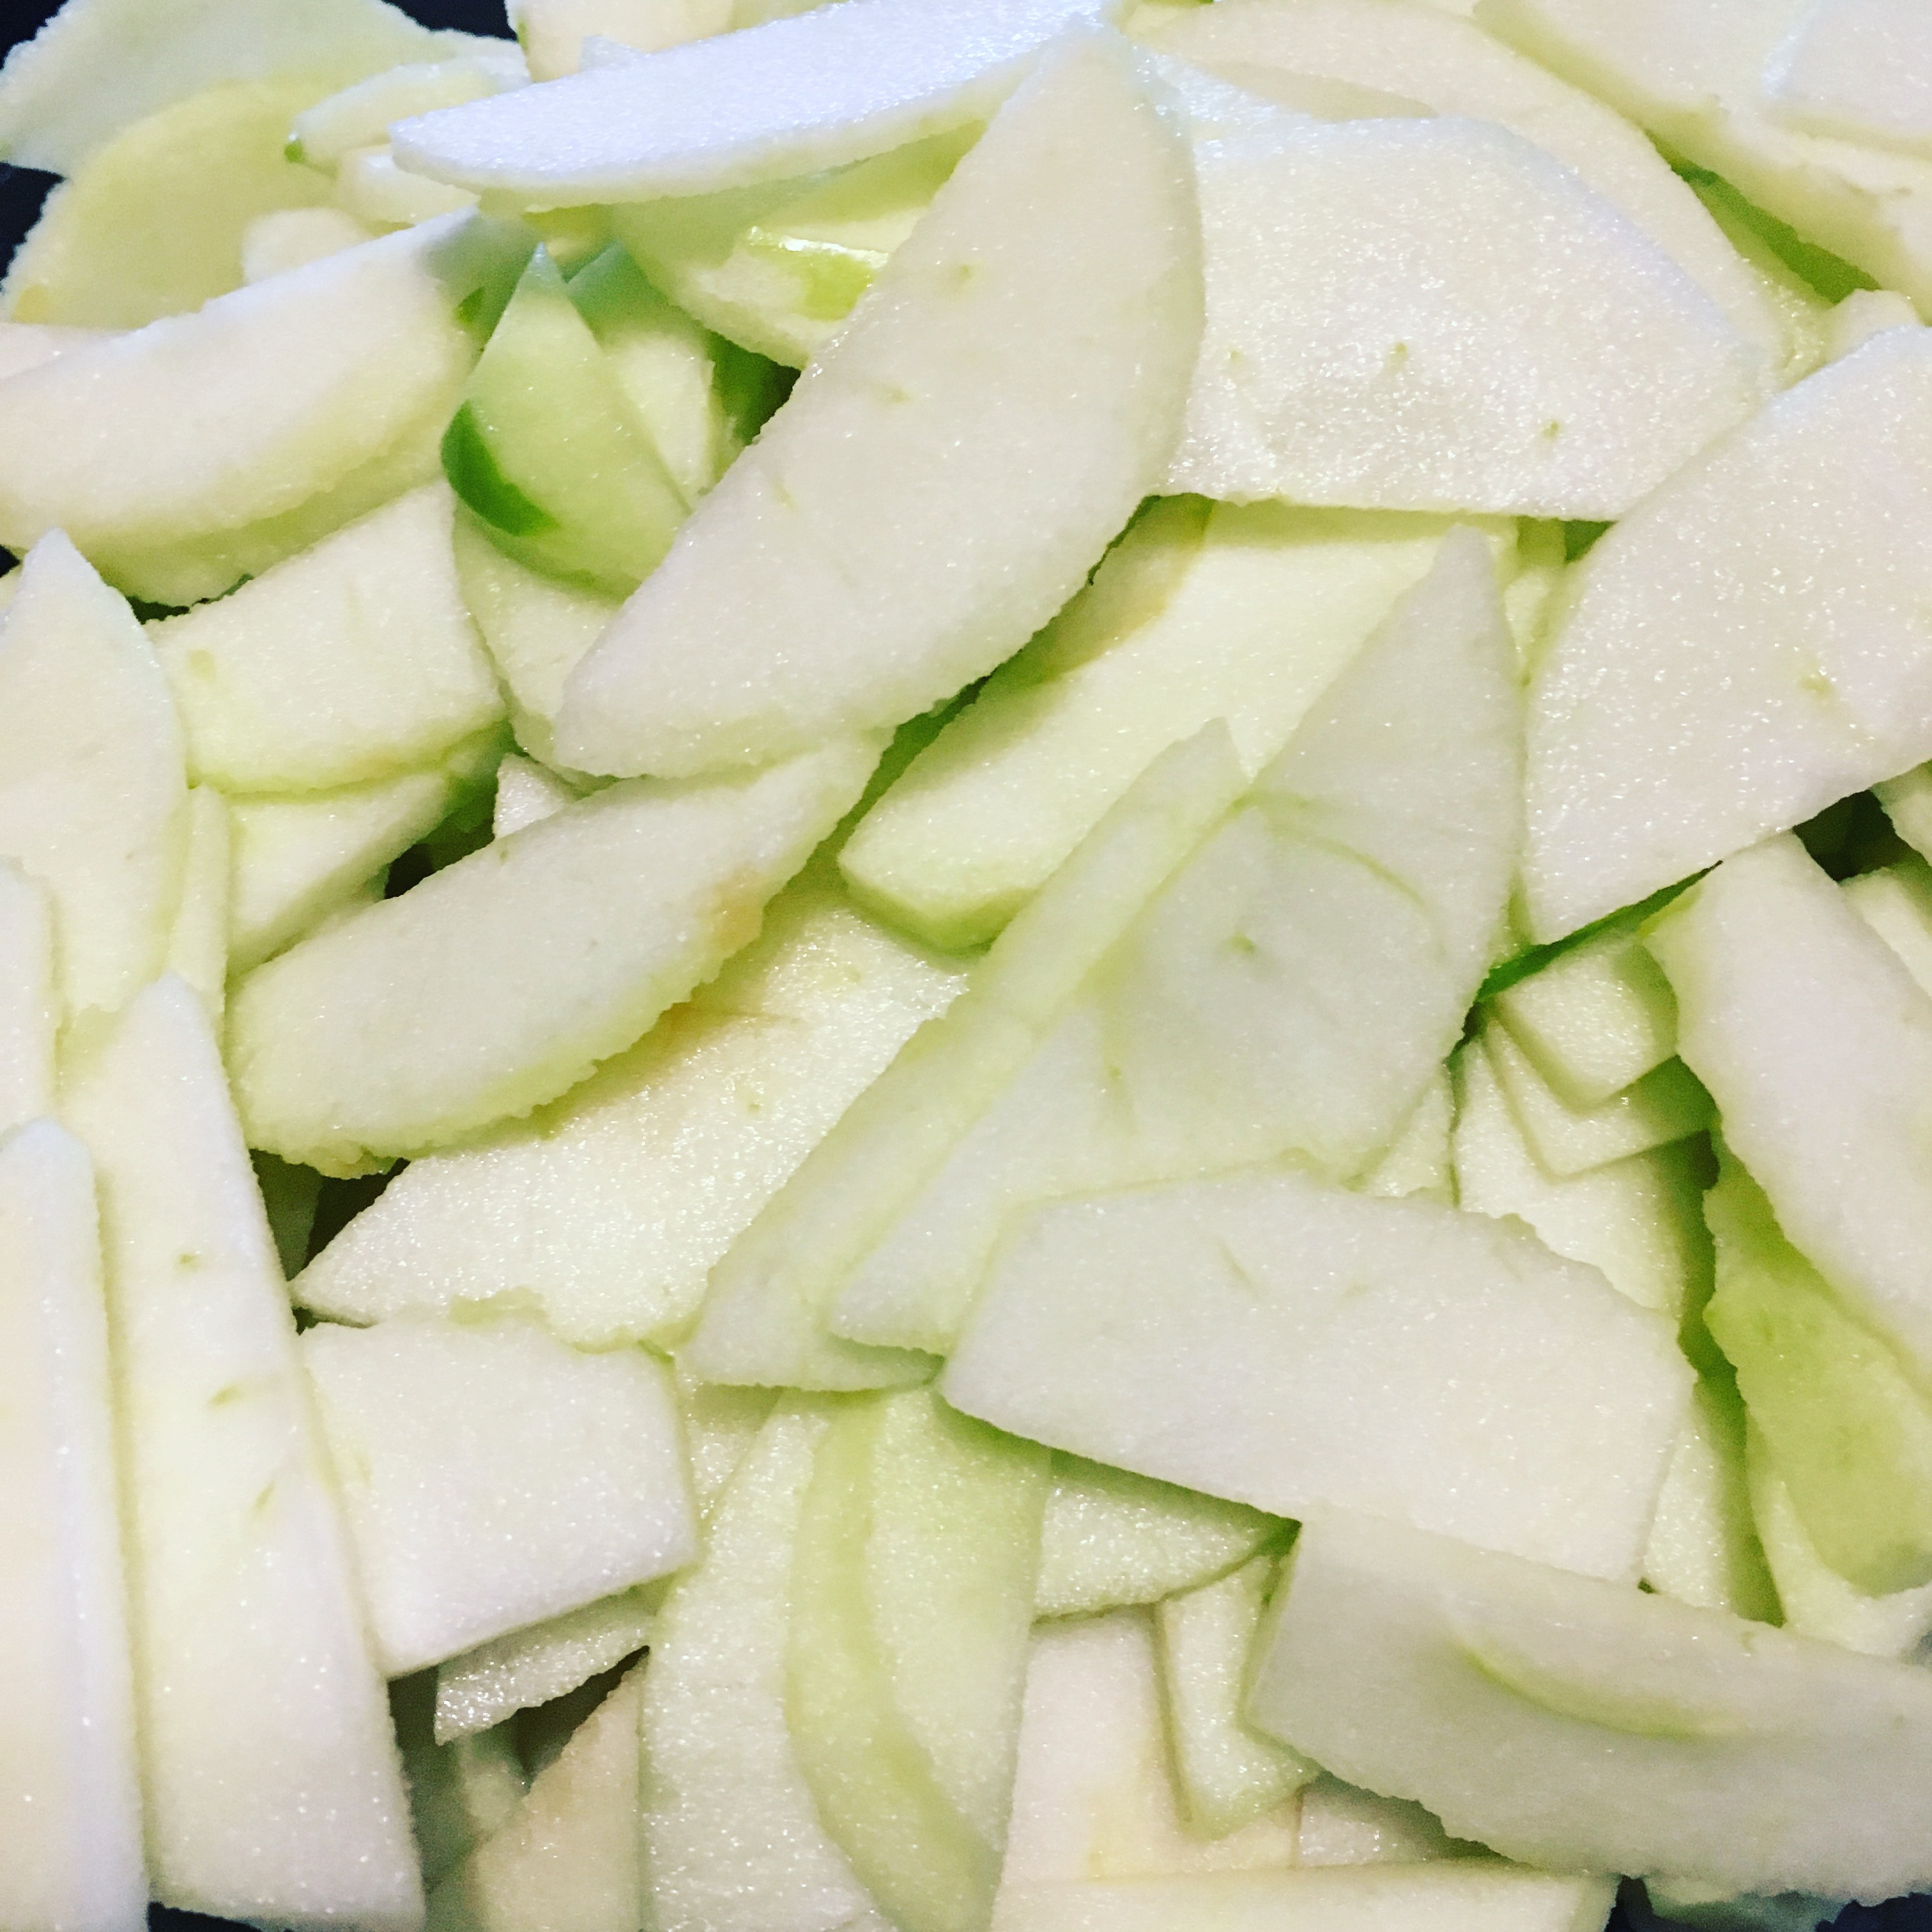
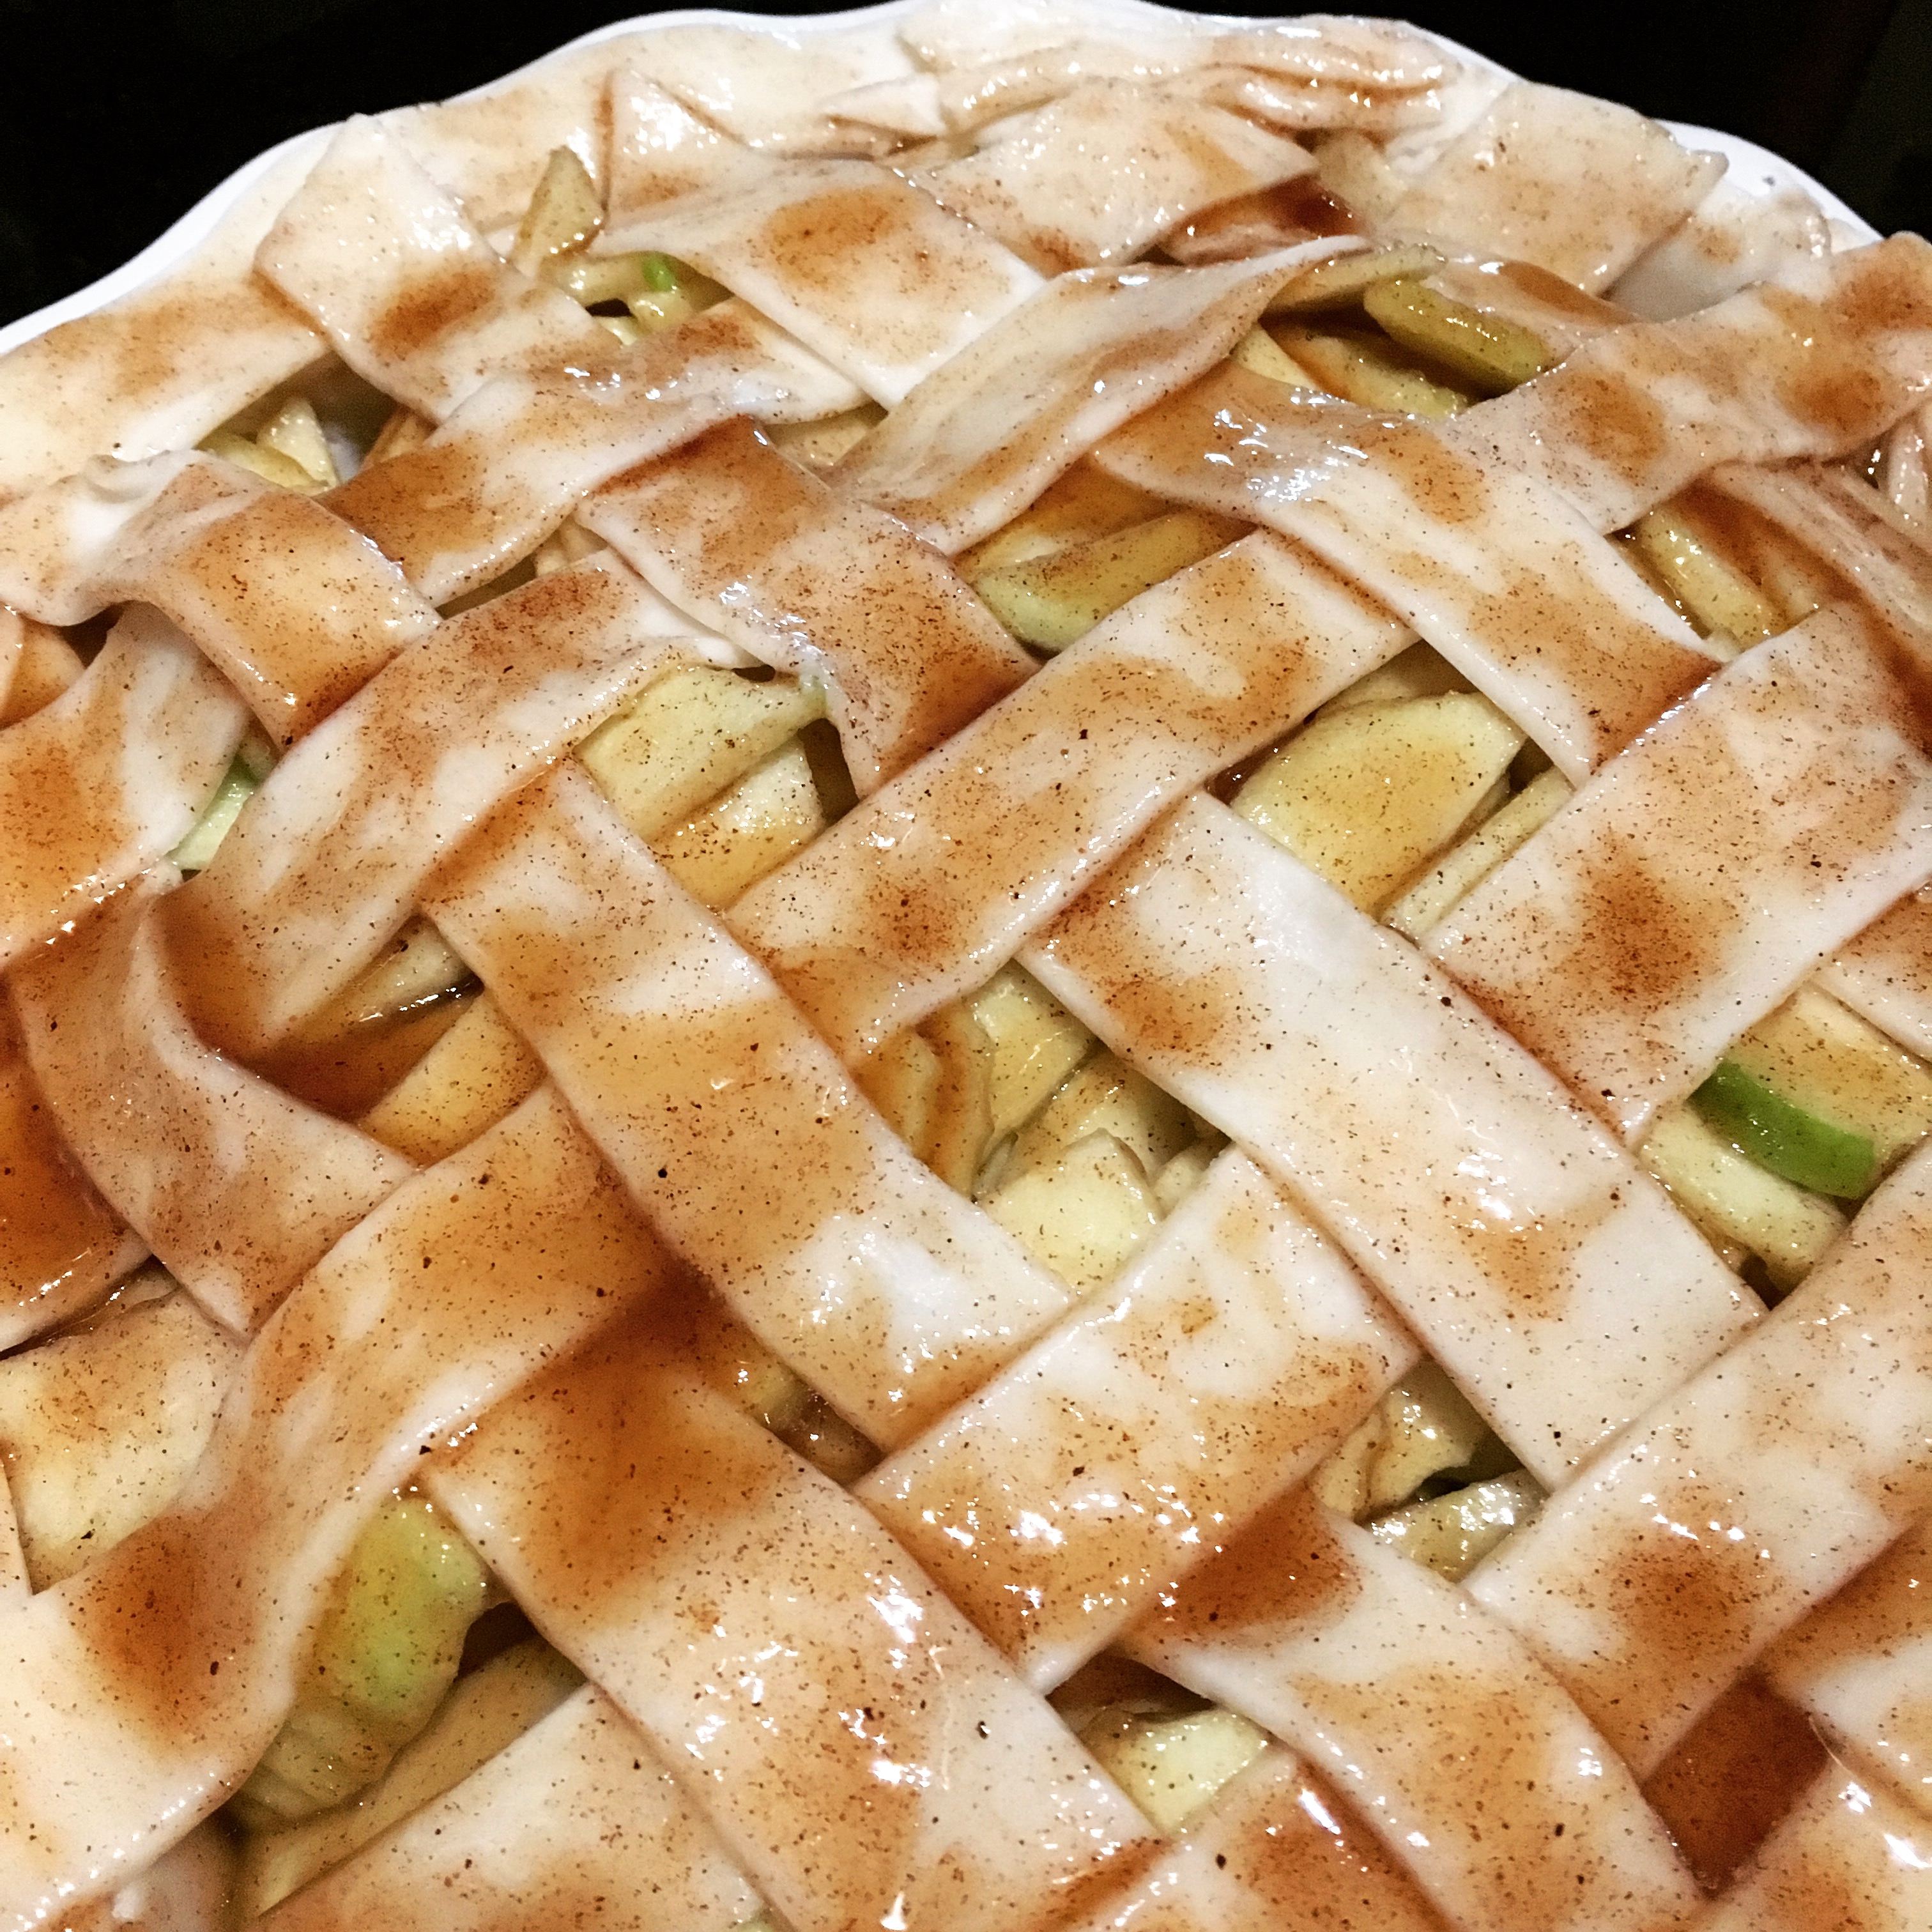
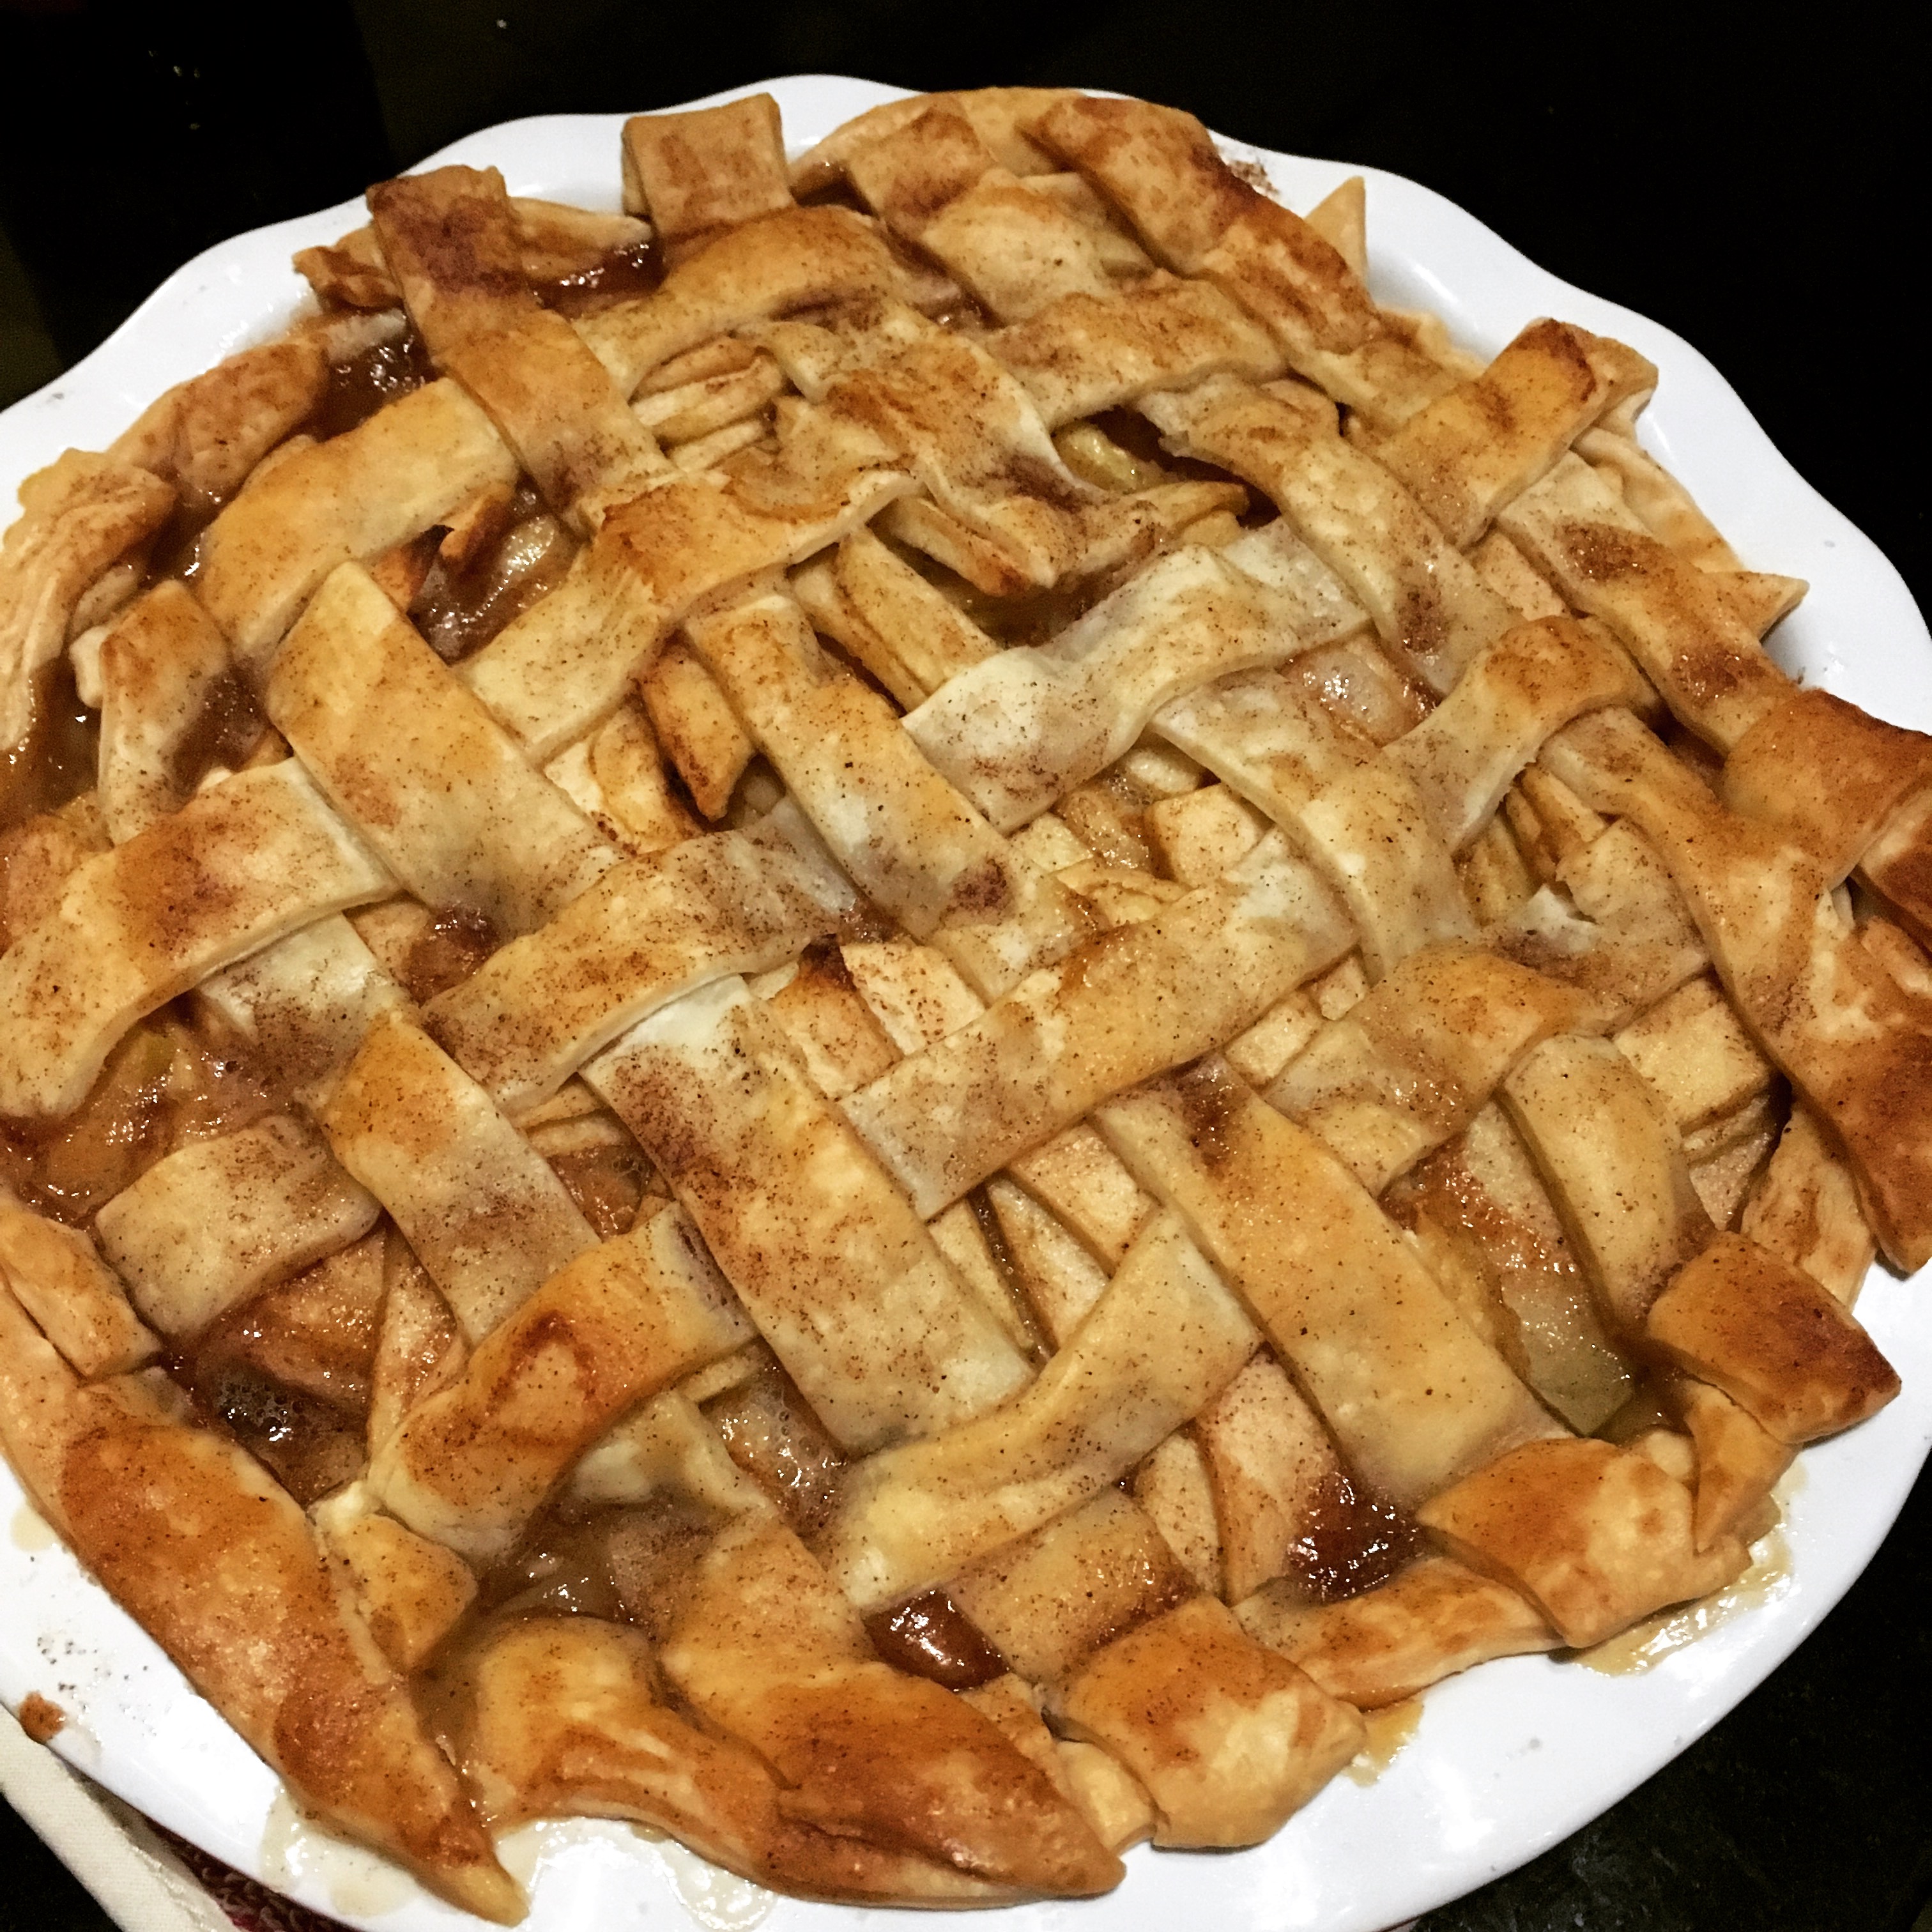
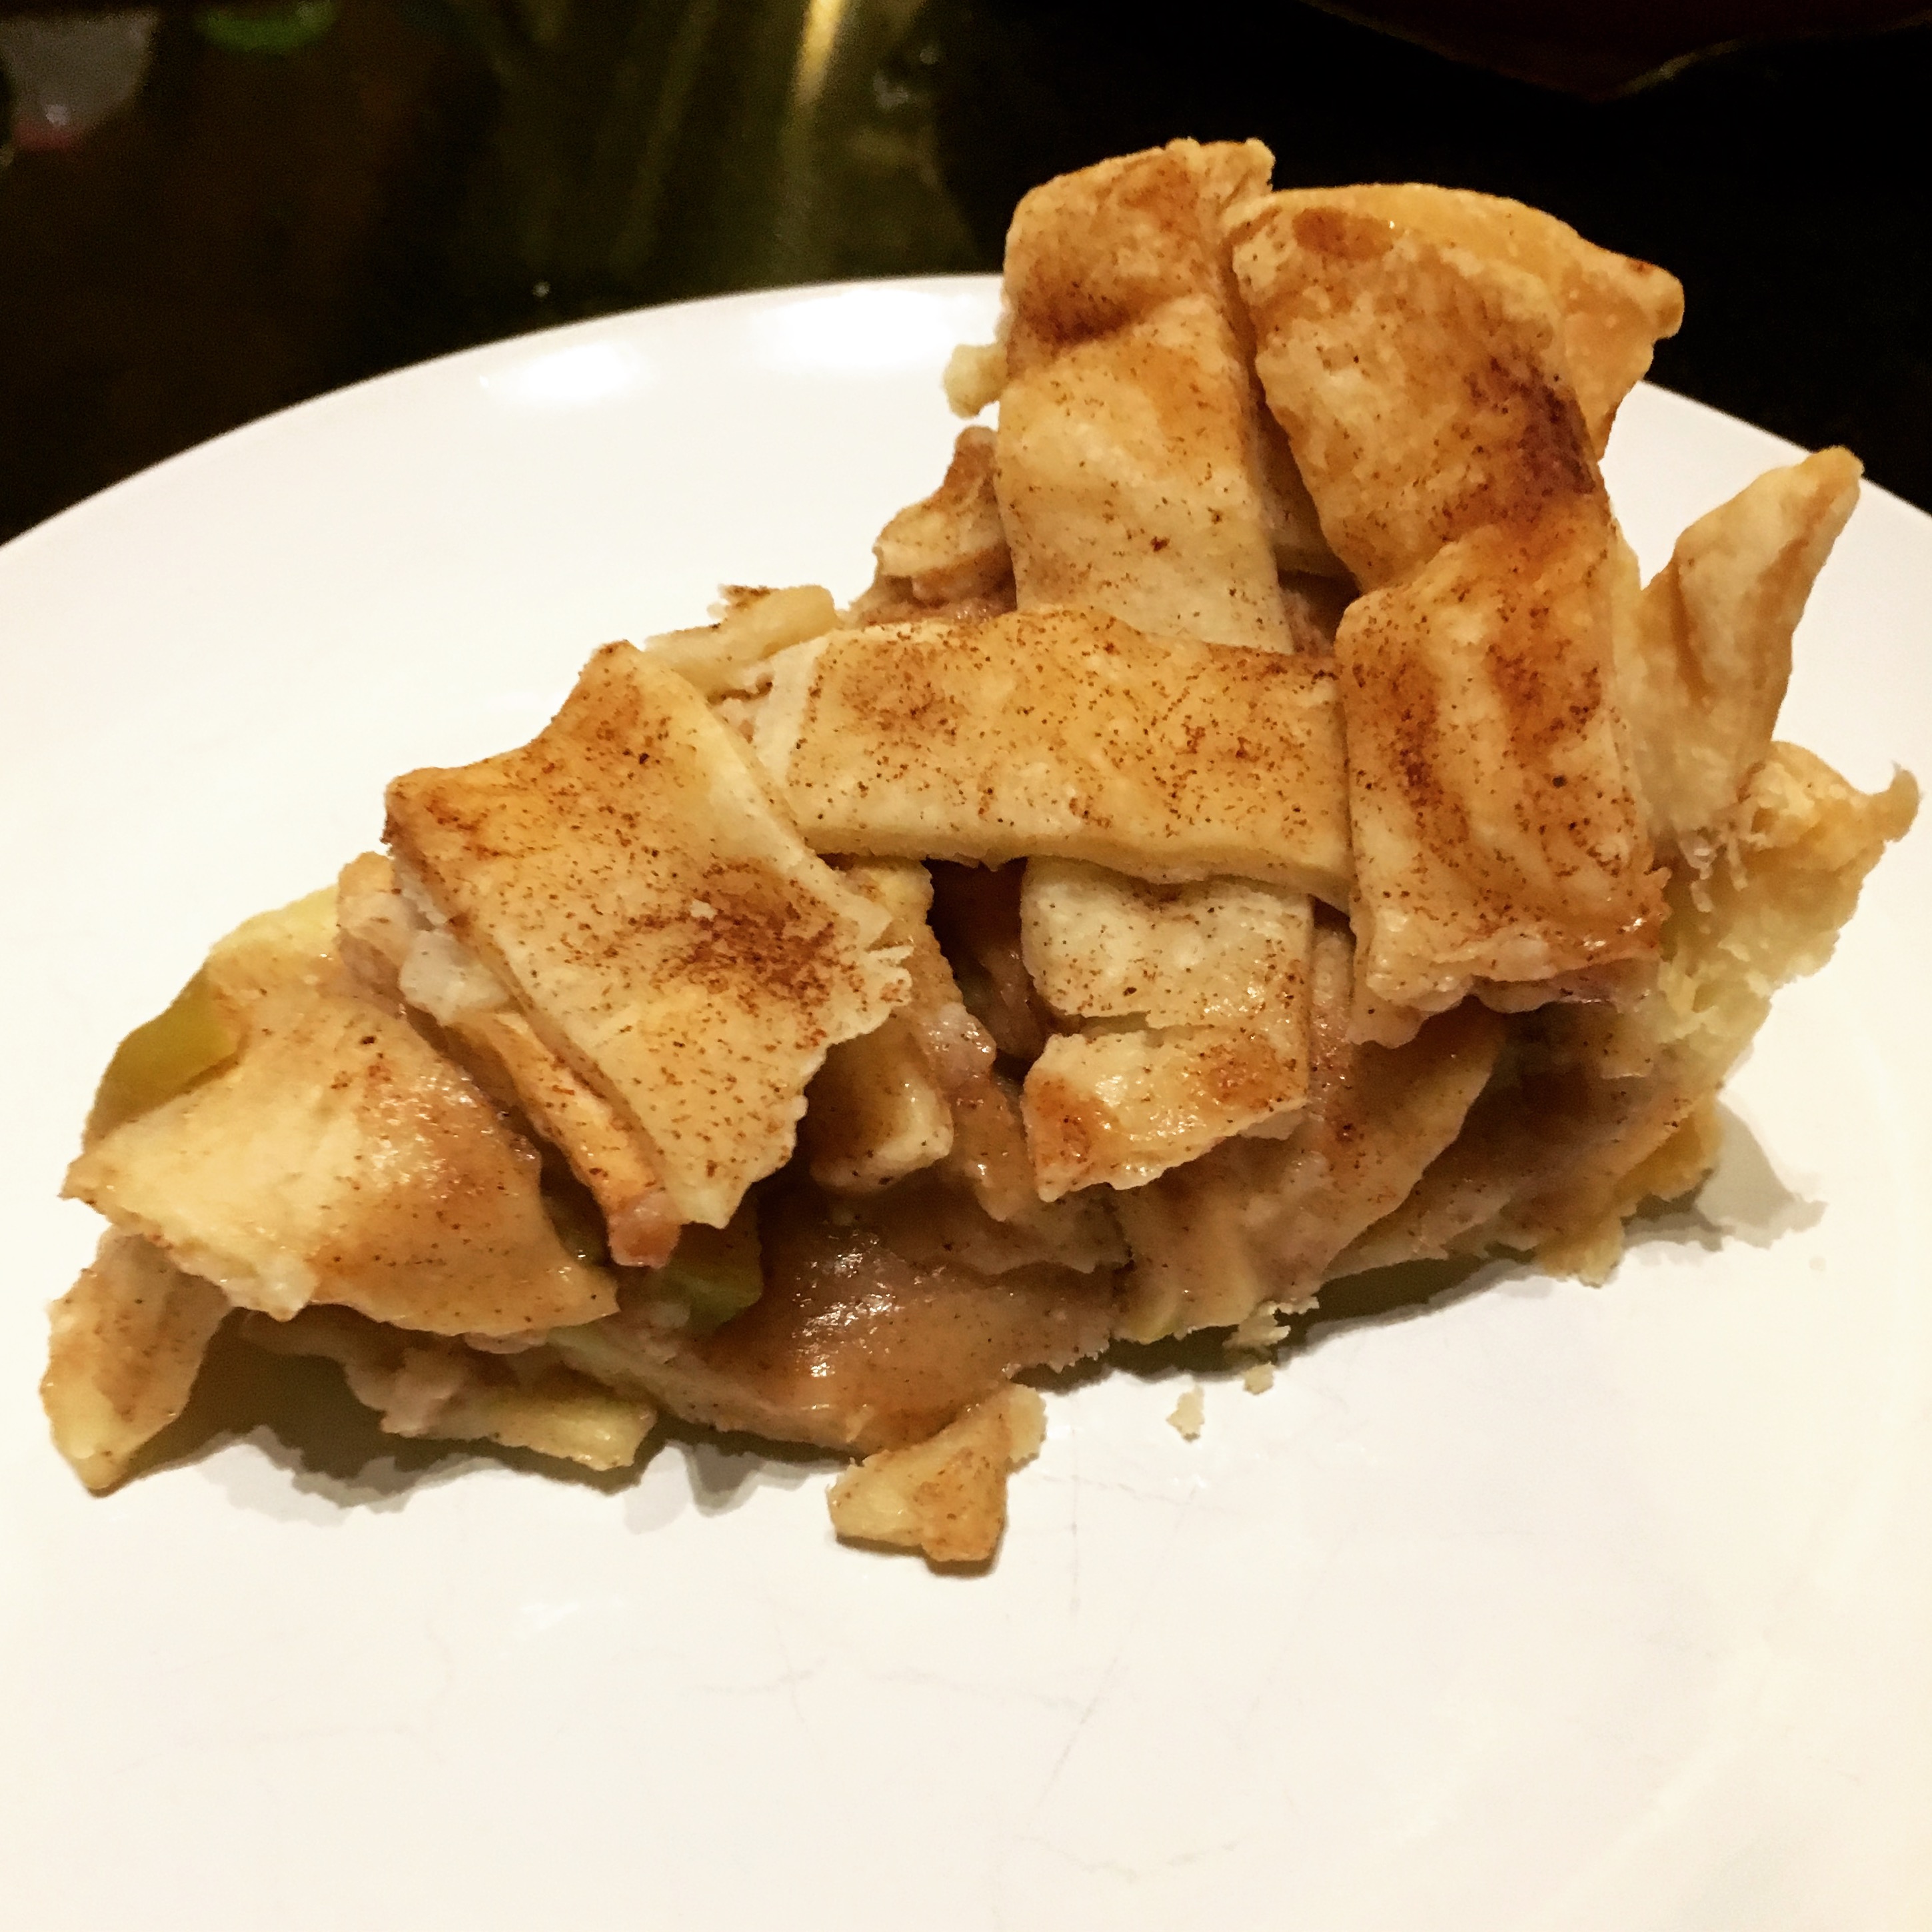
[Read more...] about Gilmore Girls: A Year in the Life + Mac and Cheese in a Jalapeno-Chipotle Cream Sauce

Filed Under: of interest, recipe Tagged With: dinner, gilmore girls, lunch, not a book, pasta, spicy

Talking As Fast As I Can + Luke's Cheeseburgers

December 8, 2016 by Megan 4 Comments

Two months ago, I pre-ordered Lauren Graham’s collection of personal essays. Last week, it arrived! I couldn’t wait to dive in and, once I started reading, I tackled it within a few hours. She covered everything from her time on Parenthood (another enjoyable TV favorite) to her experience writing her novel Someday, Someday, Maybe and, of course, what it was like to be a part of Gilmore Girls the first time around and how lucky she felt to get to do it all again in the recent revival.

IMG_2136.JPG

Reading Talking As Fast As I Can: From Gilmore Girls to Gilmore Girls and Everything in Between is what I imagine talking with Lauren Graham to be like - funny, genuine and a little all over the place. As such, she didn’t spend too much time on any one thing and, in a few cases, I was left wanting more.

I thought it was interesting to learn that, as an actor who doesn’t particularly like watching her work, she hadn’t actually seen much of the original Gilmore Girls series. One of my favorite parts of the book was her chapter on the show as she watched it on Netflix. Another natural favorite was her chapter on the revival - don’t worry, she gives fair warning about the spoilers. After devouring the new episodes and being left with mixed feelings about it (more on that in my next post), it was above all nice to see the heart that went into making it, on Lauren’s part as well as everyone else involved.

Deanna and I chose to pair Lauren’s book with a Gilmore Girls classic, a dish that Lorelai herself ate many many times on the show - the Luke’s Cheeseburger. If you’re visiting Stars Hollow (I wish!), a stop at Luke’s for breakfast or lunch is an absolute must and, based on the quantity these ladies ate, I’d say they’re highly recommended.

If you have a man friend who can help you out by throwing on a flannel shirt, a backwards hat, and a bit of a sarcastic no-nonsense attitude, you can try to get there. Even without the Luke imitation, these burgers were quite delicious.

To start, Deanna seasoned the beef and formed the patties, while I prepped our chosen toppings of lettuce, tomato and red onion.

img_2286

If you like your buns toasty, as I do, start by heating a griddle or large skillet and lightly buttering both sides of the sesame buns. Once the griddle is hot, place them butter side down and rotate them as needed to get a nice even golden brown on them.

While the buns are toasting (they can sometimes take longer than the burgers), get another skillet going over medium-high heat. Place the burgers in the preheated pan and, making sure to leave space between them, let cook through for about 3 minutes. Flip the burgers and cook for an additional 2-4 minutes. (Be sure to cook it to your desired doneness, which can be done with a meat thermometer.) If you’re adding cheese, do so now and cover loosely to help it melt.

Place the sesame buns on the plate and arrange the garnish as desired, before adding the burger to the bottom of the bun. Top with condiments if you like. Lorelai would request that you serve with french fries.

img_2287

If you’re feeling fancy, you can eat them with pinkies up, like I made Deanna do.

img_2295

We hope you enjoy! And, remember, no cell phones.

img_2296
Luke's Cheeseburger
Print Recipe

Luke’s Cheeseburgers

Prep Time5 minutes mins
Cook Time10 minutes mins
Total Time15 minutes mins
Course: Main Course
Cuisine: American
Servings: 4 1/2 pound burgers

Ingredients

  • Sesame seed buns
  • Butter
  • 1 lb lean beef ground
  • 1 tsp kosher salt
  • 1 tsp black pepper
  • Cheddar cheese slices
  • Red onion sliced thinly
  • Tomato sliced
  • Lettuce leaves
  • Pickle chips

Instructions

  • Prepare garnishes as desired. Recommend 1 lettuce leaf in halves, 2 thin tomato slices, 3-4 rings of red onion, and 3 pickle chips per burger.
  • To make the hamburger patties, divide the ground beef as desired into 2 or 4 portions. Roll each into a ball then flatten between palms. Season each flattened patty with salt and pepper.
  • Heat a large griddle or skillet over medium heat. Lightly butter each half of each bun and place butter-side down on the griddle. Cook until each bun is lightly browned. Place on plates and arrange with garnish.
  • Heat a large skillet over medium-high heat for 1 minute. Place the hamburger patties onto the skillet, leaving space between them. After 3 minutes, flip the patties. Cook for an additional 2 minutes (or longer, depending on your desired doneness.) If desired, add cheese to each patty. Cover if able to help the cheese melt for approximately 2 minutes. Remove from heat.
  • Place each patty on a bun and serve.

Notes

Adapted from: Eat Like a Gilmore by Kristi Carlson
Additional optional garnishes, as recommended in the original recipe, are grilled onions or sauteed mushrooms.

_______________

This post contains affiliate links. This does not increase the price you pay, but I may receive a small commission for any products you choose to buy. Purchases made through affiliate links help to cover my blogging costs. Thank you for helping to support The Hungry Bookworm! Full disclosure here.

Filed Under: book review, of interest, recipe Tagged With: dinner, essays, gilmore girls, humor, lunch, meat, nonfiction, quick read

Rory Gilmore Reading List + Salmon Puffs and Gimlets

December 6, 2016 by Megan 4 Comments

Gilmore Girls is, without a doubt, one of my favorite TV shows. It was full of an amazing cast of characters - including, of course, some very strong and capable women, full of eating, and full of reading too.

gilmore-girls-cast
Photo Credit: TV Line

Since the new Netflix series Gilmore Girls: A Year in the Life just came out last weekend, I'm taking this opportunity to spend a whole week in Stars Hollow, so to speak. This is the first of three posts, all including recipes found in the Eat Like a Gilmore cookbook.

[Read more...] about Rory Gilmore Reading List + Salmon Puffs and Gimlets

Filed Under: of interest, recipe Tagged With: alcohol, appetizer, book list, cocktail, cookbook, drink, gilmore girls

Lily and the Octopus + Dog Treats

December 1, 2016 by Megan Leave a Comment

I hope you all had a Happy (and food-filled) Thanksgiving! I’m pretty sure it marked my first Thanksgiving ever without turkey and all of the fixings, which I definitely missed more than I expected. As it was, Scott and I were spending our last day in Cambodia (and shortly before that, Thailand).

Obviously the trip was amazing - worth missing one Thanksgiving for - and thanks to the long plane rides, an overnight train trip and a few days on the beach, I had plenty of time for reading! I finished nearly five books, including what I thought would be a light and whimsical read about a man and his dog: Lily and the Octopus.

lily-and-the-octopus-9781501126222_hr

Perhaps I should’ve paid more attention to the description of Lily as an “aging companion.” Not exactly what I bargained for - particularly when this trip was separating us from our own dog for two weeks, or what basically felt like forever. Sad book + missing my dog = Yes, I cried on the plane.

It’s not a spoiler to say that Lily dies. It’s very obvious from the beginning that the octopus is coming for her. The octopus, in fact, is a tumor that has Lily’s friend and owner Ted in denial before he is able to get down to the business of defeating it. This cleverly-written story is a journey of acceptance more than anything else. Every dog owner will relate (I especially loved the chapter of Lily’s nicknames, many of which Beta shares), but everyone will be touched.

To go with this book, and to make up our extended absence to Beta, I whipped up some homemade dog treats shortly after we got back home. Since the cupboard was bare, I found an easy recipe with only three ingredients - oats, peanut butter and (previously frozen ripe) bananas.

img_2120

First, I preheated the oven to 350 degrees while I processed the oats into a powder. I did not grind them up as finely as she did in the original recipe, resulting in a less smooth final treat. (Beta didn’t seem to mind.)

I mashed up the banana, mixed it in with the peanut butter and then added in the oat powder. I rolled it out onto the powdered counter top and used my bone-shaped cookie cutter to make the treats. Feel free to use any shapes you have handy.

img_2122

I ended up with 22 total treats and, with the little bit of “dough” that was left, I stuffed an empty Kong for a snack later.

img_2125

Bake for about 15 minutes, or until the edges start to brown. Mine ended up a little soft, but they end up being less crumbly and messy that way. And, of course, I had to let Beta taste-test right away!

img_2128

img_2130

Homemade Peanut Butter Banana Dog Treats

  • Servings: makes approx. 24 treats
  • Time: 20 minutes
  • Print


From: Munchkins and the Military Blog

Ingredients

  • 1½ cups uncooked old-fashioned oats
  • 1 large banana
  • ½ cup peanut butter

Directions

  1. Preheat your oven to 350 degrees.
  2. Using a food processor or blender, grind your oats until they're powder.
  3. In a bowl, beat together the banana and peanut butter until smooth. A few small chunks of banana here and there is ok. The dough should stick together, but shouldn't be sticky.
  4. Reserve about a tablespoon of ground oatmeal and pour the rest into the banana peanut butter mixture and mix until combined.
  5. Dust your surface with the reserved ground oatmeal and roll your dough to about a 1/4 inch thickness.
  6. Cut into desired shapes and place on a parchment paper lined cookie sheet.
  7. Bake treats for approximately 15 minutes, or until the edges start to brown.
  8. Cool completely before storing in an airtight container for up to a week.

This post contains affiliate links. Full disclosure here.

Filed Under: book review, recipe Tagged With: animals, contemporary, dog treats, fiction, quick read, tear jerker

The Nix + Norwegian Fish Stew

November 17, 2016 by Megan Leave a Comment

With my ambitious yearly goal to read between 48 and 52 books (depending on the year), I don’t usually take the time to read books that are longer than 500 pages. Too many times I have found myself slogging through a book I didn’t particularly enjoy just to get through it and move on to the next. I thought The Nix would be one of those books, but I’m glad I was wrong.

The Nix Book Cover

Nathan Hill’s lengthy debut novel - coming in at 628 pages - was suggested as the latest selection for one of my book clubs. We even gave ourselves extra time to read it, meeting again after 2 months instead of the usual 1-ish, which really just gave me more time to stall. Luckily, a well-placed work trip to California gave me ample time to catch up and fully dive in to a book I really enjoyed.

The Nix is all over the place - but in a good way. Hill takes you from 2011 to 1988 to 1968 and back again. You’ll see the world from the eyes of both minor and major characters, and while the reasons aren’t always clear, it definitely comes together at the end.

In 2011, Faye finds herself in a bit of a predicament - one that lands her all over the news and opens up a long-lost connection to her son Samuel, who she abandoned decades earlier. For reasons even he is still trying to figure out, Samuel begins to explore his mother’s past to uncover the truth. On her own journey, Faye sets out to face the haunting folktales of her youth.

What Samuel finds is not only surprising, but life-changing, too. Later, on a trip to her family’s native Norway, Faye also learns about her father’s past, which she confronts over a hot bowl of fish stew and some crusty bread.

I found a recipe on Saveur’s website for Fiskesuppe, or a Norwegian Cod Vegetable Chowder, similar to the one Faye eats during her illuminating trip. It made the perfect meal for a cold fall evening, hearty and delicious. But, full disclosure, my apartment smelled like fish stew for days!

There are a lot of vegetables in this stew, so I suggest you start by prepping them all. I sorted them into two bowls so that they would be easy to add to the pot at the right time.

Heat the butter over medium-high heat until melted. The recipe calls for 6 tablespoons, but I would recommend 4 (or half of a stick). When cooking down the vegetables, the amount of butter was just a bit more than you needed, and trust me, it will make for more appetizing-looking leftovers. Add your first bowl of vegetables (garlic, celery, onions, peppers and leeks) and season with salt and pepper.

After those cook for about 8-10 minutes, or until soft, add your second bowl of vegetables (carrots, parsnips, celery root and potatoes) along with the milk, cream and fish stock - I was only able to find seafood stock at the grocery store - and Worcestershire sauce. Stir and bring to a boil.

Once boiling, reduce heat to medium and cook for about 25 minutes, or until the vegetables are tender, stirring occasionally. While the stew was cooking here, I prepped my cod, cutting it into bite-size pieces (mine were probably closer to an inch, rather than the recommended 2-inches). I also used this time to chop my fresh herbs.

After 25 minutes, add the cod and cook for an additional 6-8 minutes or until it’s cooked through. Remove from the heat and stir in lemon juice (I used a half lemon, but check the flavor and add more to taste), dill and parsley. Season with salt and pepper.

As in The Nix, I served it with some crusty bread.

img_1756

Norwegian Cod and Root Vegetable Chowder (Fiskesuppe)

  • Servings: 6-8
  • Time: 1½ hours
  • Print


From: Saveur.com

Ingredients

  • 6 TBS unsalted butter [I recommend 4 TBS]
  • 4 cloves garlic, chopped [I minced mine]
  • 2 stalks celery, chopped
  • 1 small onion, chopped
  • 1 green bell pepper, seeded and chopped
  • 1 small leek, sliced ¼" thick
  • 2 medium carrots, sliced ¼" thick
  • 1 large parsnip, peeled and chopped
  • 1 small celeriac, peeled and chopped
  • 4 medium new potatoes, peeled and cut into 1" pieces
  • 3 cups fish stock
  • 2 cups milk
  • 1 cup heavy cream
  • 1½ TBS Worcestershire sauce
  • 2 lb. boneless, skinless cod fillet, cut into 2" pieces [or bite-size]
  • ⅓ cup dill, chopped, plus more for garnish
  • ¼ cup parsley leaves, chopped
  • Kosher salt and black pepper, to taste
  • Juice of ½ - 1 lemon
  • Crusty bread, for serving

Directions

Heat butter in a 6-qt. saucepan over medium-high heat. Add garlic, celery, onions, peppers, and leeks, and season with salt and pepper. Cook, stirring, until soft, 8-10 minutes. Add carrots, parsnips, celeriac, potatoes, stock, milk, cream, and Worcestershire; bring to a boil. Reduce heat to medium, and cook, stirring occasionally, until vegetables are tender, about 25 minutes. Add cod, and continue to cook, stirring gently, until fish is cooked through, 6-8 minutes. Stir in dill, parsley, lemon juice, and salt and pepper. Serve with bread.

This post contains affiliate links. Full disclosure here.

Filed Under: book review, recipe Tagged With: contemporary, dinner, fiction, historical fiction, long read, lunch, seafood, soup

The Hopefuls + All-American Apple Pie

November 10, 2016 by Megan Leave a Comment

Thankfully, election season is over. I think we can all agree it was a long one - no matter who you backed. The Hopefuls was another book I’ve had on hold for a while (it came out over the summer), and I finally got my turn with it. When I first saw the notification, a political book was the last thing I wanted to read, but somehow, the library knows exactly when to send me what I need.

9781101875612.jpg

Yes, most of the characters are politicians or work with/for them, and yes, it talks about the actual government (circa 2012), but The Hopefuls isn’t exactly a “political book.” At its heart, Jennifer Close’s novel is about relationships and learning to grow together. I actually found it to be a pleasant escape from the current state of politics.

Shortly after Obama’s re-election, Beth, an unemployed magazine writer, joins her husband Matt in Washington D.C., where he is taking on a new government role. At first, she struggles to adjust and hates everything about the capital city. However, when she and Matt become friends with a fellow White House staffer Jimmy and his wife, her whole outlook changes.

Beth becomes fast friends with Southern belle Ash, and the couples become nearly inseparable. As dynamic duo Matt and Jimmy take on new political opportunities, the four of them are led in directions none of them expected.

One of the more memorable scenes in the book takes place at a new cycling studio, the United States of Spinning. It is so decorated in stars and stripes and red, white and blue that Beth finds it dizzying. From the presidential portraits on the walls to the patriotic music selections, you cannot escape the fact that you are smack dab in the middle of the capital of the United States of America.

So, what recipe could possibly be more appropriate to represent The Hopefuls than an all-American apple pie? I’ll tell you what: The Best Apple Pie Ever.    

I didn’t end up making my own crust this time, but you can easily use the recipe from my pumpkin pie (double it to have enough for a lattice top) or take a shortcut and buy some refrigerated crust like I did.

Start with 8 small Granny Smith apples.

img_1747

I used a newly purchased (if slightly dysfunctional) apple peeler machine to peel all of them, and it worked mostly well. After they were peeled, I cored and sliced them. Do your best to get them about the same thickness, but I personally like a little variety in texture after they’re baked down.

img_1748

While the oven preheats to 425 degrees F, melt a stick of butter over medium heat in a medium saucepan. (It doesn’t specify, and I usually use unsalted butter for baking recipes, but I opted to use salted butter here since there was no additional salt in the recipe.) Add the flour to the melted butter and mix well. Mine didn’t form a “paste” but it got quite thick. Add all of the remaining ingredients and bring to a boil (for one minute) before reducing the heat and simmering for another minute.

It will form a delicious caramel-y syrup. Use about ¾ of this to coat the apples, by gently stirring/tossing them in their large bowl. (The original recipe recommends using ⅔ of the mixture, but I felt like I had a little too much when it came to the top.)

Pour the coated apples into the bottom pie crust, mounding it a little towards the center. Cover with your lattice top (or whichever top you prefer; I happen to prefer lattice, despite my inexperience). Brush the remainder of the caramel-y mixture over the top of the crust.

img_1749

Before it goes in the oven, lightly spray some aluminum foil with baking spray so it doesn’t stick to the pie. Place the pie dish on a cookie sheet and bake it for 10-12 minutes at 425 degrees F. Then, turn the oven down to 350 degrees and bake it for an additional 50 minutes, or until the crust is golden brown and the apples are soft. Mine baked longer, about 65 or 70 minutes, so that I could get the right color on the crust and the apples were baked through to my liking.

img_1750

Wait as long as you can for it to cool and then cut it up to share. 🙂 This pie would make an excellent addition to your Thanksgiving celebration, or whenever you have a hankering for some delicious apple pie.

img_1751

The Best Apple Pie Ever

  • Servings: 8-10
  • Time: roughly 2 hours, using pre-made crust
  • Print


From: Audrey’s Apron

Ingredients

  • 2 refrigerated pie crusts (1 package), or 2 batches of homemade crust
  • 7 to 8 small granny smith apples, peeled, sliced, and cored
  • 1 stick butter
  • 3 tbsp all-purpose flour
  • ¼ cup water
  • ½ cup white sugar
  • ½ cup brown sugar
  • 1 heaping tsp cinnamon
  • ¼ tsp nutmeg
  • 1 tsp vanilla

Directions

  1. Place the peeled, cored, and sliced apples in a large bowl. Set aside.
  2. Preheat oven to 425F.
  3. In a medium sauce pan, melt butter over medium heat. Add the 3 tbsp of flour and mix well, forming a paste. Add the water, sugars, cinnamon, nutmeg, and vanilla and mix well. Bring to a boil for 1 minute, then reduce heat to a simmer for an additional minute.
  4. Remove from heat and reserve about 1/3 cup of filling for pie crust. Add remaining filling to apples. Toss well.
  5. Pour apples into prepared pie crust, mounding slightly. Top with second pie crust (lattice design, etc). Brush the remaining 1/3 cup caramel filling over the crust.
  6. Cover the pie loosely with aluminum foil. I lightly spray the foil so it does not stick to the pie. Place the pie on top of a cookie sheet (to catch any drips) and bake at 425F for 10-12 minutes. Reduce the heat to 350F and bake for another 50 minutes (remove the foil the last 10 minutes to let the crust brown), or until done. The pie is done when the crust is golden-brown and the apples are soft when pierced with a fork.
  7. Allow the pie to cool before serving. Enjoy!

Filed Under: book review, recipe Tagged With: baking, dessert, fiction

  • « Go to Previous Page
  • Go to page 1
  • Interim pages omitted …
  • Go to page 32
  • Go to page 33
  • Go to page 34
  • Go to page 35
  • Go to page 36
  • Go to page 37
  • Go to Next Page »

Primary Sidebar

About

The Hungry Bookworm brings together literature and food. Megan has an insatiable appetite for both.

As C.S. Lewis said, “Eating and reading are two pleasures that combine admirably.” Enjoy!

  • Bloglovin
  • Facebook
  • Instagram
  • Pinterest

Subscribe

Don't miss out on bookish content, exclusive giveaways, and of course, book club-friendly recipes. Get notified of new posts via email.

Join 2879 subscribers.

Search for Ingredients, Recipes, or Books

Recent Posts

  • Subscriber Box Review: Literati Book Club - Roxane Gay's Audacious Book Club
  • Arsenic and Adobo + Ensaymada
  • Review of The Kindred Spirits Supper Club
  • Kids Edition: Sometimes I Like to Curl Up in a Ball + "Dirt" Pudding Cups
  • The Midnight Library + Broccoli and Ricotta Toast

Goodreads

Tags

5 ingredients or less appetizer baking book club book list book of the month books about food bread breakfast brunch chicken contemporary cookies cultural dessert dinner dinner party dystopia easy prep favorites fiction fruit historical fiction holiday ice cream linkup lunch meat memoir mini review nonfiction pasta quick read reading challenge science fiction seafood show us your books side dish snack soup TBR list thriller top ten tuesday vegetarian veggies

Archives

Other Great Book Blogs

Literary Quicksand
Never Enough Novels
Death by Tsundoku
Professional Reader 25 Book Reviews
Privacy & Cookies: This site uses cookies. By continuing to use this website, you agree to their use.
To find out more, including how to control cookies, see here: Cookie Policy

Footer Widget Header

Megan’s Instagram

Copyright © 2025 · Hungry Bookworm