• Skip to primary navigation
  • Skip to main content
  • Skip to primary sidebar
  • Home
  • Reviews
    • Book Index
    • Fiction
    • Non-Fiction
    • Top Ten Tuesdays
The Hungry Bookworm

The Hungry Bookworm

reading + eating

  • Recipes
    • Drinks
    • Snacks, Sides & Apps
    • Main Dishes
    • Desserts
    • 5 Ingredients or Less
  • About
    • Meet Megan
    • How I Rate
    • Review Policy
    • Contact

Megan

The Couple Next Door + Coffee-Glazed Banana Bread

October 15, 2016 by Megan Leave a Comment

From serious memoir to childhood favorite to suspenseful thriller - my last three books have been a little sporadic. The Couple Next Door is certainly more adult than The Secret Garden, but secrets still abound. After a shocking ending to a dinner party with (not surprisingly) the couple next door, Marco and Anne’s seemingly perfect life begins to unravel.

51qI2RzRlzL._SY344_BO1,204,203,200_.jpg

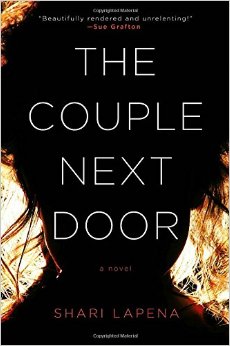
Shari Lapena’s The Couple Next Door was fast-paced, with new revelations at nearly every turn of the page. With a cast of characters that included an inappropriately flirtatious neighbor, a stay-at-home mom with a questionable past, and a power-hungry stepfather, no one’s motives were clear but everyone was suspect.

As the plot twisted here and turned there, food didn’t play much of a role. Despite starting with a dinner party, nothing much was mentioned aside from coffee. Uncertainty breeds sleeplessness, and the best cure for that is caffeine. In one instance, Lapena points out that the two main characters were “both living mostly on coffee and despair.”

In an effort to impart some comfort on a decidedly uncomforting storyline, I opted to make banana bread - with a coffee glaze. Comfort meets caffeine, thanks to this recipe from A Latte Food.

Like most quick breads, this one is pretty easy to get together. The really hard part is waiting for the baking (and cooling!) before you can finally eat it.

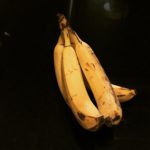
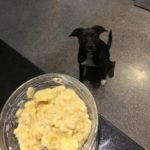
I had already-brewed coffee ready to go, but if you don’t, I suggest starting that process before you make the bread. I began by mashing up the bananas, which is always fun to do first thing in the morning. (Make sure your bananas are ripe. See them pre-mashed below; and mashed, with Beta looking on, wondering why she can’t have some of her favorite fruit too.)

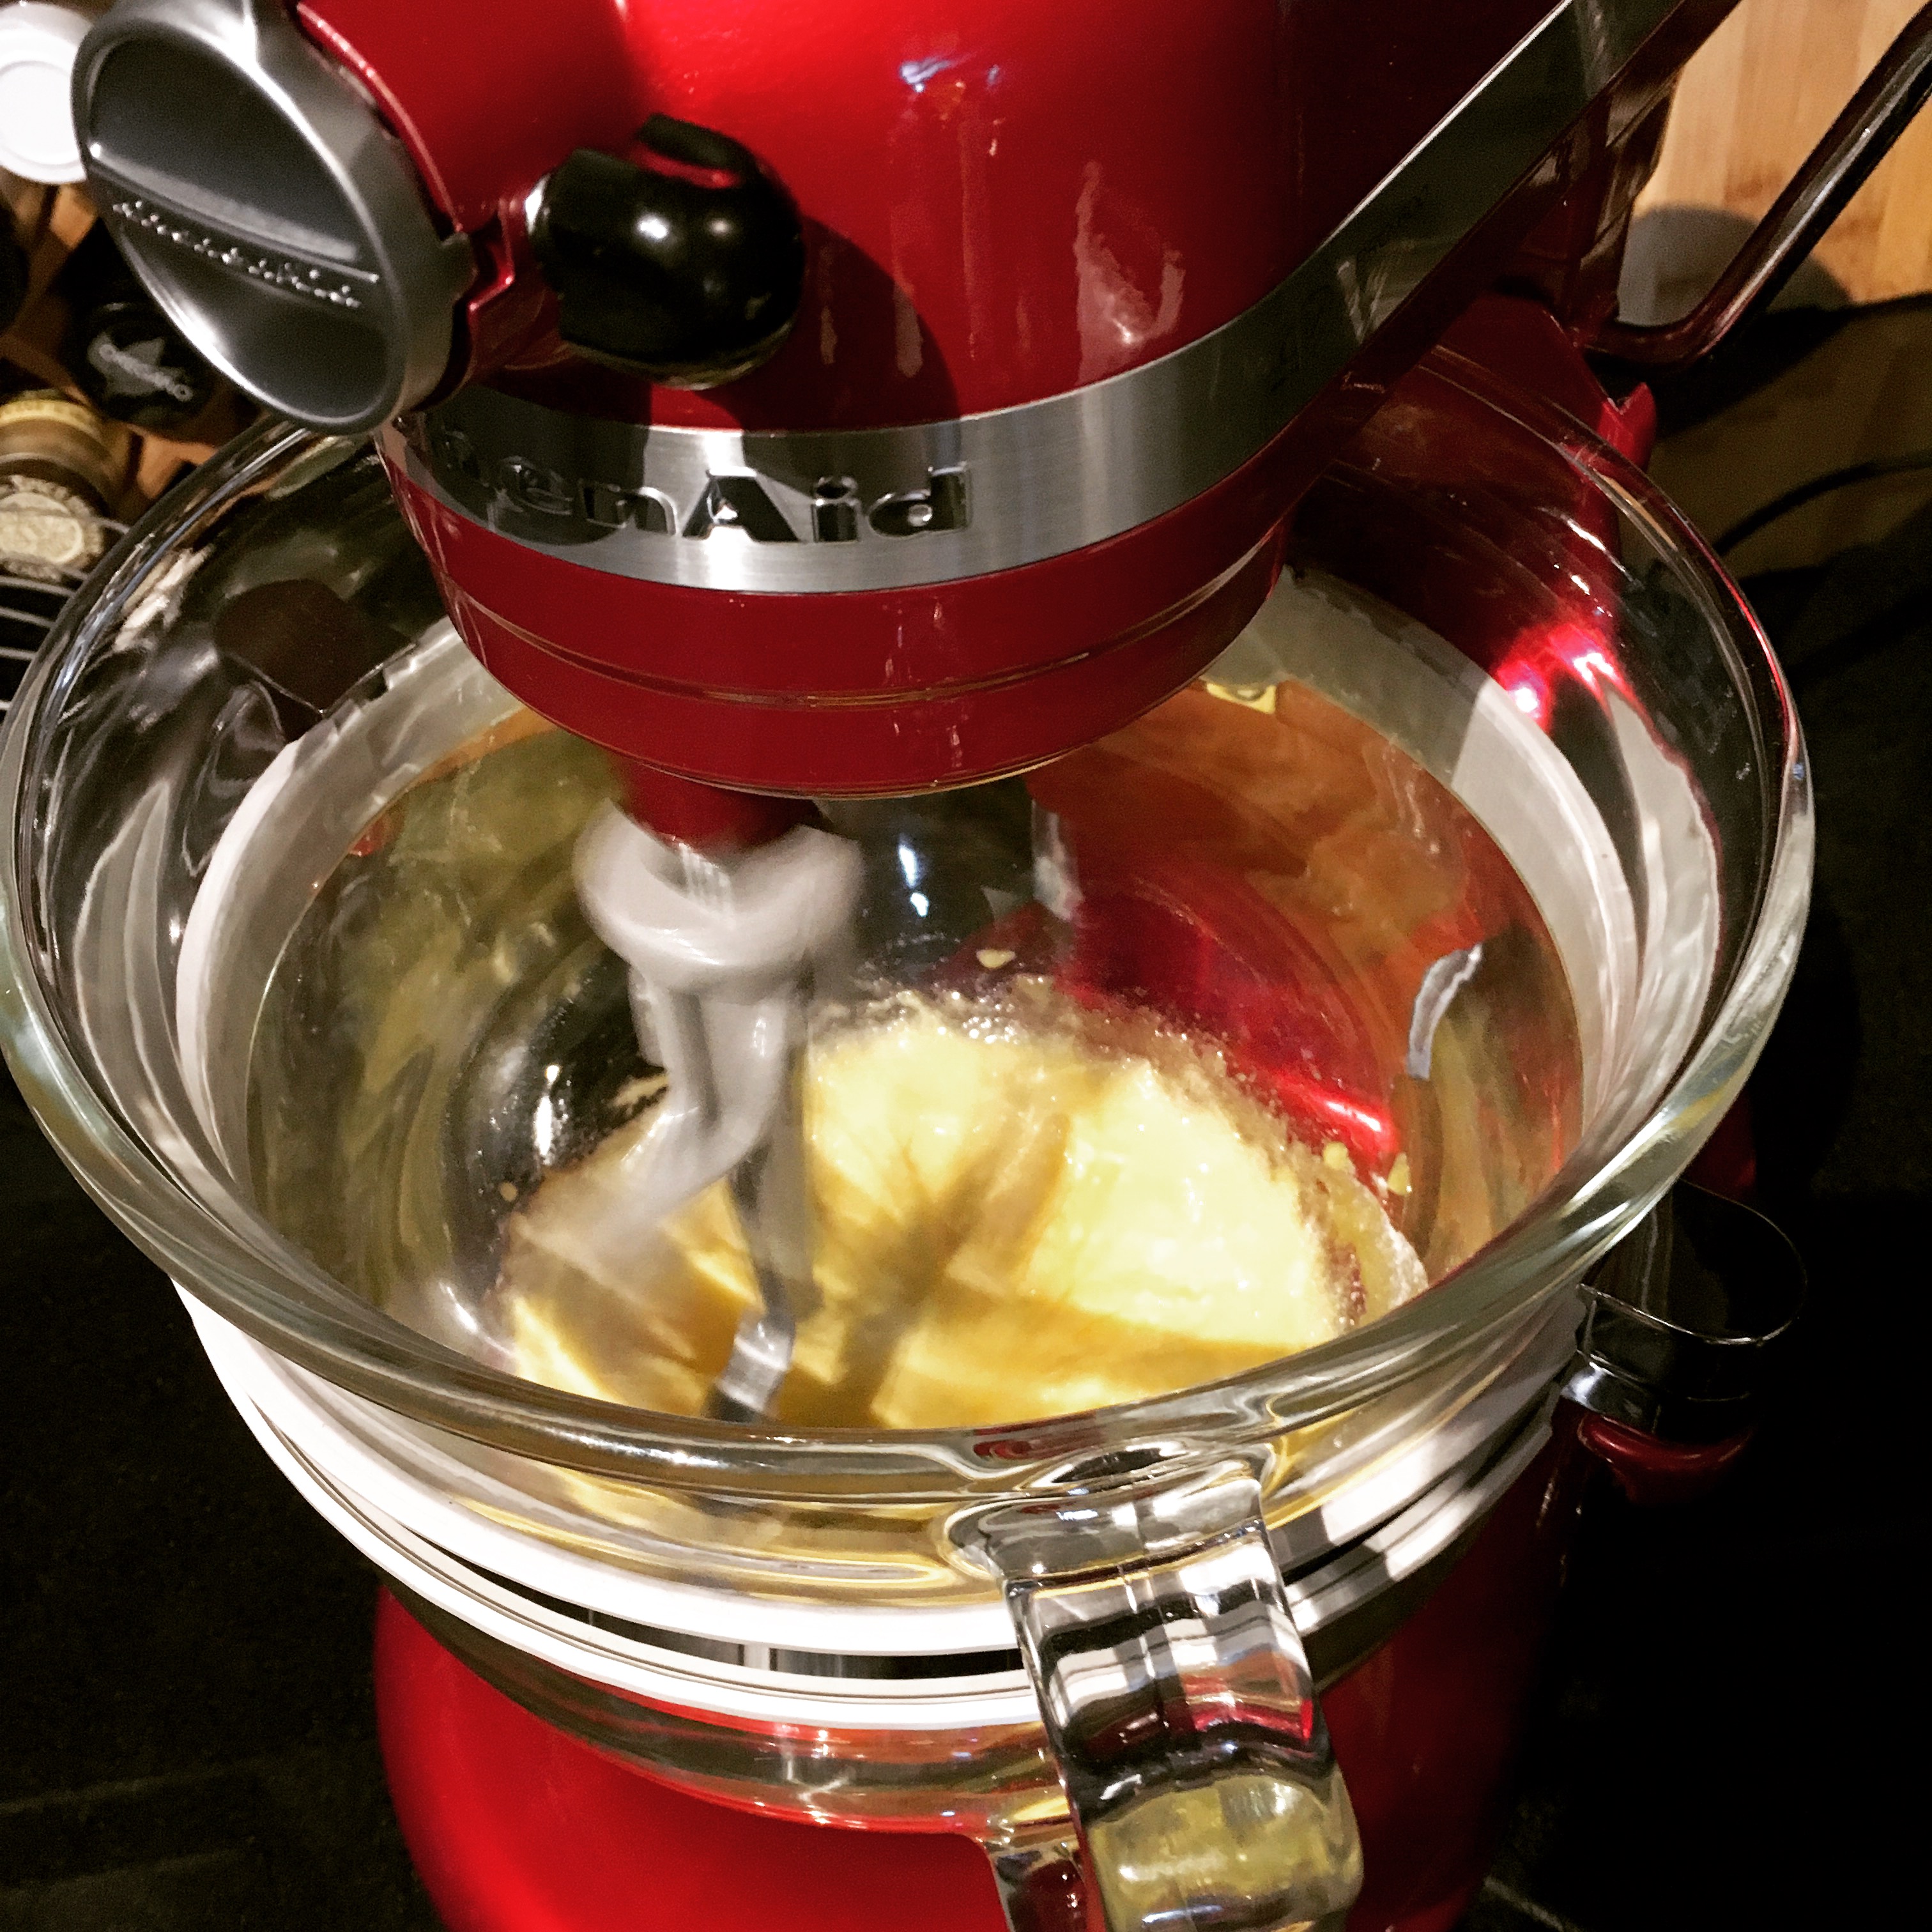
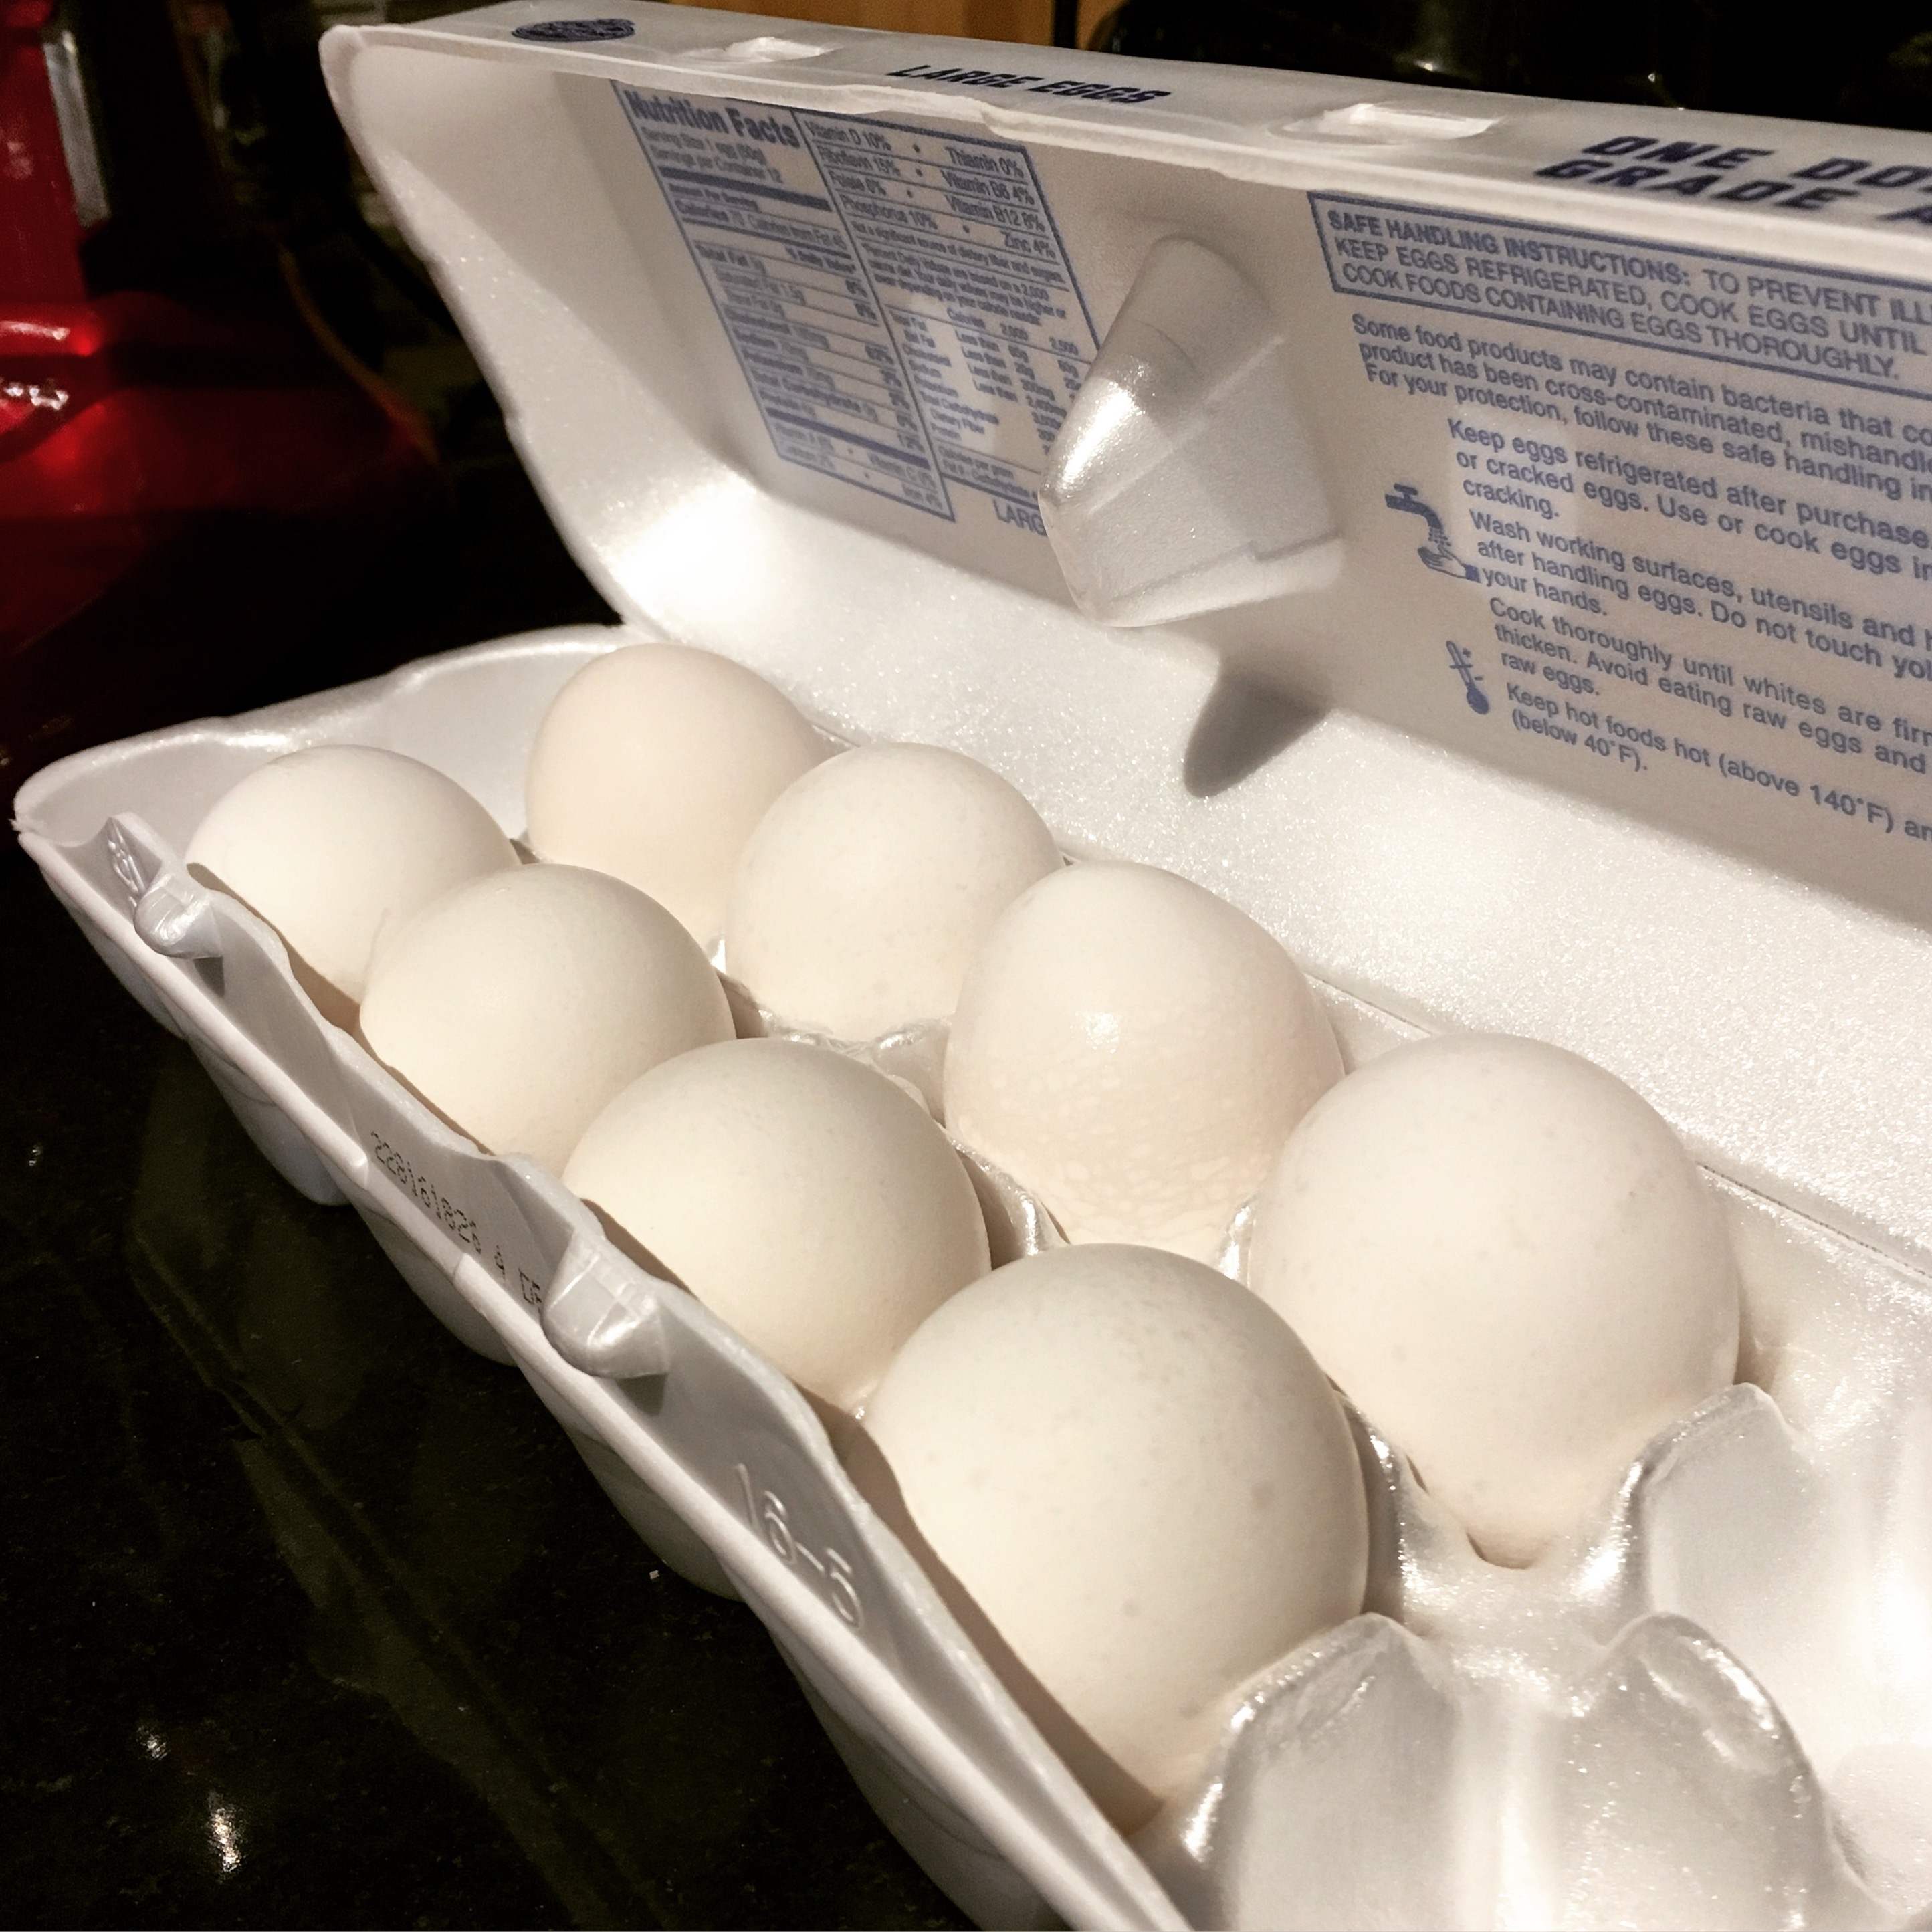
I creamed the softened butter together with the sugars, adding the eggs and vanilla extract once the mixture was light and fluffy. To the wet ingredients, I slowly incorporated the flour, salt and baking soda. Once all was well-combined, I added the mashed bananas, stirring until just mixed.

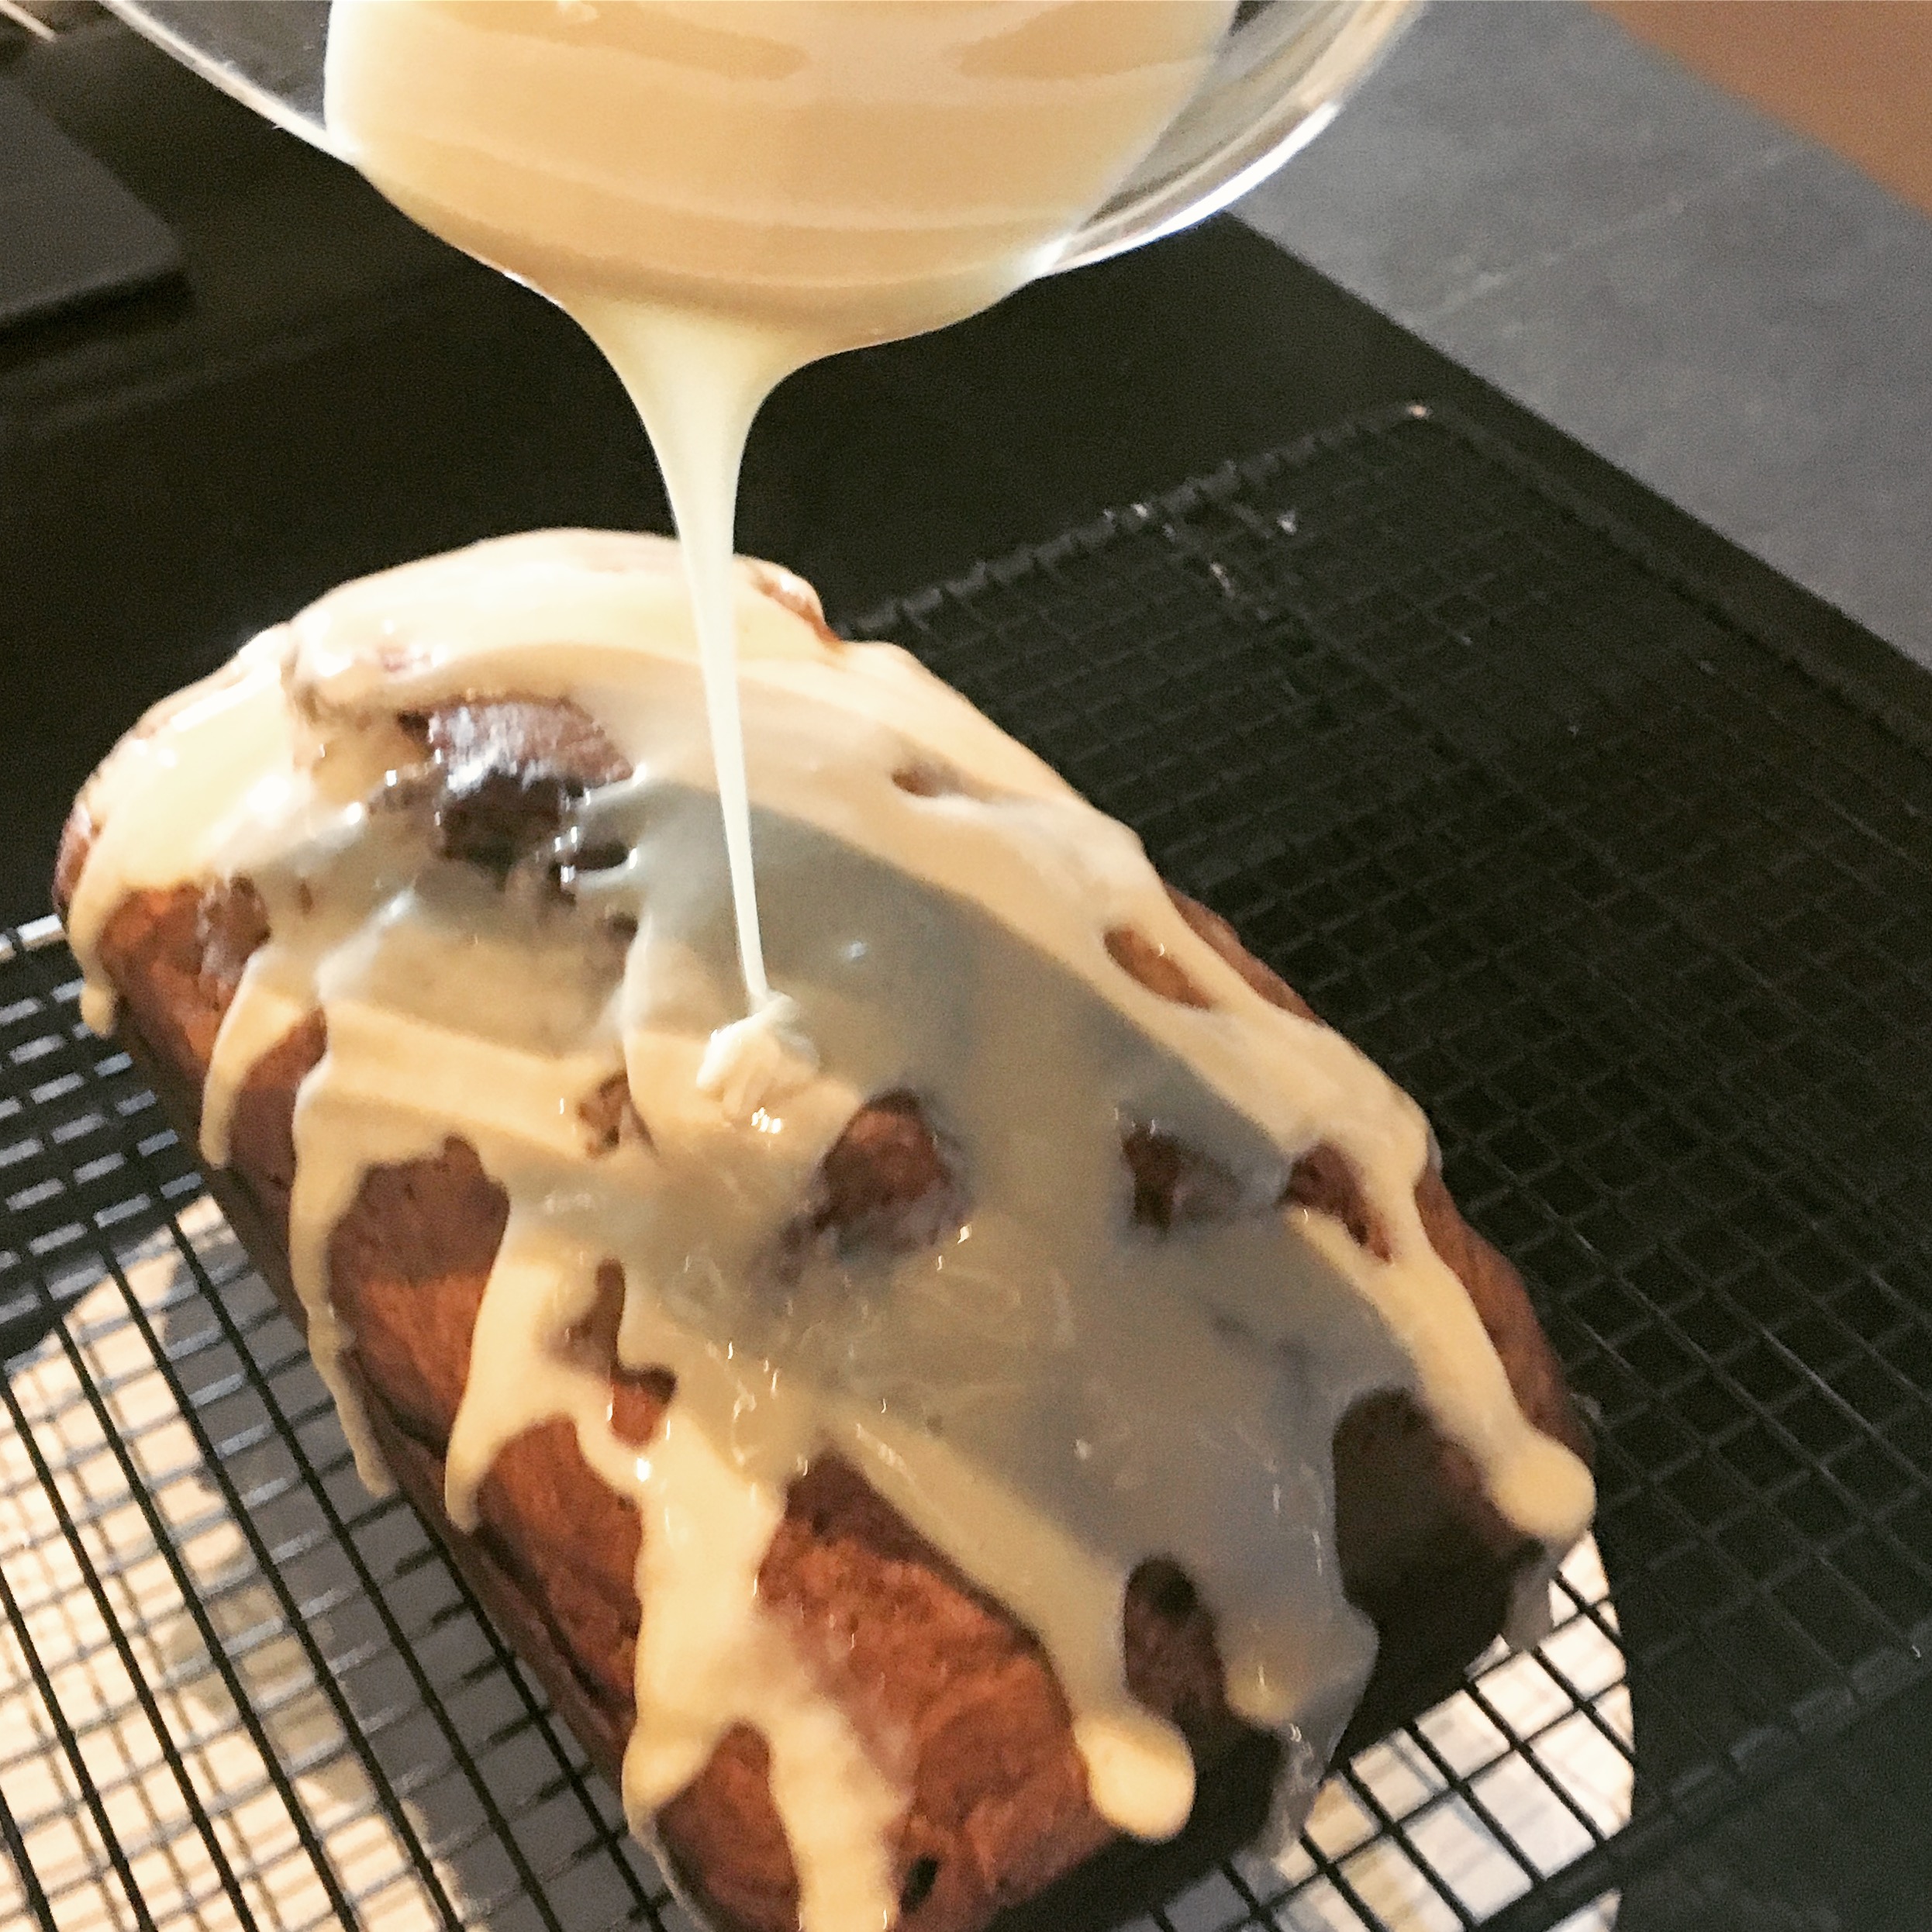
Once in the prepared loaf pan, I let it bake in the oven for about an hour. With a few minutes to spare before the bread came out of the oven, I began the glaze so I could pour it over the loaf before it cooled completely. I whisked together the powdered sugar, brewed coffee and vanilla extract to form a light coffee-colored glaze.

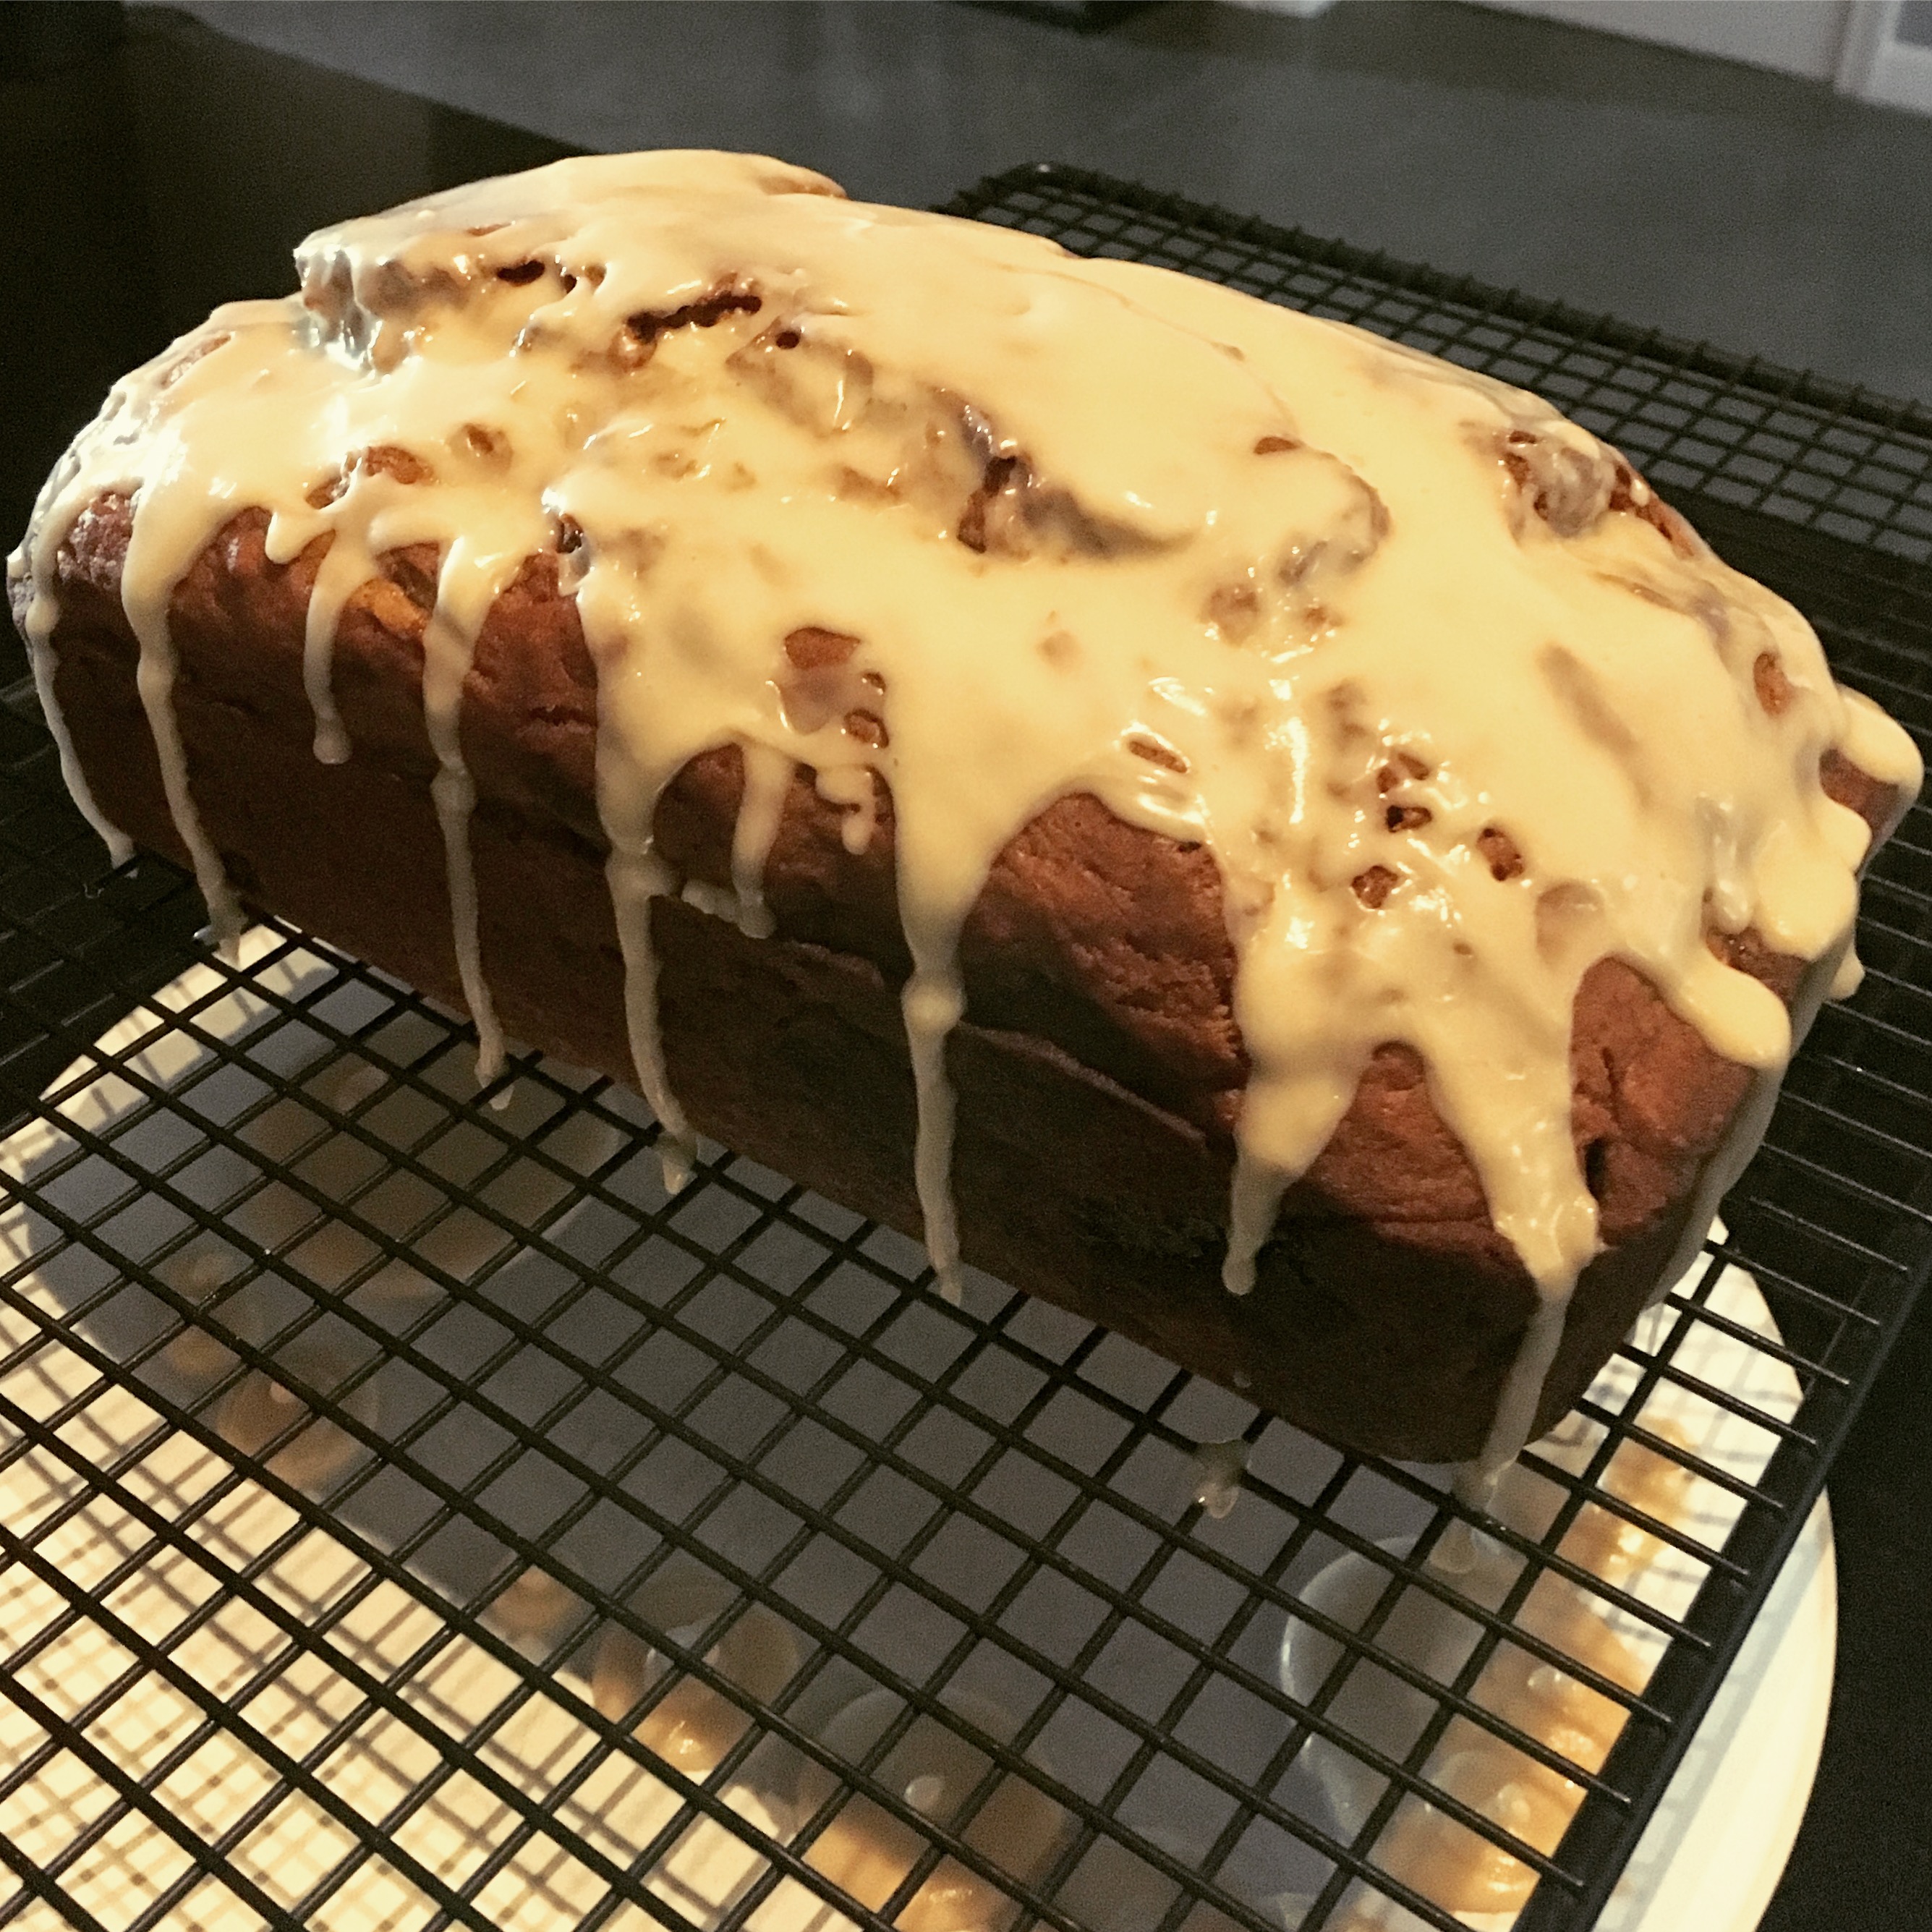
I drizzled it over the still-cooling banana bread, with a plate underneath to catch any sugar-y drips.

img_1497img_1499

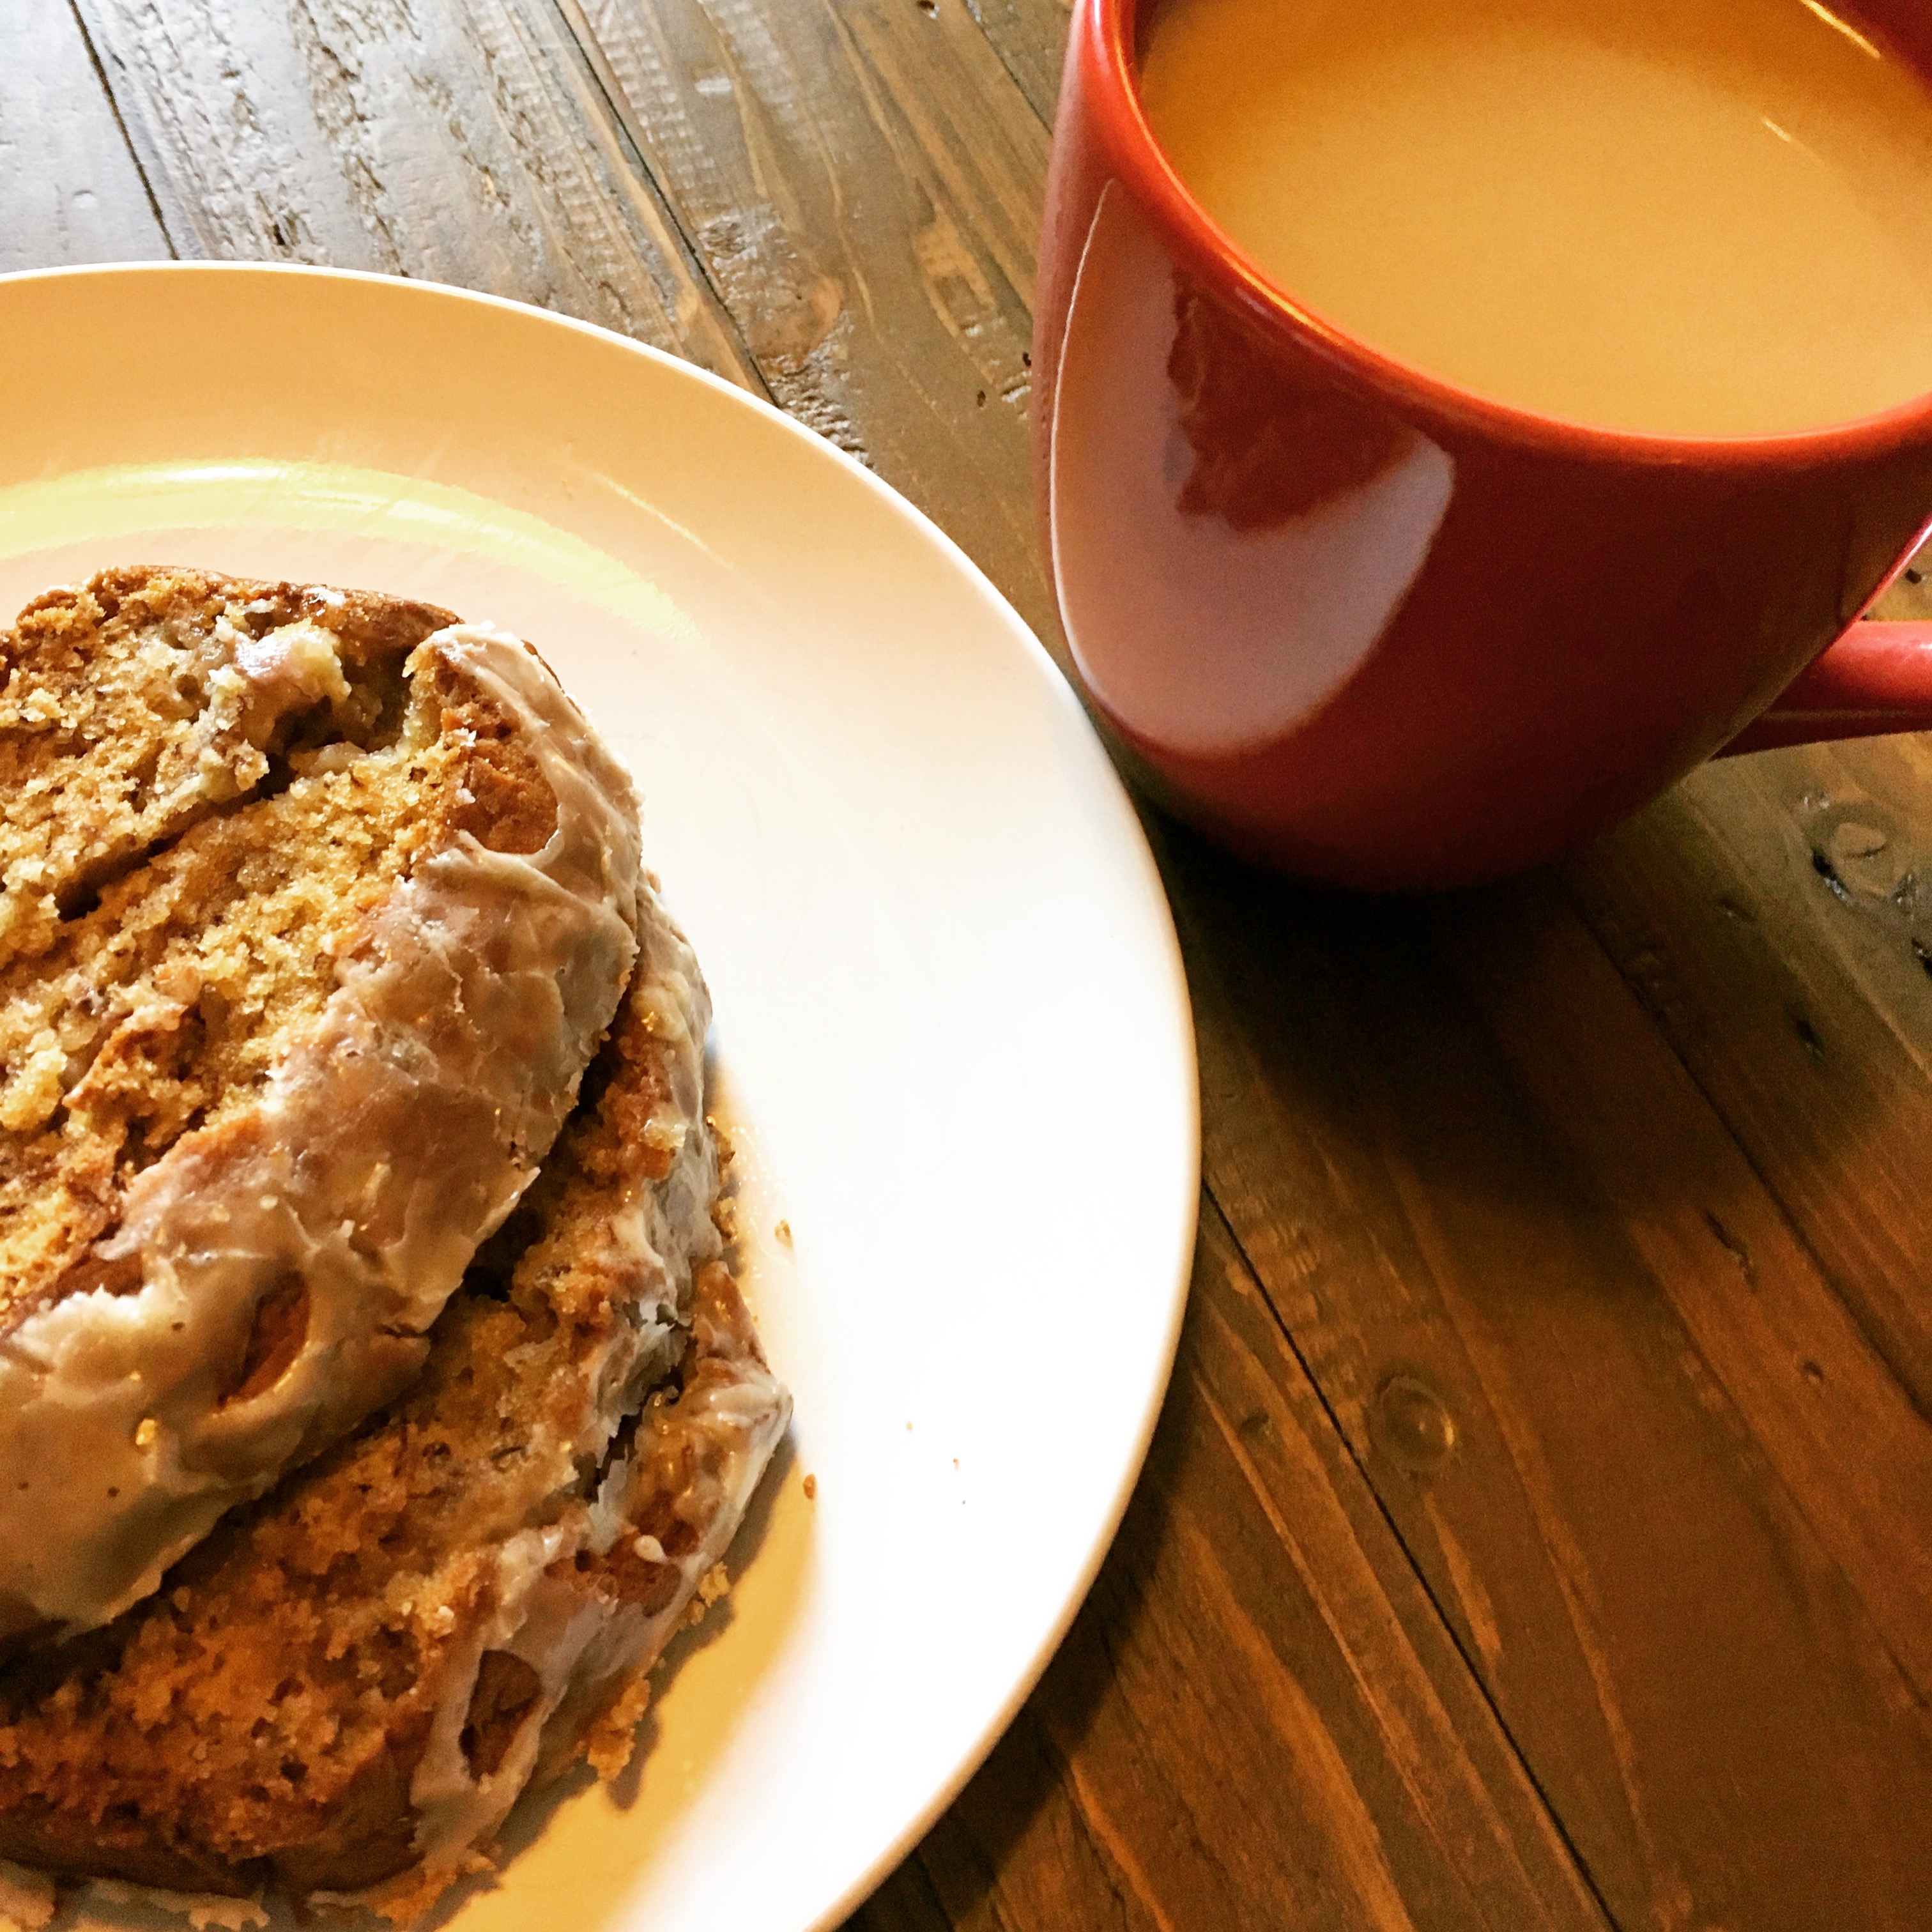
For those of you who don’t know me, I have a confession to make: I don’t like coffee. (Rory Gilmore would be horrified, I know.) I do, however, love banana bread. I thought the glaze tasted exactly like coffee, but Scott - who loves coffee - thought it tasted more like sugar. When I brought it to work, consensus all around was that it tasted good. If you actually like coffee, and prefer a more coffee-flavored glaze, I would suggest adding the espresso powder.

Or just enjoy it with a cup of coffee.

img_1498

Coffee-Glazed Banana Bread

  • Servings: 1 loaf
  • Time: 1 hour, 20 minutes
  • Print

Very slightly adapted from: A Latte Food

Ingredients

    Bread

  • ½ cup butter, softened
  • ½ cup sugar
  • ⅓ cup brown sugar
  • 2 eggs
  • 2 cups all-purpose flour
  • 1 tsp baking soda
  • ¼ tsp salt
  • 3 to 4 medium or large bananas
  • 1½ tsp vanilla extract
  • Coffee Glaze

  • 2 TBS strong coffee, brewed
  • 1 cup powdered sugar
  • ½ tsp vanilla extract
  • ¼ tsp espresso powder (optional)

Directions

    Bread

  1. Preheat the oven to 350. Grease a 9x5 loaf pan.
  2. In a small bowl, mash bananas. Set aside.
  3. In a large bowl, cream butter sugar, and brown sugar together until light and fluffy.
  4. Add in the eggs, one at a time, beating well after each addition. Add in vanilla extract, and mix.
  5. Sift together the flour, baking soda, and salt in a separate bowl. Slowly incorporate the dry ingredients into the wet ingredients, and stir until just combined.
  6. Add in mashed bananas, and mix until combined. Pour into prepared loaf pan.
  7. Bake for about 60 minutes, or until a cake tester comes out clean with just a few moist crumbs stuck to it.
  8. Allow to cool for 10 minutes. Move to a wire cooling rack.
  9. Glaze

  10. While bread is cooling, mix together powdered sugar, vanilla extract, espresso powder (if using), and 2 TBS brewed coffee. If the glaze is thicker than your desired preference, add in additional brewed coffee. [I used 2 TBS of coffee and no espresso powder and it was a perfect thickness; according to many, however, the flavor was not enough like coffee. Additional liquid may be required if adding the powder, but taste as you go to ensure a flavor you like.]
  11. Pour the glaze evenly over the loaf. Allow the glaze to harden completely before cutting into slices.

Filed Under: book review, recipe Tagged With: baking, breakfast, fiction, snack, suspense

The Secret Garden + Baked Oatmeal

October 10, 2016 by Megan 1 Comment

I’ve watched the movie The Secret Garden countless times since I was a child (it came out when I was about 7), but until now, I had never read the book. While looking for a “palate cleanser” after my last read, I was delighted to find this on my shelf. I immediately dove in.

secret-garden

A children’s classic, The Secret Garden has been around since 1911. Orphaned in India, Mary Lennox is brought to live at her reclusive uncle’s mansion in England. She is pale and very thin and has a sour disposition. With some prodding from Martha, the housemaid who brings her meals, Mary begins exploring the grounds. She learns of a secret garden that no one has set foot in for ten years and becomes determined to find it.

[Read more...] about The Secret Garden + Baked Oatmeal

Filed Under: book review, recipe Tagged With: breakfast, children's, fiction

Reading Lolita in Tehran + Cream Puffs

October 6, 2016 by Megan 3 Comments

It probably comes as no surprise that I usually adore books* about bookstores, book clubs, book nerds...you get the idea. I find the characters relatable, occasionally discover new insights into books I love, and best case scenario: I walk away with a list of books to read.

book_lolita.jpg

In Azar Nafisi’s memoir, Reading Lolita in Tehran, the books the women read were Western classics - forbidden at the time in Iran. Nafisi, a former professor, and seven of her most like-minded female students meet every Thursday morning to discuss these novels over pastries and tea. It seemed like a book I was destined to love.

Each of four sections is focused on the works of a specific author (Nabokov, Fitzgerald, James and Austen), and their works of fiction were used as a lens through which we learn about Nafisi’s life and her students’ lives. I thought it was a little unbalanced and too literature-focused, particularly in the beginning; I was left wanting more about what was going in Tehran and the lives of the women. Unfortunately, I found it hard to get through - maybe it was because it was written by a literature teacher, but at times I felt like I was back in English class, struggling to get through a required reading assignment.

During the first meeting, Nafisi suggests the “calming distraction of cream puffs and tea” to break the ice. For my recipe, I turned to Julia Child’s Mastering the Art of French Cooking. I had made cream puffs only once during culinary school about five years ago, so I was hoping it would be like riding a bike. With my brand new standing mixer** at the ready and Julia’s words of encouragement, I was up to the task. (Really, has anyone read her cookbook? It’s so cheery that it makes any recipe seem nearly impossible to fail.)

Anyway, I began by putting milk on to boil and beating the sugar and eggs until they turned pale yellow and reached the ribbon stage. Here it is just getting started:

img_1377

I beat in the flour and then carefully dripped in the boiling milk while continuing to beat the mixture, which is where the standing mixer came in handy. After it was well-combined, I transferred to a saucepan on the stovetop and whisked until it became custard-y in consistency. I removed it from the heat and added the vanilla and butter. In an attempt to cool it off, I scraped it into a bowl, covered with saran wrap (so it wouldn’t form a “skin”) and put it in the fridge.

While that cooled, I began prep for the pâte à choux, or puff paste. It is a very light dough that is used to make not only cream puffs but many kinds of puff pastries including eclairs, profiteroles and beignets. In culinary school, we were warned that it takes great attention because the number of eggs you need is not constant. It can vary based on humidity or even the size of each egg. It’s important to not use too few eggs as this can cause the dough not to puff up and form the small caverns inside that are a hallmark of any sort of puff pastry.

I doubled Julia’s recipe, so I started with 8.

img_1378

In the end, I only needed 8. This is something you can only really tell by the look (though if I hadn’t been to culinary school, this wouldn’t have been as clear to me). This website does a good job of explaining how to tell if it’s ready, and I’ve included an excerpt below:

How to Tell if Choux Paste Is Ready

This fact means that it is more important to know how the finished paste should look and feel than it is to just follow the recipe. Finished choux paste should be soft, smooth, and be able to be piped.

If you pull the paddle attachment of an electric mixer out of the paste, a "tongue" should appear at the tip of the paddle.

Similarly, if you gently scoop up a bit of the paste with a rubber spatula and let it fall back into the bowl, a "v" of paste should be left behind on the spatula.

Be sure to mix thoroughly between adding in each egg and then check the paste before adding the next one. The mixture will appear separated and gloppy in between additions, but will come back into a smooth paste as you mix.

If by the second-to-last egg, the paste is already looking smooth and forms a "v" as it falls back into the bowl, it's OK not to add the last egg. Feel like your paste is borderline and just needs a little more egg? Whisk one up and only pour in half!

Before I scooped it into my pastry bag, it looked like this:

img_1379

I didn’t take a picture of my pre-baked choux mounds, but I’ll mention that it’s important that you simply hold the tip to the baking sheet and let the paste gently round up and out until it’s the size you’re looking for. (The size is entirely up to you - puffs can be large, small or medium.) If you attempt to swirl the paste into a circular shape, it can cause your puffs to sort of snail-out and flatten as they bake. (Don’t worry, though, they still taste great! It happened to a few of mine, though they’re not pictured.)

Once all of the puffs were cooled, I used a smaller pastry tip to fill them with the previously-made pastry cream. If I had to do it again, I probably would’ve made the lighter cream that Julia suggested (see notes below), but I was still quite happy with the end result.

img_1380

Creme Patissiere (Pastry Cream)

  • Servings: makes about 2 ½ cups
  • Time: 20 minutes
  • Print


From: Julia Child's Mastering the Art of French Cooking (Anniversary Edition)

Ingredients

  • 1 cup granulated sugar
  • 5 egg yolks
  • ½ cup flour, scooped and leveled
  • 2 cups boiling milk
  • 1 tablespoon unsalted butter
  • 1 ½ tablespoons vanilla extract

Directions

  1. Put the milk in a saucepan on the stove and begin to bring to a boil.
  2. Gradually beat the sugar into the egg yolks and continue beating for 2-3 minutes until the mixture is pale yellow and forms the ribbon.
  3. Beat in the flour.
  4. Beating the yolk mixture, gradually pour on the boiling milk in a thin stream of droplets.
  5. Pour into a heavy-bottomed 2 ½ quart enameled saucepan and set over moderately high heat. Stir with whisk, reach all over bottom of pan. As sauce comes to a boil it will get lumpy, but will smooth out as you beat it. When boil is reached, beat over moderately low heat for 2-3 minutes to cook the flour. Be careful custard does not scorch in bottom of pan.
  6. Remove from heat and beat in the butter, then the vanilla extract. If custard is not used immediately, clean it off the sides of the pan, and dot top of custard with softened butter to prevent a skin from forming over the surface. It will keep for a week under refrigeration, or may be frozen. [I recommend refrigerating in a bowl covered with cling wrap pushed tightly over the top of the custard, prior to filling the puff shells.]

Pâte à Choux (Cream Puff Paste)

  • Servings: 36-40 small dessert puffs
  • Time: 1 hour
  • Print

Ingredients

  • 1 cup water
  • 6 tablespoons or ¾ stick unsalted butter, cut into pieces
  • 1 pinch salt
  • 1 teaspoon sugar
  • ⅛ teaspoon pepper [I didn’t use this in mine]
  • 1 pinch nutmeg
  • ¾ cup all-purpose flour, scooped and leveled
  • 4 large eggs
  • 1 egg, beaten with ½ teaspoon water in a small bowl

Directions

  1. In a 1 ½ quart heavy-bottomed saucepan, bring water to a boil with the butter and seasonings and boil slowly until the butter has melted. Meanwhile measure out the flour.
  2. Remove from heat and immediately pour in all the flour at once. Beat vigorously with a wooden spatula or spoon for several seconds to blend thoroughly. Then beat over moderately high heat for 1-2 minutes until mixture leaves the sides of the pan and the spoon, forms a mass, and begins to film the bottom of the pan.
  3. Remove saucepan from heat and make a well in the center of the paste with your spoon. [Here I transferred the mass to my standing mixer with paddle attachment and added the eggs one at a time while on a setting between 2 and 4.] Immediately break an egg into the center of the well. Beat it into the paste for several seconds until it has absorbed. Continue with the rest of the eggs, beating them in one by one. The third and fourth eggs will be absorbed more slowly. Beat for a moment more to be sure all is well blended and smooth.
  4. Preheat the oven to 425 degrees F and butter [or lightly spray] 2 baking sheets.
  5. Using a rubber spatula, fill a pastry bag with a ½-inch round tube opening with the warm choux paste. [If you do not have a pastry bag, drop the paste with a spoon.]
  6. Squeeze the paste onto the baking sheets, making circular mounds about 1-inch in diameter and ½-inch high. Space the mounds 2-inches apart.
  7. Dip your pastry brush into the beaten egg mixture and flatten each puff very slightly with a side of the brush. Avoid dripping egg down the puff and onto the baking sheet, as this will prevent the puff from rising.
  8. Set the sheets in the upper and lower thirds of your preheated, 425-degree oven, and bake for about 20 minutes. The puffs are done when they have doubled in size, are a golden brown, and firm and crusty to the touch. Remove them from the oven and pierce the side of each puff with a sharp knife. Then set in the turned-off oven and leave the door ajar for 10 minutes. Cool the puffs on a rack.

I filled my shells with the pastry cream recipe provided above, as I did when I was taught to make these in culinary school. The same filling and dough can also be used for eclairs, though instead of baking in mounds, you bake in longer lines.

Julia Child suggests using a Creme Saint-Honore, which is the recipe above with beaten egg whites and additional salt and sugar. It produces a fluffier filling for the cream puffs, if desired. The exact recipe can be found on page 591 of the Anniversary Edition of her cookbook.


_________

*Some that I would recommend include: The Jane Austen Book Club, The Storied Life of A.J. Fikry and Anne of Green Gables

**Once again, a very enthusiastic thank you to Scott’s mom for the thoughtful gift!

Filed Under: book review, recipe Tagged With: baking, dessert, memoir, nonfiction

Behold the Dreamers + Chicken Suya

September 29, 2016 by Megan 6 Comments

Jende and Neni Jonga have come to New York City (Harlem) from Cameroon to achieve the American Dream. After struggling to make ends meet for a few years in the States, Jende secures a meeting with Clark Edwards, a high-level executive at Lehman Brothers. In 2007, this seems like another step closer to Jende’s dream.

26025588

In Behold the Dreamers, Imbolo Mbue examines the American Dream from both sides - the Jengas’ desperate pursuit of it serves as a stark contrast to the Edwards’ comfortable lifestyle and achievements. Jende is overjoyed at the opportunity to chauffeur the entire Edwards family around the city so that Neni can complete pharmacy school and take care of their son.

In the driver’s seat, Jende is privy to many of Clark’s important conversations in the car but never lets the sensitive information slip. Even when tensions arise between the Jongas and the Edwards, Jende remains ever-loyal, not wanting to upset the careful balance that is keeping him in America. Mbue’s novel is a reminder that even those comfortably at the top should never get too comfortable, and sometimes it’s important to take a step back to determine what will truly make you happy.

Even though Jende and Neni are all too happy to be in the U.S., their kitchen table is filled with foods that remind them of home. One of the first meals we see Jende eat in the novel is African pepper chicken. I found a recipe online for Chicken Suya, commonly found in Cameroon, served with an African Pepper Sauce. Neni also serves fried ripe plantains throughout the novel, so I added those to the menu. Together, I thought it would make the perfect meal to accompany their story.

I started with the sauce and tried to remain unintimidated by the number of hot peppers it required. After cleaning and chopping them, I also roughly chopped the onions and tomatoes. Everything went into the food processor.

It came together pretty easily (as most blended sauces do), and while it simmered on the stovetop, I began prepping the chicken. I trimmed and cut the chicken thighs, dividing the pieces onto the skewers.

For the rub, I combined all of the spices, peanut butter and bouillon, working it into a paste of sorts. It ended up being extremely thick - to the point that it was nearly impossible to “brush” on the chicken as directed. I thinned it out a bit with water and ended up forcefully painting it onto the chicken with a rubber scraper.

It’s up to you, but it might be worthwhile to thin it out a bit more (either with oil or water) so that you can cover your chicken more thoroughly - mine ended up rather blotchy.

While the chicken baked, I let my oil get up to temperature for the plantains. The sauce was done by this time, so I removed it from the heat, allowing it to cool off a bit before we ate.

For the fried ripe plantains, I tried to find as a ripe a plantain as I could at the store. Thinking it would be similar to peeling a banana, I ended up having a difficult time. I would’ve benefitted from a handy guide, like this one. (Hopefully your peeling experience will be much easier than mine!) Once the pesky peel was off, I sliced it on the diagonal into large oblong coins.

img_1373

Frying them proved to be much easier than peeling them, thanks in part to my adventures in frying the johnnycakes the week before.

After a few minutes, they were a nice golden brown. I scooped them out onto a paper towel and sprinkled with salt. They proved to be not only a nice complement to the seasoning of the chicken and the spiciness of the sauce but a break from the heat as well!

I was happy to be able to make a dish that paired so well with such an enjoyable book, but truth be told, this wasn’t something I would make again. Not one for super spicy foods anyway, I could only use about a tablespoon of the pepper sauce over two skewers of chicken. My boyfriend (who loves spicy food) thought the sauce went well alongside the chicken but probably not something he’d eat without it. And, heads up, the recipe makes a decent amount of sauce - at least 4 cups.      

Chicken Suya with African Pepper Sauce

  • Servings: 4-6
  • Time: 1 hour
  • Print


From: African Bites [Annotations from me]

Ingredients

    Suya Chicken

  • 3 pounds skinless chicken thigh
  • 4 tablespoons peanut butter or groundnut paste
  • ½ - 1 tablespoon cayenne (depending on heat preference)
  • 1 tablespoon smoked paprika
  • 1 tablespoon garlic powder
  • 1 tablespoon onion powder
  • 1 tablespoon white pepper
  • 1 tablespoon Bouillon
  • 1 teaspoon salt
  • 2 - 3 tablespoons vegetable oil
  • 6 - 8 wooden skewers
  • African Pepper Sauce

  • 10 peppers (habenero or scotch bonnet)
  • 1 medium onion
  • 4 garlic cloves
  • 2 tablespoon bouillon powder [I used chicken]
  • 2 basil leaves [I used 1 teaspoon dried basil]
  • 2 tablespoon parsley [I used 2 teaspoons dried parsley]
  • 1 - 3 roma tomatoes (adjust for spiciness)
  • ½ - 1 cup vegetable oil
  • salt

Directions

  1. Coarsely chop the tomatoes, onions, and discard stems of the peppers. Put the tomatoes, onions, peppers, garlic, parsley, basil, bouillon in the food processor along with as much oil as desired. [I used ½ cup, which seemed to be enough for my sauce.]
  2. Pour the pepper mixture into a small sauce pan bring to a boil and slowly simmer for about 15 minutes, stirring frequently to prevent burns. Add salt and adjust as needed.
  3. While the sauce is simmering, preheat the oven to 450 degrees F. Soak the skewers for at least 20 minutes totally submerged in water before using it to prevent burns.
  4. In a medium bowl, mix garlic powder, onion powder, smoked paprika, white pepper, cayenne pepper, peanut butter and bouillon. [Mine formed a pretty thick paste, making it difficult to brush/spread on the chicken. I would suggest adding some water or oil as needed to thin it out a bit.]
  5. Pat the chicken thighs dry with a paper towel. You want to have a completely dry chicken before cooking. Trim and slice the chicken into thin slices or bite size cuts (suggest cutting on a diagonal).
  6. Lightly spray or oil baking sheet or roasting pan to prevent the suya from sticking to the pan. [I covered mine with foil to make cleanup easier.]
  7. Thread the chicken onto the skewers (about 4 per skewer), making sure the skewer is fully covered with slices of chicken.
  8. Brush the chicken skewer with spice mixture on both sides. Place skewers on the sprayed/oiled roasting pan or baking sheet.
  9. Drizzle with oil and bake for about 20-25 minutes, flipping halfway through baking until chicken is fully cooked through. Towards the last 3 minutes of baking, switch to broil to get a nice crisp brown on the outside.
  10. When the pepper sauce is finished, let it cool. Pour in a mason jar or a container with a lid and store in a fridge for about a week. In order for your pepper sauce to last longer, make sure it is fully covered in oil.
  11. Serve chicken suya warm with a side of African pepper sauce [and fried plantains, if desired].

Filed Under: book review, recipe Tagged With: appetizer, chicken, contemporary, cultural, fiction, sauce, snack

Land of Love and Drowning + Lobster Rolls

September 22, 2016 by Megan 3 Comments

The magical Land of Love and Drowning by Tiphanie Yanique is set in the newly transferred United States Virgin Islands. The sparsely populated island of Anegada, formed from coral, has more lobsters than people. It is surrounded for eight miles by a submerged reef; it is also surrounded by shipwrecks.

51qyl-dsrl

Though Antoinette Stemme is of Anegada, when she marries Owen Arthur, he whisks her away to St. Thomas. Their two daughters, Eeona and Anette, are born and raised there, never setting foot on their mother’s homeland. The young red-headed Anette is like her mother in many ways and a bit rough around the edges, like Anegada. Beautiful Eeona is very much her wealthy father’s daughter, always concerned with the proper way of doing things and sharing an unusual bond with him from a young age.

It is surprising then, that on a later-life trip to Anegada, Eeona is able to ultimately find herself and begin to accept who she truly is. When she first arrives, a local woman gifts her a lobster. Eeona is startled and almost drops it, having never touched or eaten one before. The woman tells her that on Anegada, they “eat lobster for breakfast and lunch and dinner.”

Unlike Eeona, I have eaten lobster before. I hadn’t cooked it before - until I made LoLo’s Caribbean Lobster Rolls for lunch this weekend. It felt a little extravagant to make lobster for lunch, but considering the circumstances, it seemed right.

I began by prepping the johnnycakes, since the dough had to rest for an hour. I mixed them by hand, as directed, resulting in some messy dough-covered fingers. I had to add a touch more water (about a tablespoon) to get all of the dry ingredients to really come together, but then I was easily able to form the dough into a large ball (and then four smaller ones).

img_1302

Towards the end of the hour, I put on the water to boil for the lobster tail. I also combined the mayo, mustard, pickles (I used about 1 spear, once diced), lemon juice, zest and salt to make the remoulade.

In lieu of a tortilla press, I used my cast iron skillet and some parchment paper to form the johnnycake dough balls into thinner patties. I fried them in the same skillet, using vegetable oil.

I was both excited and nervous to cook a live lobster, but in the end, finding one locally proved to be a little difficult. At the seafood market, they had both Maine lobster tails and rock lobster tails. Because of the Caribbean connection, I bought an 8-ounce rock lobster tail. (They are also known as spiny lobsters and live in warmer waters than Maine lobster. They are commonly found the Caribbean.)

Here it is after cooking and its ice bath - notice the little spines along the side:

img_1305

I rescued the lobster meat from it’s slightly-dangerous shell and chopped it into bite-size pieces. I tossed it with a generous amount of remoulade (probably closer to two tablespoons). I sliced the johnnycakes, slathered on a bit more sauce and added the lobster meat for a tasty Anegada-style lunch.

img_1306

Caribbean Lobster Rolls

  • Servings: 4
  • Time: 1 hour, plus resting time
  • Print


From: Food Republic

Remoulade Ingredients

  • 1 cup mayonnaise
  • 1 tablespoon mustard
  • 2 tablespoons pickles, finely chopped
  • juice of 1 lemon
  • zest of 1 lemon
  • 1 teaspoon salt

Lobster Filling

  • 1 1½-pound lobster

Johnnycake Ingredients

  • 1 ½ cups flour
  • ¼ cup cornmeal
  • 1 tablespoon baking powder
  • 1 ½ tablespoons sugar
  • ¼ teaspoon salt
  • 1 tablespoon scallions, chopped
  • ½ teaspoon fresh thyme, chopped
  • oil, for frying

Directions

  1. Place all dry ingredients for the johnnycakes in a mixing bowl and mix together by hand.
  2. Add 1/2 cup of water and knead the dough until it forms into a ball, then portion the dough into 4 balls of equal size.
  3. Place the balls of dough on a pan and cover with plastic. Allow to rest for 1 hour at room temperature.
  4. While the dough rests, place all remoulade ingredients in a mixing bowl and mix well. Set aside.
  5. Poach the lobster in boiling water for 6 minutes. Remove the lobster from the boiling water and soak in an ice bath to halt the cooking process.
  6. De-shell the lobster and cut it into bite-size pieces tossed in 1-2 tablespoons of the remoulade sauce. Set aside.
  7. Flatten each ball of dough in a tortilla press. Heat the oil in large, heavy pot to 350°F and fry each for 3 to 4 minutes, flipping intermittently, until the cakes are golden brown.
  8. Remove the cakes from the oil and let them rest and drain.
  9. Once cooled, slice and fill each johnnycake with the lobster and remoulade filling mixture and serve.

Filed Under: book review, recipe Tagged With: fantasy, fiction, historical fiction, lunch, magical realism, sandwich, seafood

The Joy Luck Club + Pork Dumplings

September 15, 2016 by Megan 5 Comments

Amy Tan’s The Joy Luck Club is about four Chinese-American mothers who immigrated from China to San Francisco and their daughters. Like a mahjong game, the novel’s sixteen chapters are organized into four parts, each with four sections. Two sections focus on the Joy Luck mothers and two sections focus on their daughters, with one chapter devoted to their childhoods and one chapter devoted to their lives as adult women.

joy_luck_club

The story Tan tells is at once distinctive and familiar. While I couldn’t directly relate to what they faced as immigrants in a foreign country or more specifically as Chinese-Americans, I easily related to the growing pains they experienced through childhood, their struggles within relationships as they matured, and the ongoing, ever-changing connection between mothers and daughters.

Every week the women of the Joy Luck Club meet to play mahjong (one woman for each corner of the game table), raise money and feast. The hostess always served special foods to bring good fortune - “dumplings shaped like silver money ingots, long rice noodles for long life, boiled peanuts for conceiving sons, and of course, many good-luck oranges for a plentiful, sweet life.” The women would play all through the night and into the morning, until the sixteen rounds of mahjong were finished, and they would feast again.

I was quite excited to be able to make dumplings to go along with this novel. I found a recipe that sounded promising (The Only Dumpling Recipe You’ll Ever Need) and got a great Asian market recommendation from my coworker. I paid a visit to 168 Asian Mart one evening and picked up all the ingredients for the dumplings + some cute little sauce dishes I couldn’t resist + some mochi for dessert.

I assembled all of my ingredients and got to work.

img_1203

I wrung out each of the three thawed packages of Shepherd’s purse and chopped them as finely as I could. Then, I spent 7-ish minutes combining the greens with the pork and vinegar, wine, soy sauce and spices. Look at all that green:

I used water to wet the edges of my first dumpling skin, I plopped a generous dollop of filling onto it, and I realized I didn’t remember how to fan fold them. (Side note: I once worked as a “dumpling girl” at a restaurant folding several different kinds, each with their own unique fold. Over two extremely long weekends, I mastered all of the folds and made thousands of dumplings.) I watched some YouTube videos to jog my memory before deciding to stick with the simplest fold.

I boiled two of them to try out the filling. They passed the test, so I enlisted the help of my boyfriend and together we made about 90 before needing a break. A break meant it was time to eat! We pan-fried and then steamed them before enjoying the fruits of our labor.

img_1246

They were very vegetable-y but still quite good. If I made them again, I’d probably reduce the amount of greens or increase the amount of pork until I got the ratio I prefer. Since we’ll be eating these ones for quite a while, I’m not sure when that will be!

Pork Dumplings

  • Servings: Yields approximately 150 dumplings
  • Time: 2hr 30mins
  • Print

From: The Woks of Life

Ingredients

  • 3 lbs green leafy vegetable (like shepherd’s purse, baby bok choy, napa cabbage, or Chinese chives)
  • 1½ pounds ground pork (or ground chicken or beef, as long as they aren’t too lean)
  • ⅔ cup shaoxing wine
  • ½ cup oil
  • 3 tablespoons sesame oil
  • 1 tablespoon salt
  • 3 tablespoons soy sauce
  • ¼ teaspoon white pepper
  • ⅔ cup water, plus more for assembly
  • 3-4 packages dumpling wrappers

Directions

  1. Wash your vegetables thoroughly and blanch them in a pot of boiling water. Transfer them to an ice bath to cool. [If using frozen shepherd's purse, make sure it is fully thawed before continuing.] Ring out all the water from the vegetables and chop very finely.
  2. In a large bowl, stir together the vegetable, meat, wine, oil, sesame oil, salt, soy sauce, white pepper, and ⅔ cup water. Mix for 6-8 minutes, until very well-combined.
  3. To wrap the dumplings, dampen the edges of each circle with some water. Put a little less than a tablespoon of filling in the middle. Fold the circle in half and pinch the wrapper together at the top. Then make two folds on each side, until the dumpling looks like a fan. Make sure it’s completely sealed. Repeat until all the filling is gone, placing the dumplings on a baking sheet lined with parchment. Make sure the dumplings aren’t sticking together.
  4. If you’d like to freeze them, wrap the baking sheets tightly with plastic wrap and put the pans in the freezer. Allow them to freeze overnight. You can then take the sheets out of the freezer, transfer the dumplings to Ziploc bags, and throw them back in the freezer for use later.
  5. To cook the dumplings, boil them or pan-fry them. To boil, simple bring a large pot of water to a boil, drop the dumplings in, and cook until they float to the top and the skins are cooked through, but still slightly al dente.
  6. To pan-fry, heat 2 tablespoons oil in a non-stick pan over medium high heat. Place the dumplings in the pan and allow to fry for 2 minutes. Pour a thin layer of water into the pan, cover, and reduce heat to medium-low. Allow dumplings to steam until the water has evaporated. Remove the cover, increase heat to medium-high and allow to fry for a few more minutes, until the bottoms of the dumplings are golden brown and crisp.
  7. Serve with soy sauce, Chinese black vinegar, chili sauce, or other dipping sauce of your choice!


Find the dumpling skins fresh at the Asian grocery store. Look for the white, round ones. If they start to dry out, wrap them in a damp paper towel and put them in a sealed plastic bag for a couple hours to soften back up.

Freeze any unused dumpling wrappers in an airtight sealed plastic bag for later.


This post contains affiliate links. Full disclosure here.

Filed Under: book review, recipe Tagged With: appetizer, book club, cultural, dinner, fiction, historical fiction, lunch

  • « Go to Previous Page
  • Go to page 1
  • Interim pages omitted …
  • Go to page 7
  • Go to page 8
  • Go to page 9
  • Go to page 10
  • Go to page 11
  • Go to Next Page »

Primary Sidebar

About

The Hungry Bookworm brings together literature and food. Megan has an insatiable appetite for both.

As C.S. Lewis said, “Eating and reading are two pleasures that combine admirably.” Enjoy!

  • Bloglovin
  • Facebook
  • Instagram
  • Pinterest

Subscribe

Don't miss out on bookish content, exclusive giveaways, and of course, book club-friendly recipes. Get notified of new posts via email.

Join 2879 subscribers.

Search for Ingredients, Recipes, or Books

Recent Posts

  • Subscriber Box Review: Literati Book Club - Roxane Gay's Audacious Book Club
  • Arsenic and Adobo + Ensaymada
  • Review of The Kindred Spirits Supper Club
  • Kids Edition: Sometimes I Like to Curl Up in a Ball + "Dirt" Pudding Cups
  • The Midnight Library + Broccoli and Ricotta Toast

Goodreads

Tags

5 ingredients or less appetizer baking book club book list book of the month books about food bread breakfast brunch chicken contemporary cookies cultural dessert dinner dinner party dystopia easy prep favorites fiction fruit historical fiction holiday ice cream linkup lunch meat memoir mini review nonfiction pasta quick read reading challenge science fiction seafood show us your books side dish snack soup TBR list thriller top ten tuesday vegetarian veggies

Archives

Other Great Book Blogs

Literary Quicksand
Never Enough Novels
Death by Tsundoku
Professional Reader 25 Book Reviews
Privacy & Cookies: This site uses cookies. By continuing to use this website, you agree to their use.
To find out more, including how to control cookies, see here: Cookie Policy

Footer Widget Header

Megan’s Instagram

Copyright © 2025 · Hungry Bookworm