• Skip to primary navigation
  • Skip to main content
  • Skip to primary sidebar
  • Home
  • Reviews
    • Book Index
    • Fiction
    • Non-Fiction
    • Top Ten Tuesdays
The Hungry Bookworm

The Hungry Bookworm

reading + eating

  • Recipes
    • Drinks
    • Snacks, Sides & Apps
    • Main Dishes
    • Desserts
    • 5 Ingredients or Less
  • About
    • Meet Megan
    • How I Rate
    • Review Policy
    • Contact

dystopia

They Both Die at the End + French Toast

December 9, 2017 by Megan 2 Comments

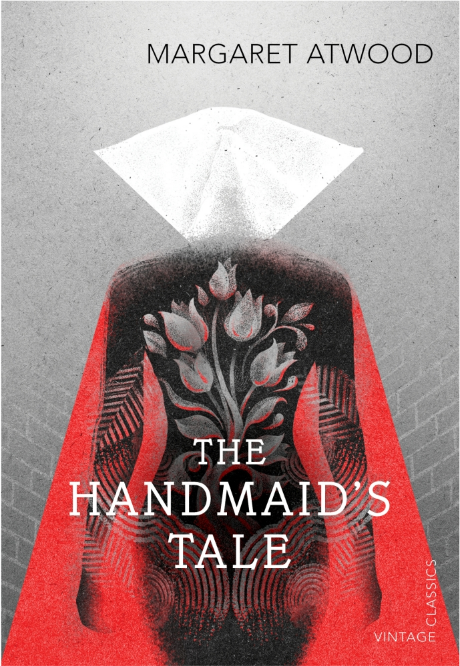
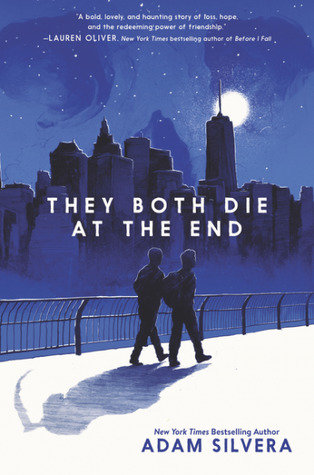
Imagine a world where you knew exactly which day you would die but not how - on the morning of your death, you get a phone call with the warning and are instructed to make the most of it. That’s the premise behind Adam Silvera’s They Both Die at the End, a young adult dystopian novel. I devoured it in a single day.

On the morning of September 5, a representative from Death-Cast calls both Mateo and Rufus - two teenage boys - and informs them that their End Day is here. They each set off to live their best life on their last day on Earth, not knowing exactly how or when it will come to an end. Interestingly (and one of the things I loved most about Silvera’s concept), a whole economy has grown up around this knew End Day phenomenon, and it is through the app Last Friend, that Mateo and Rufus find each other.

Together, they set about tying up loose ends, experiencing new things and enjoying a last meal to fuel them through their adventures. Some may not appreciate knowing how it all ends before even picking up the novel, but don’t let that hold you back. The ending was not what I was expecting, and I found that the anticipation of the end-point kept the momentum going as I read. If you enjoyed the movie Stranger Than Fiction, which I very much did, that’s the closest approximation I can think of to knowing a plot point and not having it ruin the rest of the experience for you.

Of course, knowing a recipe would end up tagging along with my review, Rufus and Mateo’s most memorable meal on their End Day was important to me. At a hole-in-the-wall diner, they order what I can only hope was an amazing grilled chicken salad (which wouldn’t be my first choice, to be honest) and French toast with a side of French fries (now we’re getting somewhere…).

The French toast obviously stood out to me - yes, grilled chicken salad can be very delicious, but I would really rather not endure a last day without carbs. For those of you who followed my Thanksgiving Readathon, you’ll know I adored Molly Wizenberg’s A Homemade Life. Coincidentally, in it, she included a recipe for her father’s French toast, alongside a whole chapter describing its deliciousness. I knew this had to be the recipe I used here, because a last meal absolutely has to be the best. It did not disappoint, and I can only hope the boys’ French toast was just as amazing.

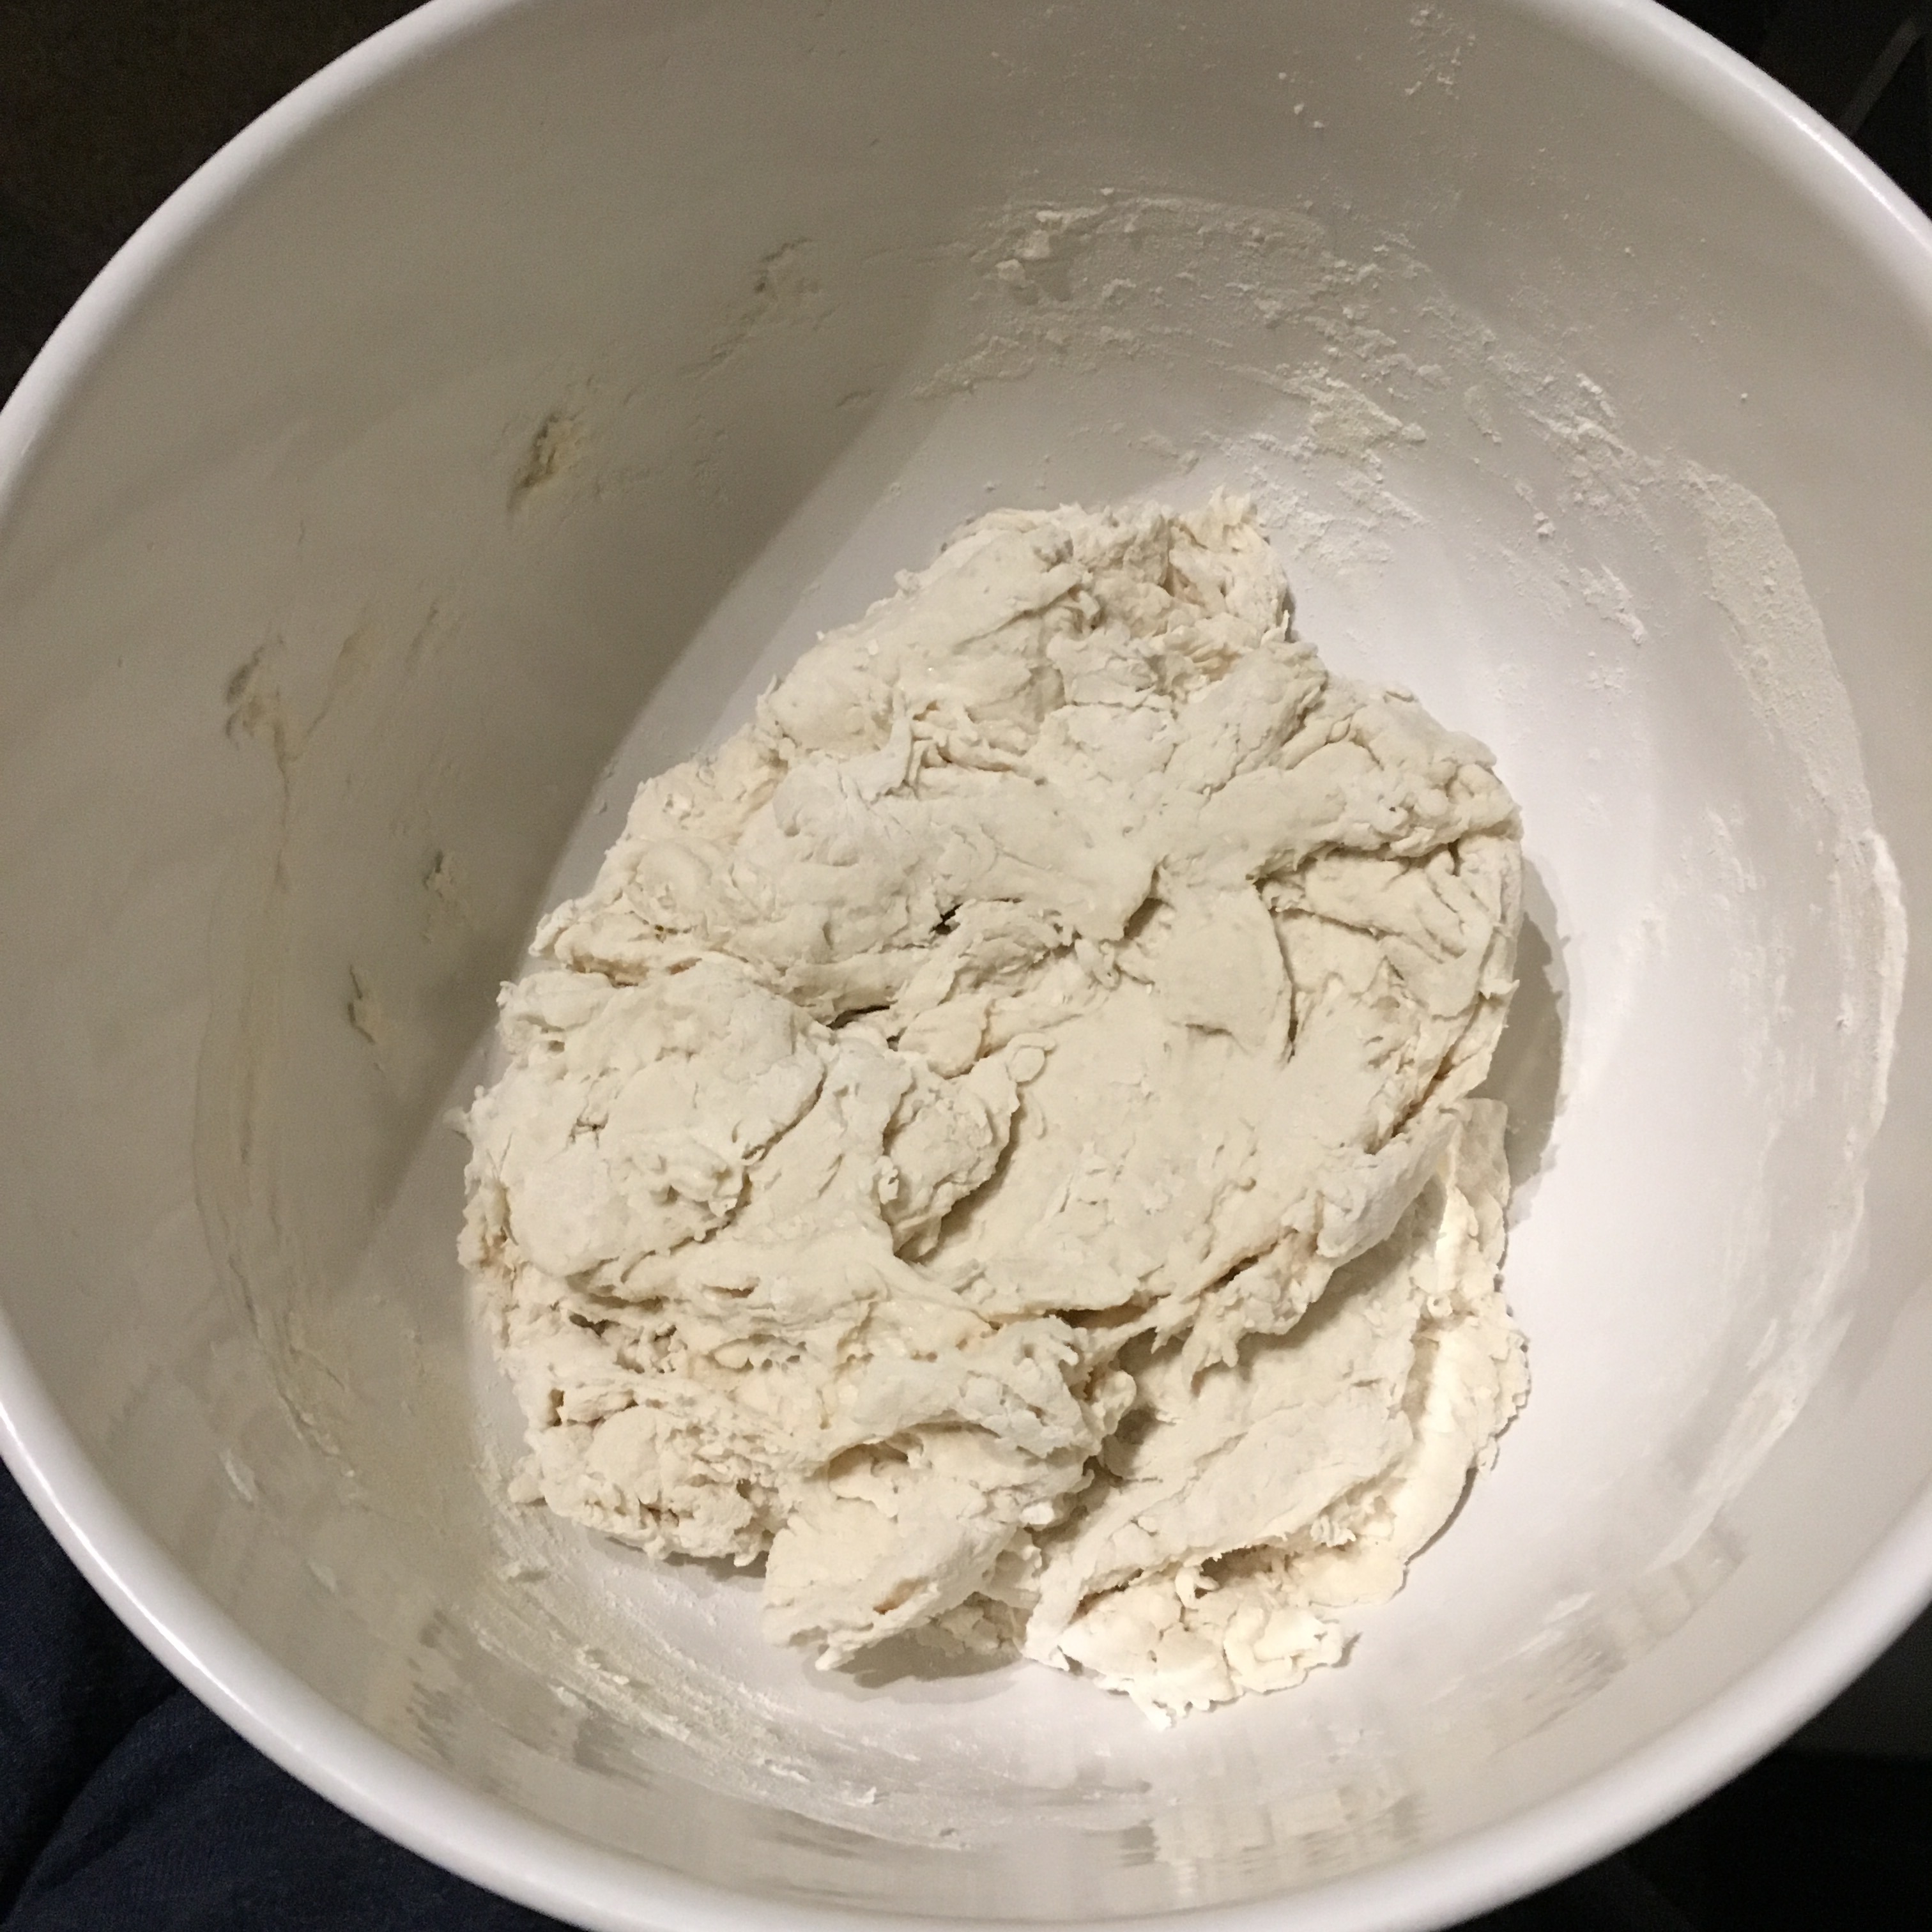
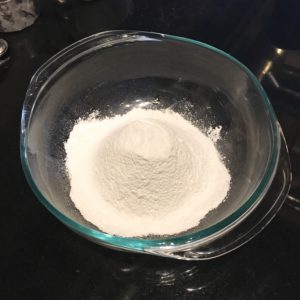
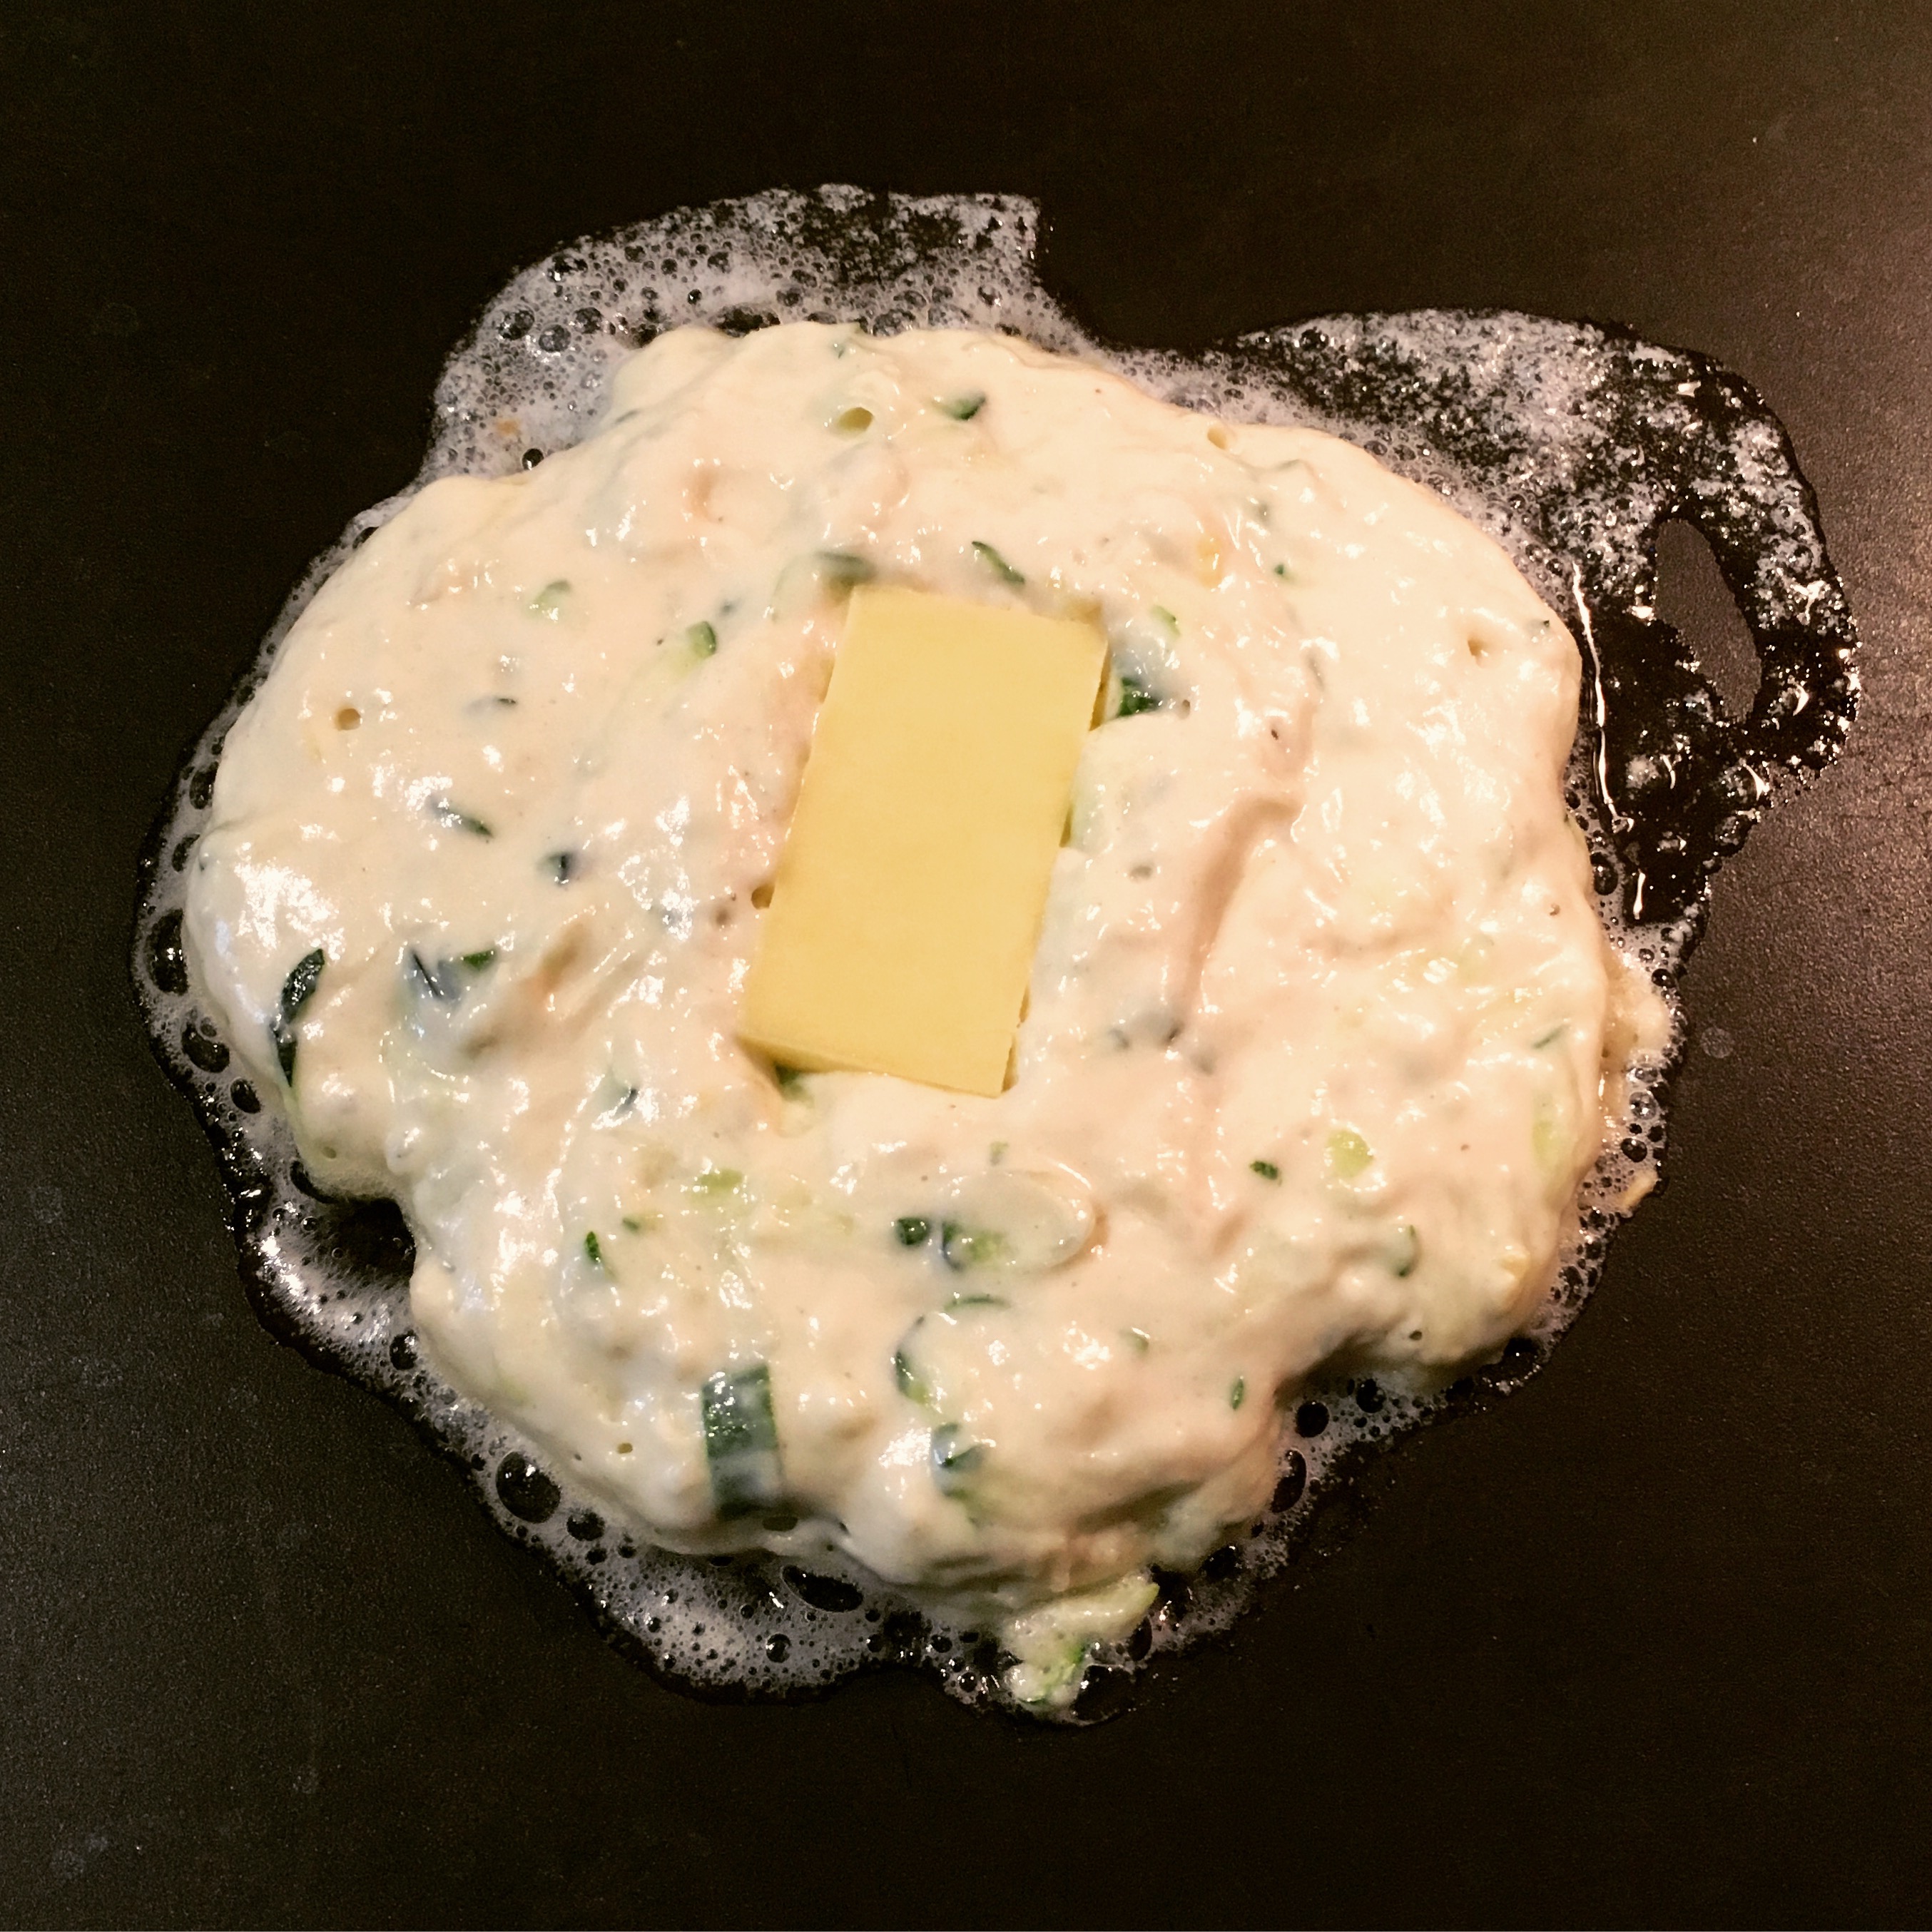
To start, I dug out my cast iron skillet and glugged in some canola oil, making sure to completely cover the bottom, per Molly’s instruction. Then, I cracked 3 eggs into a Pyrex pie dish, which I would ultimately use to coat the bread.

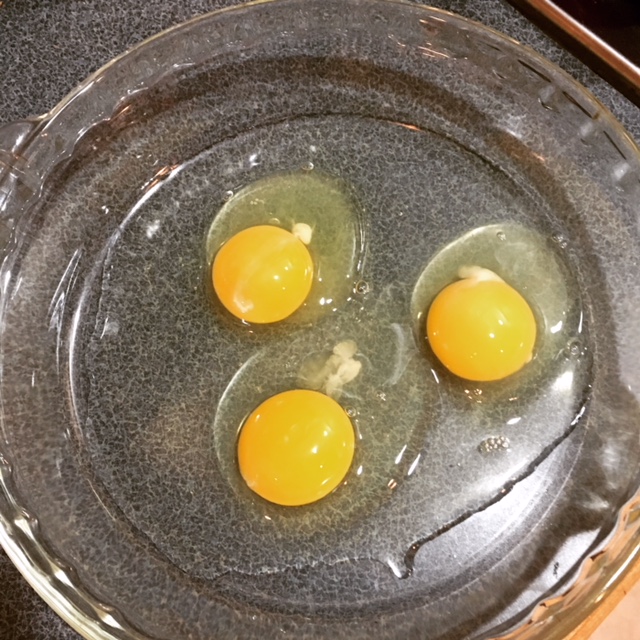
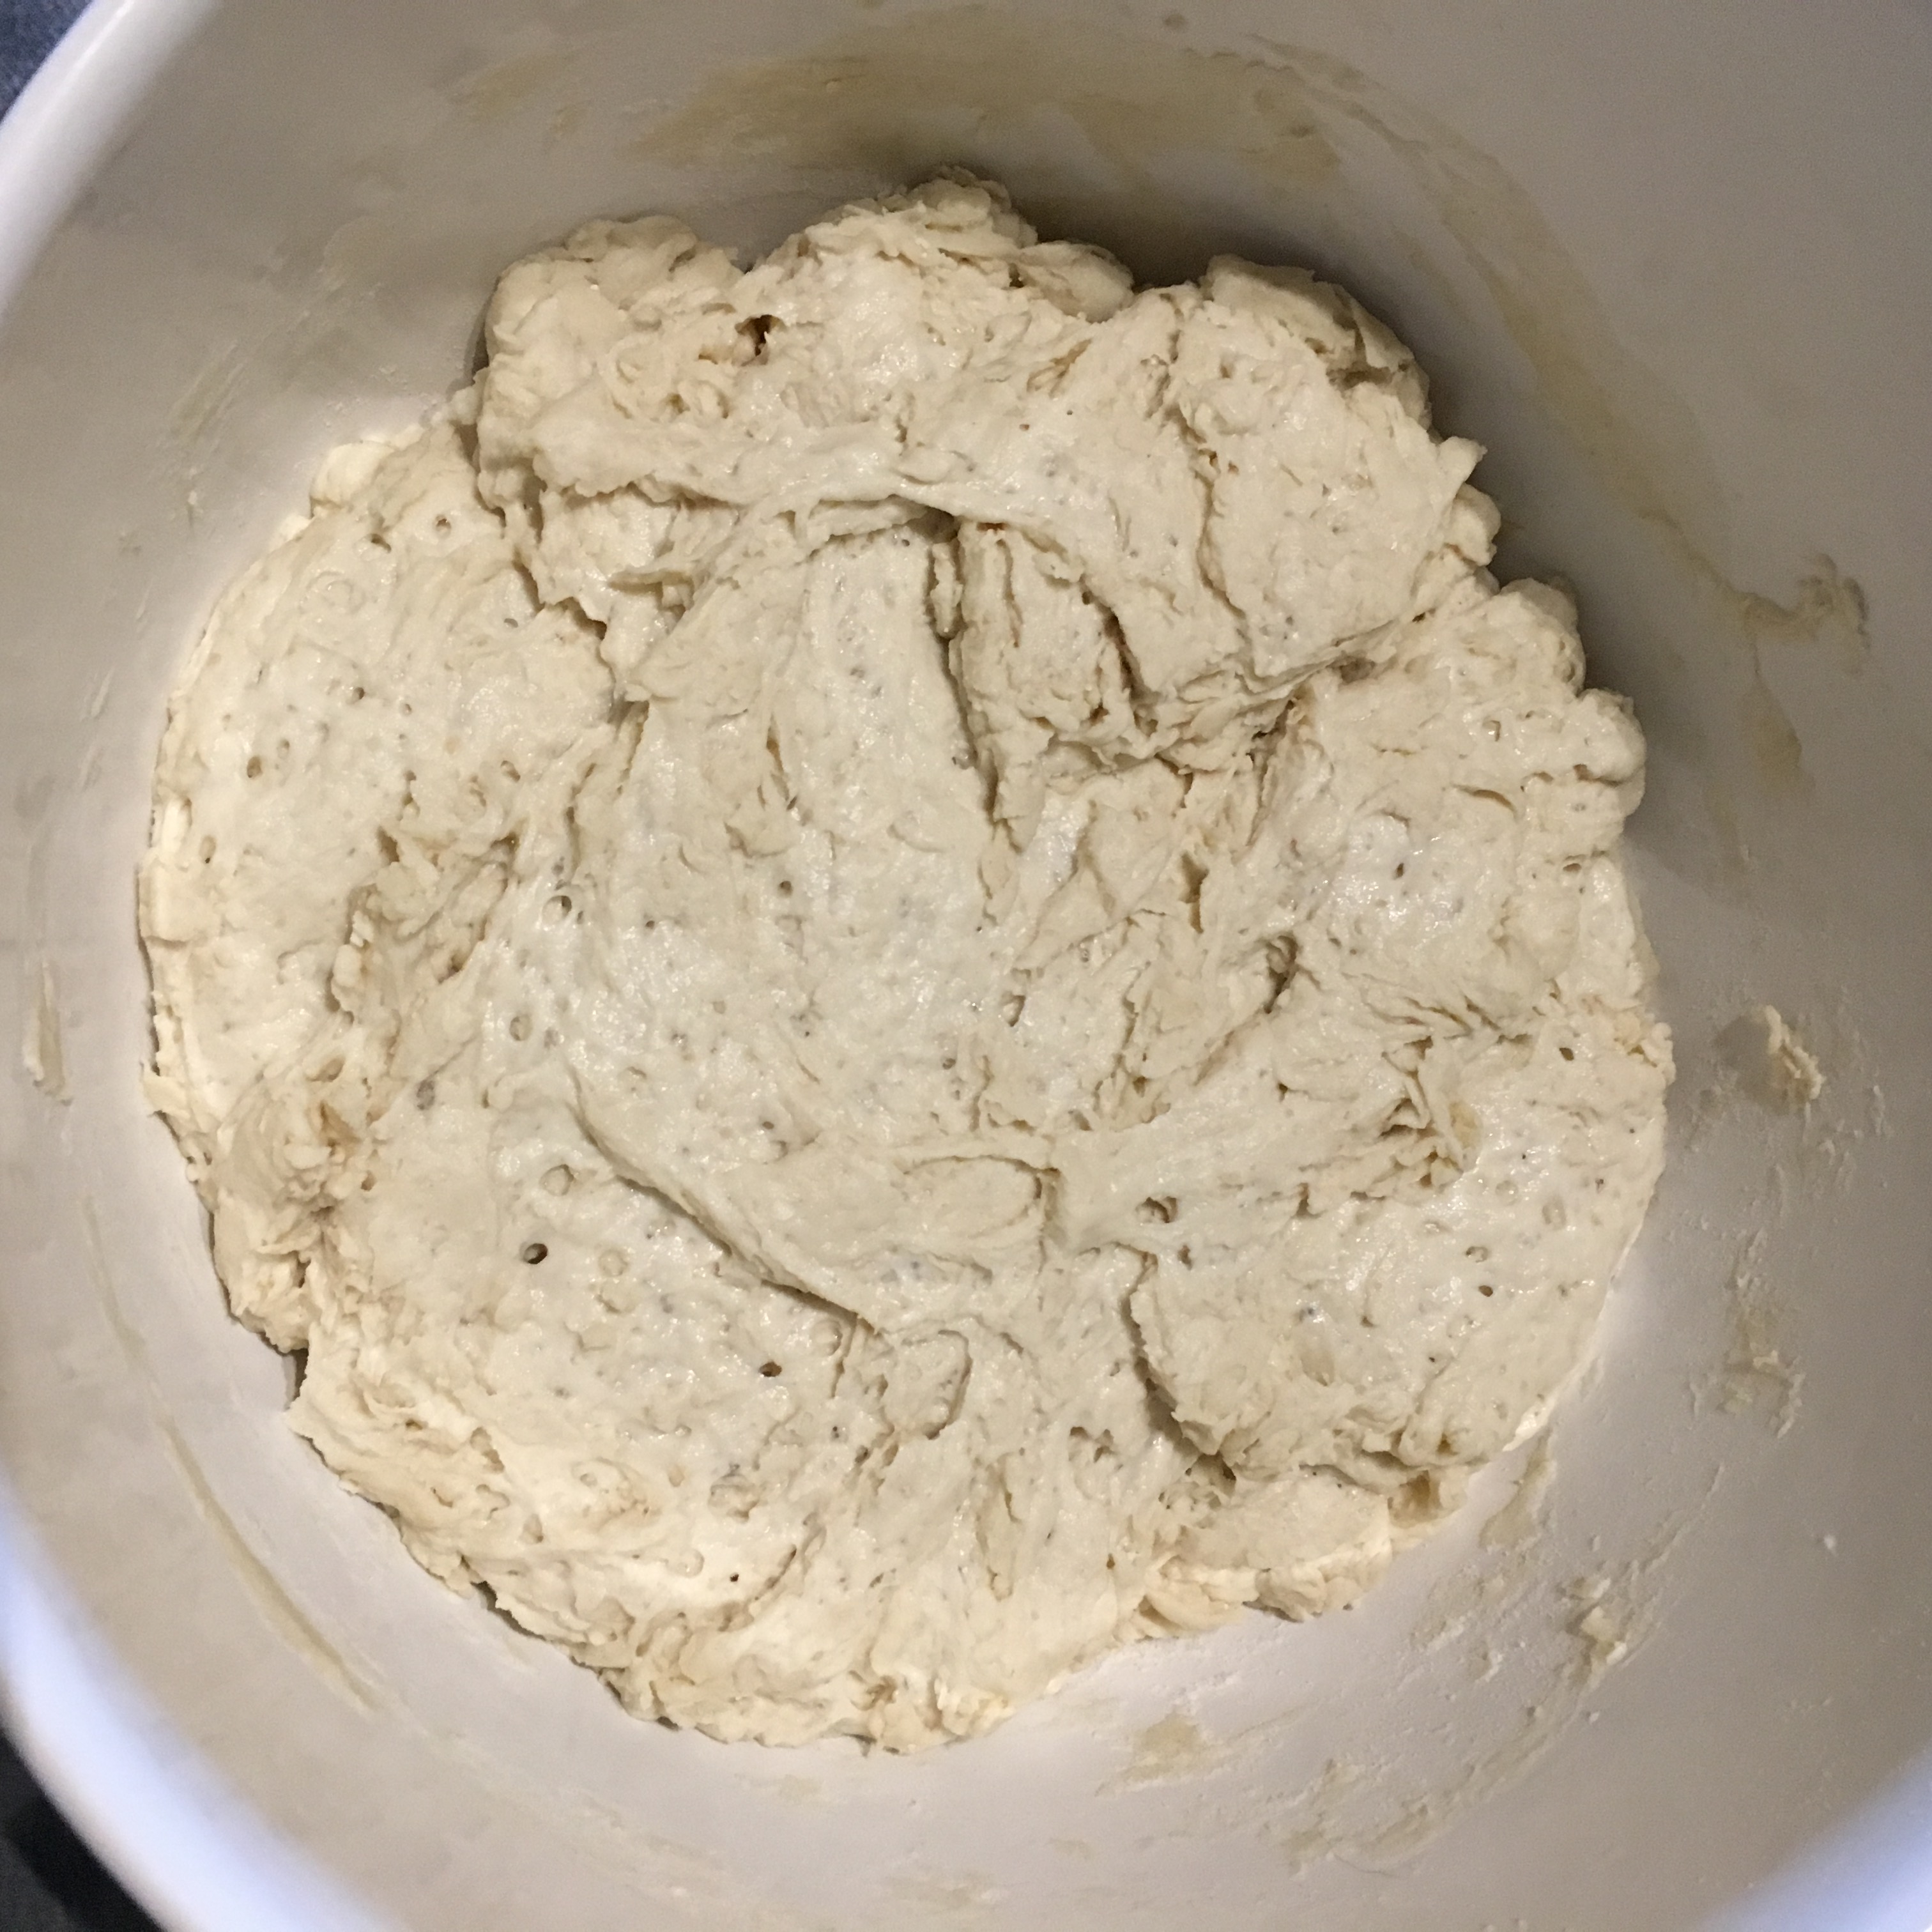
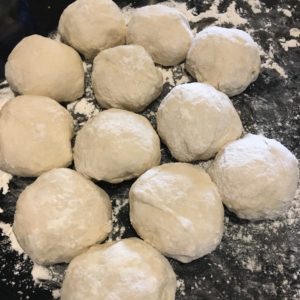
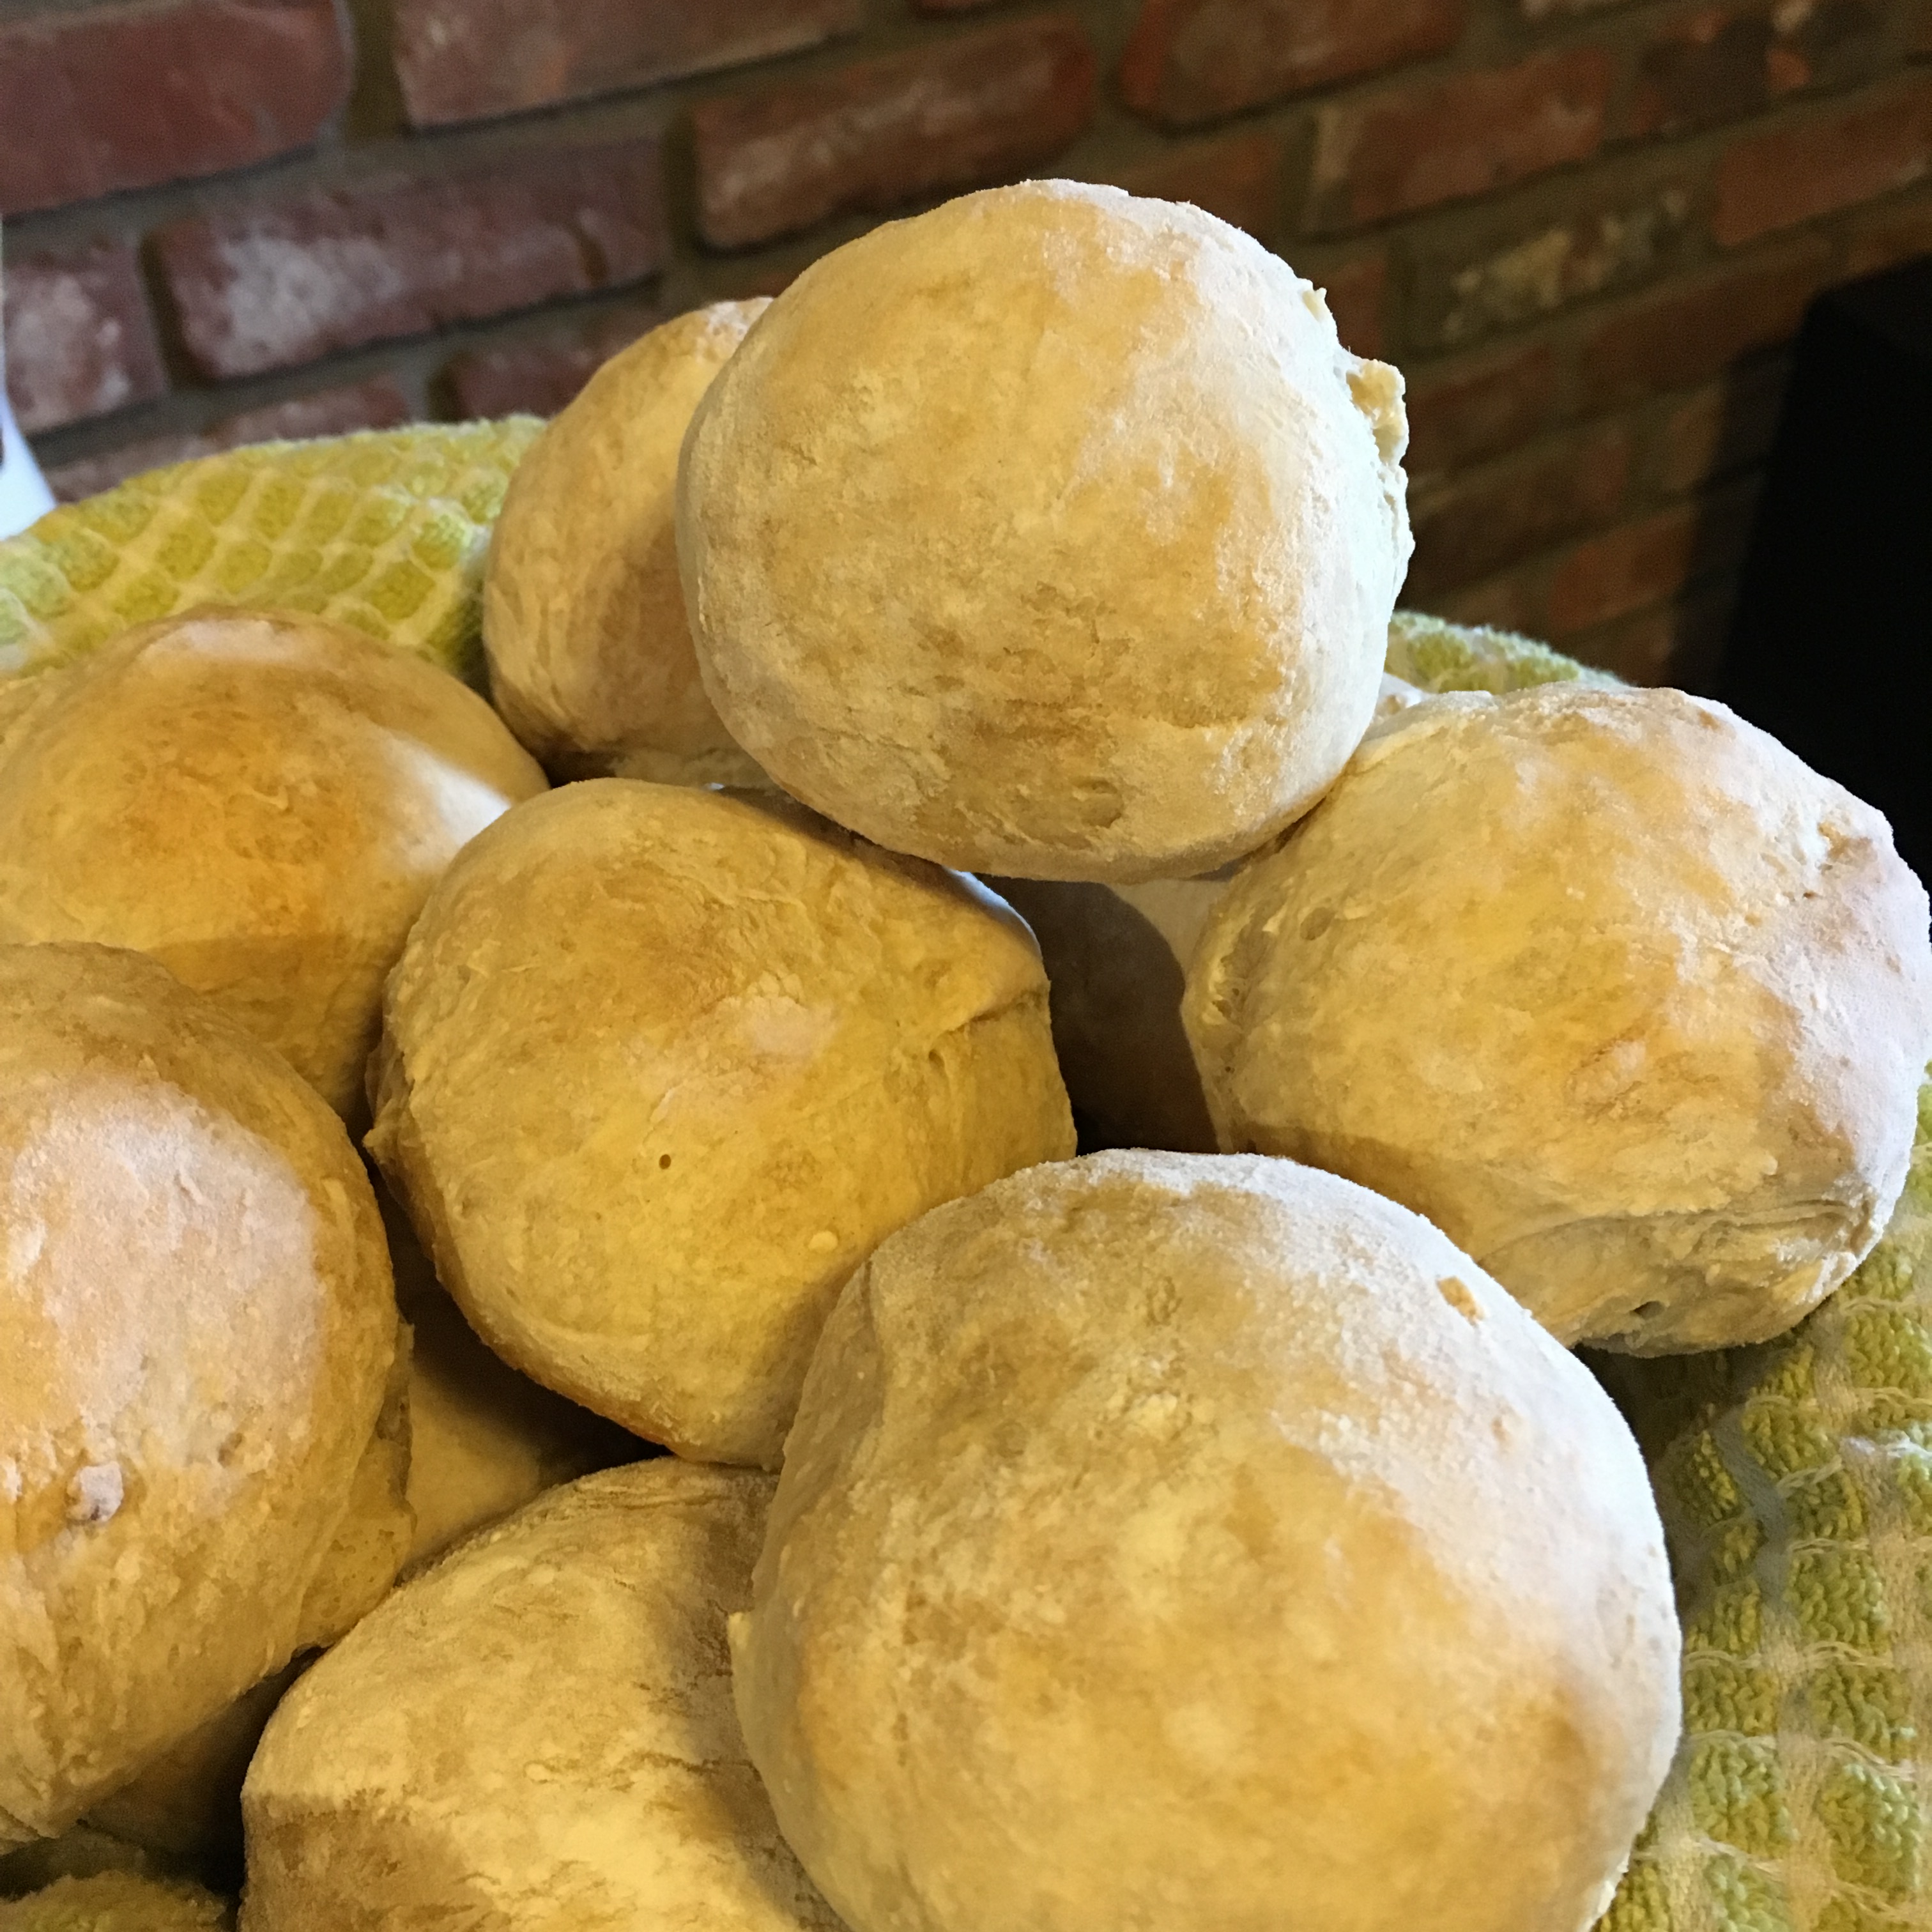
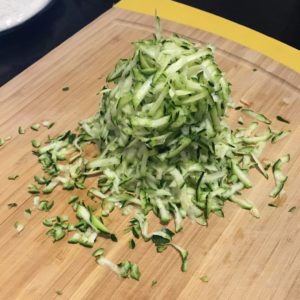
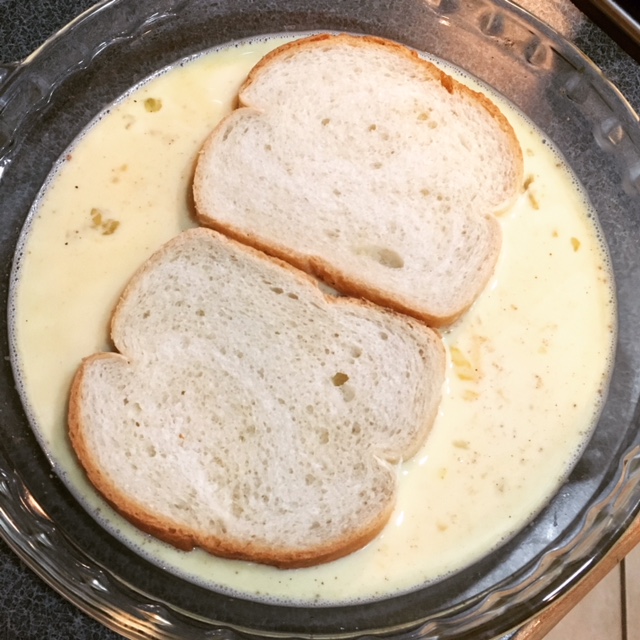
To the eggs, I added milk, sugar, vanilla, salt and nutmeg, whisking it all together. While the oil heated up, I added two slices of bread to the egg mixture, letting it soak for about 45 seconds or so on each side. (I unfortunately was unable to find a loaf of bread that wasn’t pre-sliced, so they weren’t cut diagonally, but I still think it worked well.)

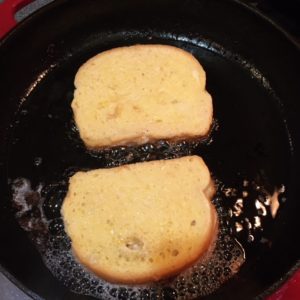
Then, carefully, using tongs, I placed each slice into the hot oil. It bubbled as it should’ve, which was a good sign. I let it cook for between 1 and 2 minutes on each side.

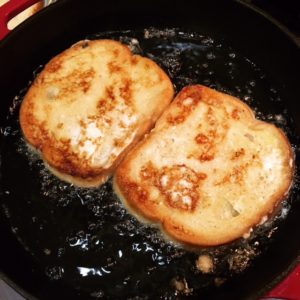
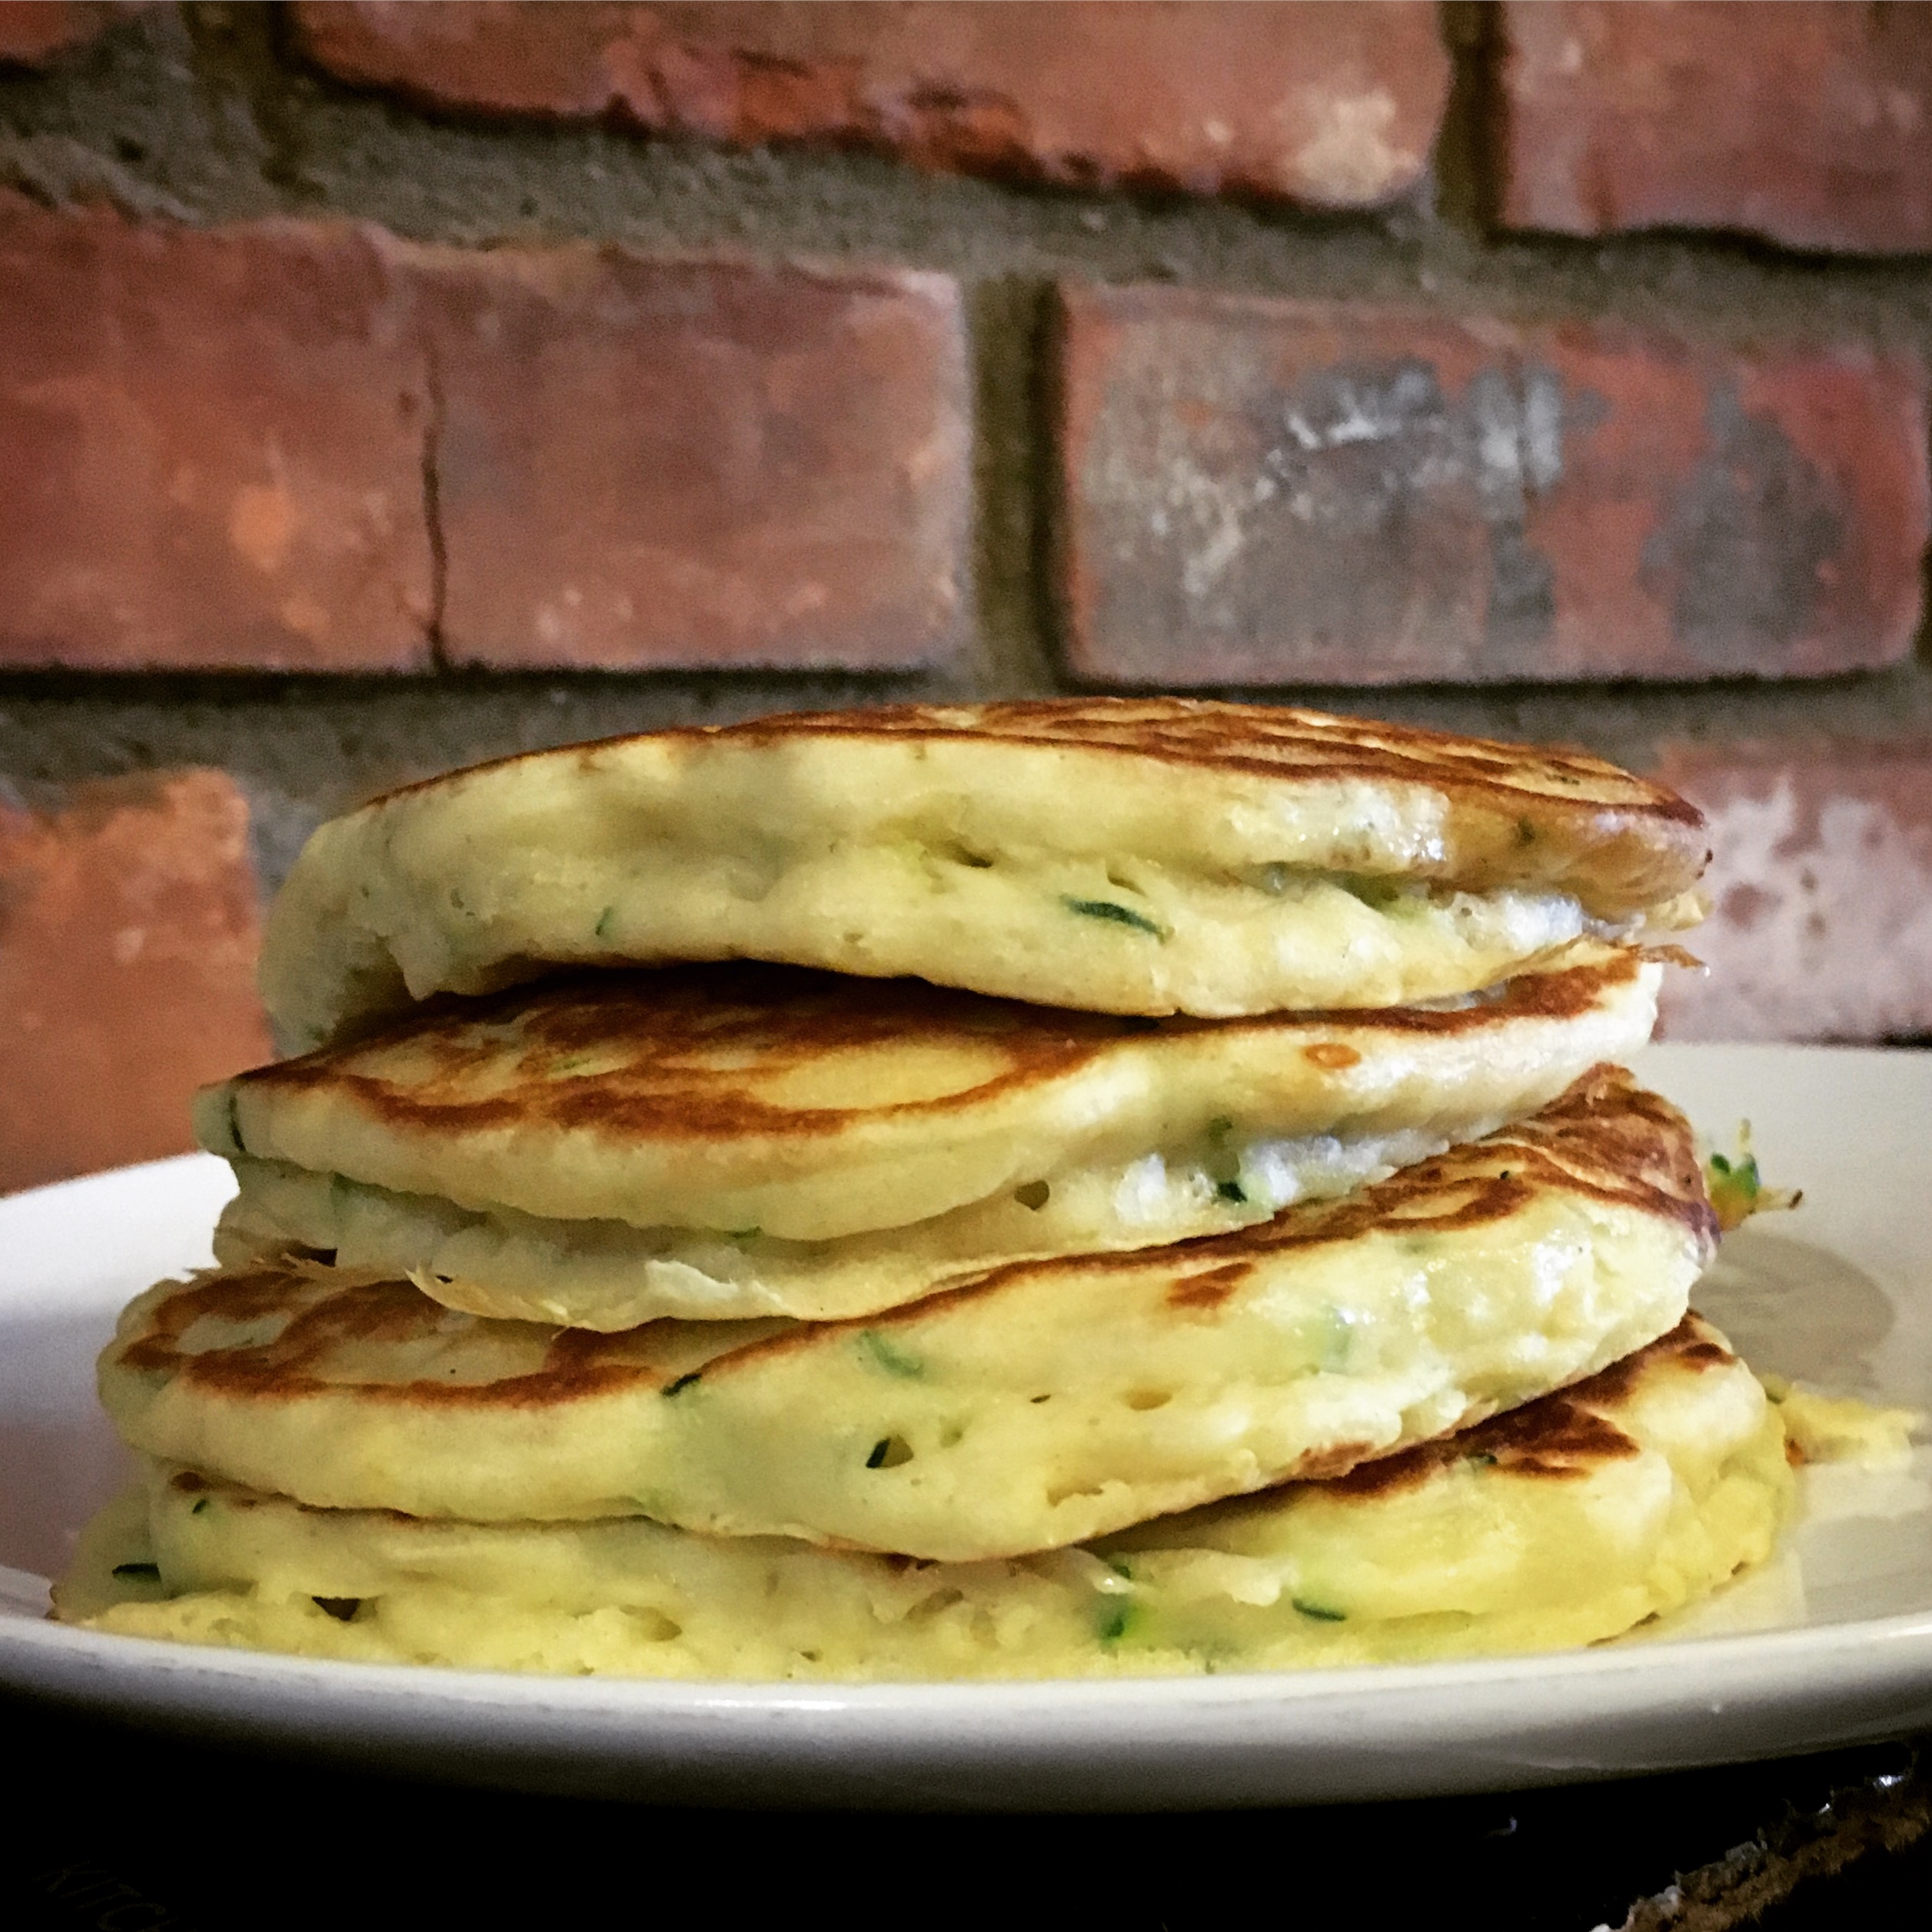
When each pair of slices was finished, I placed them on a plate lined with paper towels. We had these for a quick dinner one night after work, but they were so easy, that I wouldn’t hesitate to make them on a sleepy weekend morning. I haven’t made a lot of French toast myself, but I have eaten it quite often at restaurants, and this was probably the best I’ve ever had. I can definitely see us adding it to the rotation, especially when we’re looking for a little simple indulgence.

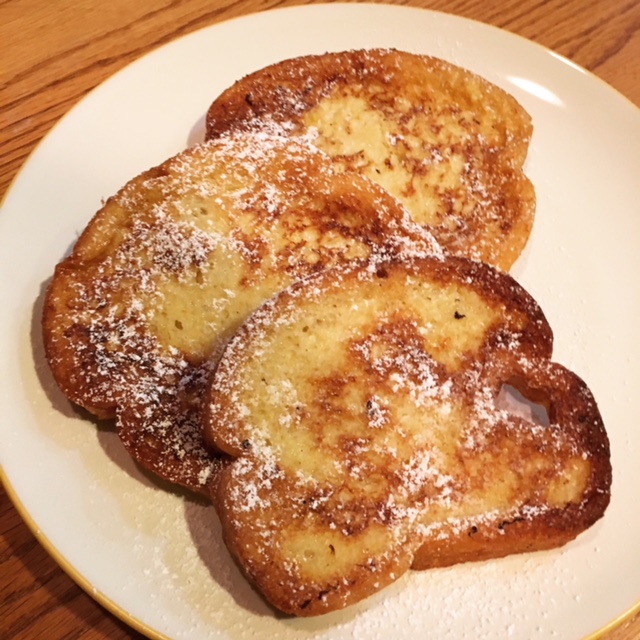
To finish, I dusted the slices with some powdered sugar, which is something I love from years of ordering French toast at restaurants. I’m actually always disappointed when it appears on my table without a white dusting. Of course, we also covered them with syrup and dug right in.

Last Meal French Toast

  • Servings: 6-8 slices
  • Time: 20 minutes
  • Print

Ingredients

  • 3 large eggs
  • 1 cup whole milk
  • 1 tablespoon sugar
  • 1 teaspoon vanilla extract
  • ¼ teaspoon salt
  • pinch of freshly ground nutmeg
  • canola or other flavorless oil, for frying
  • 6 to 8 slices day-old bread, cut on the diagonal, about ¾ inch thick
  • pure maple syrup, for serving
  • powdered sugar, for serving (optional)

Directions

  1. Break the eggs into a wide, shallow bowl or an 8-inch square Pyrex dish. Whisk the eggs to break up the yolks. Add the milk, sugar, vanilla, salt and nutmeg and whisk to blend.
  2. Place a heavy large skillet - preferably cast iron - over medium-high heat, and pour in enough oil to completely cover the bottom of the skillet. Let the oil heat until you can feel the warmth radiating from it when you hold your hand close over the pan. To test the heat, dip the tip of a finger into the egg mixture - not the oil! - and flick a drop into the oil. If it sizzles, it’s ready.
  3. Meanwhile, when the oil is almost hot enough, put 2 to 3 slices of bread into the egg mixture, allowing them to rest for 30 seconds to 1 minute per side. They should feel heavy and thoroughly saturated, but they shouldn’t be falling apart.
  4. Carefully, using tongs, place the slices in the skillet. They should sizzle upon contact, and the oil should bubble busily around the edges. Watch carefully: with hot oil like this, the slices can burn more quickly than you would think. Cook until the underside of the each slice is golden brown, 1 to 2 minutes. Carefully flip and cook until the second side is golden, another 1 to 2 minutes. Remove to a plate lined with paper towel, and allow to sit for a minute or two before serving.
  5. Repeat with remaining bread. If, at any point, the bread starts to burn before it has a chance to brown nicely, turn the heat back a little. You want to keep it nice and hot, but not smoking.
  6. If desired, dust with powdered sugar. Serve with maple syrup.

Slightly adapted from: Molly Wizenberg’s A Homemade Life, featured on pages 39 - 40 as Burg’s French Toast

Recipe Notes: Bread should always be a day or two old. Make sure it has a soft, light crumb and isn’t too dense. When pouring in the oil, make sure it completely coats the bottom of the pan.


This post contains affiliate links. Full disclosure here.

Filed Under: book review, recipe Tagged With: bread, breakfast, dystopia, fiction, vegetarian, young adult

The Word Exchange + Mini Pineapple Upside-Down Cakes

November 29, 2017 by Megan 1 Comment

For those of you who read my recent Top Ten Tuesday, where I covered books I’m thankful for, you’ll recognize today’s title. Alena Graedon’s debut novel is a dystopia called The Word Exchange. It had been on my TBR list for a little while now, but I forget how it got there. I remember adding it to the consideration set for our office’s Diversity Book Club when we were selecting from various dystopias one month. It didn’t win then, and honestly, it may have taken me a lot longer to get to it if not for my good friend Deanna suggesting it for our most recent book club meeting (outside of work).

Though I ended up loving The Word Exchange, it wasn’t an instant hit for me. I struggled a bit through the first couple of chapters; I even warned our book club to get started sooner rather than later and break out the dictionary. The language was complicated (purposefully, I found out later) and those chapters were dense. But, after about 50 pages or so, I began getting into the story and was suddenly hooked.

Graedon describes a near-future where the death of print has happened and handheld devices are taking over society. Furthermore, people begin to rely on something called The Word Exchange, where people makeup definitions and words in a sort of online marketplace. Anana works with her father at the North American Dictionary of the English Language, and when he goes missing, she finds herself in a world where language is quickly losing meaning. She enlists her bookish coworker Bart in the search for her father and answers - trying to avoid contracting the rapidly spreading “word flu” all the while.

The combination of the importance of language and our reliance on technology was done quite skillfully, in a way that still haunts me whenever the novel comes to mind. I’ve tried to be more conscious of my use of technology - particularly my cell phone and social media - since finishing this book. Not that any of it is bad in and of itself, just that it’s important to me to not become dependent on these, particularly as a way of passing time. As I learned over the recent Thanksgiving Readathon, putting down my phone gives me a lot more time to focus on something more worthwhile - like spending time with family or reading.

Anana’s father’s favorite fruit is a pineapple, and if you’re wondering why I know that, it’s actually a bit of thing throughout the book. Anana’s name, in fact, means pineapple when an s is added to the end. I knew almost immediately they would be a huge part of what I made to go along with the book. If I’m remembering correctly, pineapple upside-down cake was his favorite dessert. I decided to make it in mini form, thinking that would be easier. (In the end, I don’t think that’s the case.)

It was really important to me to find a recipe that used the rings rather than the chunks, and so after a bit of research, I found this one from Baker by Nature. I started the whole process by ordering some jumbo muffin tins from Amazon - the jumbo ones are required so that the pineapple rings can fit in the bottom.

They arrived in time for me to make the mini cakes for our book club meeting, so I got to work the night before. I preheated the oven and greased the jumbo tins.

Then I mixed together the cake batter. I combined the eggs with the sugars and rum, beating until smooth. To that I added the pineapple juice, just stirring it in. Separately, I sifted together the dry ingredients, and then added them into the wet ingredients, whisking until just combined.

In a small saucepan, I made the topping for the cakes. I melted butter and then added brown sugar, rum and salt, stirring while it cooked.

I added the topping to the bottom of the jumbo tins (because they’ll be flipped upside-down later!) to start.

Then, I added in the pineapple rings on top of that, with a maraschino cherry in the middle of each.

Finally, I added the cake batter, filling them roughly ¾ of the way full.

I baked the cakes for about 20 minutes and then pulled them out of the oven to cool.

They cooled in the pan for 5 minutes before it was time to turn them out to cool on a rack. I want to caution you to be very careful when flipping your pans. If you have two tins of 6 cakes each, please do them individually and not at the same time - even if you think you can manage it. The topping is VERY hot and still ooey gooey, which I can tell you from personal experience makes a huge mess if something goes awry and it happens to get all over the kitchen.

It is important to place the cooling rack within a baking pan with a lip. Place that upside down on top of the muffin tin and then quickly and carefully flip that over so that the pan and cooling rack are on the bottom. Repeat with the other rack/pan/muffin tin.

I hadn’t had pineapple upside-down cake before, and I was pleasantly surprised at how much I liked it. Anana’s dad was onto something!

Mini Pineapple Upside-Down Cakes

  • Servings: 12
  • Time: 30 minutes
  • Print

Ingredients

  • 4 large eggs, at room temperature
  • 1¼ cups granulated sugar
  • ¼ cup dark brown sugar, packed
  • ½ cup pineapple juice
  • 2 teaspoons rum (or pure vanilla extract)
  • 1½ cups all purpose flour
  • 2¼ teaspoons baking powder
  • ½ teaspoon cinnamon
  • ¼ teaspoon salt
  • 2 tablespoons cornstarch
  • 6 tablespoons unsalted butter
  • 1½ cups dark brown sugar (packed)
  • 1 teaspoon rum (or vanilla extract)
  • ⅛ teaspoon salt
  • 12 pineapple rings
  • 12 maraschino cherries

Directions

  1. Preheat oven to 350 degrees (F). Generously spray a 12-mold jumbo muffin tin with non-stick cooking spray; set aside.
  2. Crack the eggs into a large mixing bowl; whisk smooth. Add in the granulated sugar, brown sugar, and rum (or vanilla), and beat smooth. Stir in pineapple juice and set aside.
  3. In a separate bowl, sift together the flour, baking powder, cinnamon, salt, and cornstarch. Gradually add the dry ingredients into the wet ingredients and whisk until just combined. Be sure not to over mix here! Set mixture aside while you make the topping.
  4. For the topping: In a small sauce pan, melt the butter over medium heat. Add in the brown sugar, rum, and salt, and cook for 1 minute, whisking constantly. Remove from heat.
  5. Spoon 2 tablespoons of the topping mixture into the bottom of each muffin tin; place a pineapple ring on top, then place a cherry in the middle of each pineapple ring. Divide the cake batter evenly among the prepared tins, fill each muffin tin 3/4 of the way full.
  6. Bake for 20-22 minutes, or until the tops are puffed and golden brown, and a toothpick inserted in the center of the cake comes out clean.
  7. Remove from the oven and cool in pan for 5 minutes. Gently run a knife around the edge of each cake to help loosen any stuck bits, then gently place a wire cooling rack on top and quickly flip over. You will want to place the cooling rack on a large sheet pan before doing this, to help make it less messy. Serve cakes warm or at room temperature.

From: Baker by Nature

Recipe Notes: Rum may be substituted with pure vanilla extract. Cakes are best eaten the day they are made, but may be stored in the fridge, in an airtight container, or on a plate covered tightly with plastic wrap, for up to 3 days.


Filed Under: book review, recipe Tagged With: baking, dessert, dystopia, fiction, fruit

The Handmaid's Tale + Strawberry Pie

April 20, 2017 by Megan 1 Comment

Is everyone else looking forward to Hulu’s The Handmaid’s Tale as much as I am? The trailer gives me chills. I had read the Margaret Atwood’s dystopian novel about three years ago, but anticipating the upcoming series, I was excited for the chance to re-read it with one of my book clubs.

cover.jpg.rendition.460.707

The first time I read The Handmaid’s Tale, I thought it was interesting, but I don’t think I fully appreciated it. This time around, I was able to read it through different eyes; it felt more relevant to me than it did a few years ago, and frankly, it was a little scary.

In Atwood’s imagined Republic of Gilead, Offred is one of the Handmaids placed with a Commander and his barren wife for the sole purpose of having his child and giving them a family. In her red dress, she is limited in who she’s allowed to communicate with, and even more so by the restrictions forbidding her to read or write. When Offred is not alone in her room, she runs errands with her partner Handmaid and occasionally attends birthings and special ceremonies designed to remind her and every woman of their place in this new totalitarian society.

Offred’s diet, and presumably that of all Handmaids in Gilead, is controlled in its amount and restricted to that which is nourishing. Though Offred is the one to pick up the household’s groceries, it seems she has no say in what she eats. When shopping one day, she muses on the smell of fresh strawberries and the memories of summers past they recall.

Living in a society so much like the one Offred used to live in - where women work outside of the home, have freedom of movement and choice, and can make their own decisions to have children or not - it was hard to see how easily it was all taken away. Many American women believe we have come a long way. And we have. But until we are truly equal and are equally represented in society, women are not in control of their own destinies. For me, the fact that these rollbacks are not inconceivable was the most eye-opening part of reading this book.

In the end, Offred’s story left me with more questions than answers, but it was one that sparked a lively conversation with my fellow book club members and one that I heartily recommend.

Capitalizing on their bright red color, strawberries seemed like an excellent choice to represent The Handmaid’s Tale. I found a recipe for Fresh Strawberry Pie that looked too good to resist.

Using a storebought crust proved to be a lifesaver for me as I had some issues and had to bake it three times before I got it right (don’t forget your pie weights!). While that was a bit frustrating, I was happy I didn’t have to re-make crust from scratch just as many times. Before it went into the oven each time, I made sure to scallop the edges to create a pretty design.

IMG_2805

While it baked, I washed, hulled and quartered the fresh strawberries - I used 4 cups in the end, though I had prepared 6 cups. It will ultimately depend on how deep and wide your pie dish is, but I don’t think it hurts to have some extra prepared strawberries around.

IMG_2806

When my successful crust was finally cooling, I got to work on the glaze. I combined 1 cup of water, 1 cup of sugar and some cornstarch in a small saucepan and brought it all to a boil. Then, I whisked until the glaze began to thicken, about 3 minutes. Last, I added the box of strawberry Jell-O and whisked that for another minute or so. The finished glaze also had to cool about 15 minutes before filling the pie.

When assembling the pie, I first added the prepared fresh strawberries to the cooled crust. I did my best to keep the top relatively even, but you could certainly create a thicker middle if you wanted to. (That option might require additional glaze to get good coverage.) Then it was time to pour on the delicious glaze, again doing my best to get even coverage over the strawberries.

The finished product was absolutely beautiful - and SO red. I couldn’t wait to dig in. This pie will definitely be making future appearances over the summer.

IMG_2807

IMG_2808

Fresh Strawberry Pie

  • Servings: 8-12
  • Time: 50 minutes
  • Print

Ingredients

  • 9 inch pie crust (homemade or storebought)
  • 4 to 6 cups fresh strawberries, quartered and hulled
  • 1 cup water
  • 1 cup sugar
  • 1 3oz. box of strawberry Jell-O
  • 3 tablespoons of cornstarch

Directions

  1. Bake pie crust in 9-inch deep pie dish and set aside to cool.
  2. Put the water, sugar and cornstarch in a saucepan and bring to a boil. Whisk constantly until it becomes thick, about 3 minutes.
  3. Whisk in the Jell-O and cook for a minute longer. Remove from the heat and let cool for about 15 minutes.
  4. As the glaze cools, place strawberries straight into the pie crust.
  5. Pour the glaze over the strawberries.
  6. Refrigerate until set. Serve with whipped cream if desired.

From: Sugar Apron

When baking the pie crust, be sure to use pie weights or dry beans to ensure that the sides of your crust doesn’t fall. Poke holes in the bottom of the crust with a fork, add weights or beans and bake according to directions. After half the baking time, remove weights and allow to bake for the remaining time without them.

This post contains affiliate links. Full disclosure here.

Follow my blog with Bloglovin

Filed Under: book review, of interest, recipe Tagged With: book club, dessert, dystopia, fiction, fruit, television series

1984 + Artisan Dinner Rolls

March 25, 2017 by Megan 1 Comment

I never read George Orwell’s 1984 in high school. I also never read Animal Farm until my boss recommended it to me as an adult, and while it was fine, I wasn’t particularly moved to seek out other Orwellian novels. But, like many Americans, once Trump was elected and “alternative facts” became a thing, I got interested. Suddenly, it was selling out everywhere - even Amazon - and I had to backorder my copy.

31besGg4t3L._SX311_BO1,204,203,200_

For those of you who don’t know, 1984 is a dystopian novel that imagines a world where Big Brother watches over your every move, the Thought Police have jurisdiction and the news is altered on a regular basis to better correspond to reality and/or change the past. It was written 35 years prior to 1984, and now, another almost 35 years later, it is more relevant than ever.

In the bleak world Orwell paints, the main character Winston Smith is a member of the Outer Party, and since he actively participates in spreading propaganda and revising history, he lives a decently comfortable life - even if it’s under constant scrutiny. While we primarily follow his journey for the truth, I found the “Proles” to be the most interesting, and Winston too, thinks of them as the best chance to overthrow the ruling Inner Party. Though they are roughly 85% of the population, they exist only to supply labor and grow the population.

I’m not sure I would’ve fully understood this book, let alone appreciated it had I read it in high school. It’s not a book that I like even now, as alarming as it was, but it certainly respect its message. I think everyone should read it once, and it was certainly worth it for me.

I could’ve made something decadent to represent the Inner Party, who always seem to be enjoying chocolate and wine while the rest of the country is told there’s a shortage, but I felt like a rustic bread was more representative of those who struggle beneath them - the Outer Party and the Proles. Outside of culinary school, I haven’t attempted bread, so I found a recipe for Unbelievably Easy Artisan Rolls and set to work.

As promised, the rolls were unbelievably easy to make. Just before going to bed one night, I whisked together the flour, salt and yeast before adding 2 cups of room temperature water. I mixed it all together with a rubber spatula, covered it with plastic wrap and set the bowl on the stove to hang out while I slept.

IMG_2636

In the morning, I removed the plastic wrap to see how much the dough had risen. It wasn’t a crazy amount, but it definitely had expanded and there were bubbles on top.

IMG_2650

With the oven coming up to 425-degrees F, I began coating the large ball of dough with flour and then used a bench scraper to divide it into a dozen smaller pieces. With each well-coated with more flour, I formed them into balls and placed them on the parchment paper with the pinched side down (to make a smooth top). They rested for another 20 minutes before going in the oven.

I baked them for 15 minutes, rotated the pan, and baked for an additional 5 minutes. Mine probably could’ve spent another few minutes in the oven to get some more color, but I pulled them and allowed them to cool at that point - mostly because I’m impatient and they looked done enough to me.

IMG_2663

More importantly, they tasted delicious! They were great alongside soup, salad and pasta - all of our meals for the rest of the week. With rolls this easy, I probably don’t have any excuse for not making my own ever again.

Artisan Rolls

  • Servings: 10-16
  • Time: about 20 minutes active time, but requires several hours of unsupervised rising time
  • Print

From: The Café Sucre Farine

Ingredients

  • 4 cups bread flour, plus extra for shaping [I used all-purpose flour because it’s what I had at home and the rolls still tasted delightful.]
  • 2 teaspoons kosher salt
  • 1 teaspoon dry yeast
  • 2 cups room temperature tap water

Directions

  1. In a medium-large bowl, whisk together the bread flour, salt, and yeast. Make a well in the center and add the water. Mix with a sturdy rubber spatula until all flour is incorporated. Don’t worry, the dough will be wet and sticky, that’s how it should be. Cover bowl with a plastic wrap and leave to rise at room temperature overnight or for up to 12 hours.
  2. The following morning (or after 8-12 hours), the dough will have risen, but it may still look shaggy and it's surface will be covered with bubbles.
  3. Line a sheet pan with parchment paper*. Preheat the oven to 425ºF.
  4. Spread a generous ¼ cup of flour on a work surface. Dump the dough out onto the floured surface and turn it several times to coat with flour. I like to use a bench scraper for this.
  5. Divide the dough into 12-16 equal portions, turning each piece in the flour to coat. (The bench scraper is also great for cutting the dough). Shape each piece into a ball, pulling edges under and pinching together to make a smooth top. Invert balls and place on prepared pan, pinched side up. This will give you craggy, rustic textured rolls. If the dough is sticky as you’re shaping, just roll the piece in more of the flour. Let shaped rolls rise for 20 minutes.
  6. Transfer pan to the oven. Bake 15 minutes. Rotate pan. Bake 5 minutes more or until nicely golden. Transfer rolls to cooling rack to cool completely.
  7. If making in advance, remove from oven when pale golden brown (about 3-4 minutes less). Cool completely, then freeze on a baking sheet. Once frozen, transfer rolls to a large zip lock bag and store in the freezer. To serve, allow rolls to thaw, then heat for 8-10 minutes at 350˚F.

Filed Under: book review, recipe Tagged With: dystopia, fiction, five ingredients or less, side dish

Bridge Daughter + Zucchini Pancakes

August 11, 2016 by Megan 2 Comments

Bridge Daughter came to my attention when a friend, who happens to know author Jim Nelson, recommended it. Based on the concept alone, I knew I had to read it. Once I got started, I finished it in less than a day.

cover

A short dystopian novel, Bridge Daughter describes a world very similar to our own, with one exception - when a woman gives birth, she always gives birth to a bridge daughter. Fourteen years later, the bridge daughter gives birth to her actual child.

Hanna is one of the lucky ones. Raised by caring parents and taught to read, she grows up hoping to attend college and start a career. These dreams seem possible, until she learns that she, too, is a bridge daughter. Hanna must decide if she wants to accept her fate or become the woman she always dreamed she’d be.

A strong character, I found myself sympathizing with Hanna and rooting for her until the very end. The morning her mother forces her to make pancakes for breakfast, it becomes clear things are shifting for Hanna. Later on, pancakes are on the table again as her life takes another unexpected turn.

I’m sure Hanna made traditional breakfast pancakes, but since I decided to make them for dinner, I opted for a more savory recipe - adapted from Wonderland Kitchen's Pancakes with a Heart of Gold. An apt name, I think, as Hanna counts on the goodness of many along the way.

I began by finding my sifter so that I could get my dry ingredients together and shredding my small zucchini, so it would be ready to go.

After combining all of the ingredients to make the pancake batter, I heated my griddle and put the first one on. Here it is with some cheddar, pre-flip.

img_1277

I always find pancake-making a little precarious - a flip too early can create a mess, just as a misplaced turnover can end up folding the little guy in half...or off the griddle onto the stovetop. Fortunately, no pancakes were harmed in the making of this post, so I call that a success.

img_1275

Print Recipe

Zucchini Pancakes with a Heart of Cheddar

Prep Time20 minutes mins
Cook Time10 minutes mins
Total Time30 minutes mins
Course: Main Course
Servings: 2

Ingredients

  • 1 cup flour
  • 1 tsp baking soda
  • 1/2 tsp salt
  • 1 tsp sugar
  • 1 cup buttermilk
  • 1 egg
  • 1 TBS olive oil
  • 1 small zucchini about 1 - 1 1/2 cups shredded
  • 2 scallions finely sliced
  • 1 garlic clove minced
  • 1 tsp lemon zest
  • 8 thin slices of cheddar from a block (I used sharp white cheddar)

Instructions

  • In a medium-sized bowl, sift together flour, baking soda, salt, and sugar. Set aside.
  • Shred zucchini and blot well with paper towels to remove as much excess moisture as possible.
  • Beat egg into the buttermilk and add this mixture, the oil, zucchini, scallions, and lemon zest to the dry ingredients. Whisk together until just incorporated. Allow to rest while bringing your skillet or griddle up to medium heat.
  • When hot, grease lightly with a little butter. Drop batter by the roughly 1/3 cup onto griddle.
  • When dry around the edges and ready to flip, place a slice of the cheese on top of the uncooked side and turn in over in the pan. Continue in this manner until all pancakes are made. I got eight 6-inch cakes.
  • Serve hot topped with a pat of butter and a drizzle of honey.

Notes

Adapted from: Wonderland Kitchen
Yields approximately 8 six-inch pancakes.

This post contains affiliate links. Full disclosure here.

Filed Under: book review, recipe Tagged With: brunch, coming of age, dinner, dystopia, fiction, lunch, vegetarian

  • « Go to Previous Page
  • Go to page 1
  • Go to page 2

Primary Sidebar

About

The Hungry Bookworm brings together literature and food. Megan has an insatiable appetite for both.

As C.S. Lewis said, “Eating and reading are two pleasures that combine admirably.” Enjoy!

  • Bloglovin
  • Facebook
  • Instagram
  • Pinterest

Subscribe

Don't miss out on bookish content, exclusive giveaways, and of course, book club-friendly recipes. Get notified of new posts via email.

Join 2879 subscribers.

Search for Ingredients, Recipes, or Books

Recent Posts

  • Subscriber Box Review: Literati Book Club - Roxane Gay's Audacious Book Club
  • Arsenic and Adobo + Ensaymada
  • Review of The Kindred Spirits Supper Club
  • Kids Edition: Sometimes I Like to Curl Up in a Ball + "Dirt" Pudding Cups
  • The Midnight Library + Broccoli and Ricotta Toast

Goodreads

Tags

5 ingredients or less appetizer baking book club book list book of the month books about food bread breakfast brunch chicken contemporary cookies cultural dessert dinner dinner party dystopia easy prep favorites fiction fruit historical fiction holiday ice cream linkup lunch meat memoir mini review nonfiction pasta quick read reading challenge science fiction seafood show us your books side dish snack soup TBR list thriller top ten tuesday vegetarian veggies

Archives

Other Great Book Blogs

Literary Quicksand
Never Enough Novels
Death by Tsundoku
Professional Reader 25 Book Reviews
Privacy & Cookies: This site uses cookies. By continuing to use this website, you agree to their use.
To find out more, including how to control cookies, see here: Cookie Policy

Footer Widget Header

Megan’s Instagram

Copyright © 2025 · Hungry Bookworm