• Skip to primary navigation
  • Skip to main content
  • Skip to primary sidebar
  • Home
  • Reviews
    • Book Index
    • Fiction
    • Non-Fiction
    • Top Ten Tuesdays
The Hungry Bookworm

The Hungry Bookworm

reading + eating

  • Recipes
    • Drinks
    • Snacks, Sides & Apps
    • Main Dishes
    • Desserts
    • 5 Ingredients or Less
  • About
    • Meet Megan
    • How I Rate
    • Review Policy
    • Contact

dessert

Foodie Book Tag: Books + Cookies

May 28, 2017 by Megan 5 Comments

I wasn't tagged in this, but I came across a post from The Sassy Book Geek and loved the idea of this, so I wanted to get in on this book tag as kickstart to using them myself. Plus, it combines two of my favorite things - books and food!

The Rules:

  • In addition to linking back to the person who tagged you, it would be awesome if you link back to Nicole’s original post!
  • Pick a book that corresponds to the cookie’s ‘theme’.
  • Tag 1-3 people.
  • Have fun!

The Cookies:

  • Chocolate Chip: A Classic Book That You Love or Really Enjoyed (interpret classic how you want, it can be a classic written 100 years ago or 20 years ago)
  • Thin Mints: A Fandom That You Really Want to ‘Join’ AND/OR a Hyped-Up Book You Want To Read (your source(s) of a book being hyped can be from anywhere)
  • Shortbread: An Author You Can’t Get Enough Of
  • Samoas/Caramel DeLites: An Emotional Rollercoaster (this cookie was hard … so any book that made you feel more than one emotion, strongly. The choice of emotions is up to you)
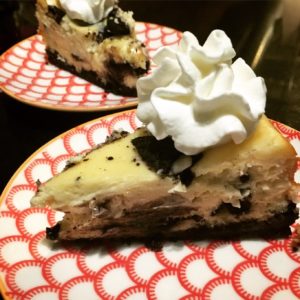
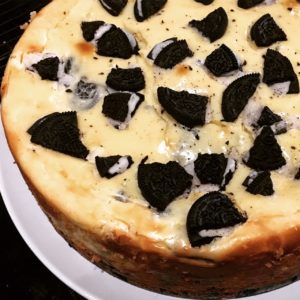
  • Oreos: A Book Whose Cover Was Better Than The Story OR Vice Versa, Where The Story Was Better Than Its Cover
  • Tagalongs/Peanut Butter Patties: A Book That Wasn’t What You Expected (good, bad, or just different, interpret how you wish)
  • Snickerdoodles: A Book You May Never Stop Rereading/ Loving
  • Bonus: Choose a cookie I didn’t list and make up a question!

My Books:

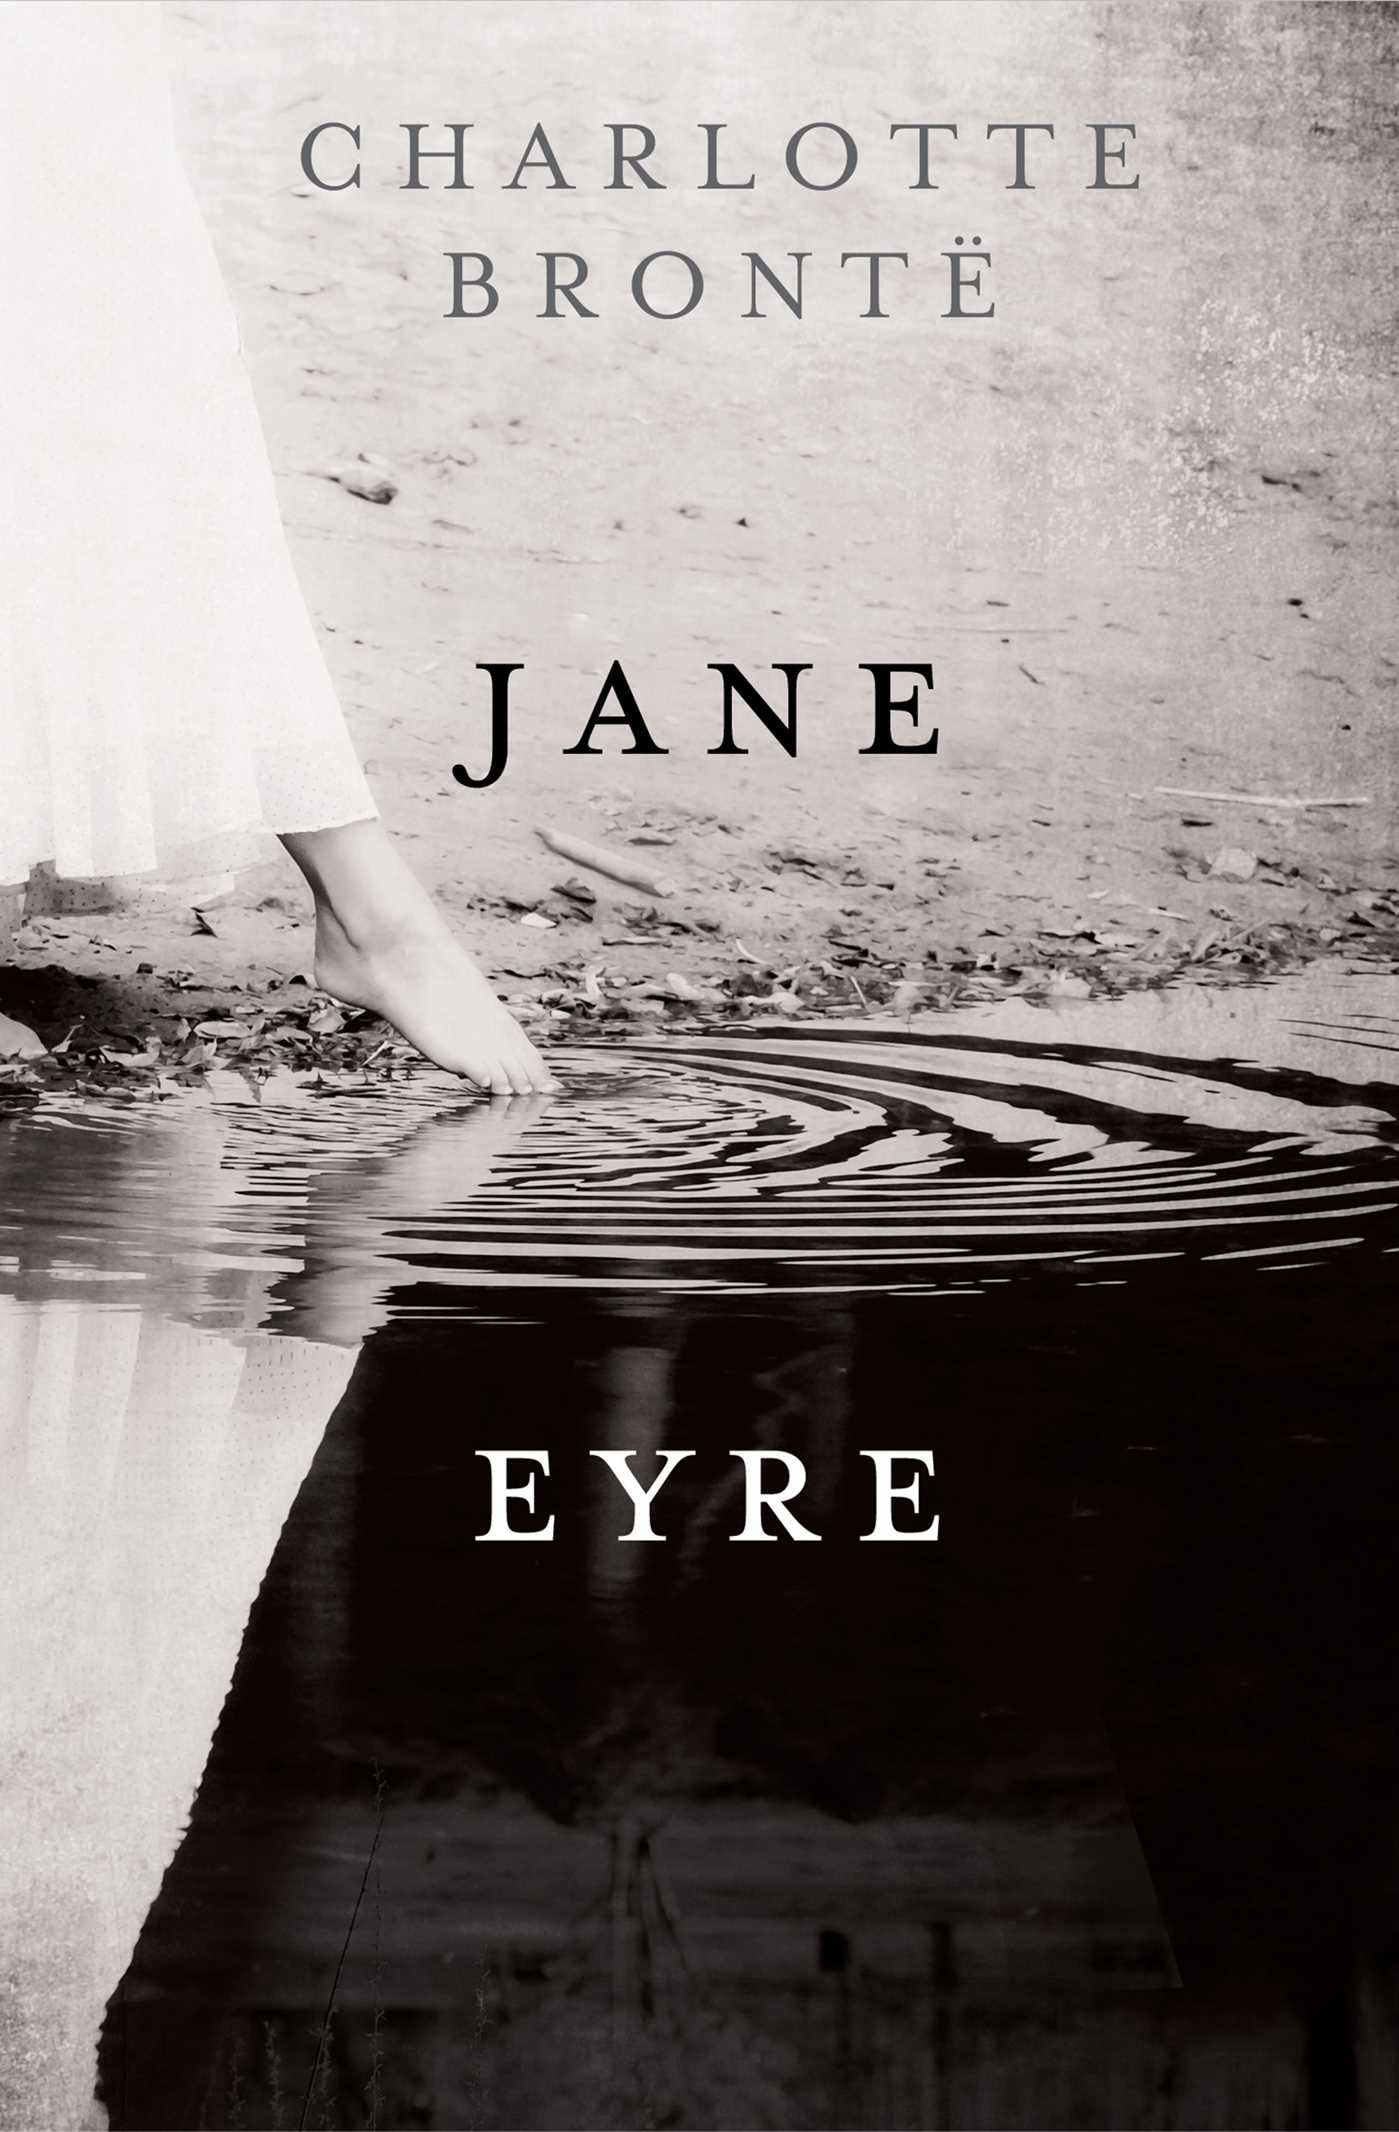
Chocolate Chip: Jane Eyre is amazing, and when I first read it I wasn't expecting to love it as much as I did.

jane-eyre-9781471134784_hr.jpg

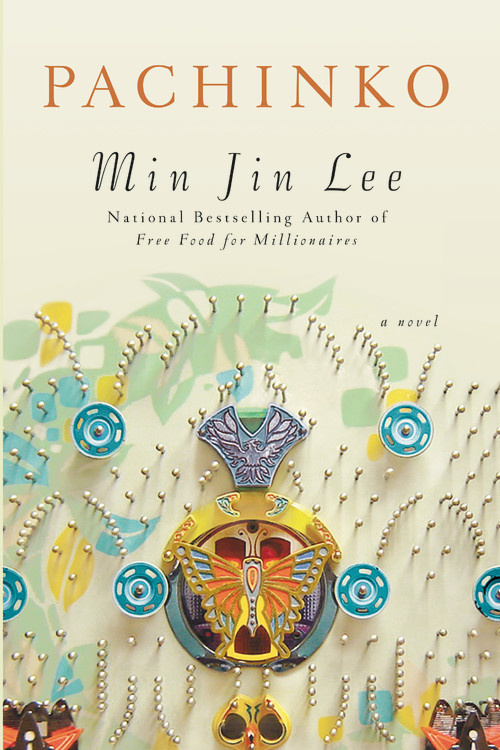
Thin Mints: Pachinko by Min Jin Lee has been getting a lot of hype since it came out. I even got a free copy through a company book club, so I have no excuse not to dig in soon. Looking forward to it!

media.hdp.hbgusa.jpg

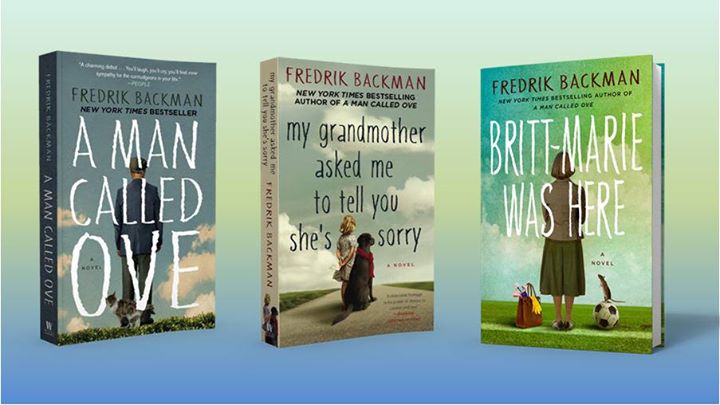
Shortbread: Fredrik Backman. I've only read 2 of his books, but I loved them both! Looking forward to reading more, especially Beartown (which was almost my Thin Mints choice.)

0d9bd1386eb0b965a6805cadac36a955.jpg

Samoas/Caramel DeLites: A Walk to Remember. This was before I realized how formulaic Mr. Sparks can be, but I literally laughed out loud reading this book and of course it made me cry too. Still one of my favorites.  bookcover-680x1020.jpg

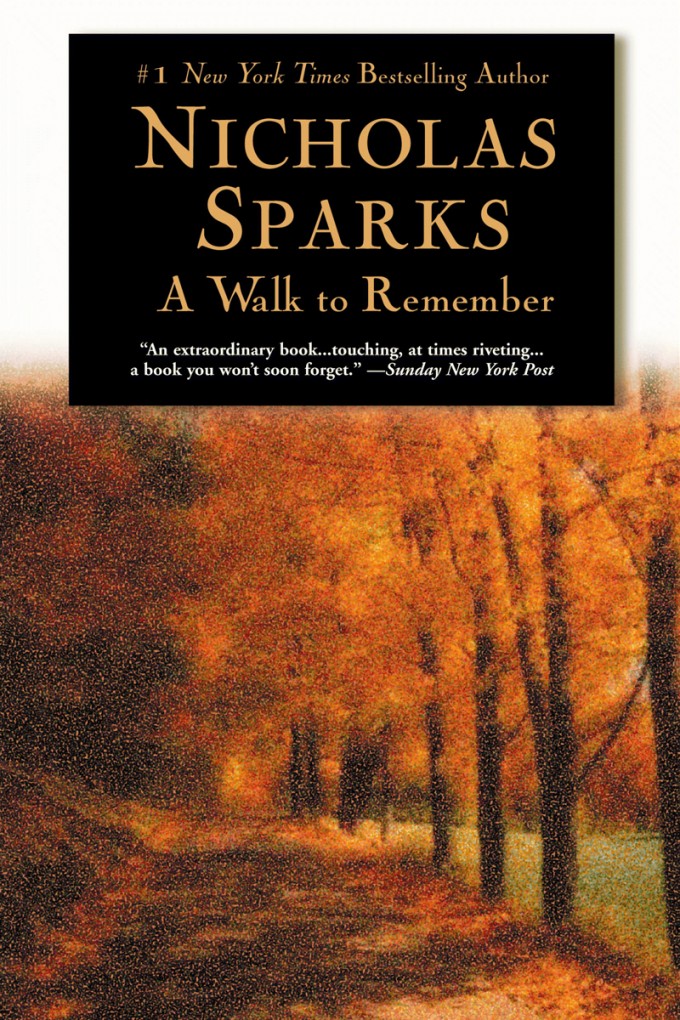
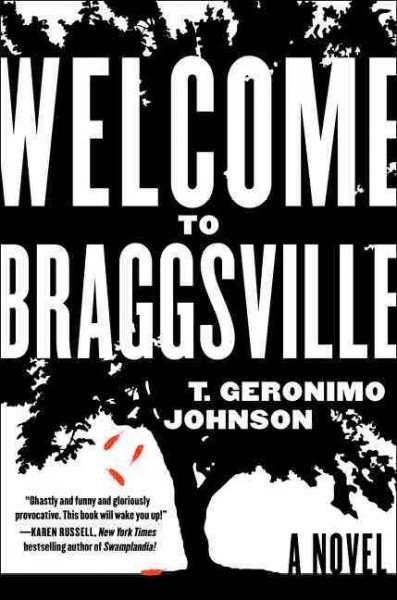
Oreos: I thought Welcome to Braggsville had an awesome cover, and though we had a great book club discussion around it, the narrative style didn't do it for me. I wasn't a fan.

9780062302120_custom-02b2307e51fe69252971540140d28888bdcc2d5b-s400-c85.jpg

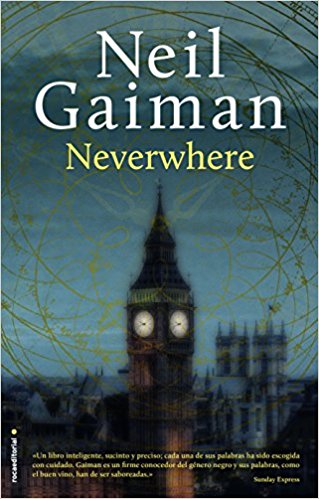
Tagalongs/Peanut Butter Patties: Neil Gaiman's Neverwhere. Wasn't sure what to expect when I started this one (another book club selection), but I ended up really enjoying it! Really immersive story-telling, interesting world creation.

51QovlC41OL._SX317_BO1,204,203,200_.jpg

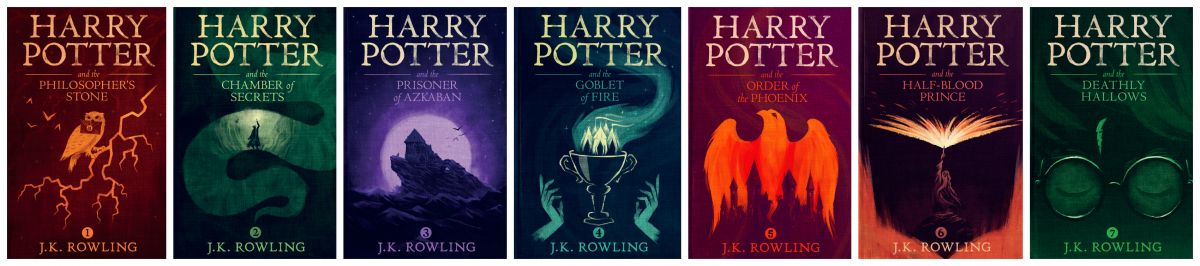
Snickerdoodles: This is easy - I could read Harry Potter over and over again! In a world, where I rarely re-read books, I have re-read the HP series several times. (I don't own this set below, but it's my dream set!

Harry-Potter-covers.jpg

My Bonus Cookie (courtesy of the Girl Scouts) - Lemonades: A book that's refreshing, whether it be a new outlook, a fun idea/concept, or just a breezy read to cleanse the palate

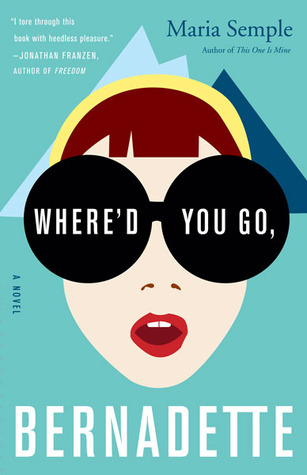
For me, Where'd You Go Bernadette fits this bill. Semple writes in a unique style, and I found it to be a humorous, quick read.

13526165.jpg

My Tags:

Cinnamon Tangles

Book Hippie

Sophie at Blame Chocolate

Enjoy!


Filed Under: of interest Tagged With: book list, book tag, cookies, dessert, mini review

The Unbearable Lightness of Being + Raspberry Mousse

May 18, 2017 by Megan 3 Comments

They say bad things come in threes, and maybe I’m being a bit dramatic, but I’m really hoping this latest read is the end of my little streak of three books in a row I didn’t like. One of my book clubs recently met to discuss Milan Kundera’s best-known work The Unbearable Lightness of Being, which I’m sorry to say I suggested. At least I only had myself to blame.

9717

To simplify it, Kundera’s novel is about two couples (in a loose sense of the word) in Prague in the sixties and seventies. Tomas is a surgeon who leaves his wife for a young woman named Tereza, even though he continues to sleep around. He literally cannot help himself. One of the women he sleeps with is Sabina, whom the story also follows, documenting her bohemian life and her sort-of relationship with a professor named Franz. My favorite character in the whole book was Tomas and Tereza’s dog Karenin, who was named after the male character in Anna Karenina, even though she’s a girl.

I suppose the simple description of the book makes it sound more juicy and interesting than it is. Don’t be fooled. To keep you away from the main plot points, Kundera tosses in several chapters on kitsch, his thoughts on politics, and his philosophies on life. He makes for an interesting narrator, repeatedly pointing out that his characters aren’t real, which as a reader really pulls you out of the story (if the random bits of philosophy and politics didn’t do that already).

People seem to love this book - it has over 4 stars on Goodreads and is considered by many to be a classic - but for me, and most of my book club, it was truly unbearable. On the “lighter” side of things, however, it led to some delicious raspberry mousse.

The novel didn’t have many mentions of food, so I decided to play off the theme of lightness and create what is traditionally a light, airy dessert. I found a recipe from Fearless Dining for Easy Fresh Raspberry Mousse that seemed to easy to make and looked delicious. (If you look at her page, she has many, many mousse varieties to try out.)

First, I began boiling my half cup of water in tiny saucepan. Meanwhile, in a slightly larger saucepan, I added 2 teaspoons of gelatin (about 1 envelope, but measure just in case) to the quarter cup of cold water and allowed that to sit.

I washed my raspberries, extracted my vanilla seeds and combined the rest of the ingredients while the gelatin/water combination was becoming more jelly-like and the water boiled. Once that was all ready, I combined everything into my larger saucepan (with the gelatin mixture) and brought it all to a boil for 5 minutes.

I transferred the mixture to my food processor and blended everything together, though I would recommend a blender if you have one. It will likely breakdown the raspberry seeds better than my food processor did.

Allow that mixture to cool for 10 minutes (or longer). I let mine sit for about 15 minutes while I made the whipped cream. To do so, add the 2 cups of heavy / whipping cream to a large bowl and use a hand mixer, mixing until stiff peaks form.

IMG_3043

Once the raspberry mixture is cooled enough, gently fold that into the whipped cream a little bit at a time. (Despite what the original recipe said, I tried folding the cream into the raspberry mixture, since typically technique says you should add the whipped cream into the denser/wetter mixture to avoid losing air. However, because the raspberry mixture was so soup-y, it mostly remained at the bottom and proved hard to combine.)

Once the cream and the raspberry mixture were well-combined - the entire mixture was a light pink - I placed the bowl in the fridge to set/cool. After almost 2 hours, it was mostly set, but I think could’ve stood to hang out in there a little longer. The consistency was perfect they next day when we finished it up. Two hours was perfectly fine, but if you have the time, I would recommend allowing it to remain in the fridge a bit longer.

We served it in my grandmother’s crystal cut dessert dishes, which I hadn’t used before, and garnished with the remainder of the fresh raspberries.

IMG_3044

IMG_3045

Unbelievably Light Raspberry Mousse

  • Servings: 4-6
  • Time: 30 minutes, plus cooling/setting time
  • Print

Ingredients

  • ¼ cup cold water
  • ½ cup boiling water
  • 2 teaspoons gelatin
  • 1 Tablespoon lemon juice
  • ¼ cup granulated sugar
  • 1 cup fresh raspberries (a 6oz package should be plenty, including garnish)
  • 2 cups heavy cream
  • seeds of 1 vanilla bean (or 3 teaspoons vanilla extract)

Directions

  1. In a small saucepan, add cold water.
  2. Mix in gelatin and allow to sit for 5 minutes.
  3. Stir in boiling water, vanilla bean, sugar, lemon juice, and raspberries.
  4. Bring to boil on medium heat then turn down to low and boil for 5 minutes.
  5. Pour mixture into a blender or food processor and blend until smooth. (This reduces the raspberry seeds.)
  6. Allow this mixture to cool for at least 10 minutes.
  7. Meanwhile, in a large bowl, add whipping cream and beat with an electric mixer until stiff peaks form.
  8. Gently fold the raspberry mixture into the cream until well-combined.
  9. Allow the finished mousse to cool in the refrigerator for a minimum of 1 hour.
  10. Serve garnished with fresh strawberries, if desired.

From: Fearless Dining

A blender may provide better results than a food processor as far as reducing seeds. I would recommend allowing to cool for 2-4 hours if you have the time - ours was also delicious when we finished it the next day.

Number of servings will depend on size. This recipe yields 4 generous helpings.


Filed Under: book review, recipe Tagged With: classic, dessert, fiction, fruit

The Handmaid's Tale + Strawberry Pie

April 20, 2017 by Megan 1 Comment

Is everyone else looking forward to Hulu’s The Handmaid’s Tale as much as I am? The trailer gives me chills. I had read the Margaret Atwood’s dystopian novel about three years ago, but anticipating the upcoming series, I was excited for the chance to re-read it with one of my book clubs.

cover.jpg.rendition.460.707

The first time I read The Handmaid’s Tale, I thought it was interesting, but I don’t think I fully appreciated it. This time around, I was able to read it through different eyes; it felt more relevant to me than it did a few years ago, and frankly, it was a little scary.

In Atwood’s imagined Republic of Gilead, Offred is one of the Handmaids placed with a Commander and his barren wife for the sole purpose of having his child and giving them a family. In her red dress, she is limited in who she’s allowed to communicate with, and even more so by the restrictions forbidding her to read or write. When Offred is not alone in her room, she runs errands with her partner Handmaid and occasionally attends birthings and special ceremonies designed to remind her and every woman of their place in this new totalitarian society.

Offred’s diet, and presumably that of all Handmaids in Gilead, is controlled in its amount and restricted to that which is nourishing. Though Offred is the one to pick up the household’s groceries, it seems she has no say in what she eats. When shopping one day, she muses on the smell of fresh strawberries and the memories of summers past they recall.

Living in a society so much like the one Offred used to live in - where women work outside of the home, have freedom of movement and choice, and can make their own decisions to have children or not - it was hard to see how easily it was all taken away. Many American women believe we have come a long way. And we have. But until we are truly equal and are equally represented in society, women are not in control of their own destinies. For me, the fact that these rollbacks are not inconceivable was the most eye-opening part of reading this book.

In the end, Offred’s story left me with more questions than answers, but it was one that sparked a lively conversation with my fellow book club members and one that I heartily recommend.

Capitalizing on their bright red color, strawberries seemed like an excellent choice to represent The Handmaid’s Tale. I found a recipe for Fresh Strawberry Pie that looked too good to resist.

Using a storebought crust proved to be a lifesaver for me as I had some issues and had to bake it three times before I got it right (don’t forget your pie weights!). While that was a bit frustrating, I was happy I didn’t have to re-make crust from scratch just as many times. Before it went into the oven each time, I made sure to scallop the edges to create a pretty design.

IMG_2805

While it baked, I washed, hulled and quartered the fresh strawberries - I used 4 cups in the end, though I had prepared 6 cups. It will ultimately depend on how deep and wide your pie dish is, but I don’t think it hurts to have some extra prepared strawberries around.

IMG_2806

When my successful crust was finally cooling, I got to work on the glaze. I combined 1 cup of water, 1 cup of sugar and some cornstarch in a small saucepan and brought it all to a boil. Then, I whisked until the glaze began to thicken, about 3 minutes. Last, I added the box of strawberry Jell-O and whisked that for another minute or so. The finished glaze also had to cool about 15 minutes before filling the pie.

When assembling the pie, I first added the prepared fresh strawberries to the cooled crust. I did my best to keep the top relatively even, but you could certainly create a thicker middle if you wanted to. (That option might require additional glaze to get good coverage.) Then it was time to pour on the delicious glaze, again doing my best to get even coverage over the strawberries.

The finished product was absolutely beautiful - and SO red. I couldn’t wait to dig in. This pie will definitely be making future appearances over the summer.

IMG_2807

IMG_2808

Fresh Strawberry Pie

  • Servings: 8-12
  • Time: 50 minutes
  • Print

Ingredients

  • 9 inch pie crust (homemade or storebought)
  • 4 to 6 cups fresh strawberries, quartered and hulled
  • 1 cup water
  • 1 cup sugar
  • 1 3oz. box of strawberry Jell-O
  • 3 tablespoons of cornstarch

Directions

  1. Bake pie crust in 9-inch deep pie dish and set aside to cool.
  2. Put the water, sugar and cornstarch in a saucepan and bring to a boil. Whisk constantly until it becomes thick, about 3 minutes.
  3. Whisk in the Jell-O and cook for a minute longer. Remove from the heat and let cool for about 15 minutes.
  4. As the glaze cools, place strawberries straight into the pie crust.
  5. Pour the glaze over the strawberries.
  6. Refrigerate until set. Serve with whipped cream if desired.

From: Sugar Apron

When baking the pie crust, be sure to use pie weights or dry beans to ensure that the sides of your crust doesn’t fall. Poke holes in the bottom of the crust with a fork, add weights or beans and bake according to directions. After half the baking time, remove weights and allow to bake for the remaining time without them.

This post contains affiliate links. Full disclosure here.

Follow my blog with Bloglovin

Filed Under: book review, of interest, recipe Tagged With: book club, dessert, dystopia, fiction, fruit, television series

List: Ice Cream + Books

February 12, 2017 by Megan Leave a Comment

Lots of things go well with books - everything from coffee and tea to blankets and arm chairs to beaches and lazy afternoons in the park. Ice cream and books is probably not a common pairing, but it's a genius one. This list from Book Riot suggests a book for every flavor of Ben & Jerry's and I, for one, can't wait to dig in!

Filed Under: of interest Tagged With: book list, dessert, ice cream

Lillian Boxfish Takes a Walk + Oreo Cheesecake

January 26, 2017 by Megan 1 Comment

When my Book of the Month email came a few weeks ago with the January selections, Lillian Boxfish Takes a Walk immediately caught my eye because the description said it was “the perfect book to start a new year of reading and of living.” When I read further and saw that the novel was about the highest paid woman in advertising, my choice was clear. (For those of you who don’t know me personally, I work in advertising too.) I made my selection and anxiously awaited my BOTM delivery.

51vzovzchyl-_sx331_bo1204203200_

Kathleen Rooney takes us back to New Year’s Eve in 1984. Her novel centers around the formidable yet friendly 85-year-old Lillian Boxfish (based on the real-life copywriter Margaret Fishback who became the highest paid female in advertising in the 1930s) as she takes a walk around New York City before ringing in the new year.

An avid walker, Lillian had planned to celebrate the holiday the “same as always,” with a visit to her neighborhood Italian restaurant for veal rollatini and green noodles and then “early to bed with a book.” Her plans are spoiled, however, by her uncharacteristic and absent-minded consumption of half a package of Oreo cookies.

After only a glass of Chianti at Grimaldi’s, Lillian decides to take a walk to the legendary Delmonico’s steakhouse downtown to not only work up an appetite but to correct a mistake from many years ago. On her walk, she reminisces about her career in writing - both advertisements and poetry, her relationships and her decades of experiences in Manhattan. She has to confront some of the grittier aspects of the city but remains undeterred throughout her ambling journey.

In honor of the city Lillian so wholeheartedly loves and the package of Oreos she detests, I decided to pair this charming novel with an Oreo cheesecake. This recipe from Southern Bite claims to be the Easiest Oreo Cheesecake, which I think would suit Lillian just fine, and I have to say, it was quite less complicated than other cheesecakes I’ve made in the past.

First, I made sure my cream cheese was softened by leaving it at room temperature for a while. I find it goes a little faster if unpackaged, so I put all four blocks into my bowl and left on the countertop to soften.

img_2493

I preheated my oven to 350 degrees F, greased my springform pan, and began crushing Oreos to make my crust.

img_2494

I combined the now-softened cream cheese, vanilla and sugar with my mixer, before adding the eggs. Then I added some slightly less crushed Oreos (about a dozen) to the batter, folding them in with a rubber spatula. I poured the mixture into my pan, tapped it lightly and topped with the remaining chunks of Oreos (about six). Here is what it looked like before baking:

img_2495

And after 50 minutes and plenty of cooling time, it looked like this:

This cheesecake is meant to be easy, not perfect, as Stacey explains. Yes, it’s a little brown on the edges and, yes, you may find a few cracks on top, but it was far less fussy than other cheesecakes, and honestly, it tasted just as delicious. No need to stress, just enjoy! And if you feel like you need to work it off afterwards, just take a walk like Lillian. 🙂

Easiest Oreo Cheesecake

  • Servings: 8-12 slices
  • Time: 1 hour
  • Print


From: Southern Bite

Ingredients

  • 1 (14.3-ounce) package Oreos, divided
  • 3 tablespoons butter, melted
  • 4 (8-ounce) packages cream cheese, softened
  • 1¼ cup sugar
  • 2 teaspoons vanilla extract
  • 4 eggs
  • whipped cream and chocolate sauce for topping, optional

Directions

  1. Preheat the oven to 350°F. Lightly spray a 9-inch springform pan with nonstick cooking spray.
  2. Place half of the Oreos (about 18) in a gallon size zip-top bag. Crush the cookies using a rolling pin. Pour the crushed Oreos into a small bowl and mix with the melted butter. Pour the mixture evenly into the bottom of the springform pan and press firmly to create a crust.
  3. In the bowl of a stand mixer (or in a bowl using a hand mixer), combine the softened cream cheese, sugar and vanilla until well-combined. Add the eggs and mix well. Roughly break up the remaining cookies and add them to the mixture, reserving some to sprinkle on top. Gently fold the cookies in and pour the batter onto the crust. Lightly tap the pan on the counter to get out any air bubbles. Sprinkle with the remaining Oreos.
  4. Bake for 40 to 50 minutes, or until the center in almost completely set. Cool and then refrigerate overnight to allow the cheesecake to firm up before serving (or at least 3 hours for those impatient folks). Drizzle with chocolate suace and add a dollop of whipped cream, if desired.

This post contains affiliate links. Full disclosure here.

Filed Under: book review, recipe Tagged With: book of the month, dessert, fiction, humor

Making Arrangements + Caramel Cake

December 29, 2016 by Megan 3 Comments

Expecting to die from cancer, Lang does her best to make sure her husband survives without her. She leaves notes for important moments and even prepares dessert for his next birthday. When he unexpectedly dies before she does, her life is turned upside down. In Ferris Robinson’s novel Making Arrangements, Lang has to learn how to cope when life doesn’t go exactly as she planned.

IMG_2392.JPG

While the story itself is an important reminder to expect the unexpected, I found most of the characters to be quite unlikeable. Even Lang herself was weak and self-defeating for most of the novel, probably due to her son Teddy’s and late husband’s attempts to keep her in the dark and stifle any ounce of gumption she may have once had. It was refreshing when she gave in to her impulses, finally forging new relationships and learning to be self-sufficient.

Baking comes effortlessly to Lang. Skilled at making cakes, it’s important to her to provide her husband with a birthday cake even after she’s gone. She lovingly makes and then freezes his favorite, a caramel cake, so it will be waiting for him.

The theme of this book makes it an appropriate read for the end of the year; likewise, this caramel cake seemed to be a perfect treat to bring along to a holiday party or New Year’s celebration. Ferris Robinson provided me with a copy of her recipe for Decadent Deep South Caramel Cake (along with a copy of the book), so I set to work making what I hoped would turn out to be a decent imitation of Lang’s own masterpiece.

I preheated the oven first, greased and floured the cake pans, and assembled all of my cake ingredients. (I also got out the 2 sticks of butter for the icing so that it would be easier to use when I was ready later.) In a large bowl, I combined the plain white cake mix, whole milk, 3 eggs, vanilla extract and another stick of butter, melted. Once blended, I used an electric mixer on medium for 2 minutes.

I split the cake batter evenly between my two cake pans and set them in the 350-degree oven for 27 minutes.

img_2389

After they were finished, I put them on a cooling rack in the pans for 10 minutes and then inverted onto the racks so that they could continue to cool.

While they fully cooled, I worked on the caramel icing. In a non-stick saucepan, I melted 2 sticks of butter and stirred in 1 pound of brown sugar and ¼ teaspoon of salt, until the sugar dissolved. I added in the evaporated milk and stirred until it was fully incorporated. This mixture came up to a boil and I left it boil softly for about 4 minutes. (At one point, my boil got a little out of control, but I just turned down the heat and kept stirring until it became a little less vigorous. Just go with it - caramel can sometimes be a little intimidating but it doesn’t have to be difficult.)

I took the saucepan with the caramel mixture off the heat to allow it to cool. I used this time to sift my powdered sugar and even out the tops of the cooled cakes. I also began boiling some water in a smaller saucepan to use for my double-boiler. After cooling for about 7 minutes, I added the caramel mixture to my bowl of powdered sugar and vanilla, using the electric mixer to thoroughly combine the icing.

My bottom layer of cake on a plate, I spread a thick layer of caramel icing along the top. Once it was well-coated, I placed the second cake on top of it and poured the icing on it, allowing it to spill off the edges and coat the sides. I’m not great at cake-decorating or evenly icing cakes, so given the consistency of the frosting I thought this would be the best way. If you use this method, be careful that the icing doesn’t spill over the sides of the plate (or that you have something in place to catch the overflow). It did provide even coverage, but it made a bit of a mess. Sadly, my presentation wasn’t as great as it could’ve been, but I was hoping the taste would make up for it.

img_2390

The good news is, it absolutely did. The cake was delicious, very moist and airy. The caramel icing had great flavor and once set, it provided a nice thick and slightly hard coating on the cake. A decadent cake for sure, one that is worth making for any special occasion.

img_2391

Decadent Deep South Caramel Cake

  • Servings: 8-12
  • Time: about 1 hour
  • Print

Provided directly by Ferris Robinson. The recipe and an excerpt of the novel are also available in the free e-cookbook KP Authors Cook Their Books.

Ingredients

    Cake
  • 1 package (18.25 ounces) plain white cake mix [Note: A 16.25 ounce package was the largest I was able to find in the store; I used it and had no problems.]
  • 1 cup whole milk
  • 8 tablespoons butter, melted
  • 3 eggs
  • 2 teaspoons pure vanilla extract (not imitation)
  • Lang’s Famous Decadent Caramel Icing

  • 2 sticks butter
  • 1 (16 oz.) box of light brown sugar
  • ¼ teaspoon salt
  • ⅔ cup evaporated milk (canned)
  • 2 cups sifted confectioner’s sugar
  • 2 teaspoons pure vanilla extract

Directions

  1. Preheat the oven to 350 degrees F.
  2. Grease two 9-inch round cake pans, then dust with flour.
  3. Blend cake mix, milk, melted butter, eggs, and vanilla extract in a large mixing bowl with an electric mixer. When blended, beat on medium speed for about two minutes.
  4. Pour batter into greased cake pans and bake until they are golden brown and spring back when lightly to touch, about 27 to 29 minutes. Let cool 10 minutes before inverting onto plate. Make sure they are completely cool before icing.
  5. While the cakes cool, prepare the Decadent Caramel Icing. Heat butter, brown sugar and salt in a saucepan, stirring until the brown sugar dissolves. Add milk and stir until blended. Bring to slow boil for about four minutes, stirring constantly. Let hot mixture cool for several minutes.
  6. Add confectioner’s sugar and vanilla and mix with electric mixer until lighter in color and caramelized. Ice that cake! Work quickly, while the frosting is still warm because it will set up. If the frosting gets too hard to work with, place it over low heat for a minute, stirring constantly. [I mixed in the sugar and vanilla in a homemade double-boiler (glass bowl over gently boiling saucepan) and this helped to prevent it setting up.]

Cake can be stored covered in plastic wrap or aluminum foil at room temperature for up to 1 week, or it can be frozen, wrapped in saran and foil, for up to 6 months. Thaw the cake overnight before serving.

The icing recipe made significantly more icing than I needed. If you wanted to make an additional cake layer, so that it has 3 instead of 2, you would still likely have enough without altering the above icing recipe.

I hope everyone has a safe New Year's celebration! Looking forward to seeing you all again in 2017!

* This book was given to me by the author in exchange for an honest review.

Filed Under: book review, recipe Tagged With: baking, contemporary, dessert, fiction

  • « Go to Previous Page
  • Go to page 1
  • Interim pages omitted …
  • Go to page 11
  • Go to page 12
  • Go to page 13
  • Go to page 14
  • Go to Next Page »

Primary Sidebar

About

The Hungry Bookworm brings together literature and food. Megan has an insatiable appetite for both.

As C.S. Lewis said, “Eating and reading are two pleasures that combine admirably.” Enjoy!

  • Bloglovin
  • Facebook
  • Instagram
  • Pinterest

Subscribe

Don't miss out on bookish content, exclusive giveaways, and of course, book club-friendly recipes. Get notified of new posts via email.

Join 2879 subscribers.

Search for Ingredients, Recipes, or Books

Recent Posts

  • Subscriber Box Review: Literati Book Club - Roxane Gay's Audacious Book Club
  • Arsenic and Adobo + Ensaymada
  • Review of The Kindred Spirits Supper Club
  • Kids Edition: Sometimes I Like to Curl Up in a Ball + "Dirt" Pudding Cups
  • The Midnight Library + Broccoli and Ricotta Toast

Goodreads

Tags

5 ingredients or less appetizer baking book club book list book of the month books about food bread breakfast brunch chicken contemporary cookies cultural dessert dinner dinner party dystopia easy prep favorites fiction fruit historical fiction holiday ice cream linkup lunch meat memoir mini review nonfiction pasta quick read reading challenge science fiction seafood show us your books side dish snack soup TBR list thriller top ten tuesday vegetarian veggies

Archives

Other Great Book Blogs

Literary Quicksand
Never Enough Novels
Death by Tsundoku
Professional Reader 25 Book Reviews
Privacy & Cookies: This site uses cookies. By continuing to use this website, you agree to their use.
To find out more, including how to control cookies, see here: Cookie Policy

Footer Widget Header

Megan’s Instagram

Copyright © 2025 · Hungry Bookworm