• Skip to primary navigation
  • Skip to main content
  • Skip to primary sidebar
  • Home
  • Reviews
    • Book Index
    • Fiction
    • Non-Fiction
    • Top Ten Tuesdays
The Hungry Bookworm

The Hungry Bookworm

reading + eating

  • Recipes
    • Drinks
    • Snacks, Sides & Apps
    • Main Dishes
    • Desserts
    • 5 Ingredients or Less
  • About
    • Meet Megan
    • How I Rate
    • Review Policy
    • Contact

contemporary

Small Great Things + Bite-Size Appetizer Trio

April 6, 2017 by Megan 4 Comments

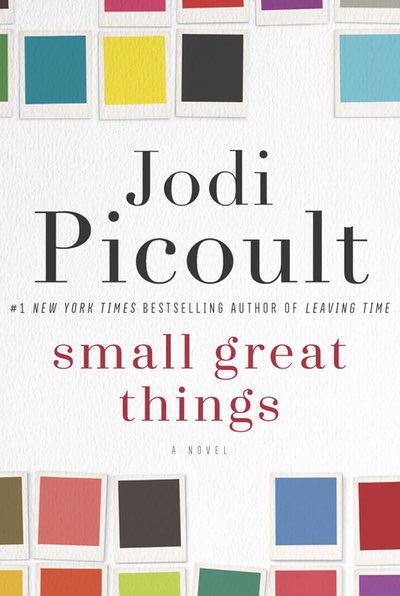
When I sat down with Jodi Picoult’s latest novel Small Great Things, I admit I hadn’t read a description. One of my clients had recommended it to me last last year, so I requested it from the library and sort of forgot about it. It came in a couple of weeks ago and I dove right in without expectation.
small-great-things-hc-400w.jpg

Right off the bat, this quote hit me. It felt so on-the-nose about the world we’re currently living in; I knew the right book had found me again.

IMG_2672

The narrative began, and I was immediately engrossed. I was also often uncomfortable. Three points of view bring this story to life - a black nurse, a white supremacist man, and a white lawyer who “doesn’t see color.” It isn’t shy about race or racism. The topic is the crux of the novel, the reason the story is being told. (Make sure to read the Author’s Note at the end.)

Ruth Jefferson doesn’t realize when she walks into the hospital room of proud new parents that she’s walking into a room of white supremacists. Despite her 20 years of experience, she is prohibited from having contact with them or their baby because of the color of her skin. The next day, when another nurse has no choice but to leave Ruth alone with the baby, he goes into cardiac arrest. She is forced to choose between obeying orders and her duty as a nurse, and ultimately, she is blamed for the baby’s death.

During the course of Ruth’s trial, each character examines their lives, their beliefs and the world around them. It’s intense and it will make you examine yourself and our world as well. Like any story told about race - real or imagined - it made me think, and I still can’t stop recommending this book to everyone I encounter.

To go along with Small Great Things, I opted to make a trio of bite-size appetizers. I wanted to make a “well-balanced” variety, so I opted for meatballs, spinach artichoke dip bites, and mini crab-stuffed mushrooms. All of them were easy and could, for the most part, be prepped ahead of time. Of course, they were delicious too.

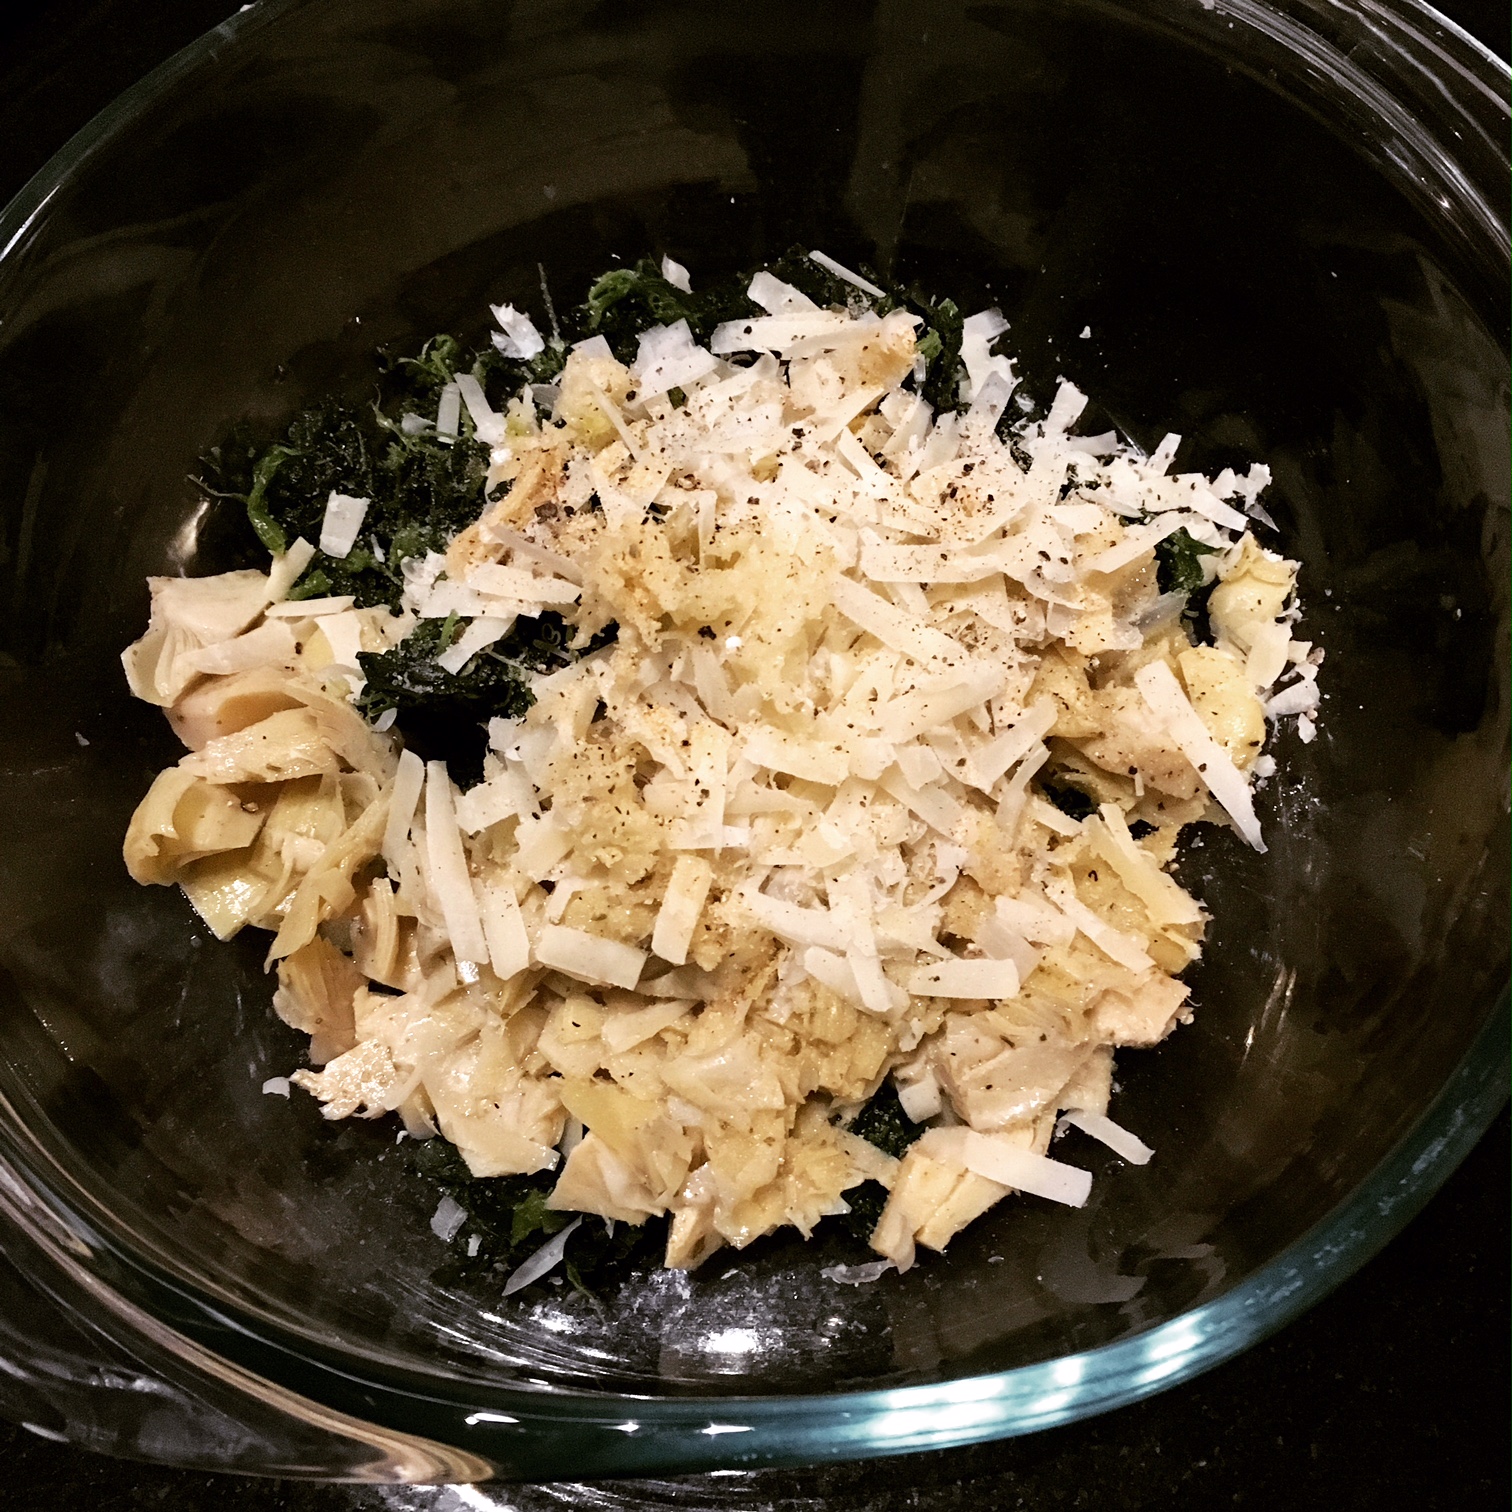
I started with making the filling for the spinach artichoke dip bites. I combined my spinach (make sure it’s thawed and thoroughly drained), chopped artichoke hearts, garlic, garlic powder, salt and parmesan cheese.
IMG_2777

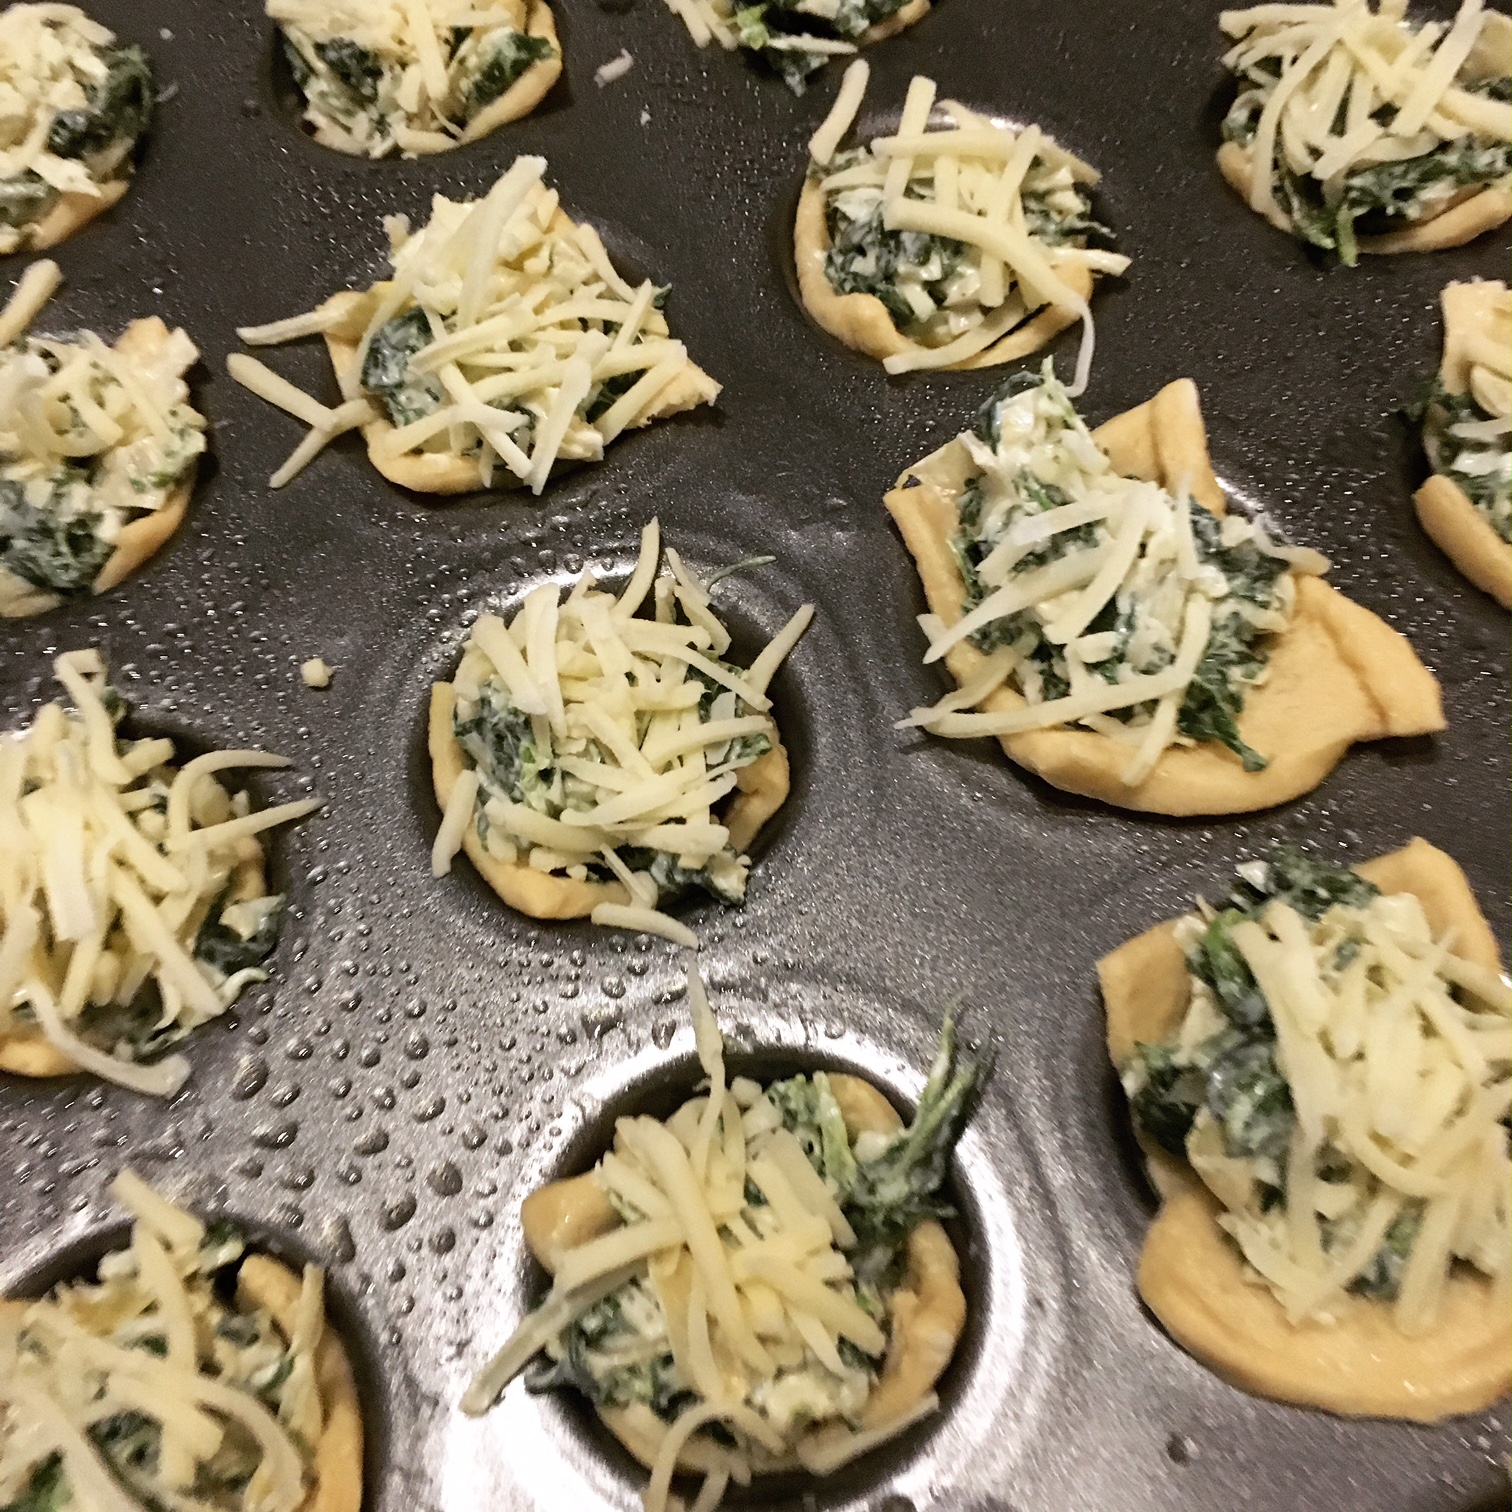
Then, I added the softened cream cheese and half of the shredded cheese, ground some black pepper over the bowl and mixed it all together. I set the filling aside while I cut the crescent roll dough into squares. I sprayed the mini muffin tin with cooking spray and popped one square in each opening, before filling it with the spinach artichoke mixture. I didn’t stress out about it too much - just made sure each one was amply filled and had a good sprinkle of shredded cheese on top.
IMG_2778

These should bake in a 375 degree oven for 15-17 minutes. After they’re finished, allow them to cool for 5-10 minutes before removing from the muffin tin.

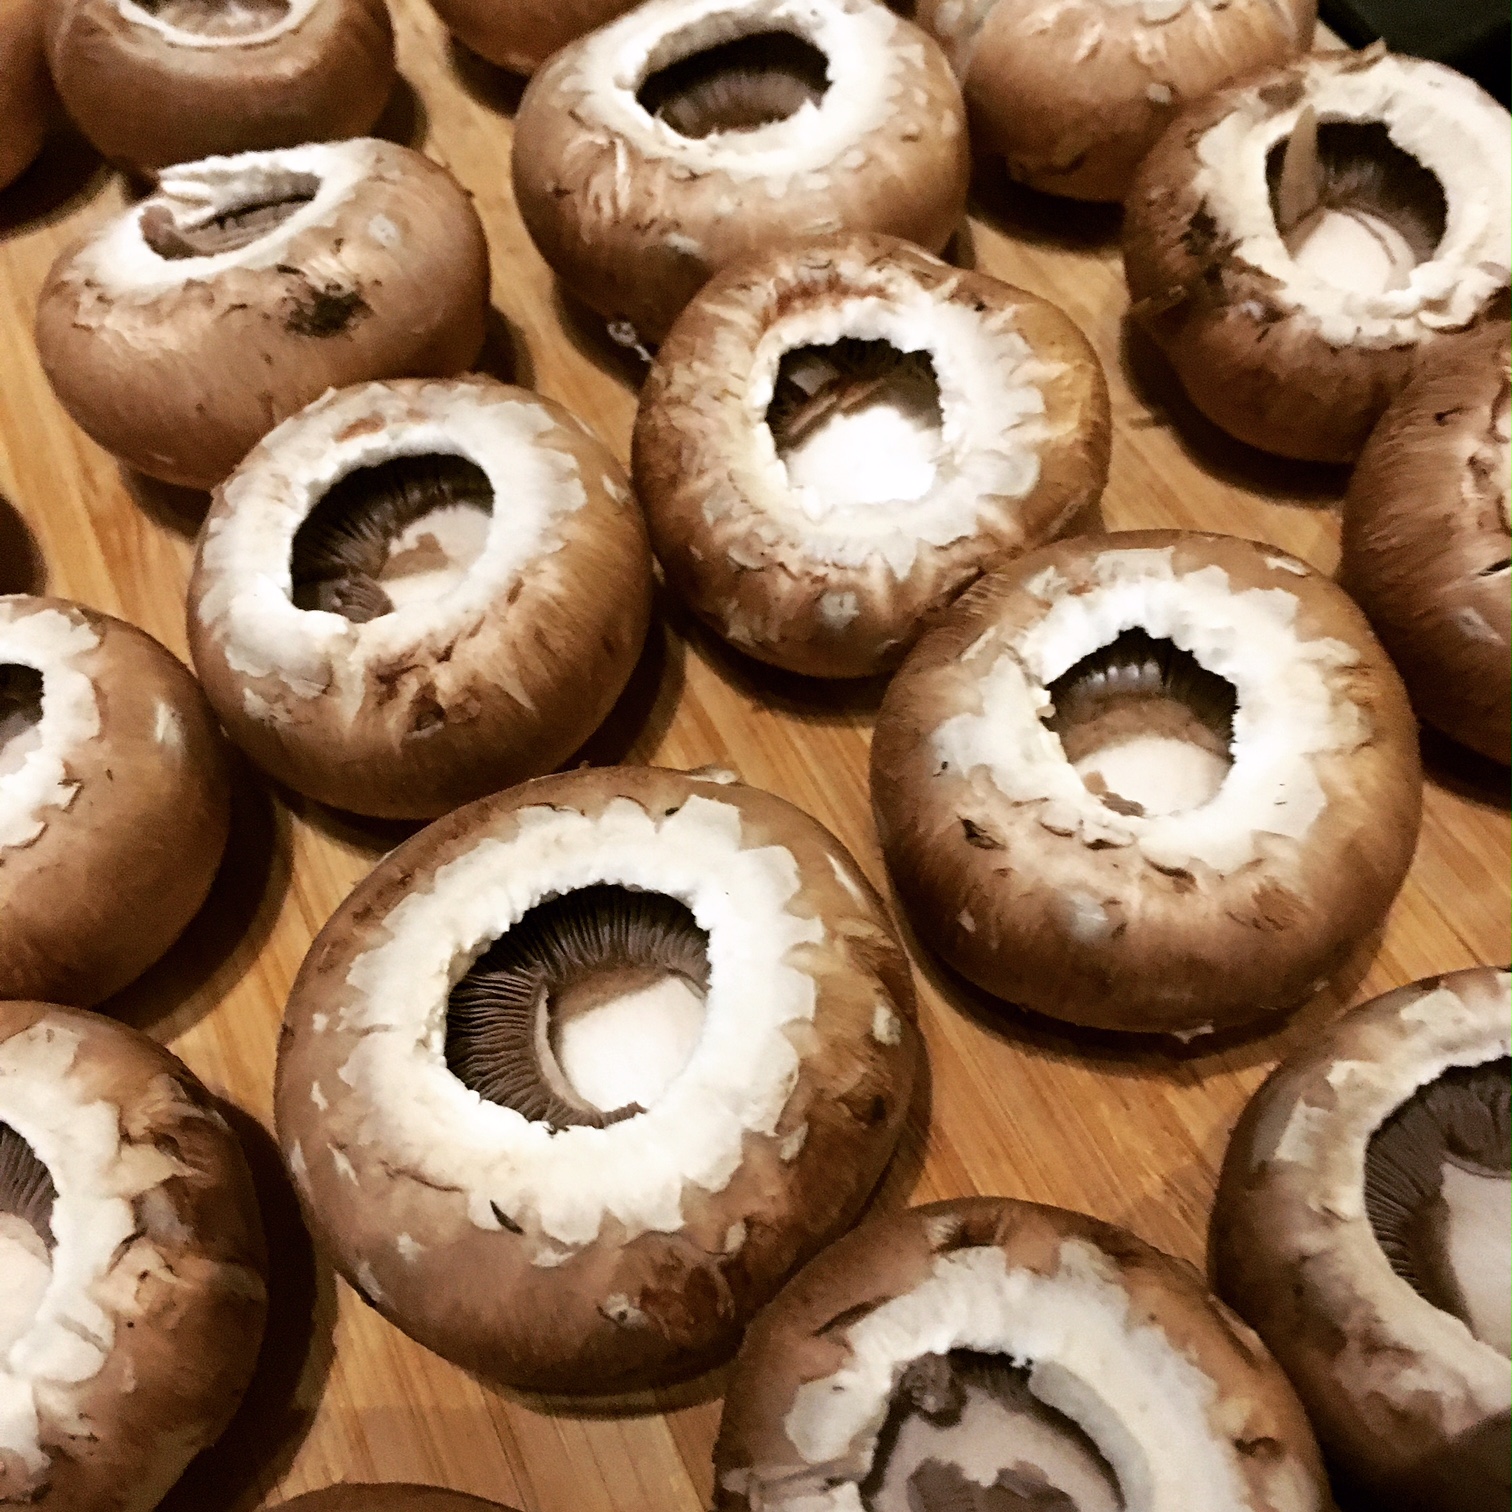
Then, I moved on to the mushrooms. First, I cleaned my little army of mini bella mushrooms. (These are my favorite kind of mushroom because they have great flavor, but feel free to use white button mushrooms if you prefer.)
IMG_2779

The original recipe recommended that you toss the mushrooms in melted butter until they’re well-coated. I did that, but I took out of my recipe below. They were a little too moist, in my opinion. If you’d like to lightly brush the tops only with olive oil (or melted butter) that is probably sufficient.

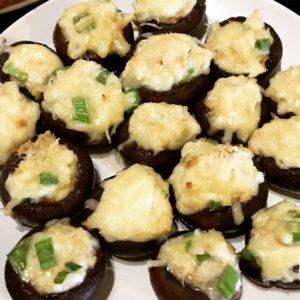
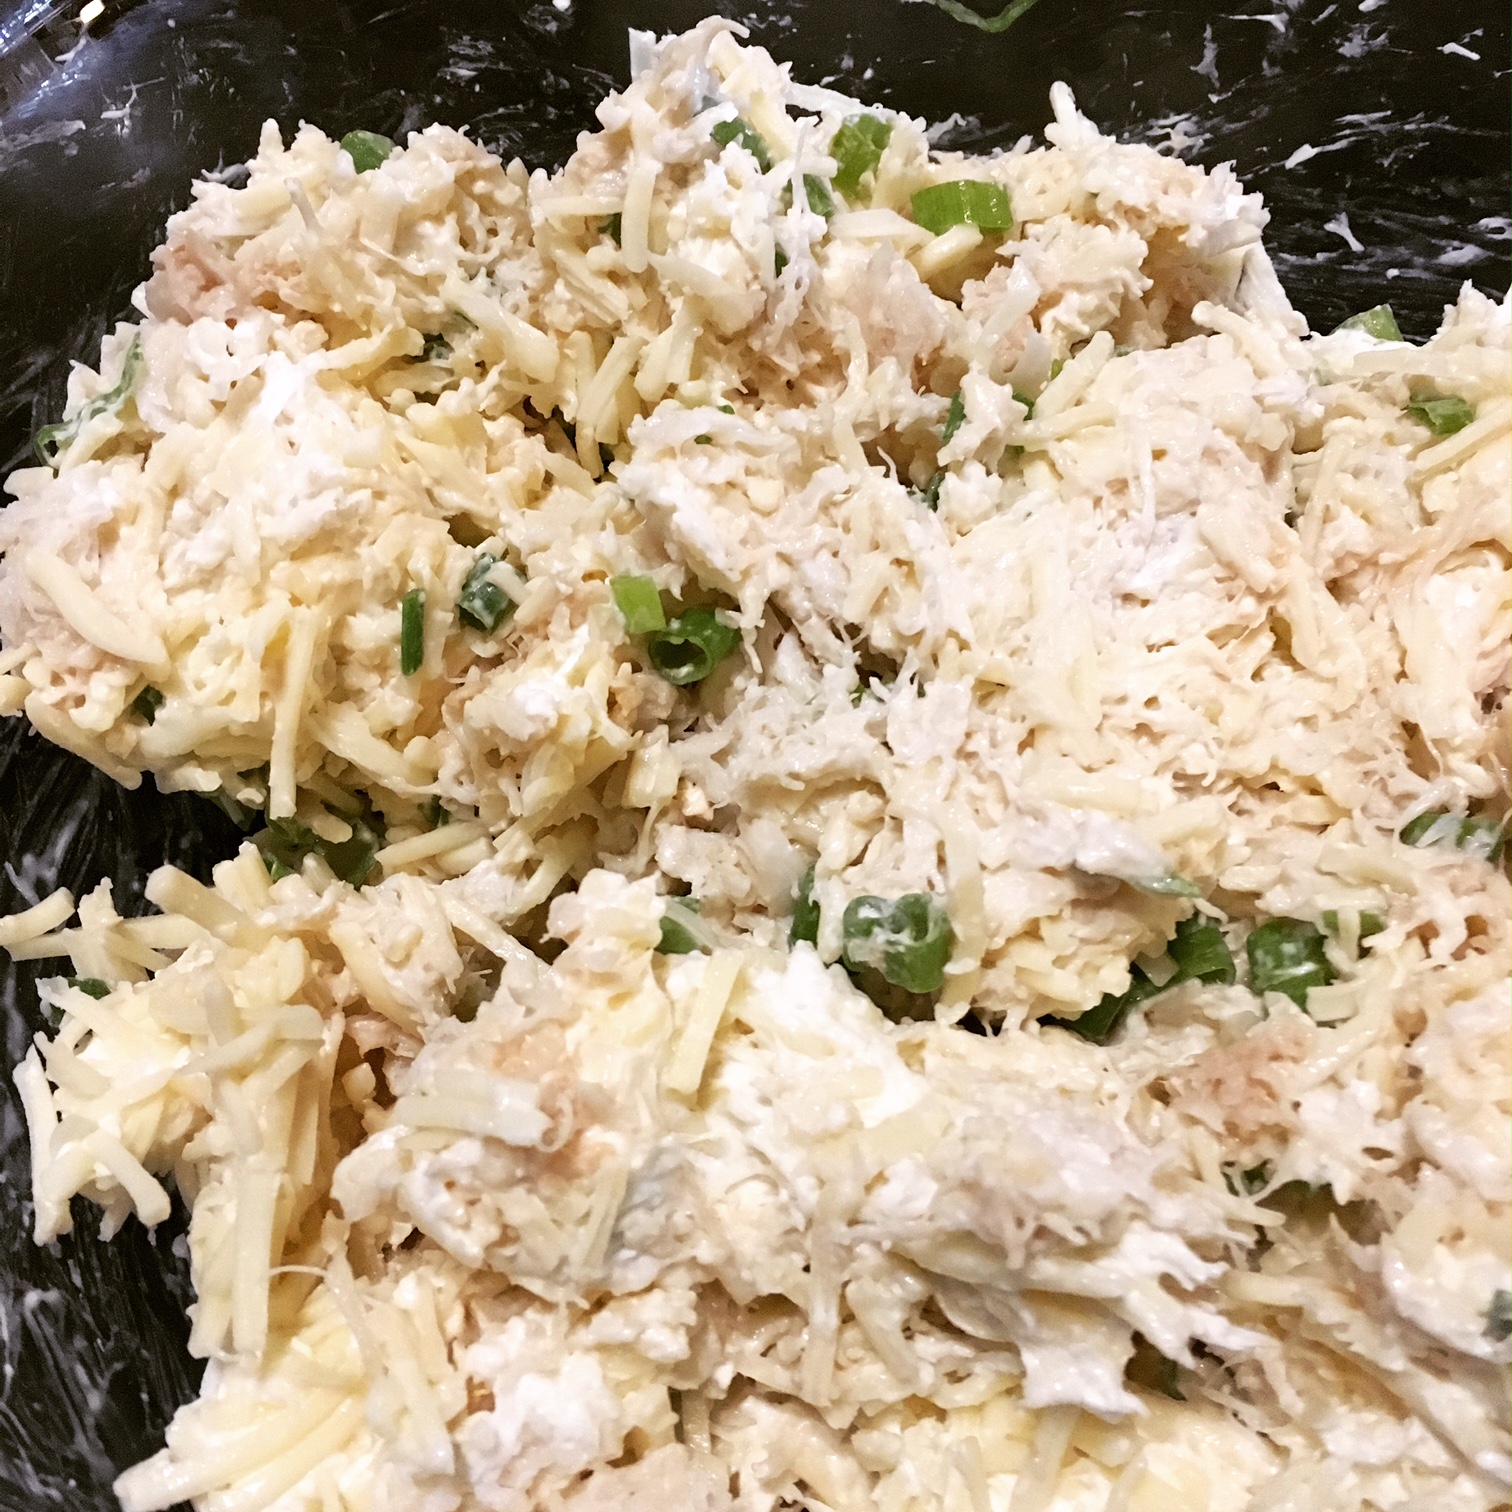
I lined them all up on a foil-covered sheet pan while I made the filling. To make the the crab stuffing, take a medium bowl and combine the lump crab meat, cream cheese, shredded cheese, Worcestershire sauce and green onions.
IMG_2780

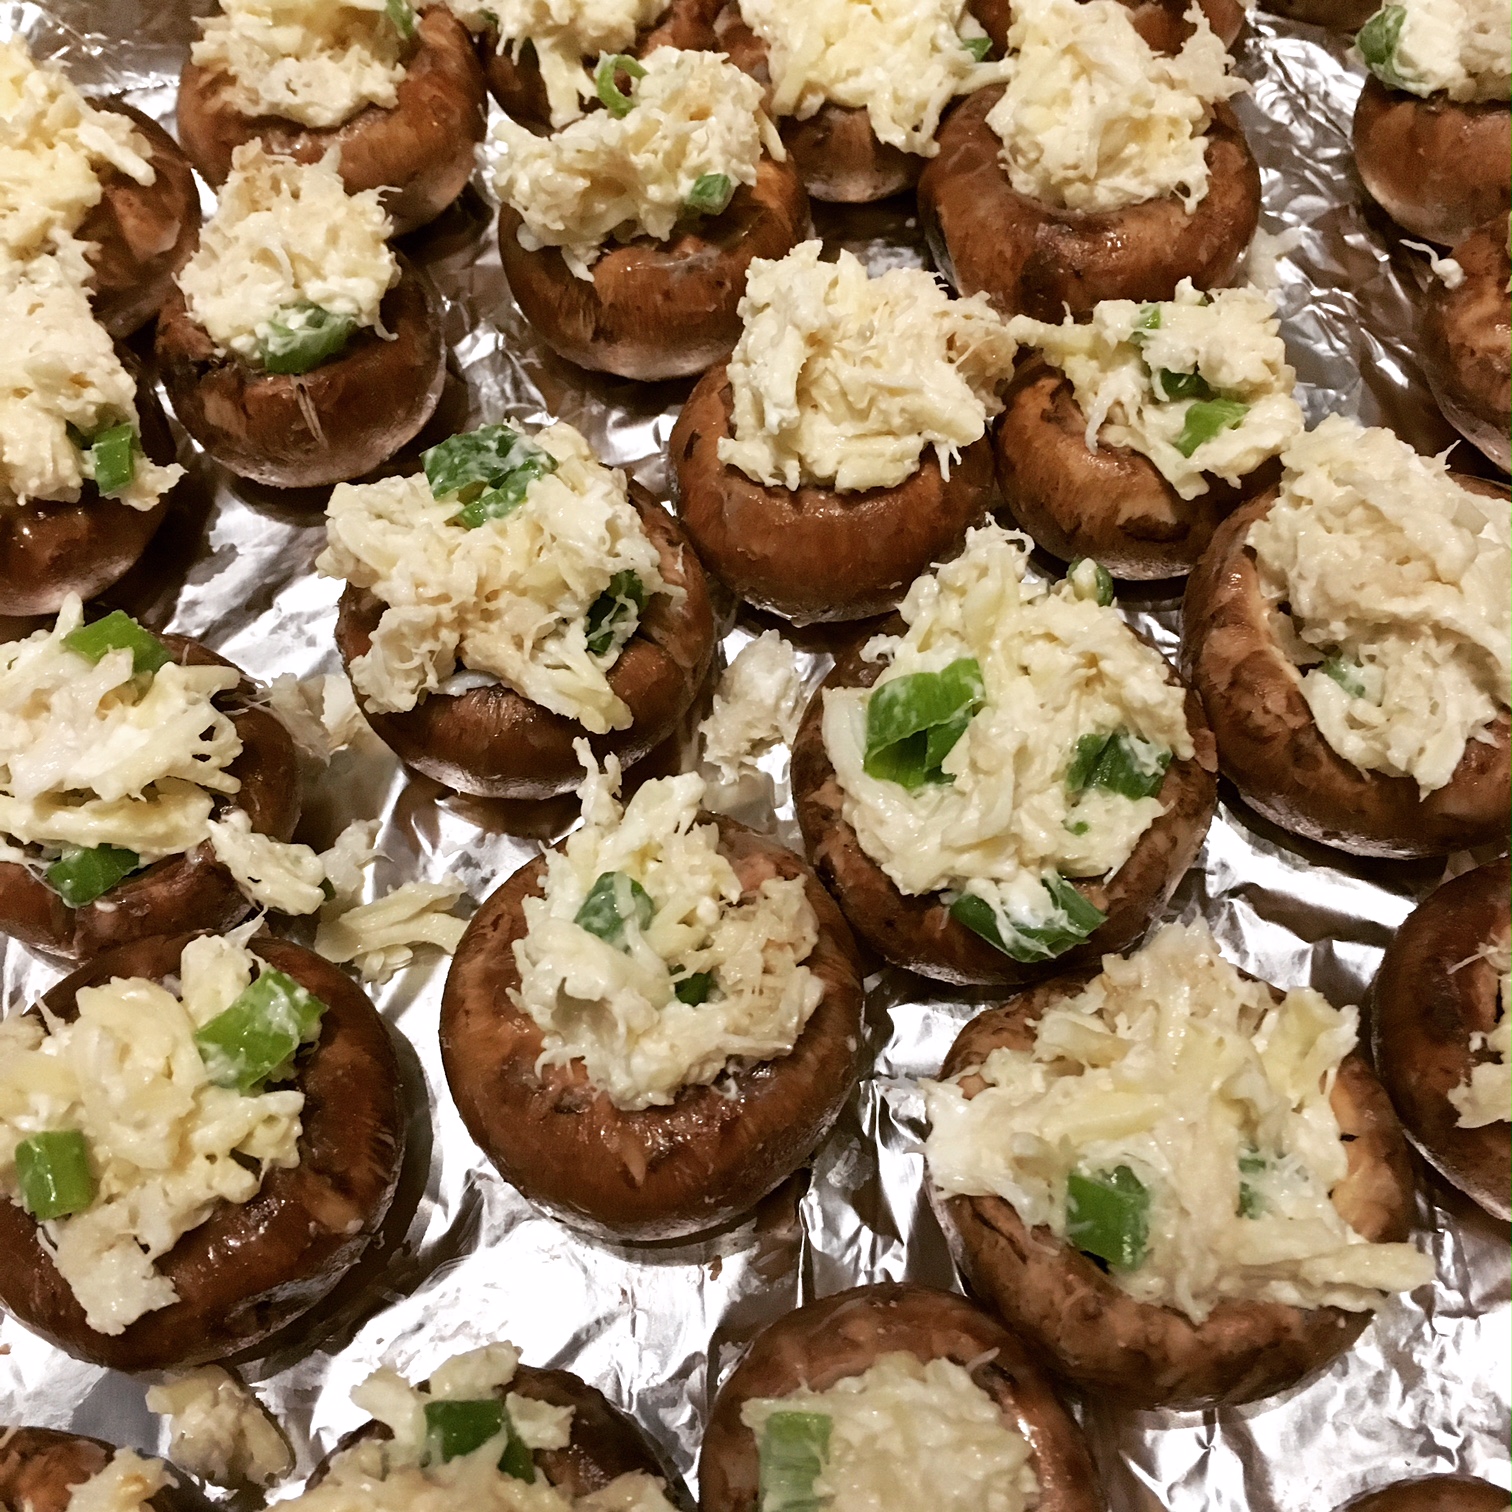
Then, I stuffed each mushroom with as much filling as would fit. It’s okay to be generous here - I had them all a little over-filled because the filling cooks down as it bakes. Top each mushroom with the parmesan cheese.
IMG_2781

The mushrooms should bake in a 350 degree oven for about 10 minutes. After they are heated through and the cheese is melted, turn on the broiler for between 2-5 minutes, watching closely so they don’t burn. The goal is to get the tops to be a nice lightly golden brown.

While everything else was baking, I began on the meatballs. I combined all of the ingredients for the sauce - peach preserves, finely diced chipotle peppers, ketchup, Worcestershire sauce, garlic powder, salt and pepper in a high-sided skillet.
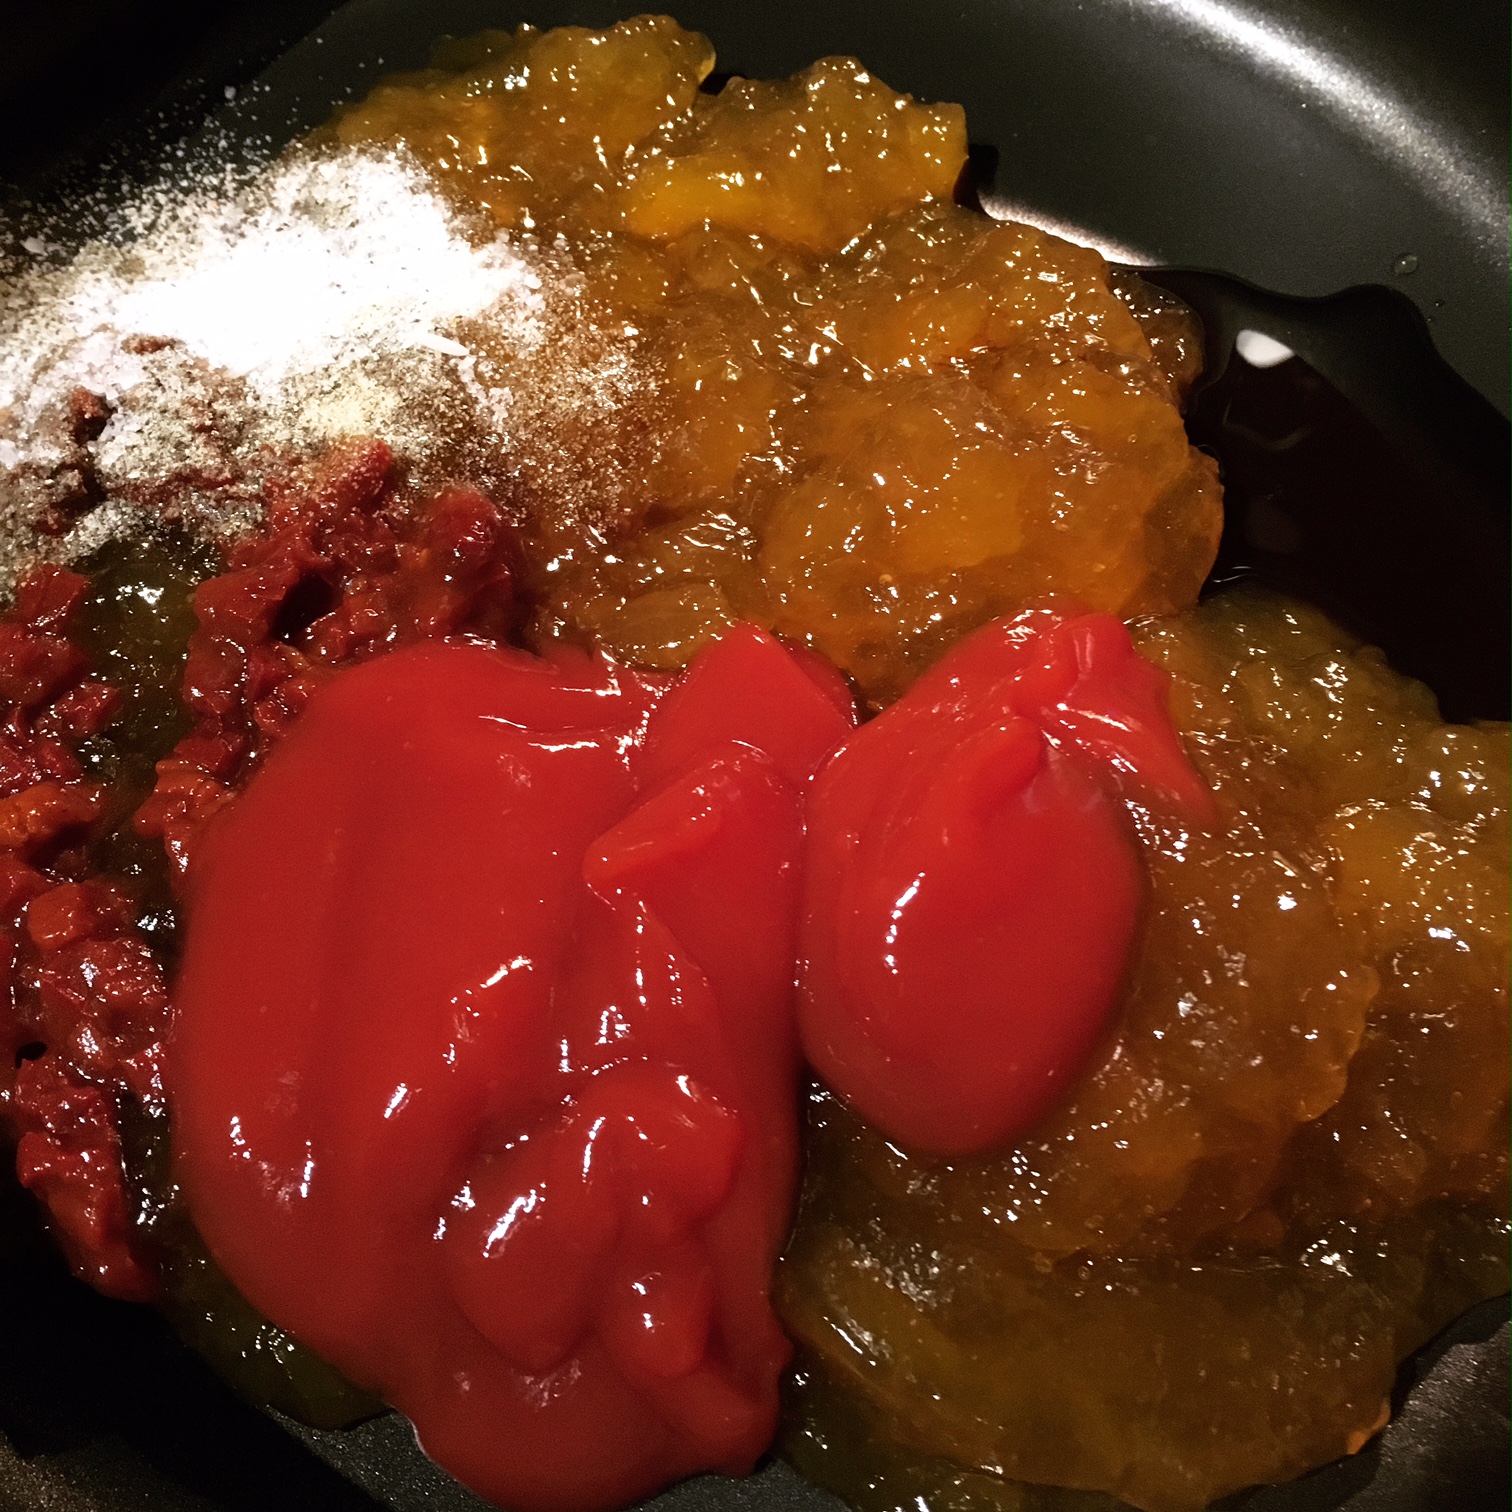
IMG_2782

It turned it up to medium so that it could come up to a simmer and allowed it to cook at that temperature for about 5 minutes. Then, I added the meatballs and covered the pan.
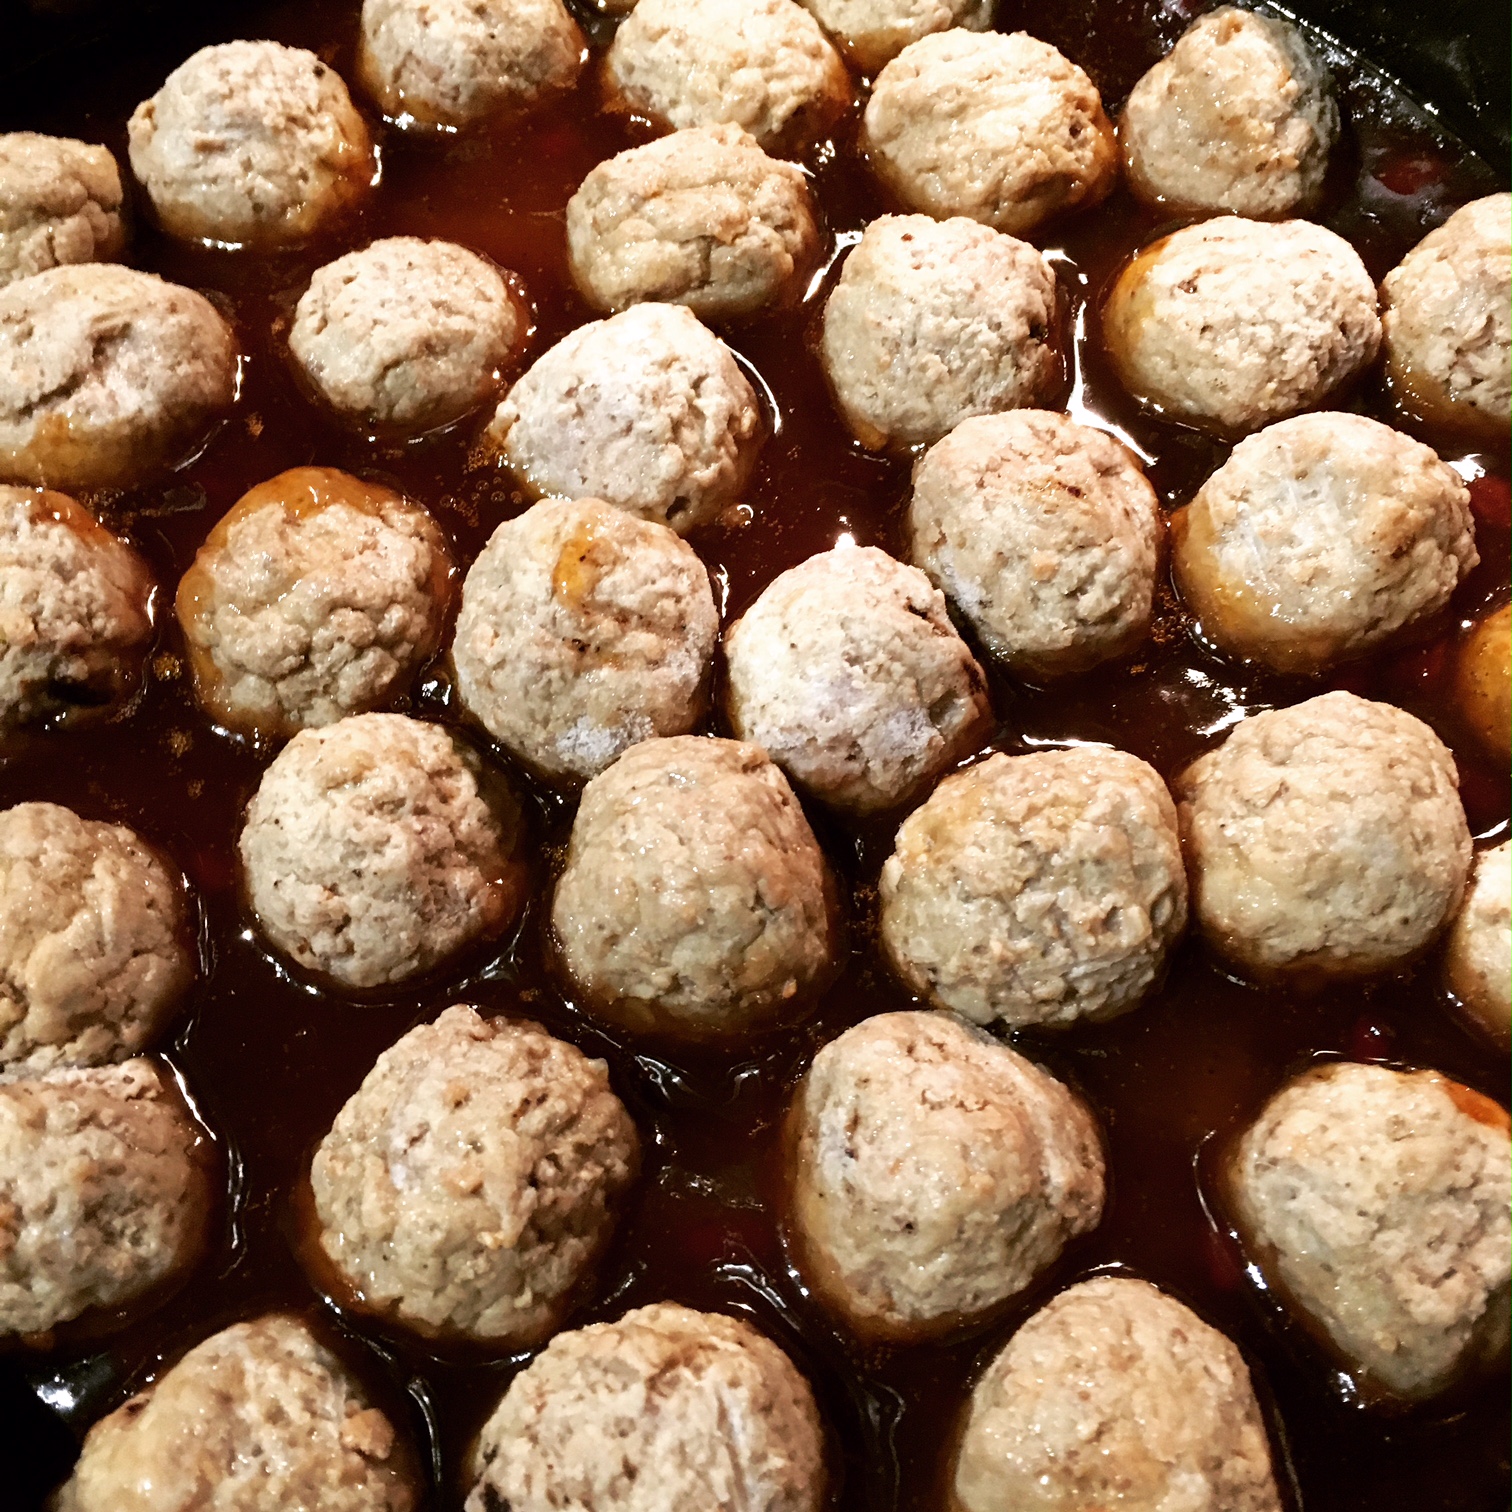
IMG_2783

The meatballs cooked for another 25 minutes. I stirred them a few times, making sure they were well-coated and cooking evenly. Serve warm.

Spinach Artichoke Dip Bites

  • Servings: 24 pieces
  • Time: 30 minutes
  • Print

Ingredients

  • 1 9-oz package frozen chopped spinach, thawed and drained
  • 1 6-oz jar artichoke hearts, drained and chopped
  • ½ tsp minced garlic
  • 2 TBS shredded parmesan cheese
  • 4 ounces cream cheese, softened
  • 1 cup shredded Monterey Jack cheese, divided
  • ¼ tsp garlic powder
  • ¼ tsp salt
  • pepper to taste (freshly ground)
  • 1 can seamless crescent roll dough

Directions

  1. Preheat oven to 375 degrees F.
  2. In a bowl, combine spinach, artichoke hearts, garlic, garlic powder, salt and parmesan cheese. Blend in cream cheese and half of your shredded cheese. Add freshly ground black pepper to taste.
  3. Using a rolling pin, lay out dough on a cutting board and lightly stretch to 8x12. (It should already be close to this straight out of the package.) Cut down into 2-inch squares, so you have 24 squares total.
  4. Lightly grease a mini muffin tin and place a square in each slot, gently pushing down to create an indent. (You do not need to mold it to the cup.) In most cases, the dough should naturally fall into the cups.
  5. Scoop about 1 Tablespoon of your spinach mixture on top of each square and gently push in. (Bites will mold to the tin while baking.) If there is any remaining mixture, add to cups that look less full than others.
  6. Sprinkle the remaining Monterey Jack cheese over the tops of each bite.
  7. Bake for 15-17 minutes, until golden brown. Let cool for 5-10 minutes before removing from the muffin tin.

Adapted from: Lil’ Luna

Don’t worry about making sure your squares are perfectly uniform. I had a whole variety of some that looked more rectangle-y, some that were small and some that were larger. They all tasted delicious.


Mini Crab Stuffed Mushrooms

  • Servings: 80-100 mushrooms
  • Time: 30 minutes
  • Print

Ingredients

  • 80-100 mini Bella mushrooms (5-6 containers)
  • 8 ounces lump crab meat, drained
  • 8 ounces whipped cream cheese
  • 12 ounces (1½ cups) shredded Monterey Jack cheese
  • 2 bunches chopped green onions
  • 1 TBS Worcestershire sauce
  • 4-6 TBS shredded parmesan cheese
  • olive oil or melted butter, as desired

Directions

  1. Preheat oven to 350 degrees F.
  2. Wash mushrooms and remove the stems. If desired, lightly brush the tops only with olive oil or melted butter. Set aside.
  3. Mix remaining all ingredients except the parmesan cheese.
  4. Stuff mushrooms with the crab-cheese mixture. Top with the parmesan cheese.
  5. Bake mushrooms at 350 degrees for 10 minutes. Broil for 2-5 minutes, watching to ensure they don’t burn. Mushrooms should be slightly golden brown on top.

Adapted from: Crazy Jamie

Bonus Recipe: If you have any of the filling leftover (as I did when I made these following the original recipe), it makes great crab quesadillas. Just warm tortilla(s) in a lightly greased skillet over medium heat. Add filling to one half of the quesadilla and fold over. Once the bottom is lightly golden, flip. Wait for that side to become lightly browned as well and ensure the filling is heated through. Serve with hot sauce, salsa, guacamole, or whatever toppings you prefer!


Chipotle Peach Meatballs

  • Servings: 60 meatballs
  • Time: 35 minutes
  • Print

Ingredients

  • 18 oz peach preserves
  • 3-4 chipotle peppers in adobo sauce, finely diced
  • ½ cup ketchup
  • ½ TBS Worcestershire sauce
  • ¼ tsp garlic powder
  • ½ tsp salt
  • ¼ tsp pepper
  • 32 oz, or about 60 frozen cocktail meatballs (see notes)

Directions

  1. Add peach preserves, diced chipotle peppers, ketchup, Worcestershire sauce, garlic powder, salt and pepper into a medium to large high-sided skillet. Bring to a simmer over medium heat and allow to simmer for 5 minutes.
  2. Cooking in two batches, add half (about 30) of the meatballs and cover. Let simmer over medium-low heat, stirring occasionally for an additional 25 minutes, or until meatballs are thawed.
  3. Using tongs so the majority of the sauce stays in the skillet, transfer the meatballs to your serving container and keep warm. Repeat step 2.
  4. Add second batch of meatballs and sauce to serving bowl. Serve warm.

Adapted from: The Culinary Compass

If you have multiple meatball options in your grocery store, opt for Homestyle as they’ll have less seasoning than Italian (which were the two options at mine).

If you prefer your meatballs saucier, you can use 18 oz (approximately 32) meatballs instead and cook in one batch only.


This post contains affiliate links. Full disclosure here.

Filed Under: book review, recipe Tagged With: appetizer, contemporary, dinner party, drama, easy prep, fiction, meat, seafood, tough topics

Welcome to Braggsville + Belgian Waffles

March 11, 2017 by Megan 1 Comment

A story about a small town in Georgia starts at UC Berkeley with a group of four unlikely friends. In an alternate history class, the “4 Little Indians” hatch a plan that has D’Aron bringing them all back to his hometown for a reenactment of the Civil War. Their demonstration is expected to raise eyebrows and challenge the local mindset, but it ends up changing more than just opinions.

9780062302120_custom-02b2307e51fe69252971540140d28888bdcc2d5b-s400-c85.jpg

Welcome to Braggsville by T. Geronimo Johnson was chosen as the inaugural book for my office’s new Diversity Council Book Club. It certainly spawned some interesting conversation around race, class and unconscious bias and challenged the thinking of everyone in the room.

While I struggled with the writing style, which made it hard to tell who was speaking, if anyone was speaking at all and sometimes what the heck was actually going on, I realized (after some discussion with the group) that that might have been the point. Throughout the book, there is some confusion as to what events actually unfold and how, but one scene that is a very clear turning point in the story happens at a waffle house, while the foursome eats breakfast.

After finding a waffle recipe to accompany this novel, I borrowed a waffle maker from a generous coworker and set to work. With quite a few steps (and dishes), this recipe certainly isn’t as easy as some of the ones out there, but it was definitely delicious. If you have the time on a weekend morning, I suggest giving it a try.

With my oven at 200 degrees F, I combined the dry ingredients - flour, cornstarch, baking powder, baking soda and salt. With that set aside, I also combined most of the wet ingredients - buttermilk, milk (I used 2%), vegetable oil, vanilla extract and egg yolks.

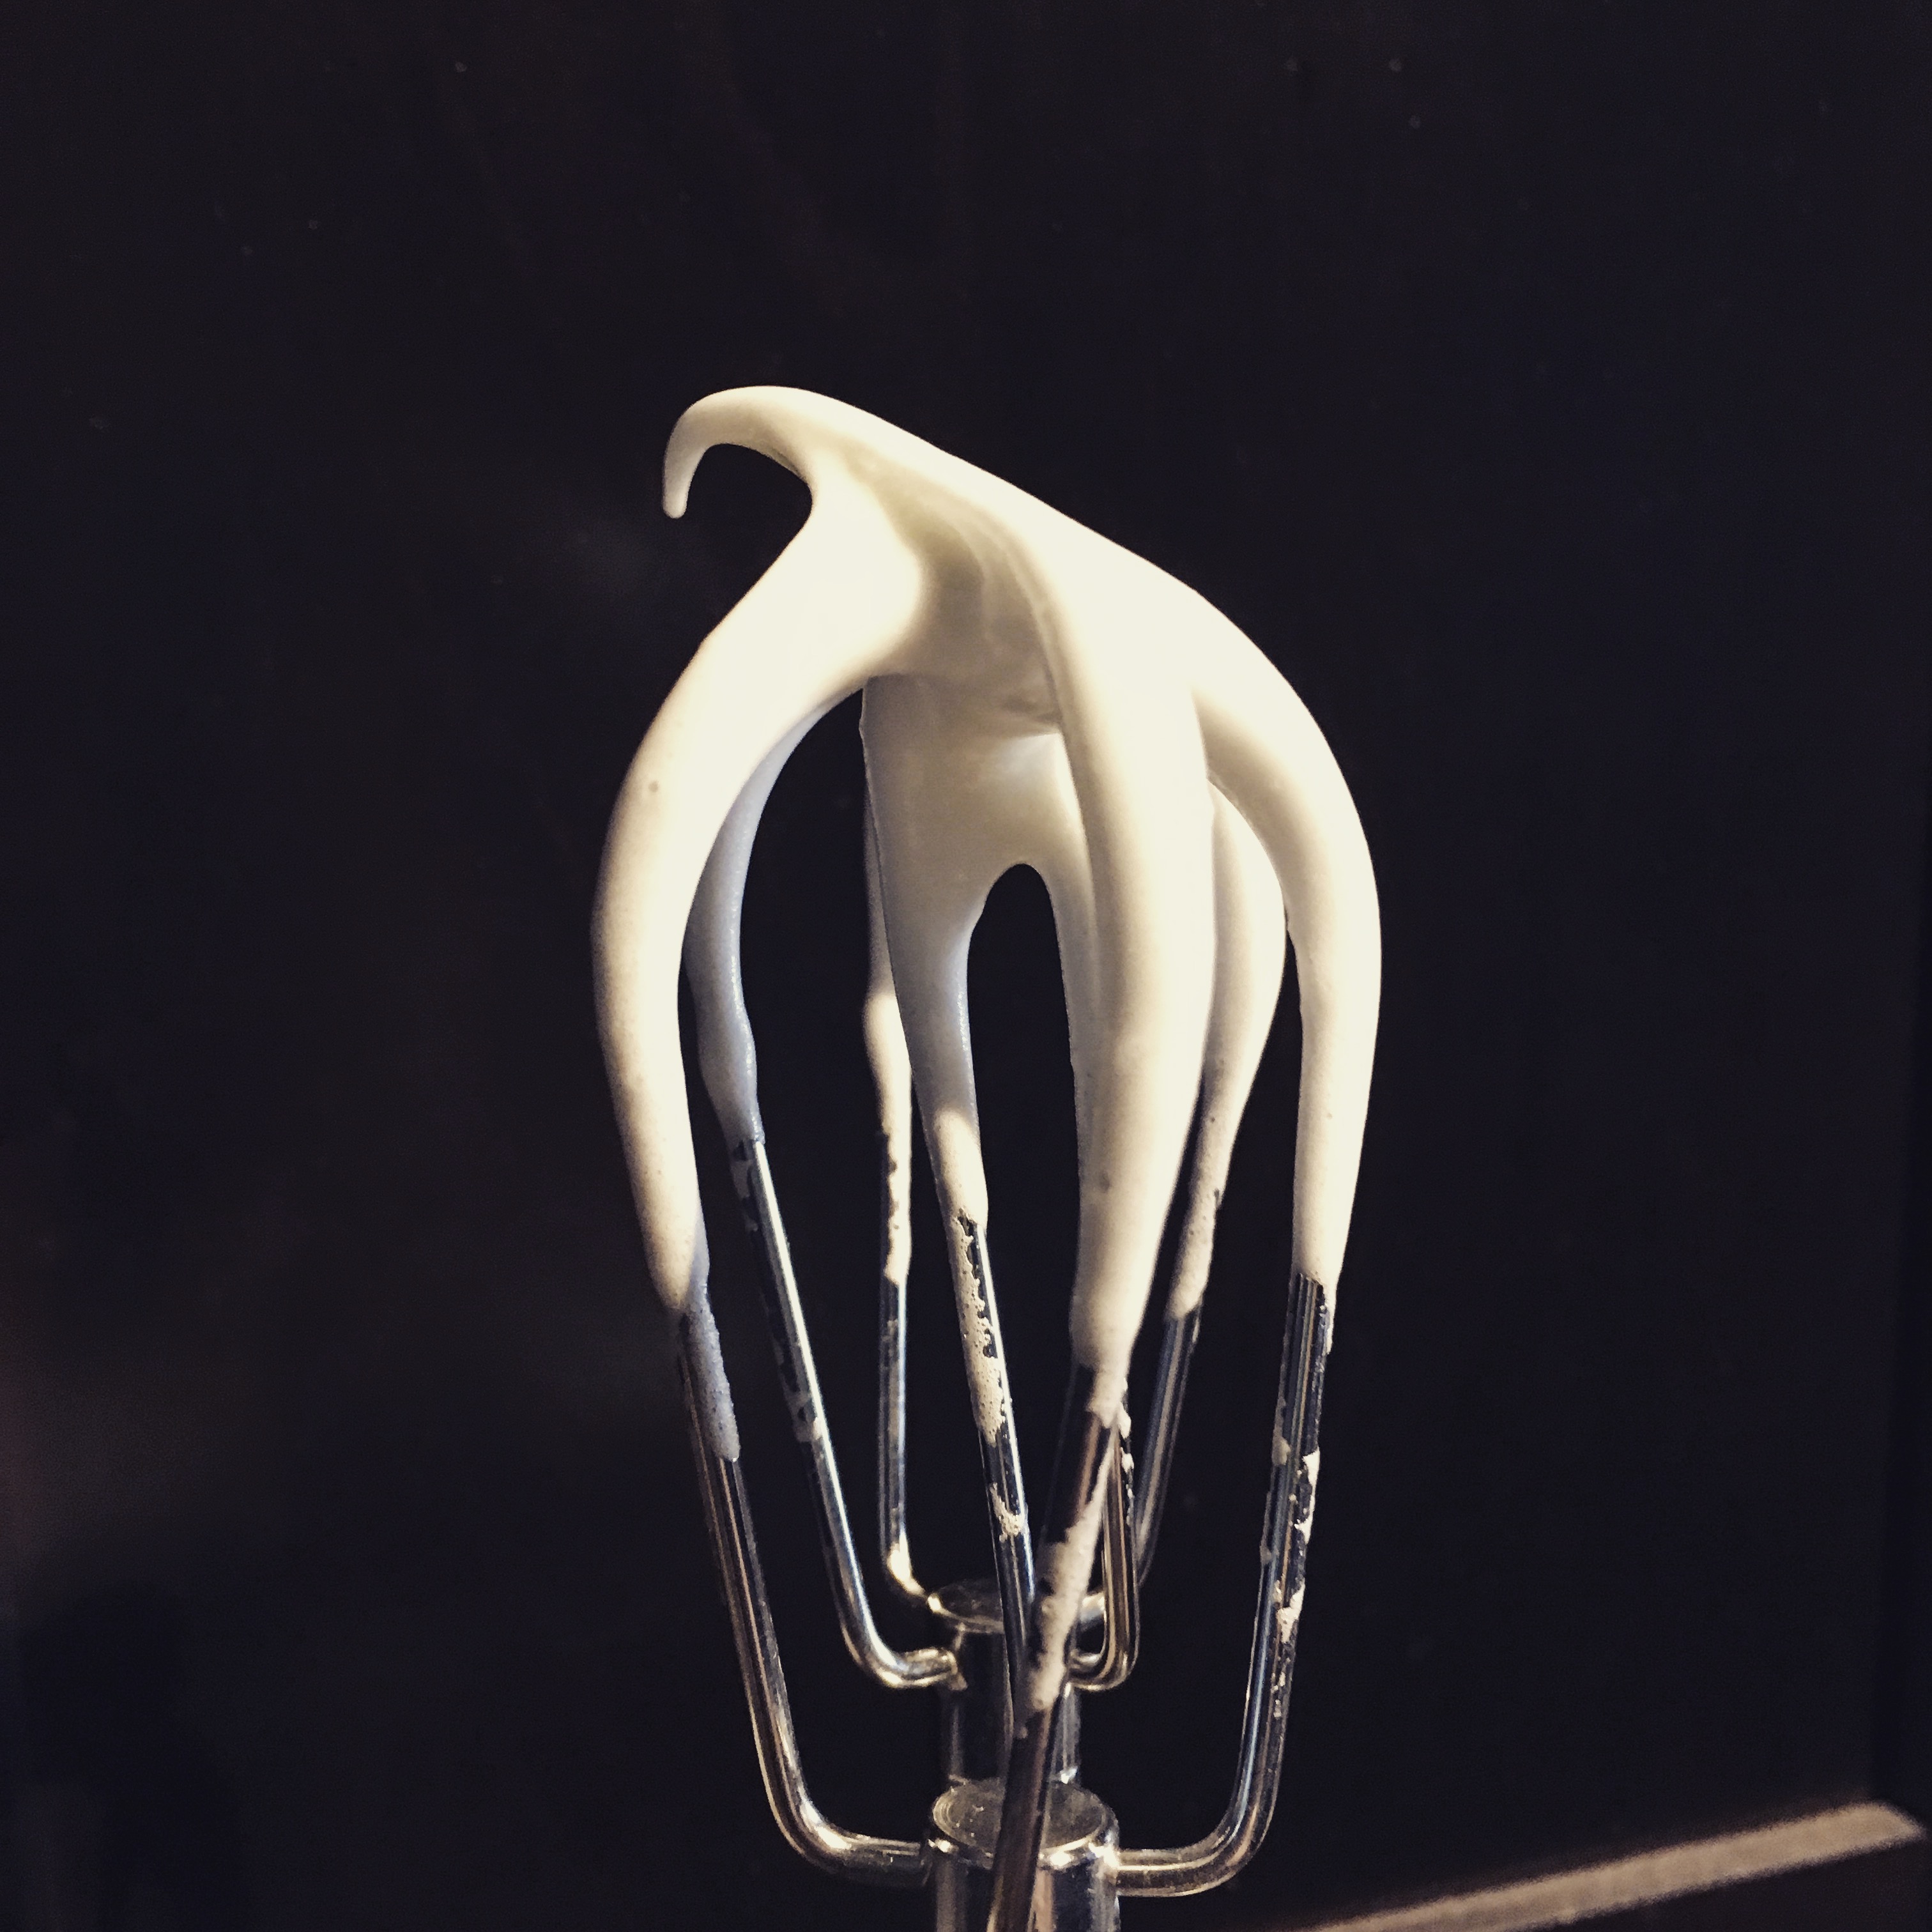
In yet another bowl, I used a hand mixer to whip up my egg whites. Once they formed soft peaks, I added 3 tablespoons of sugar and continued whipping to form stiff, glossy peaks.

IMG_2621.JPG

At this point, I turned on my waffle maker to preheat. (It didn’t take very long to get up to temperature.)

While whisking, I poured the wet ingredients into a well in the middle of the dry ingredients and mixed until they were just combined. Finally, I folded in the egg white mixture. With the batter all ready to go, I began making the waffles.

I had to use about 1 cup of the mixture per waffle, but be sure to follow the directions on your waffle maker. Since I could only make one at a time, I followed the suggestion of Jaclyn at Cooking Classy and used the warm oven to keep them from getting cold while I finished up.

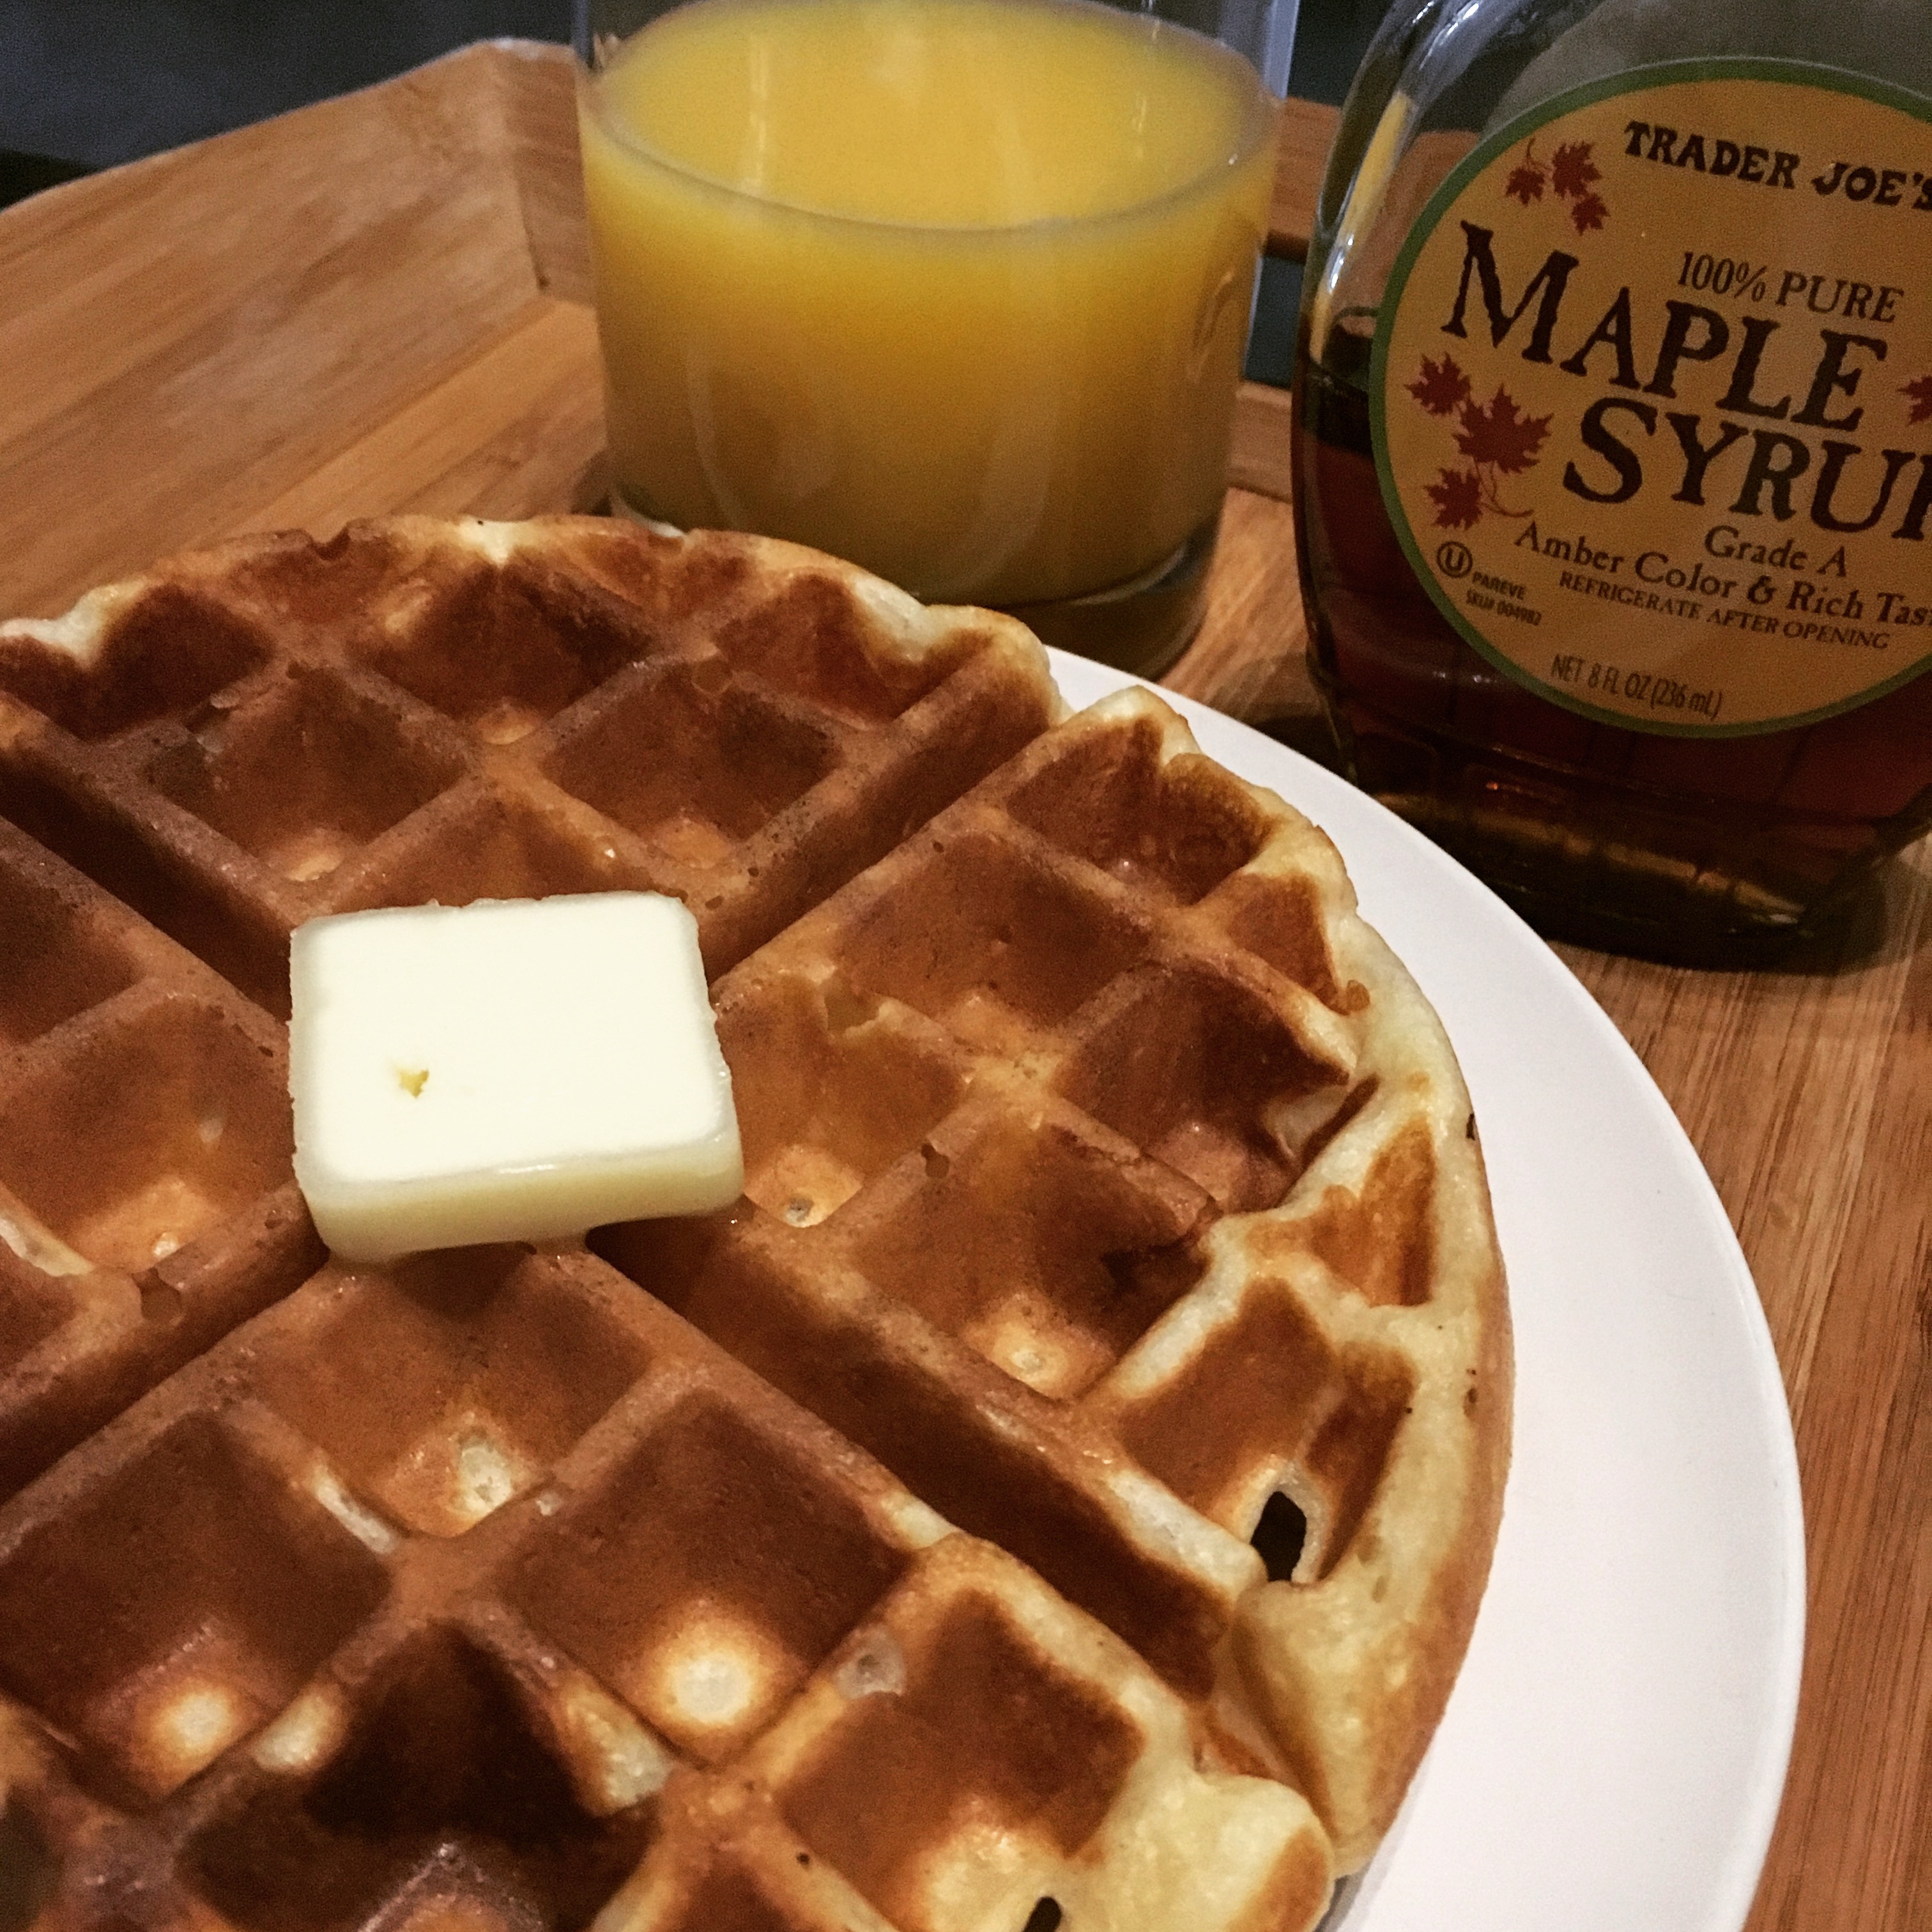
Though there are plenty of ways to “fancy up” the waffles, we went the classic route and topped them with a bit of butter and some maple syrup. I hope you enjoy as much as we did!

IMG_2622

Buttermilk Belgian Waffles

  • Servings: about 6
  • Time: 30 minutes
  • Print


From: Cooking Classy

Ingredients

  • 1½ cups all-purpose flour
  • ½ cup cornstarch
  • 1 tsp baking powder
  • ½ tsp baking soda
  • ½ tsp salt
  • 1 ½ cups buttermilk
  • ½ cup milk
  • 6 Tbsp vegetable oil or canola oil
  • ½ tsp vanilla extract
  • 2 large eggs, whites and yolks separated
  • 3 TBS granulated sugar

Directions

  1. Preheat oven to 200 degrees F. Preheat a Belgian waffle iron (if you don't have a Belgian waffle maker a regular waffle maker would work fine). In a mixing bowl whisk together flour, cornstarch, baking powder, baking soda and salt for 20 seconds, make a well in center of mixture and set aside.
  2. In a separate mixing bowl whisk together buttermilk, milk, vegetable oil, vanilla extract and egg yolks until combined.
  3. In a separate bowl, using an electric hand mixer set on high speed, whip egg whites (make sure there isn't a drop of yolk or they'll never fluff up) until soft peaks form. Add sugar and whip until stiff glossy peaks form.
  4. While whisking, pour buttermilk mixture into well in flour mixture and mix just until combined (batter should be slightly lumpy). Fold in egg white mixture.
  5. Cook batter in waffle iron according to manufacturer’s directions. Once each waffle is done, transfer to warm oven and allow to rest until crisp. Serve warm with butter and maple syrup.

Variations: Serve with sweetened whipped cream, fresh berries and raspberry/blueberry or strawberry syrup. For churro waffles, brush top of waffle with melted butter (be sure to get in each square) then pour a generous amount of cinnamon sugar into a 9-inch pie dish and dunk butter coated side in cinnamon sugar mixture.

This post contains affiliate links. Full disclosure here.
Filed Under: book review, recipe Tagged With: breakfast, brunch, contemporary, fiction, tough topics

Commonwealth + Orange Drop Cocktail

March 7, 2017 by Megan 2 Comments

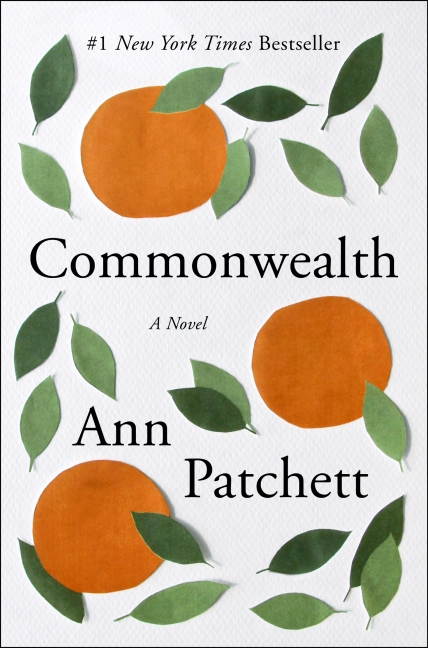
I have never read Ann Patchett before, even though Bel Canto has long been on my to-read list. I had requested her latest novel Commonwealth from my library shortly after it was published last summer and it only just arrived. From the first chapter, I found it slowly engrossing. That is to say, it’s not an action-packed page turner, but I became so absorbed in the characters that I happily followed their stories over the decades the novel covers.

163560.jpg

The story of two families - four parents, six children - begins at Franny’s christening celebration, which is transformed by an unsuitable gift of liquor and a backyard full of orange trees. So, too, are their lives forever changed. We follow both families, which is a muddled mix of estranged spouses, sort of step-siblings and a black sheep or two, through the next 50 years of their lives.

A lot of the drama seems to happen in memories or flashbacks, but as with all families, nothing can be buried too deep and has lasting effects on each of them, even if they deal with it in their own ways. Once grown up, Franny becomes an avid reader and a cocktail waitress, giving her the unique opportunity to end up dating a successful novelist. This, too, has an effect on the family - one I’ll admit I didn’t expect.

It’s hard to say too much without spoiling Commonwealth’s bigger plot points, so I’ll get right to the recipe - this time, a cocktail. I didn’t use gin, which even those at Franny’s party thought an odd pairing with orange juice, but instead went with a more traditional vodka-based drink, the Orange Drop.

First, I made a simple syrup - equal parts granulated sugar and water - and allowed it to fully cool before mixing the rest of the drink.

Then, I measured it out before adding a citrus-flavored vodka and orange juice. With a quick stir, I poured the cocktail into two rocks glasses, more akin with the glasses used spur-of-the-moment at the party. Again, not to be too fussy, I garnished them simply with half an orange slice each, and served with ice.

Orange Drop

  • Servings: 1 drink
  • Time: 10 minutes
  • Print

Adapted from: Vanilla and Bean

Ingredients

  • 2 oz citrus-flavored vodka
  • 2 ½ oz pulp-free orange juice
  • ¼ oz simple syrup
  • 1 orange, cut into half slices
  • ice

Directions

  1. If you need to make simple syrup, add equal parts granulated sugar and water to a small saucepan. Bring to a boil and simmer until the sugar is dissolved. Cool completely before using in drink mixture.
  2. In a measuring container with a spout, add the vodka, orange juice and simple syrup. Stir with a spoon. Pour into glass of your choice.
  3. Add ice according to preference. Garnish with an orange slice, if desired. (Add an additional splash of orange juice, if you prefer a slightly less stronger drink.)

This post contains affiliate links. Full disclosure here.
Filed Under: book review, recipe Tagged With: alcohol, cocktail, contemporary, drink, fiction

All the Ugly and Wonderful Things + Mashed Potatoes

March 2, 2017 by Megan Leave a Comment

The title of All the Ugly and Wonderful Things really got it right. Bryn Greenwood’s novel is about a little girl, Wavy, whose father is a meth dealer. While the subject matter was ugly, I thought the writing in this novel was beautiful. I was captivated even though I often wanted to put it down for a bit of a mental break.

All-The-Ugly-And-Wonderful-Things-By-Bryn-Greenwood.jpg

Wavy’s life is hard for many reasons, not the least of which is that, at eight years old, she is essentially the caregiver for her little brother. And, because of the life she was born into, she spends most of the novel seeking out the love and safety most children take for granted. The central bright spot in the novel is Wavy’s relationship with one of her father’s gentle but tattooed employees, Kellen. Not without its own problems, it still gives her the protection she craves.

Wavy struggles to eat in front of people, and while she might not partake, she takes it upon herself to ensure there is good food on the table at home. Kellen brings her the ingredients she requests. One of her favorite things about his grocery shopping is that he doesn’t forget any items and he always brings real butter for the mashed potatoes.

In one of her letters to Kellen, Wavy devotes an entire paragraph to mashed potatoes, and so that’s what decided to make to complement her story. I found a recipe online for Creamy Mashed Potatoes, with lots of real butter, of course.

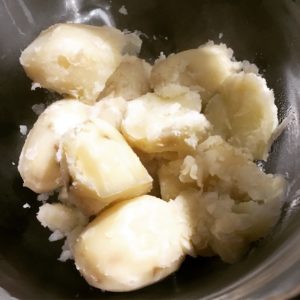
Since it was just the two of us, I cut the recipe in half. I peeled half of the potatoes in a 5-lb bag (about 6) and added them to a large pot of water. Once it came to a boil, I partially covered the pot with a lid and let it continue to boil for about 20 minutes. (Timing will vary.)

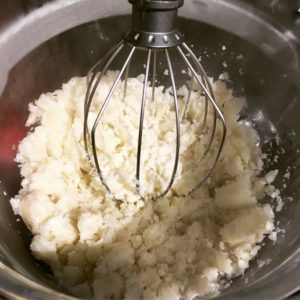
I drained the potatoes and put them into my stand mixer bowl, using the whisk attachment to break them up by hand.

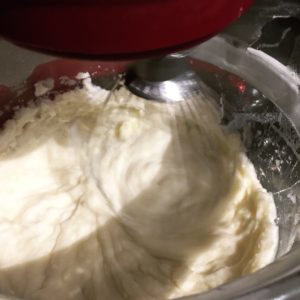
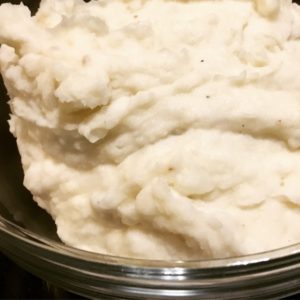
Then, I put the bowl in place and attached the whisk, setting it on low speed. After 30 seconds, I switched it up to medium speed and began to add the hot milk. Next, I added the butter, 1 tablespoon at a time, until the potatoes were smooth and fluffy.  Finally, I poured in the salt, plus a little black pepper to taste.

Creamy Mashed Potatoes

  • Servings: 6-8, as a side
  • Time: 40 minutes
  • Print


From: Natasha’s Kitchen

Ingredients

  • 4 lbs (12 medium) russet potatoes, peeled
  • 1 ¼ cups hot milk
  • 2 sticks unsalted butter at room temperature (not melted)
  • 1 ½ tsp salt, or to taste
  • 1 TBS fresh parsley or chives, finely chopped for garnish (optional)

Directions

  1. Peel potatoes (cut potatoes in half if very large). If you want the potatoes to be the smoothest possible, you can take the time to remove the little knots from the potatoes with a small spoon or the tip of a potatoes peeler. Place potatoes in a large pot (5 Qt+) and add enough cold water to cover potatoes. Bring to a boil and cook partially covered until easily pierced with a knife (boil 20-25 minutes depending on the size of your potatoes; mine took 22 min).
  2. Drain well and transfer to the bowl of your stand mixer. Grab the whisk attachment and mash potatoes lightly by hand to break them up. Fit mixer with whisk attachment and start mixer on low speed 30 seconds then increase to medium and slowly drizzle in HOT milk.
  3. With mixer on, add softened butter 1 Tbsp at a time, waiting a few seconds between each addition. Potatoes should be whipped and fluffy. Finally add 1 1/2 tsp salt, or to taste.


To keep mashed potatoes warm until serving: cover potatoes and place into a warm oven or transfer to a slow cooker on the low setting to keep potatoes warm until ready to serve.

This post contains affiliate links. Full disclosure here.

Filed Under: book review, recipe Tagged With: contemporary, fiction, side dish, tough topics, veggies

Today Will Be Different + Breakfast Casserole

January 5, 2017 by Megan 2 Comments

Based on the title alone, Maria Semple’s Today Will Be Different seemed like a novel with an uplifting outlook. At the same time, I was also reading The Happiness Project, a nonfiction book with a similar self-improvement theme that one of my book clubs had chosen for January to kick off the New Year. Goodbye, 2016! Hello, 2017! Let’s start fresh.

28449270

I had loved Maria Semple’s last novel Where’d You Go Bernadette? It was laugh-out-loud funny with a surprising format, and I still recommend it to people constantly. Naturally, I was looking forward to her follow-up. As the title suggests, Today Will Be Different takes a peek at a day in the life of our main character Eleanor. She wakes up with the intention to be a better person than yesterday.

On a day that’s anything but ordinary, Eleanor certainly does her best to follow through with her resolutions. As the day unfolds, she is greeted with several surprises, including an adventure down memory lane. It definitely had some chuckle-worthy moments and relatable insights, but even for a novel about just one day, it felt rushed, incomplete, and in the end, a bit too contrived.

Still, it wasn’t a bad read - certainly enjoyable, and I took it as a bit of an inspiration to do a little better every day than the day before.

Best to start with breakfast, I think. I found an easy recipe for a breakfast casserole that’s greatest appeal was that most of the work could be done the night before. It ended up being a perfect dish to make between Christmas and New Year’s, when everything feels a little lazier and there are heaps of leftovers - especially, in our case, of spiral sliced ham. All I really had to buy was the frozen hash browns.

My parents came over for brunch late one morning, so the night before I did all of the prep, knowing tomorrow would be better. Easy satisfying breakfast is always a great way to start the day!

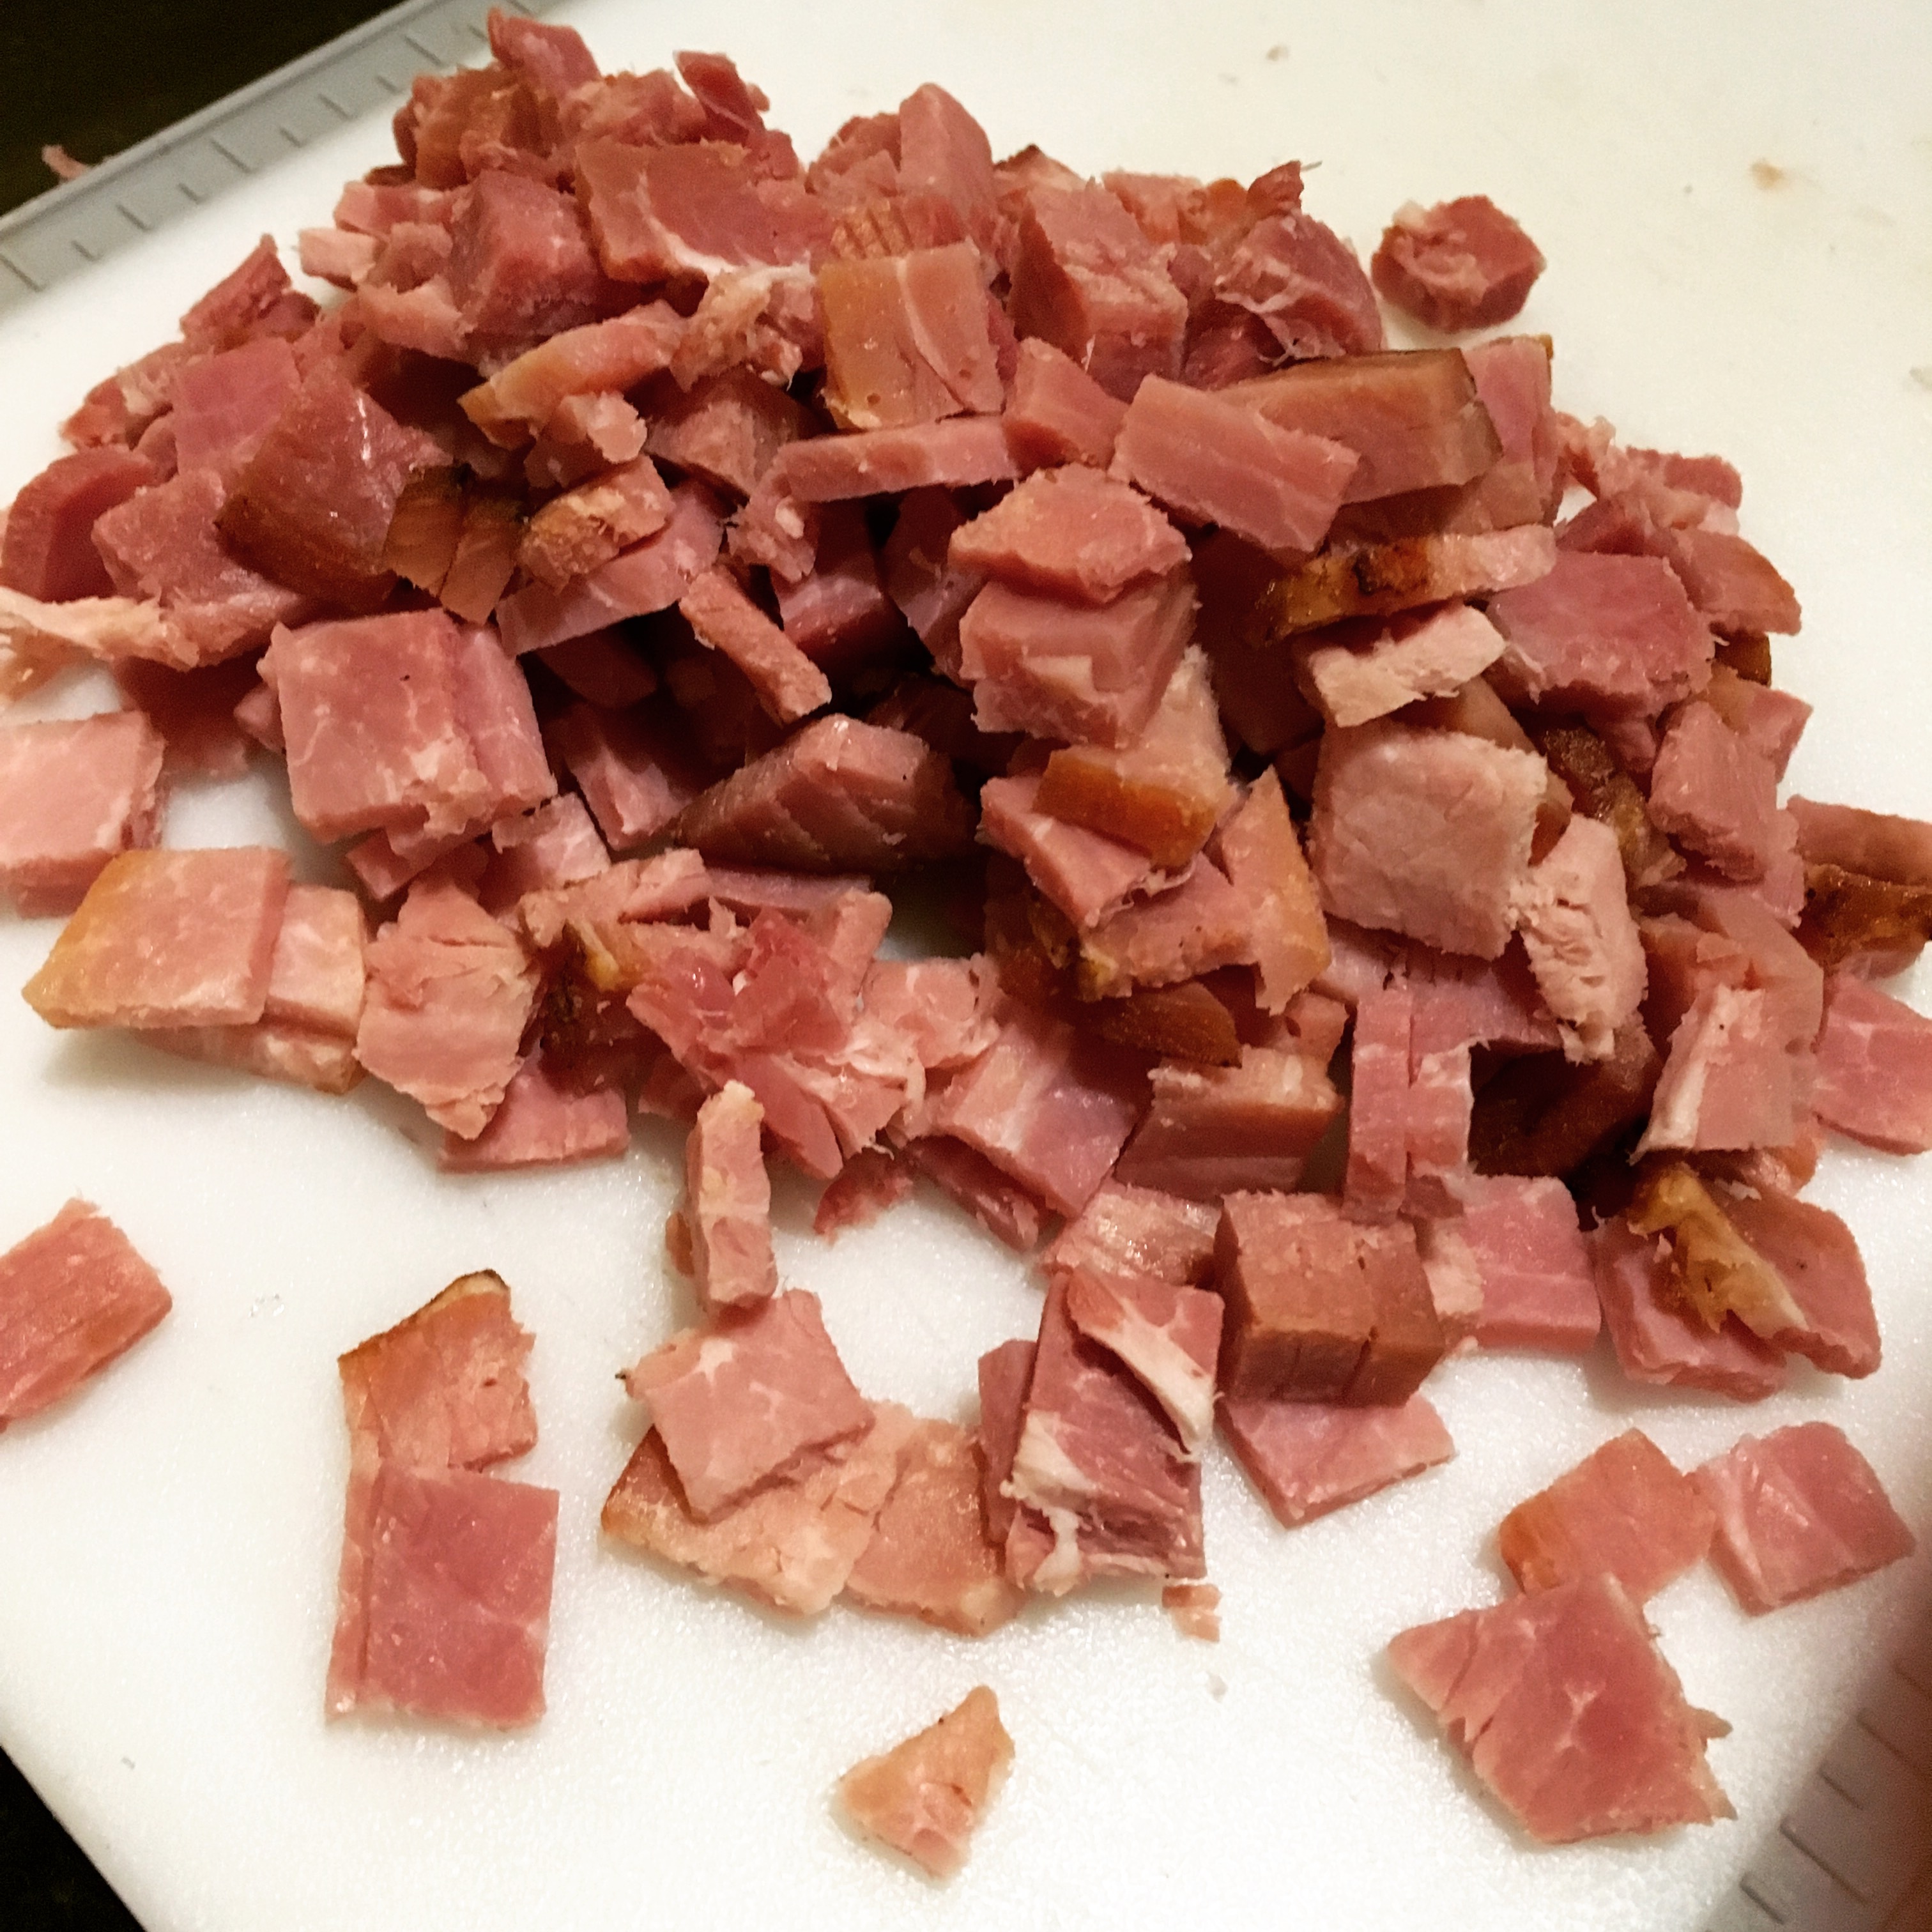
I chopped up what we had left of the Christmas ham, which ended up being just shy of 2 cups, but was still plenty for the recipe.

img_2407

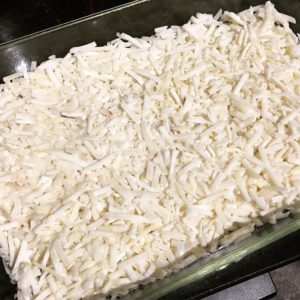
I poured the shredded frozen hash browns into the bottom of a greased 9x13 casserole dish and whipped up a dozen eggs.

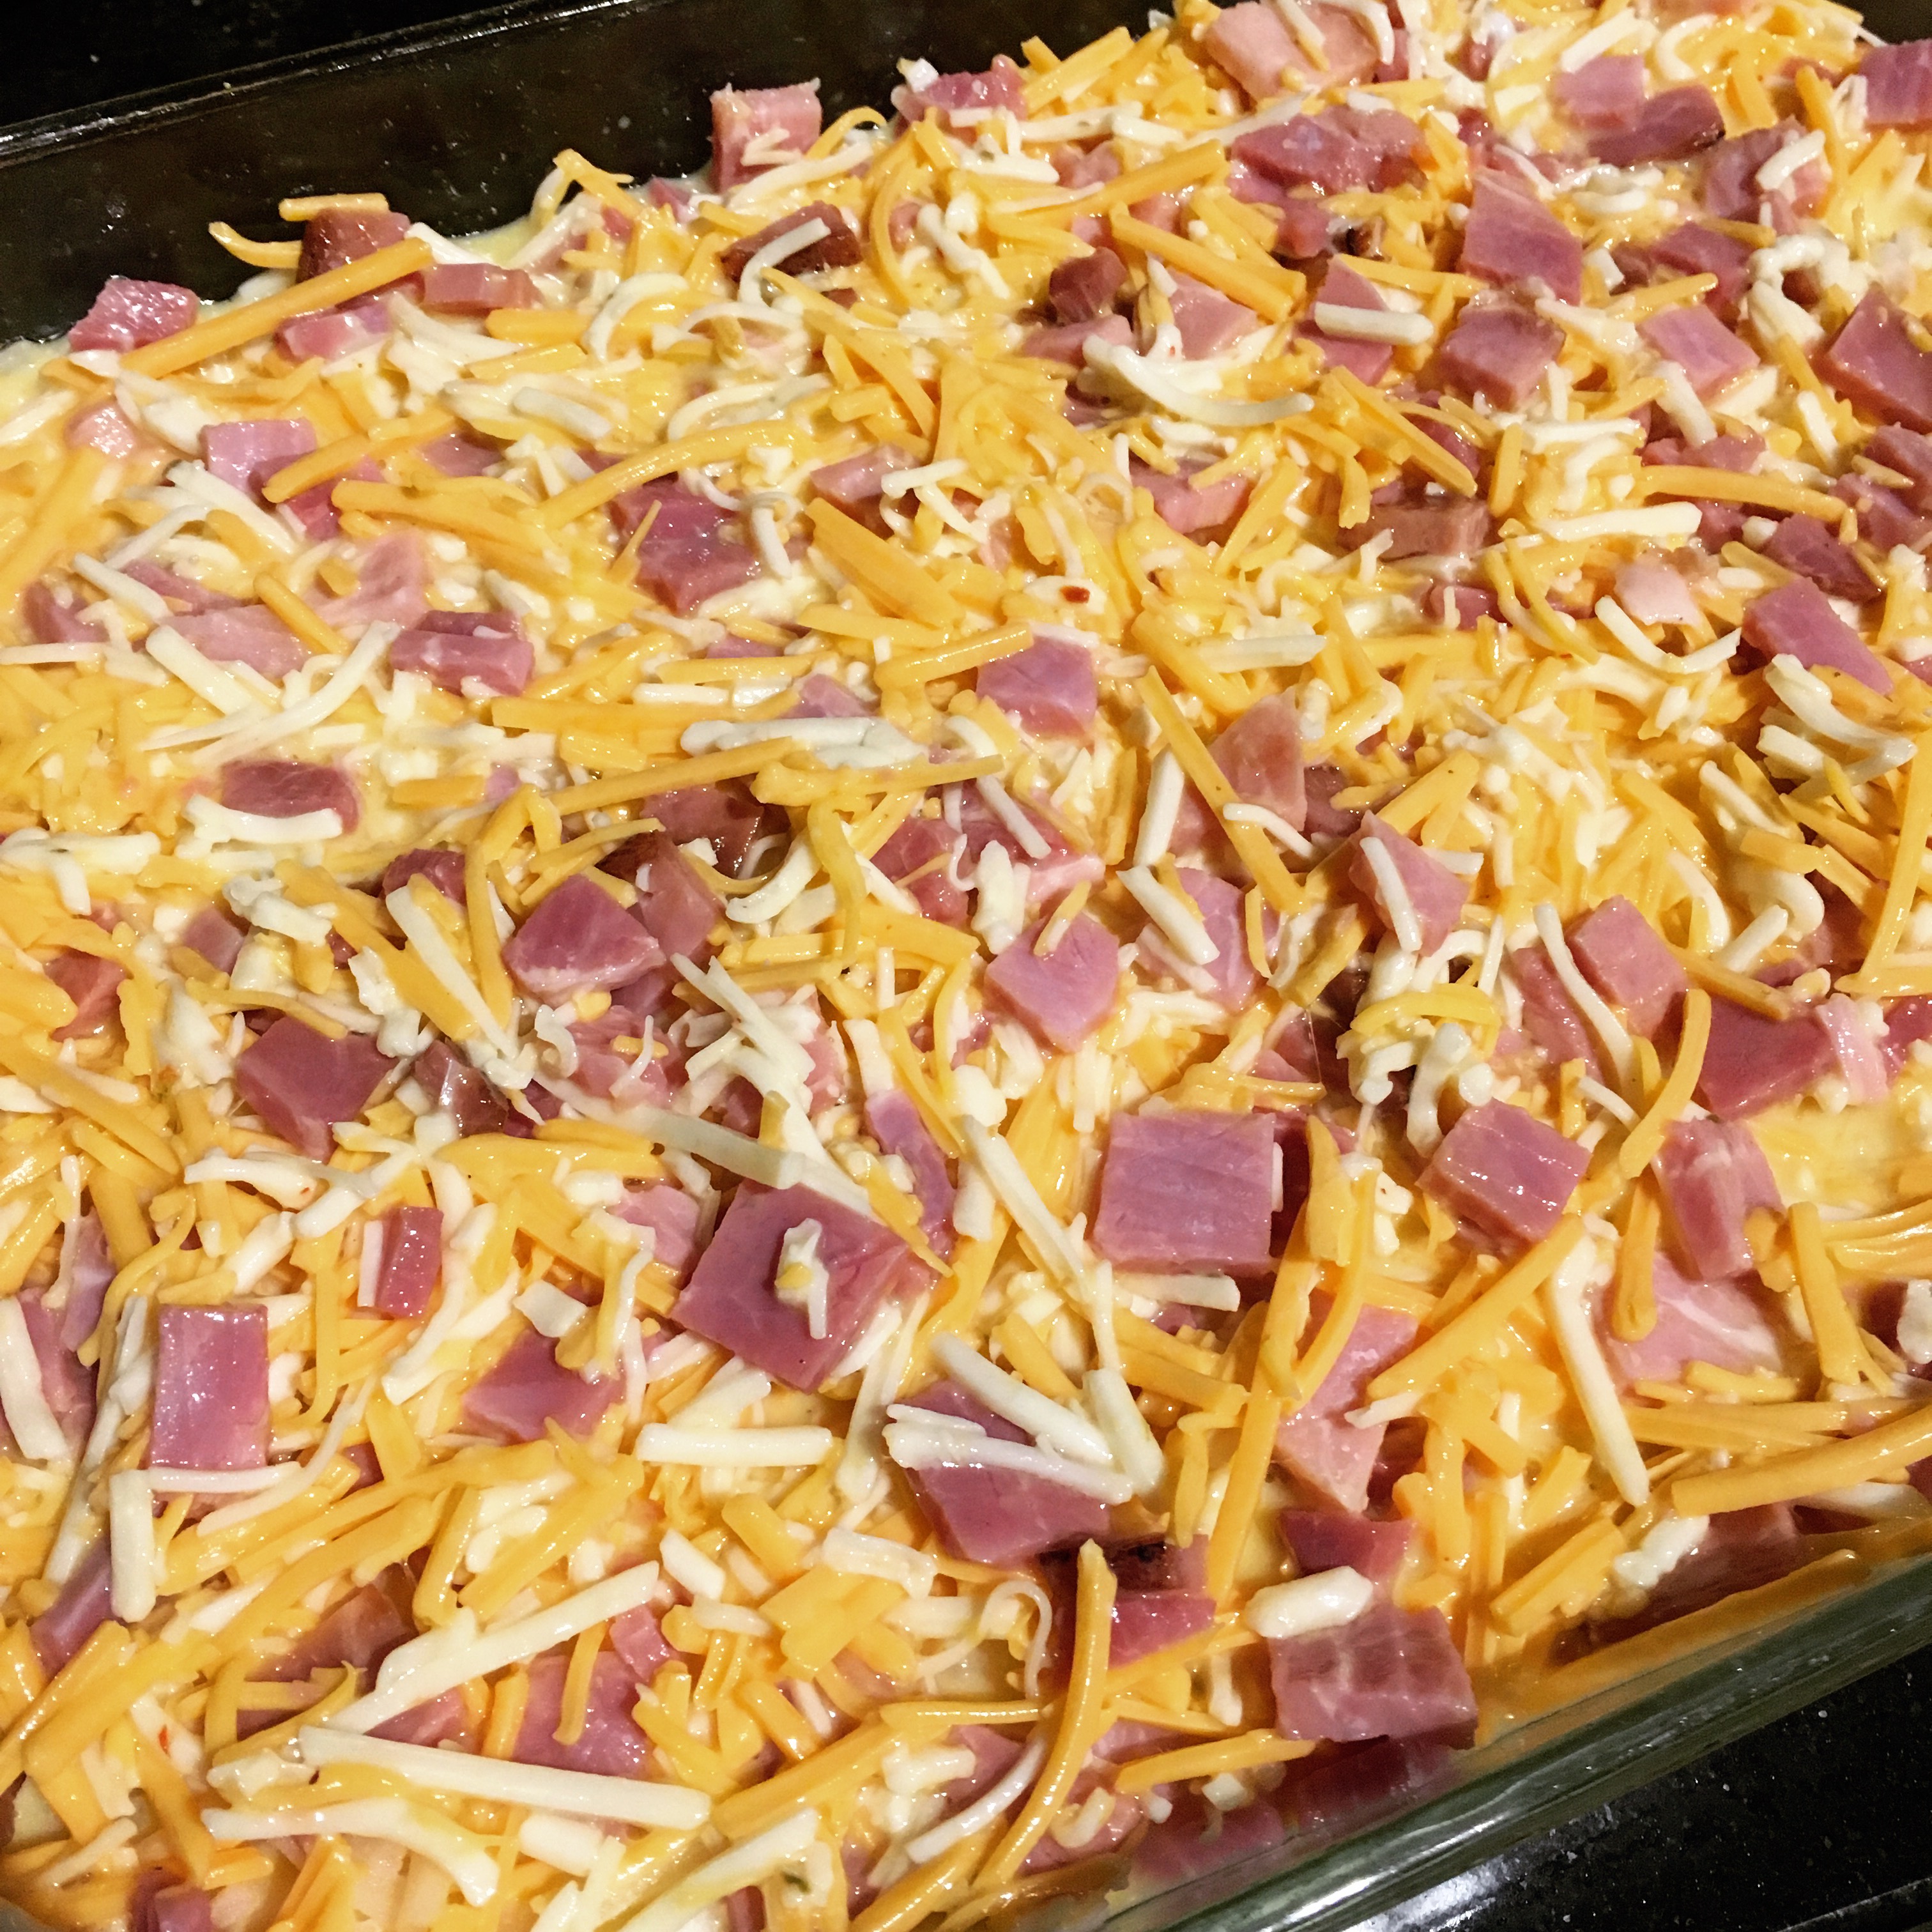
Next, I added the cheese (a little more cheddar and a little less pepper jack, since my mom isn’t a huge fan of spiciness), the chopped ham, seasoning salt and whole milk (which I used instead of half-and-half because we had it on hand). I stirred it all together and then poured it on top of the potatoes. My prep was complete, so I covered the dish in foil and set it in the fridge, ready to relax for the rest of the night.

img_2410

The next morning, about an hour and half before my parents arrived, I preheated the oven to 350 degrees and then placed the foil-covered casserole into the hot oven. Towards the last 20 minutes, it started bubbling over, so I placed a cookie sheet underneath the dish - I suggest doing this as a precaution when you first put it in the oven.

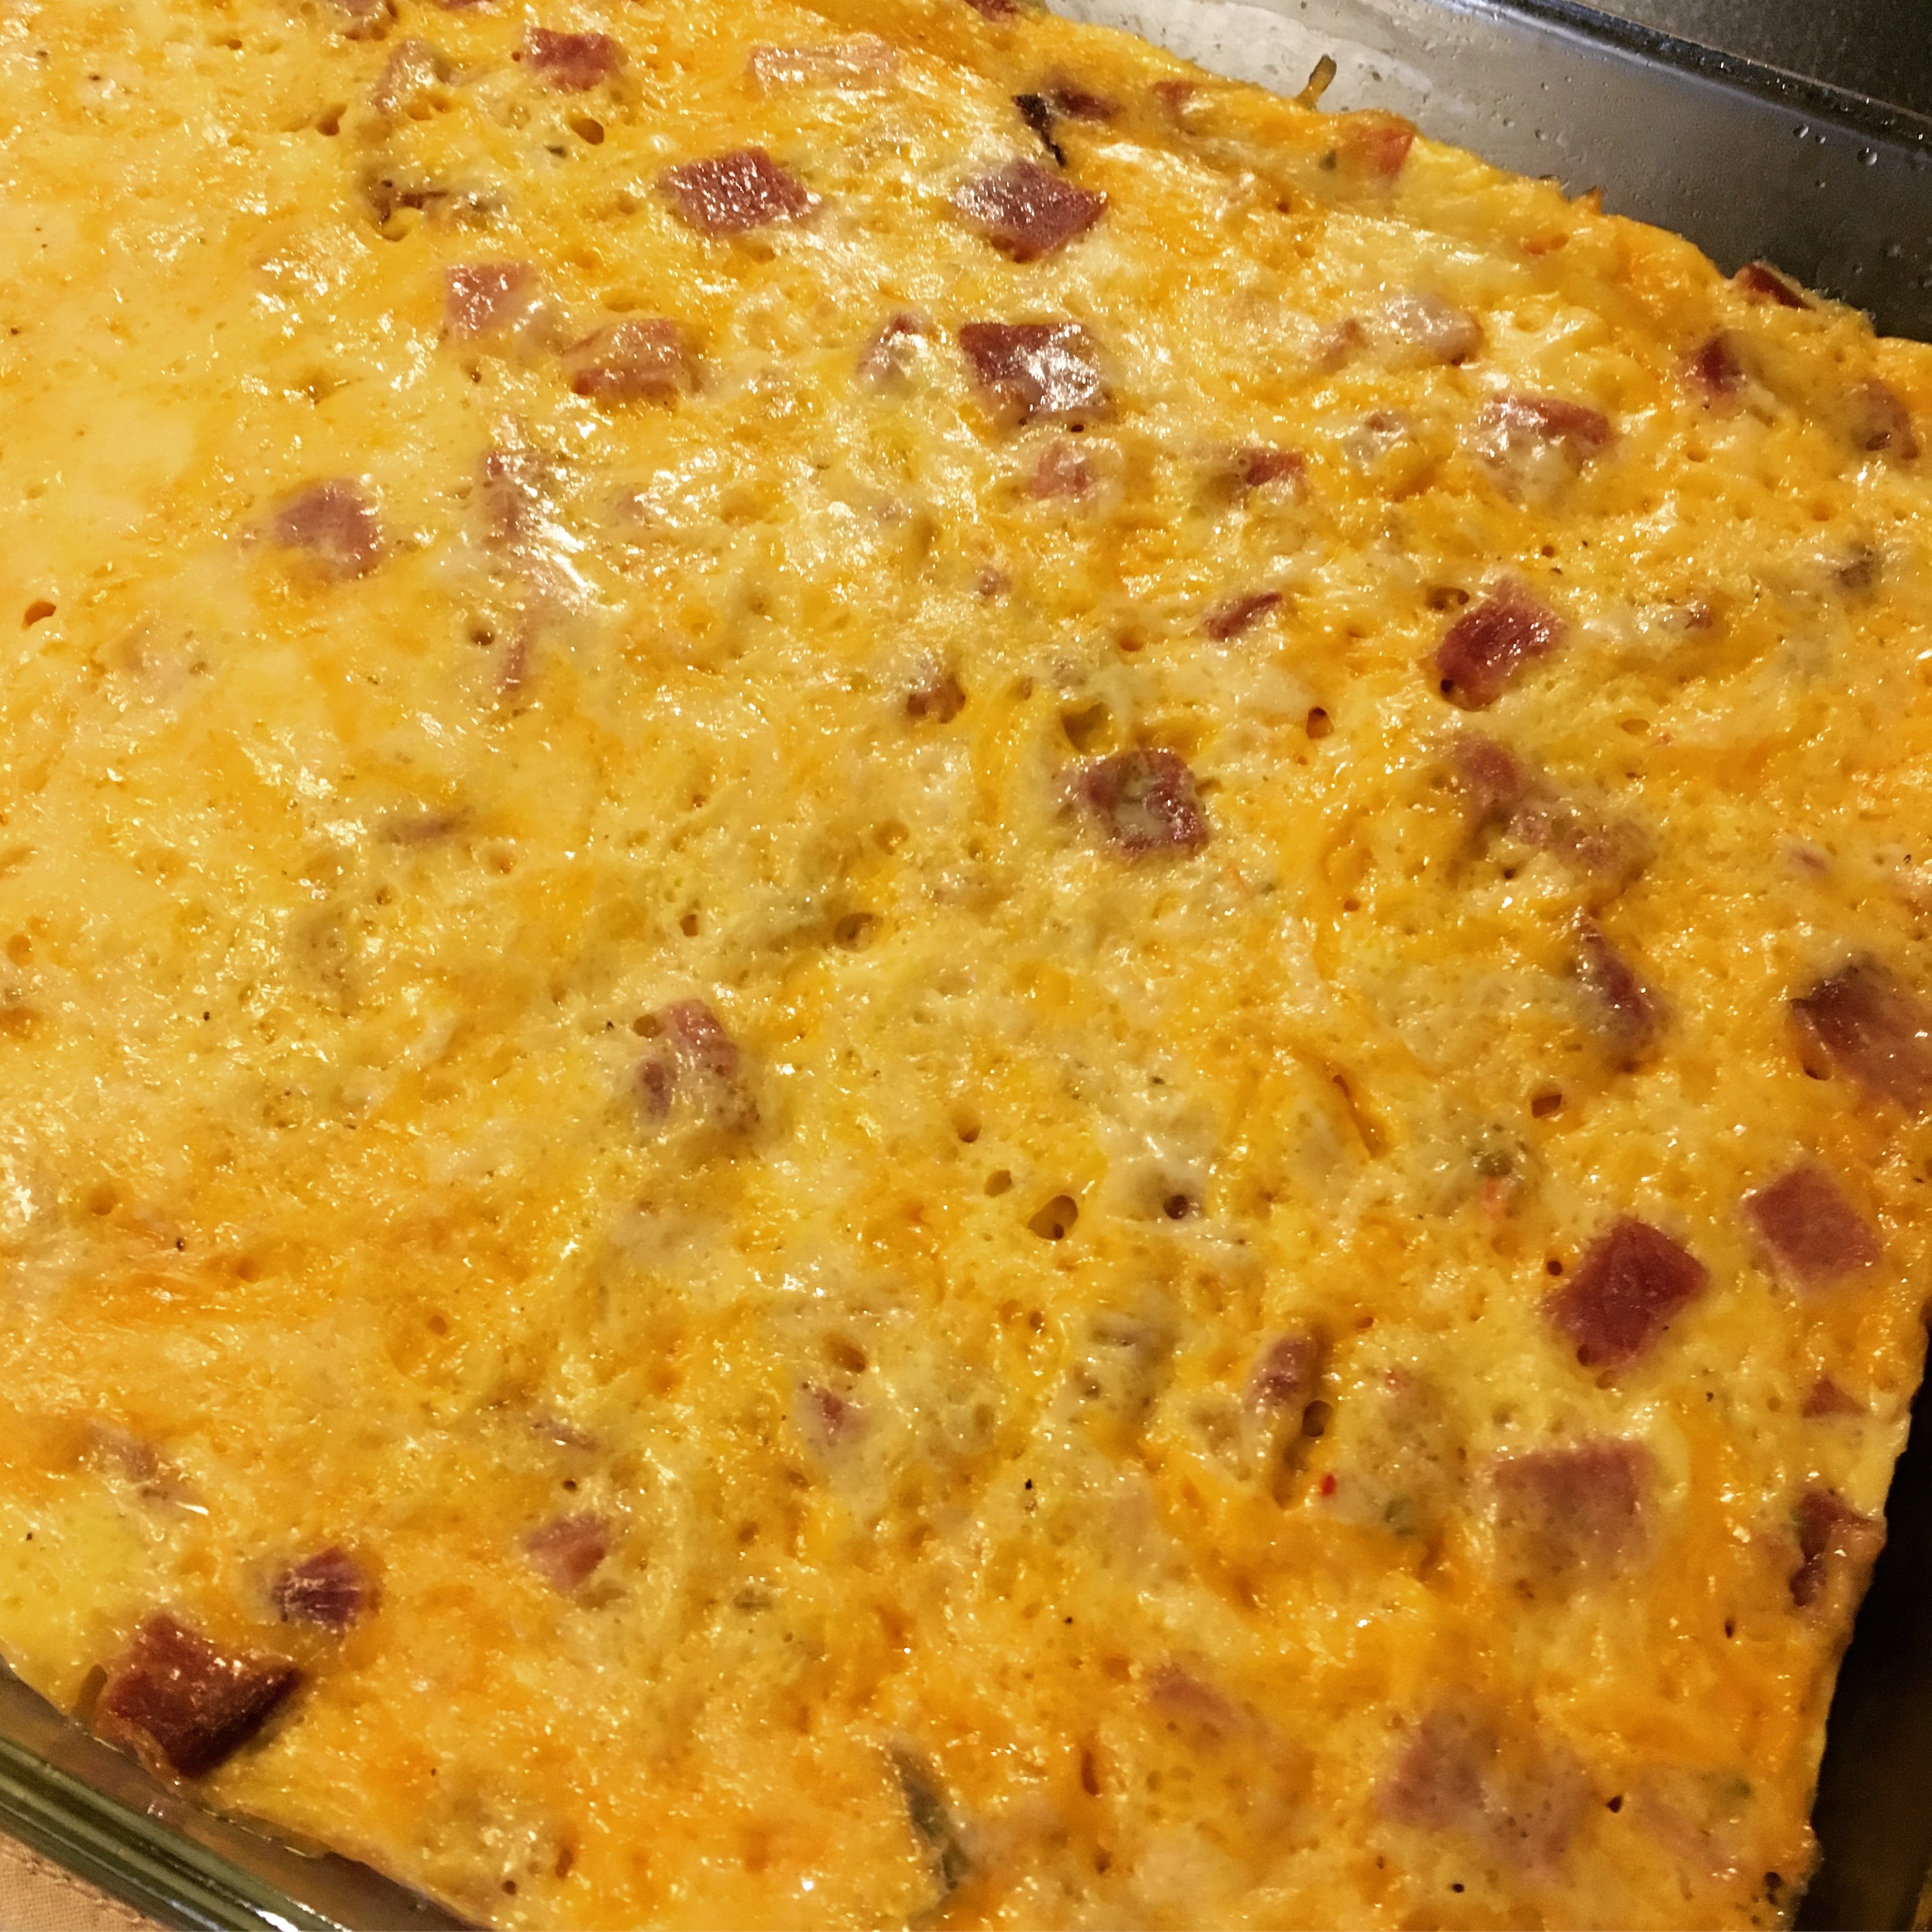
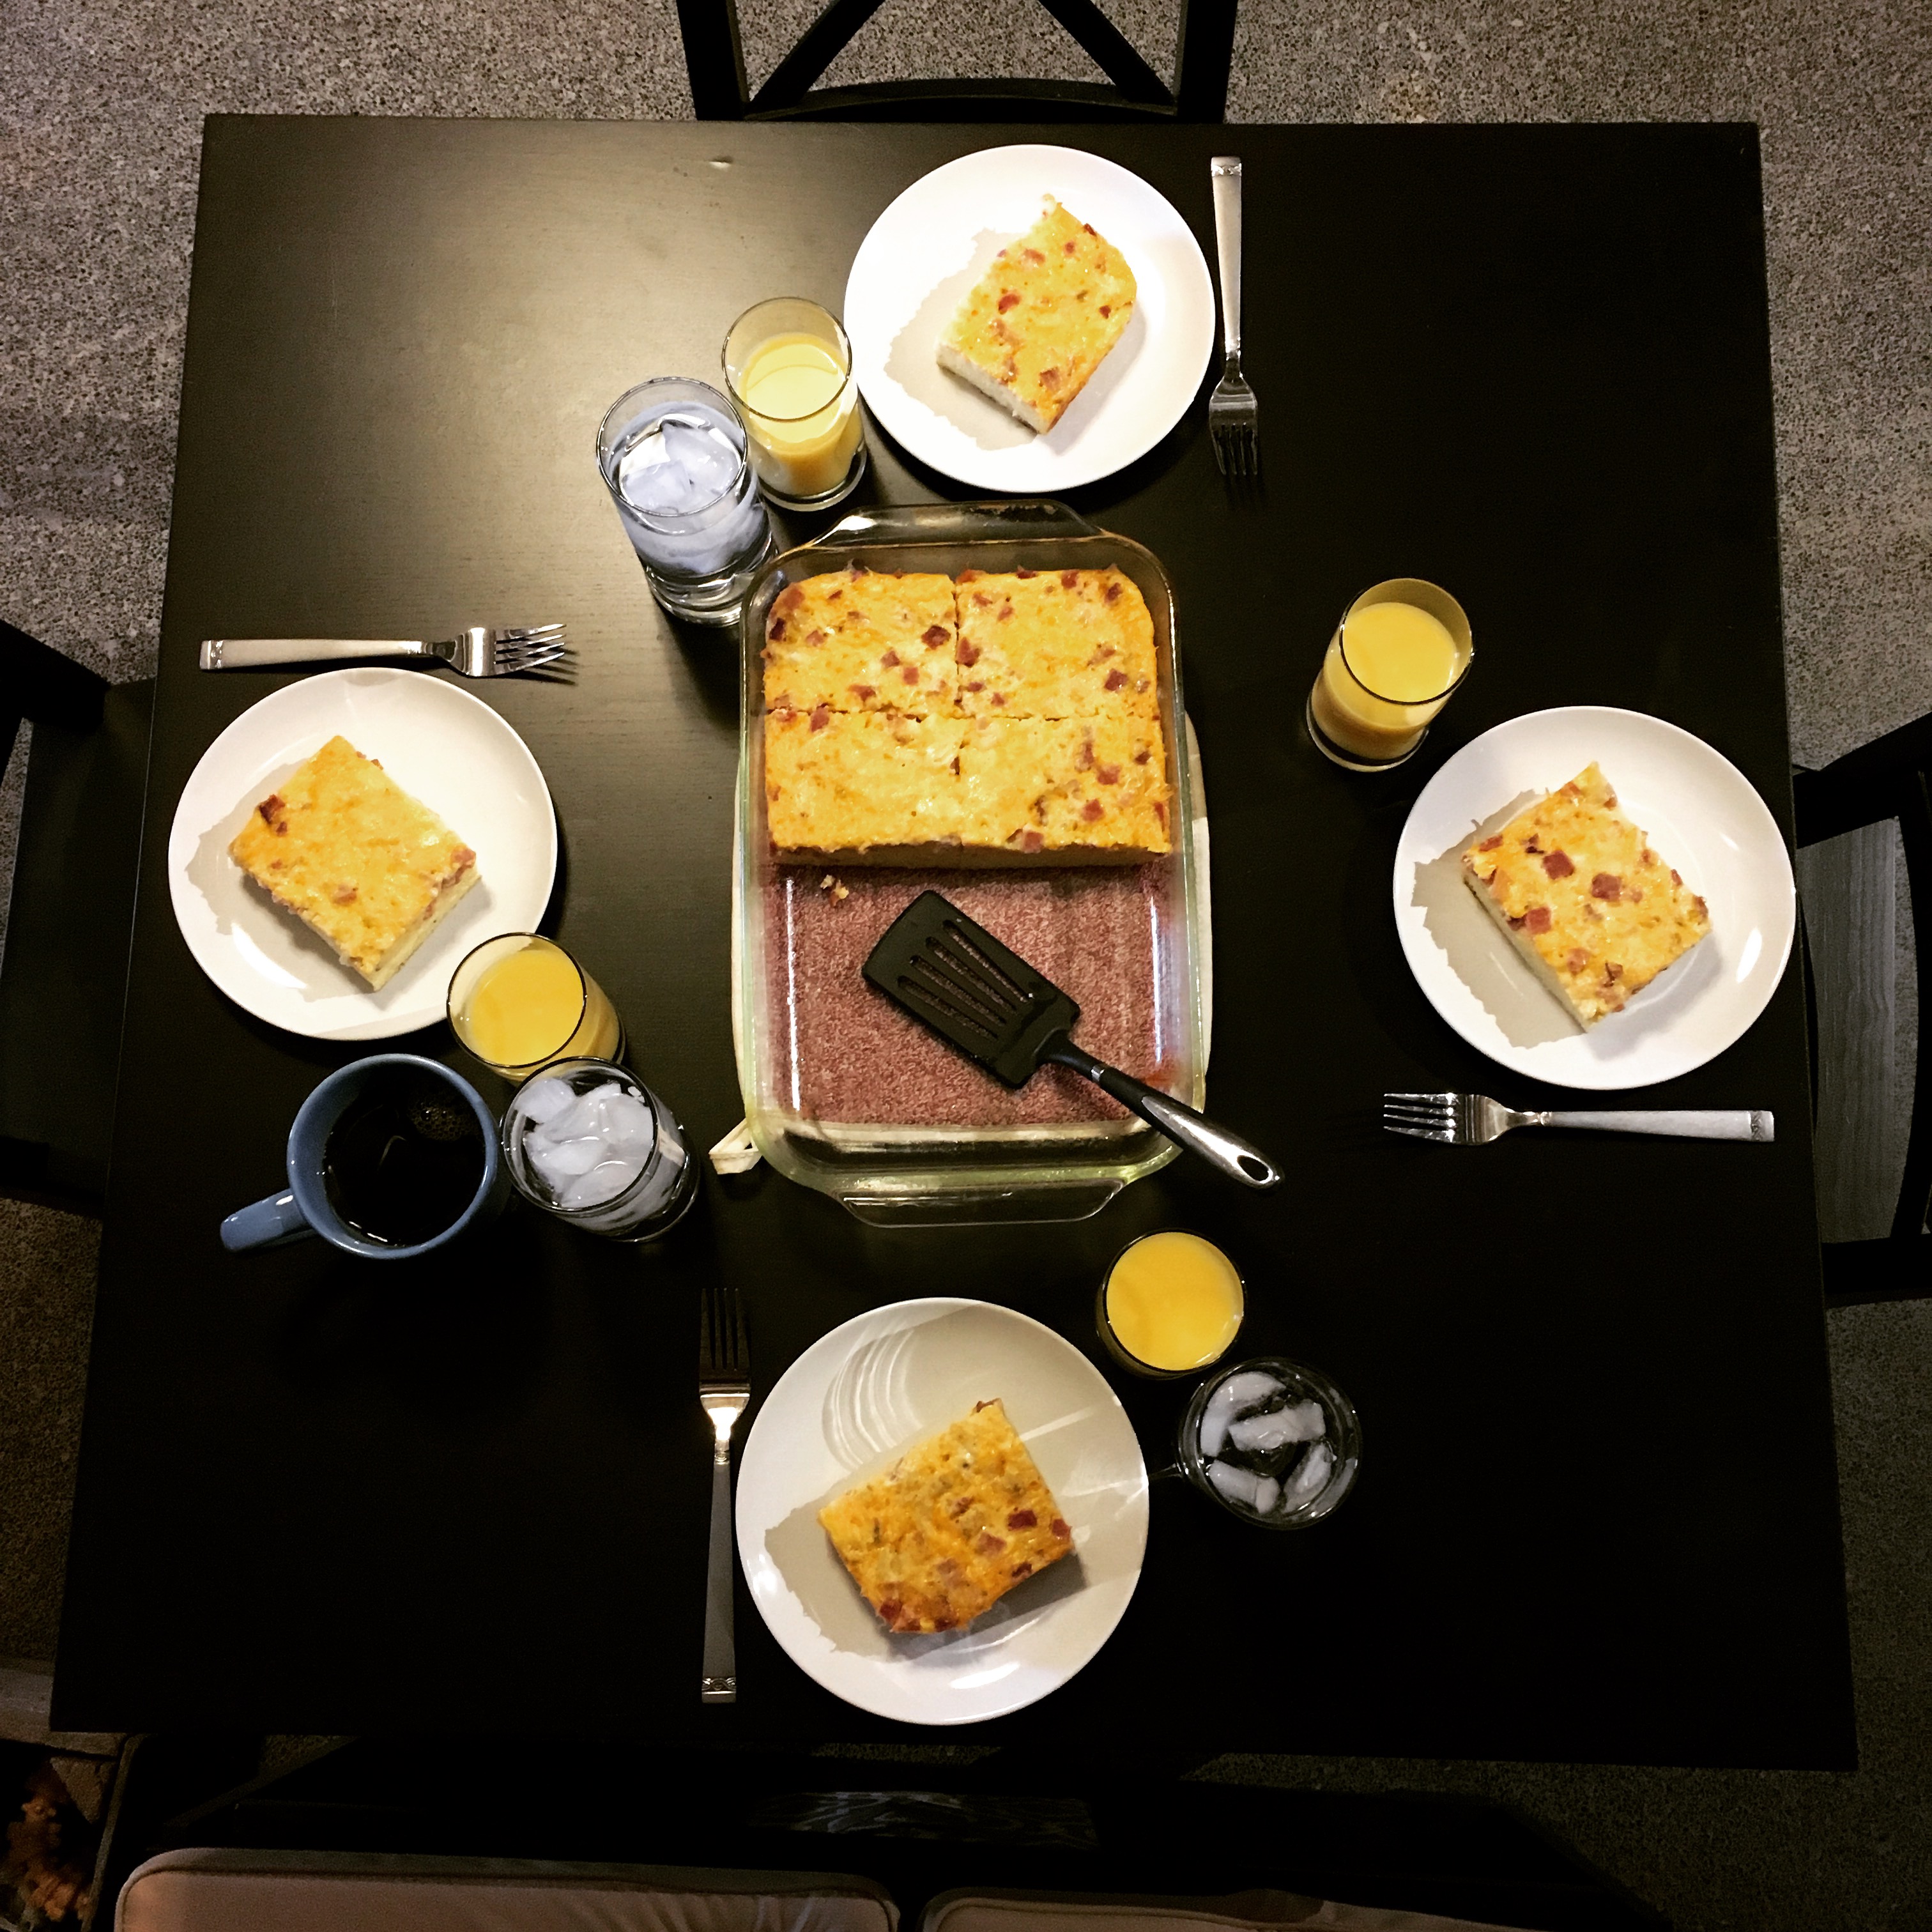
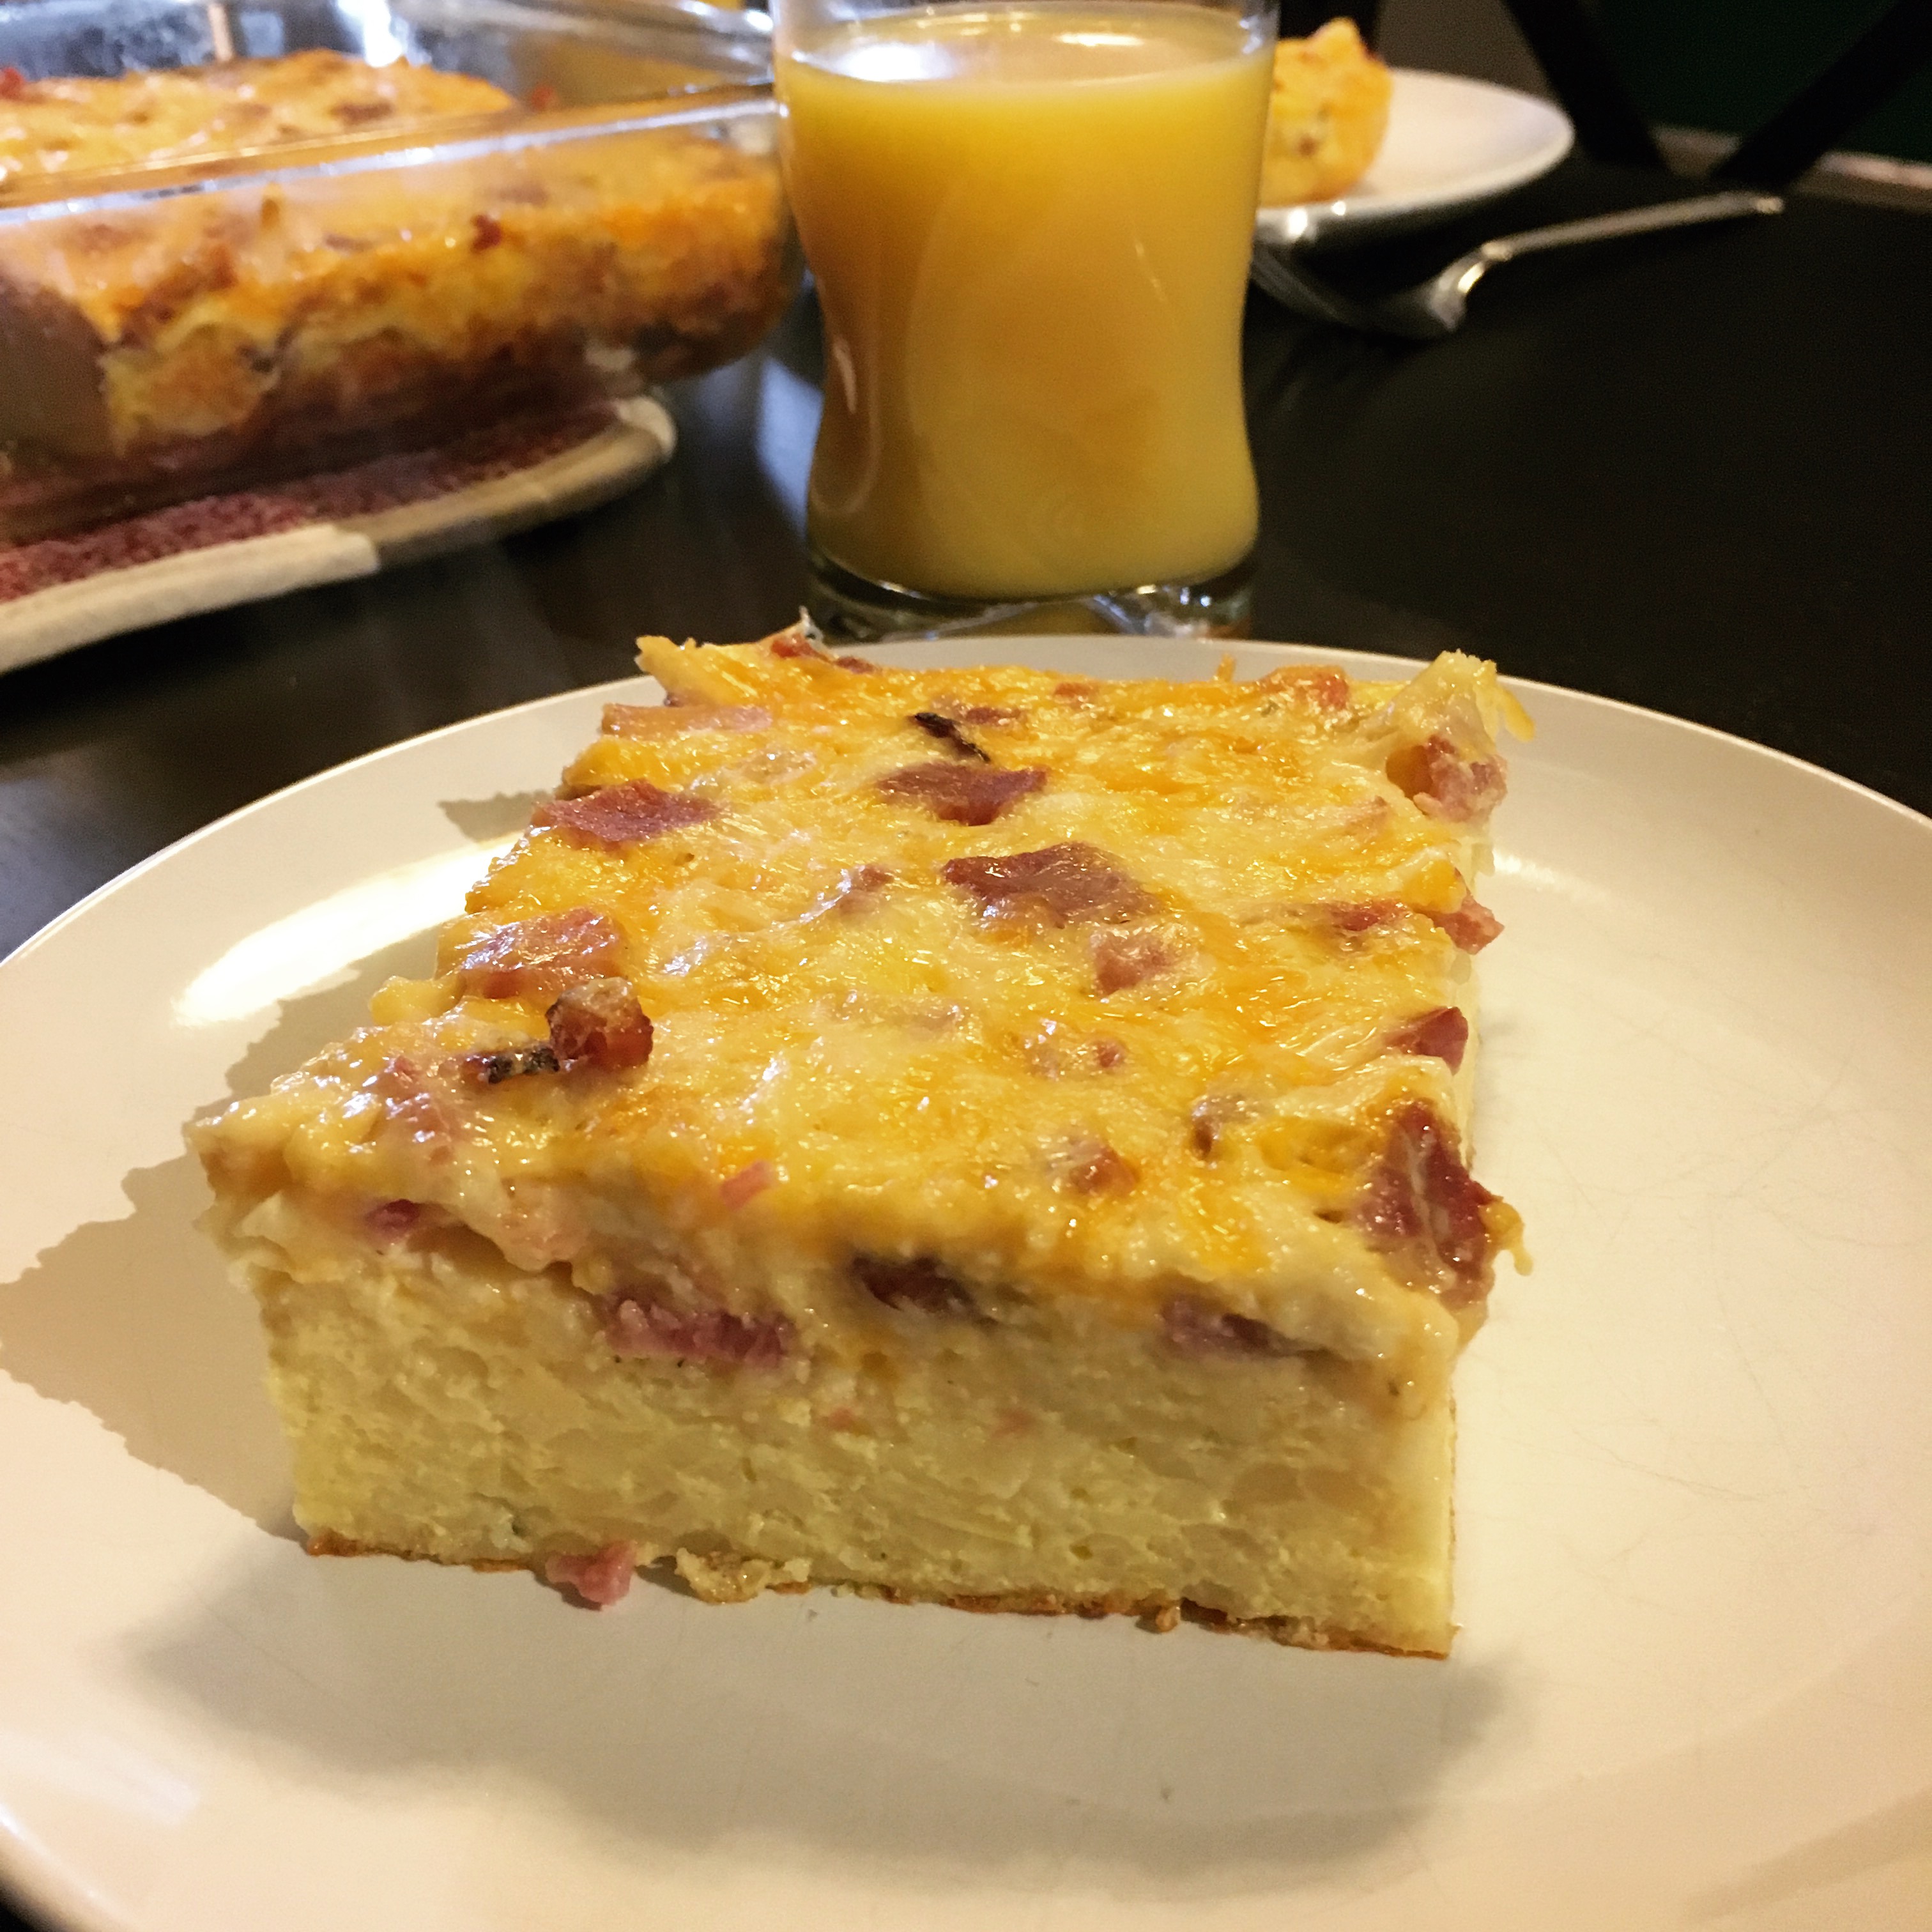
After the first 90 minutes, I removed the foil and baked it for an additional 5 minutes uncovered. The casserole looked finished, but the top was a little wet because the moisture had nowhere to go underneath the foil. This last 5 minutes helped the cheese become a little more golden and got rid of all the excess moisture, without overcooking the casserole. It was still fluffy and delightful for brunch.

img_2411

I made my parents and Scott wait while I took some photographs (sorry, guys!), but luckily this recipe had a 10-minute anticipation time built right in.

img_2412

img_2413

Everyone loved it, and I look forward to making this for special occasions and everyday weekends alike in the coming year.

The Best Breakfast Casserole

  • Servings: 8-12
  • Time: 1 hour and 40 minutes, including 90 minutes of bake time
  • Print


From: Alyssa, The Recipe Critic

Ingredients

  • 24 oz frozen shredded potatoes
  • 12 eggs
  • 2 cup half and half [or whole milk]
  • 1 tsp seasoning salt
  • 1½ cups cheddar cheese, grated
  • 1½ cups pepper jack cheese, grated
  • 2 cups chopped ham (or your preferred meat, sausage would also be great)

Directions

  1. Grease a 9x13 inch pan. Add the frozen and shredded potatoes to the bottom of the pan. Sprinkle with salt and pepper.
  2. In a large bowl, whisk the eggs together. Then add half and half, seasoning salt, cheeses and chopped ham or meat.
  3. Pour over the top of the frozen potatoes. Cover with foil and refrigerate for 2 hours or overnight.
  4. Bake covered in foil at 350 degrees for 90 minutes. Let rest for 10 minutes before serving.

This post contains affiliate links. Full disclosure here.

Filed Under: book review, recipe Tagged With: book club, breakfast, contemporary, easy prep, fiction, humor, make ahead, quick read

Making Arrangements + Caramel Cake

December 29, 2016 by Megan 3 Comments

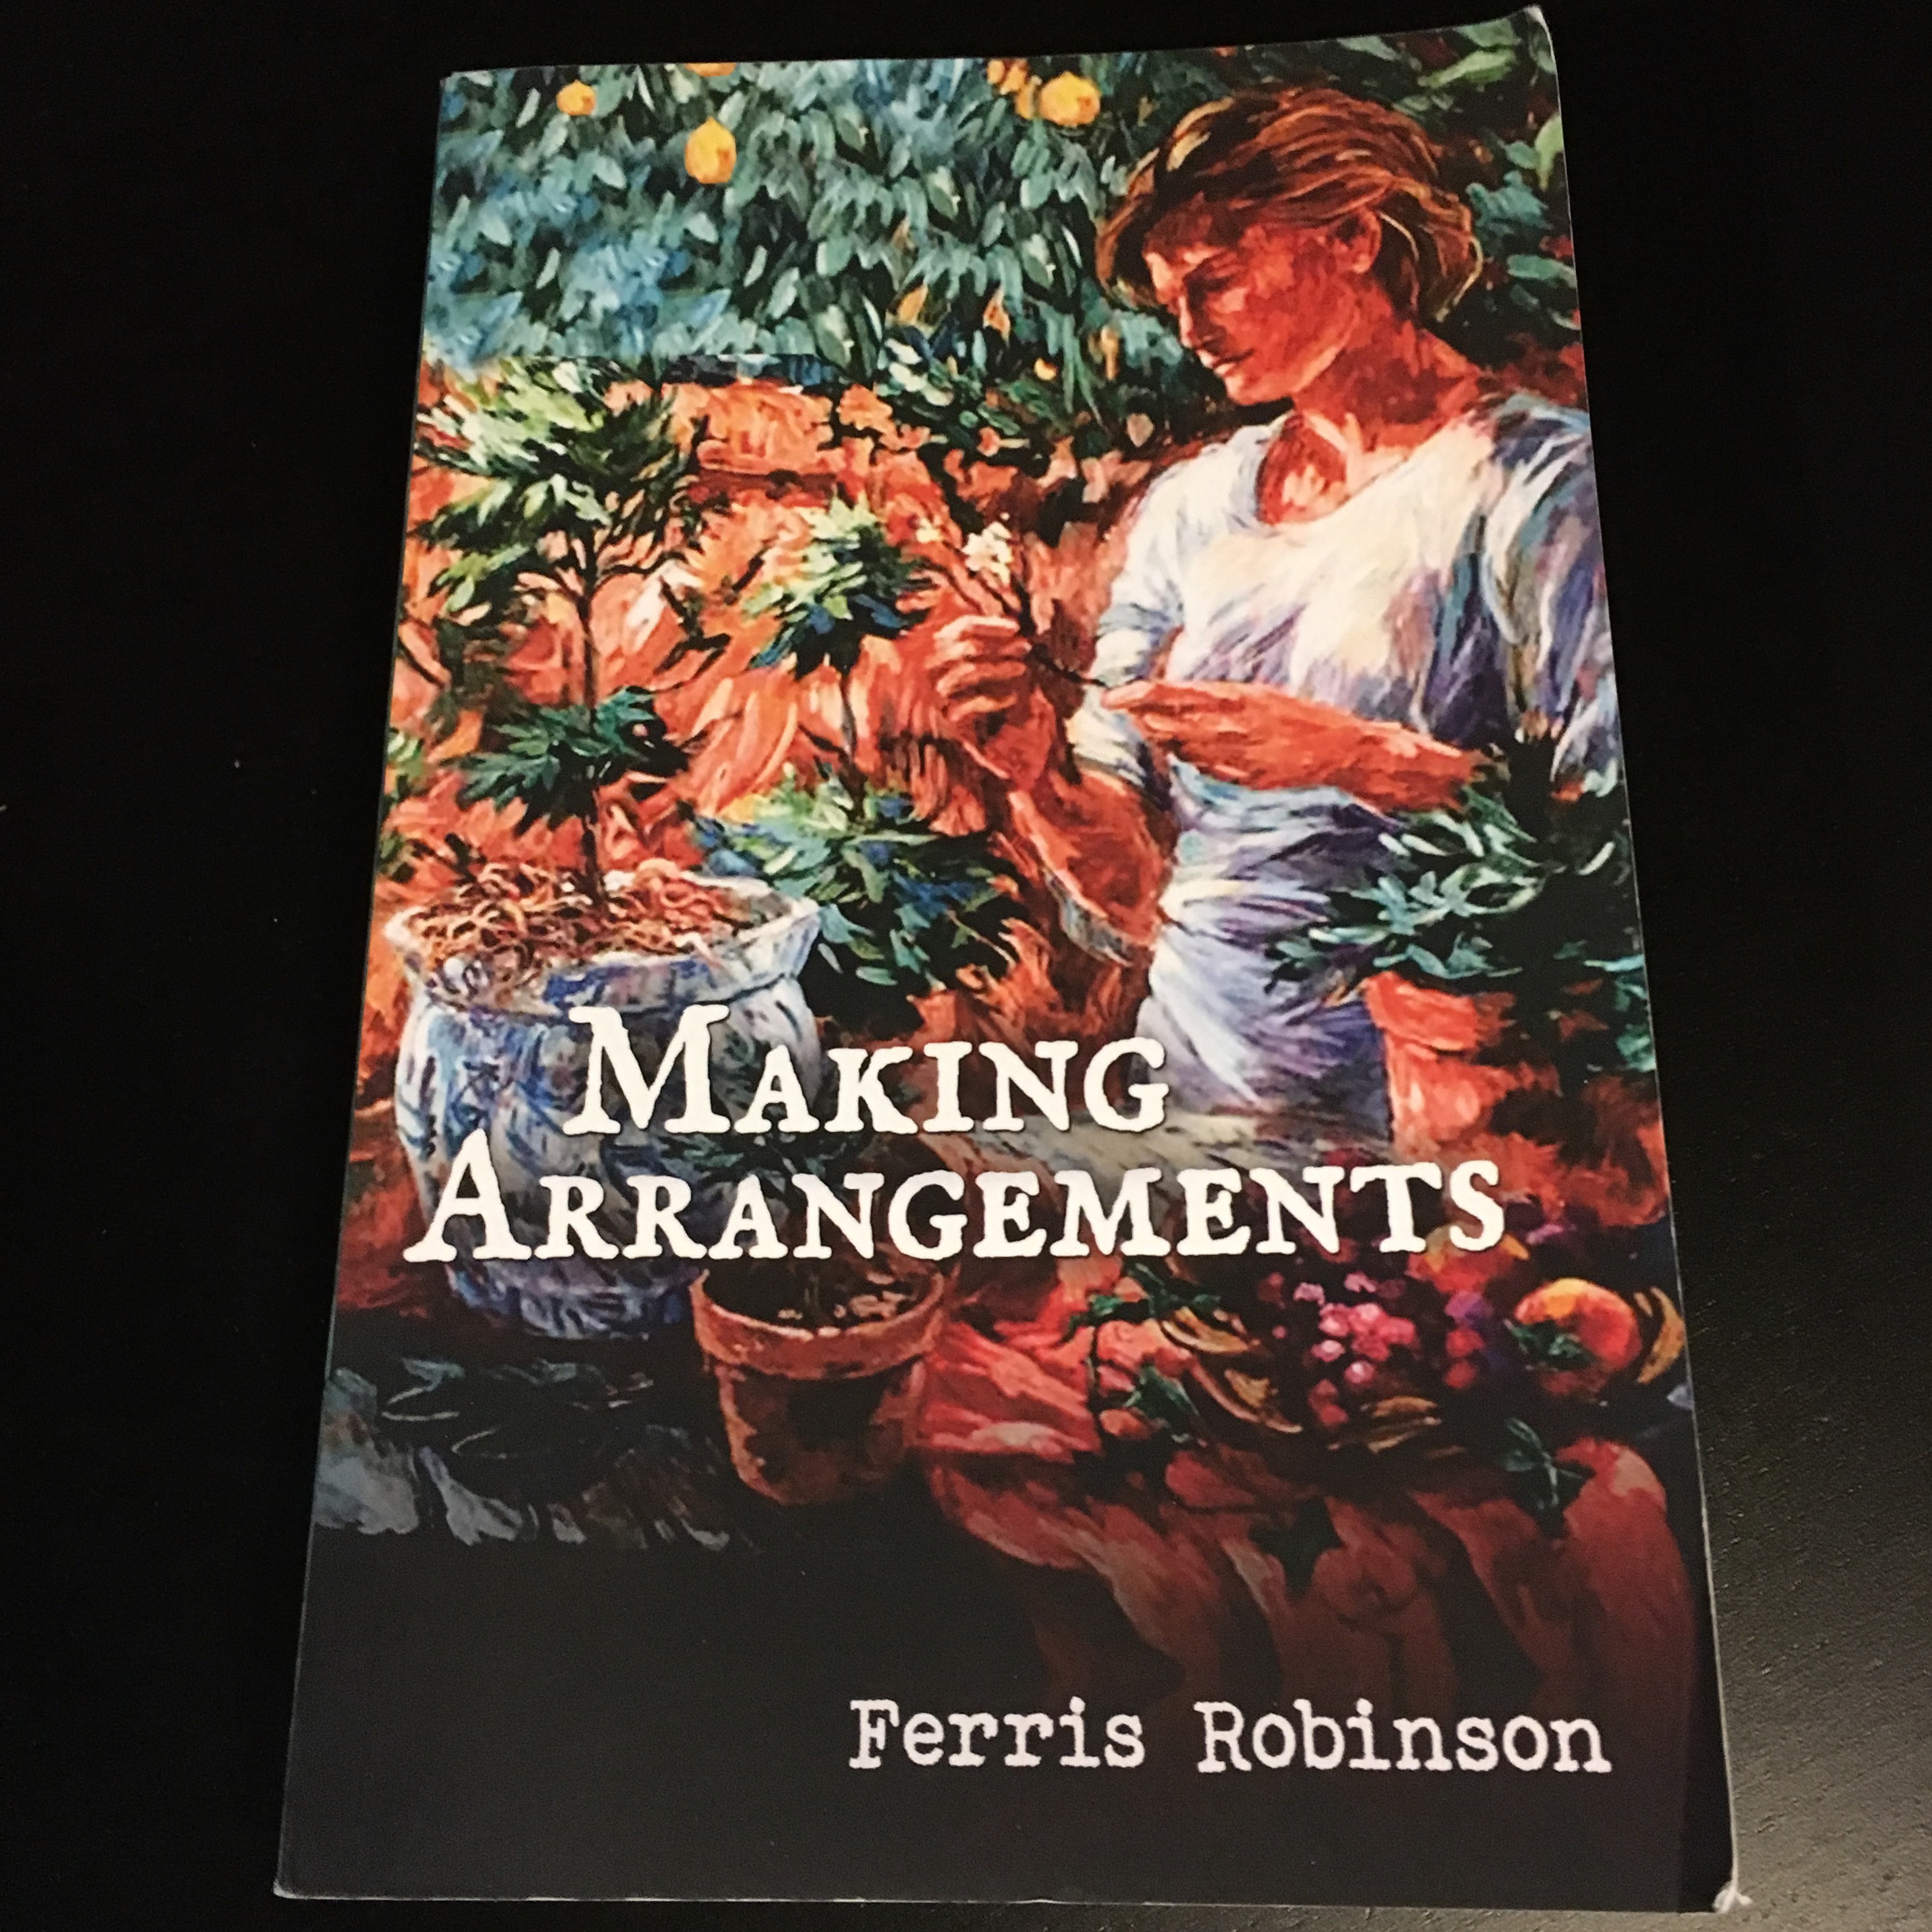
Expecting to die from cancer, Lang does her best to make sure her husband survives without her. She leaves notes for important moments and even prepares dessert for his next birthday. When he unexpectedly dies before she does, her life is turned upside down. In Ferris Robinson’s novel Making Arrangements, Lang has to learn how to cope when life doesn’t go exactly as she planned.

IMG_2392.JPG

While the story itself is an important reminder to expect the unexpected, I found most of the characters to be quite unlikeable. Even Lang herself was weak and self-defeating for most of the novel, probably due to her son Teddy’s and late husband’s attempts to keep her in the dark and stifle any ounce of gumption she may have once had. It was refreshing when she gave in to her impulses, finally forging new relationships and learning to be self-sufficient.

Baking comes effortlessly to Lang. Skilled at making cakes, it’s important to her to provide her husband with a birthday cake even after she’s gone. She lovingly makes and then freezes his favorite, a caramel cake, so it will be waiting for him.

The theme of this book makes it an appropriate read for the end of the year; likewise, this caramel cake seemed to be a perfect treat to bring along to a holiday party or New Year’s celebration. Ferris Robinson provided me with a copy of her recipe for Decadent Deep South Caramel Cake (along with a copy of the book), so I set to work making what I hoped would turn out to be a decent imitation of Lang’s own masterpiece.

I preheated the oven first, greased and floured the cake pans, and assembled all of my cake ingredients. (I also got out the 2 sticks of butter for the icing so that it would be easier to use when I was ready later.) In a large bowl, I combined the plain white cake mix, whole milk, 3 eggs, vanilla extract and another stick of butter, melted. Once blended, I used an electric mixer on medium for 2 minutes.

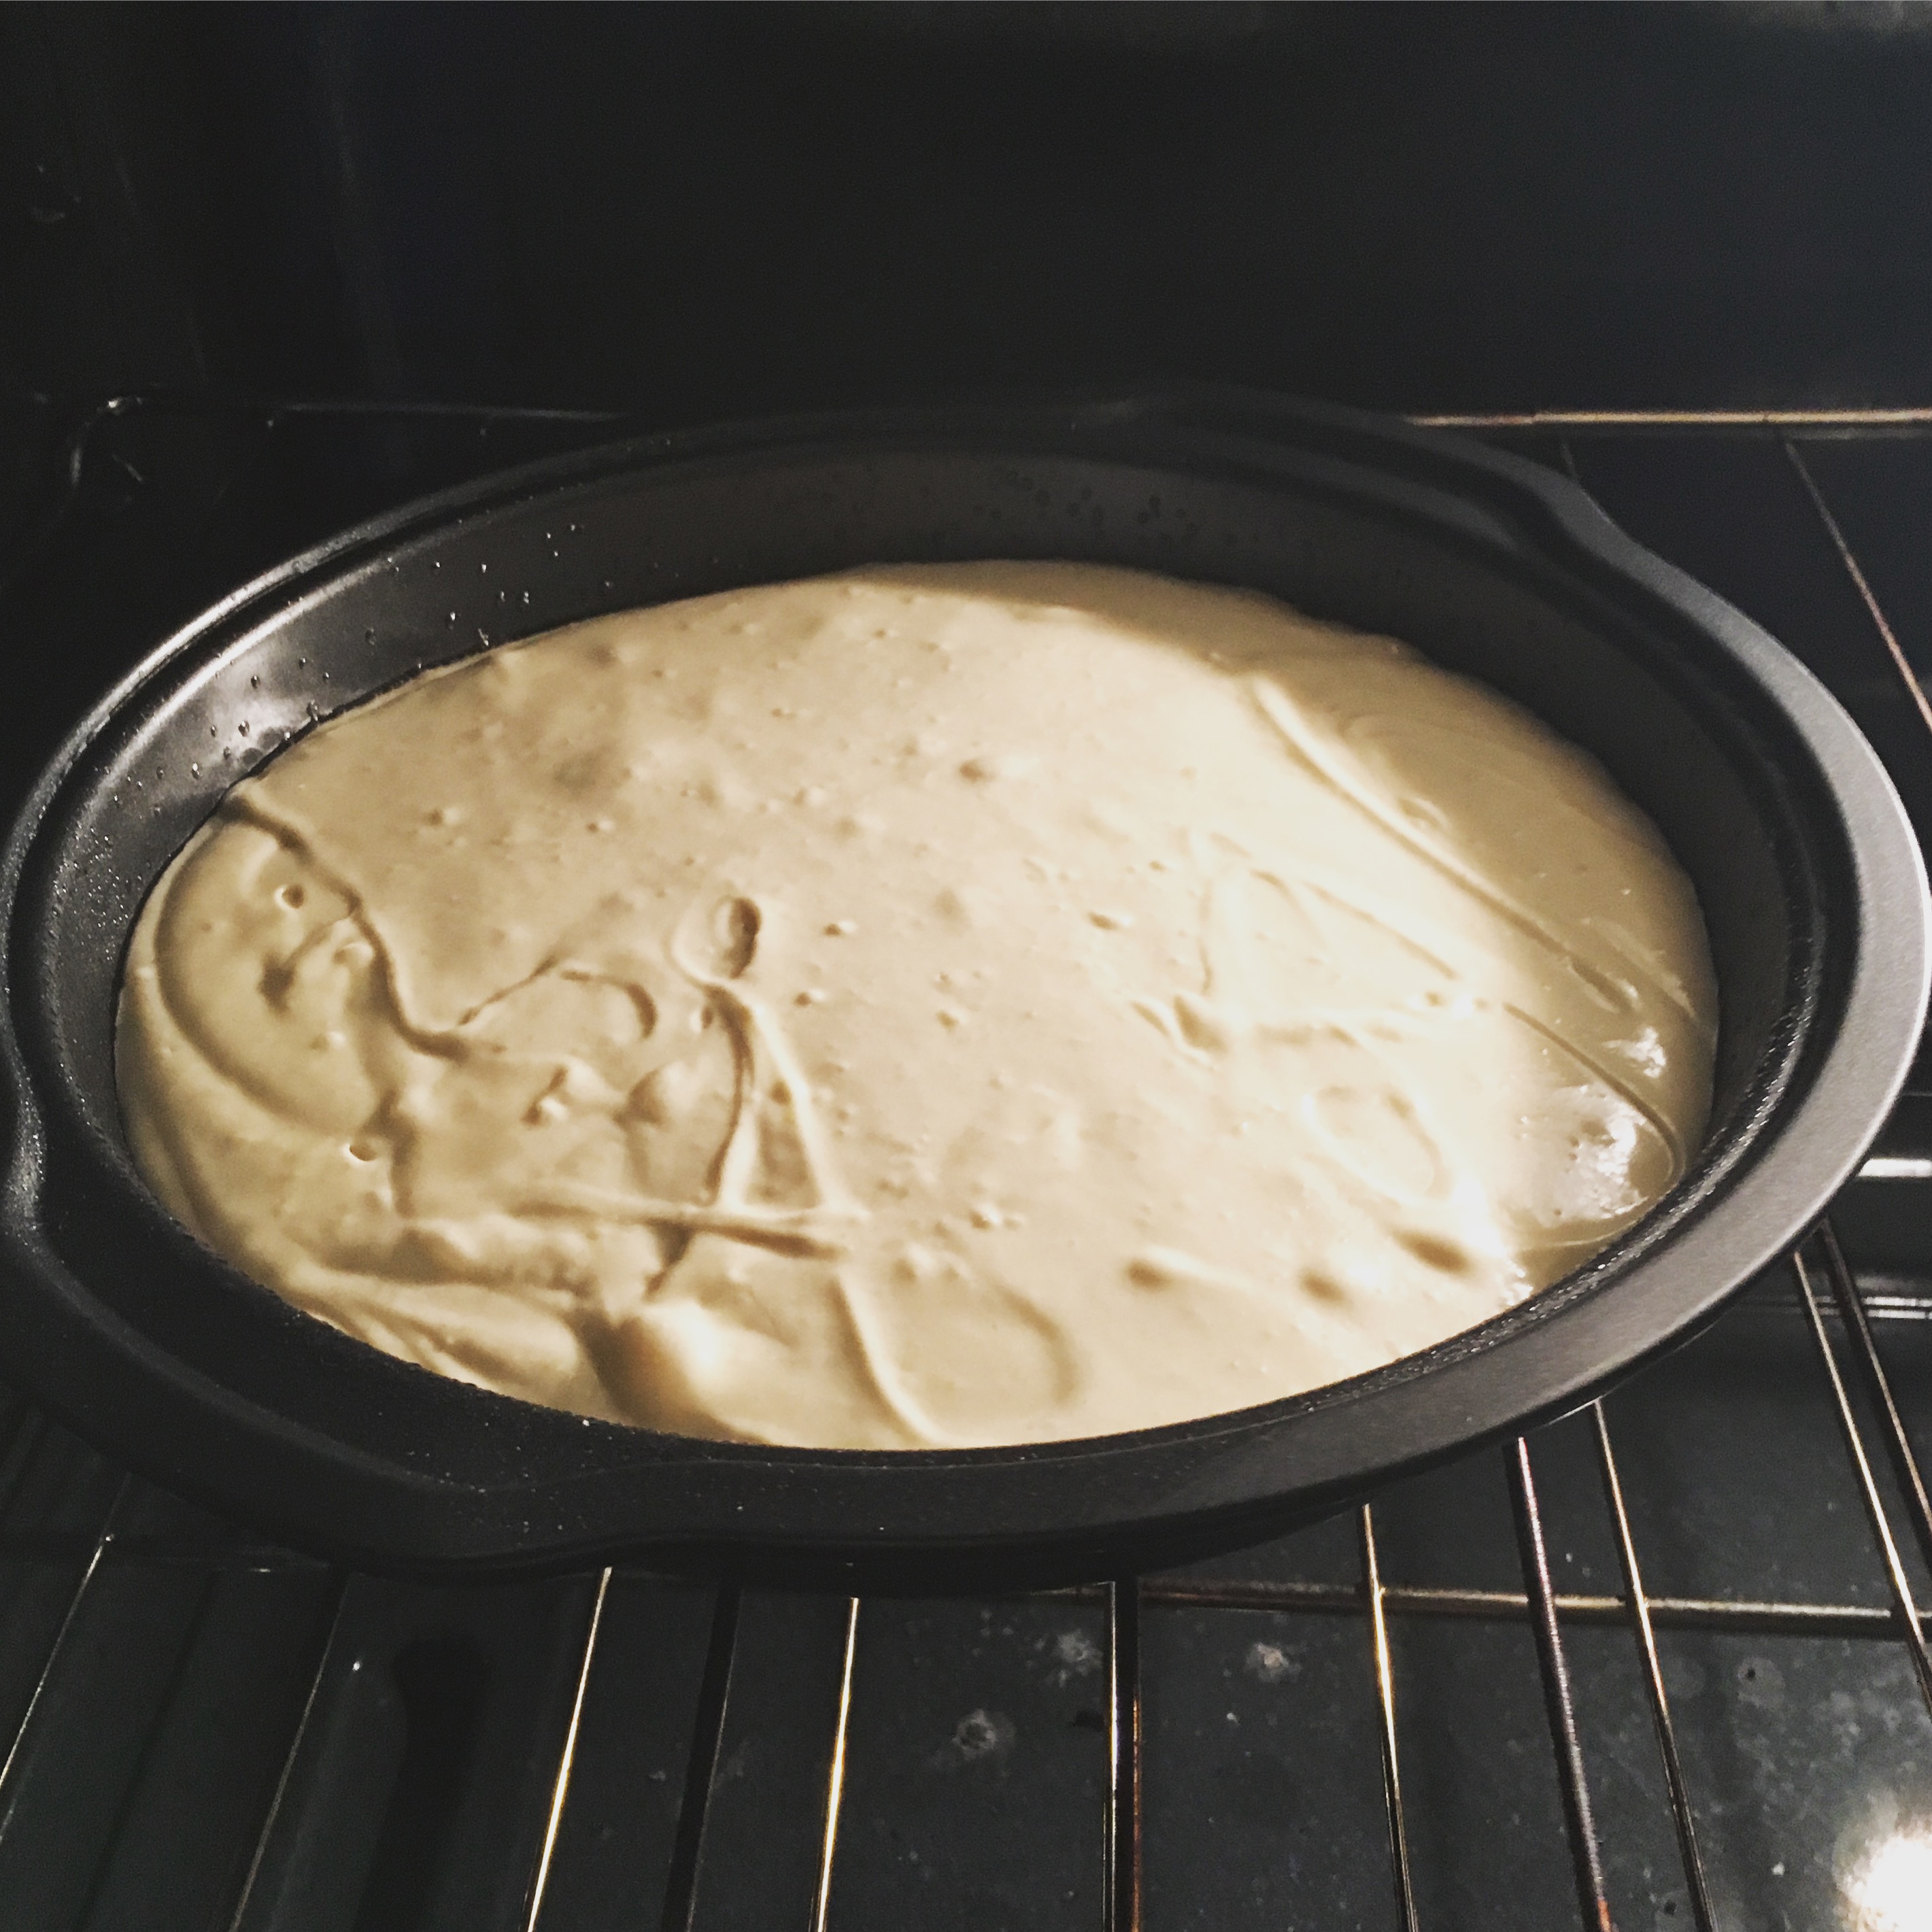
I split the cake batter evenly between my two cake pans and set them in the 350-degree oven for 27 minutes.

img_2389

After they were finished, I put them on a cooling rack in the pans for 10 minutes and then inverted onto the racks so that they could continue to cool.

While they fully cooled, I worked on the caramel icing. In a non-stick saucepan, I melted 2 sticks of butter and stirred in 1 pound of brown sugar and ¼ teaspoon of salt, until the sugar dissolved. I added in the evaporated milk and stirred until it was fully incorporated. This mixture came up to a boil and I left it boil softly for about 4 minutes. (At one point, my boil got a little out of control, but I just turned down the heat and kept stirring until it became a little less vigorous. Just go with it - caramel can sometimes be a little intimidating but it doesn’t have to be difficult.)

I took the saucepan with the caramel mixture off the heat to allow it to cool. I used this time to sift my powdered sugar and even out the tops of the cooled cakes. I also began boiling some water in a smaller saucepan to use for my double-boiler. After cooling for about 7 minutes, I added the caramel mixture to my bowl of powdered sugar and vanilla, using the electric mixer to thoroughly combine the icing.

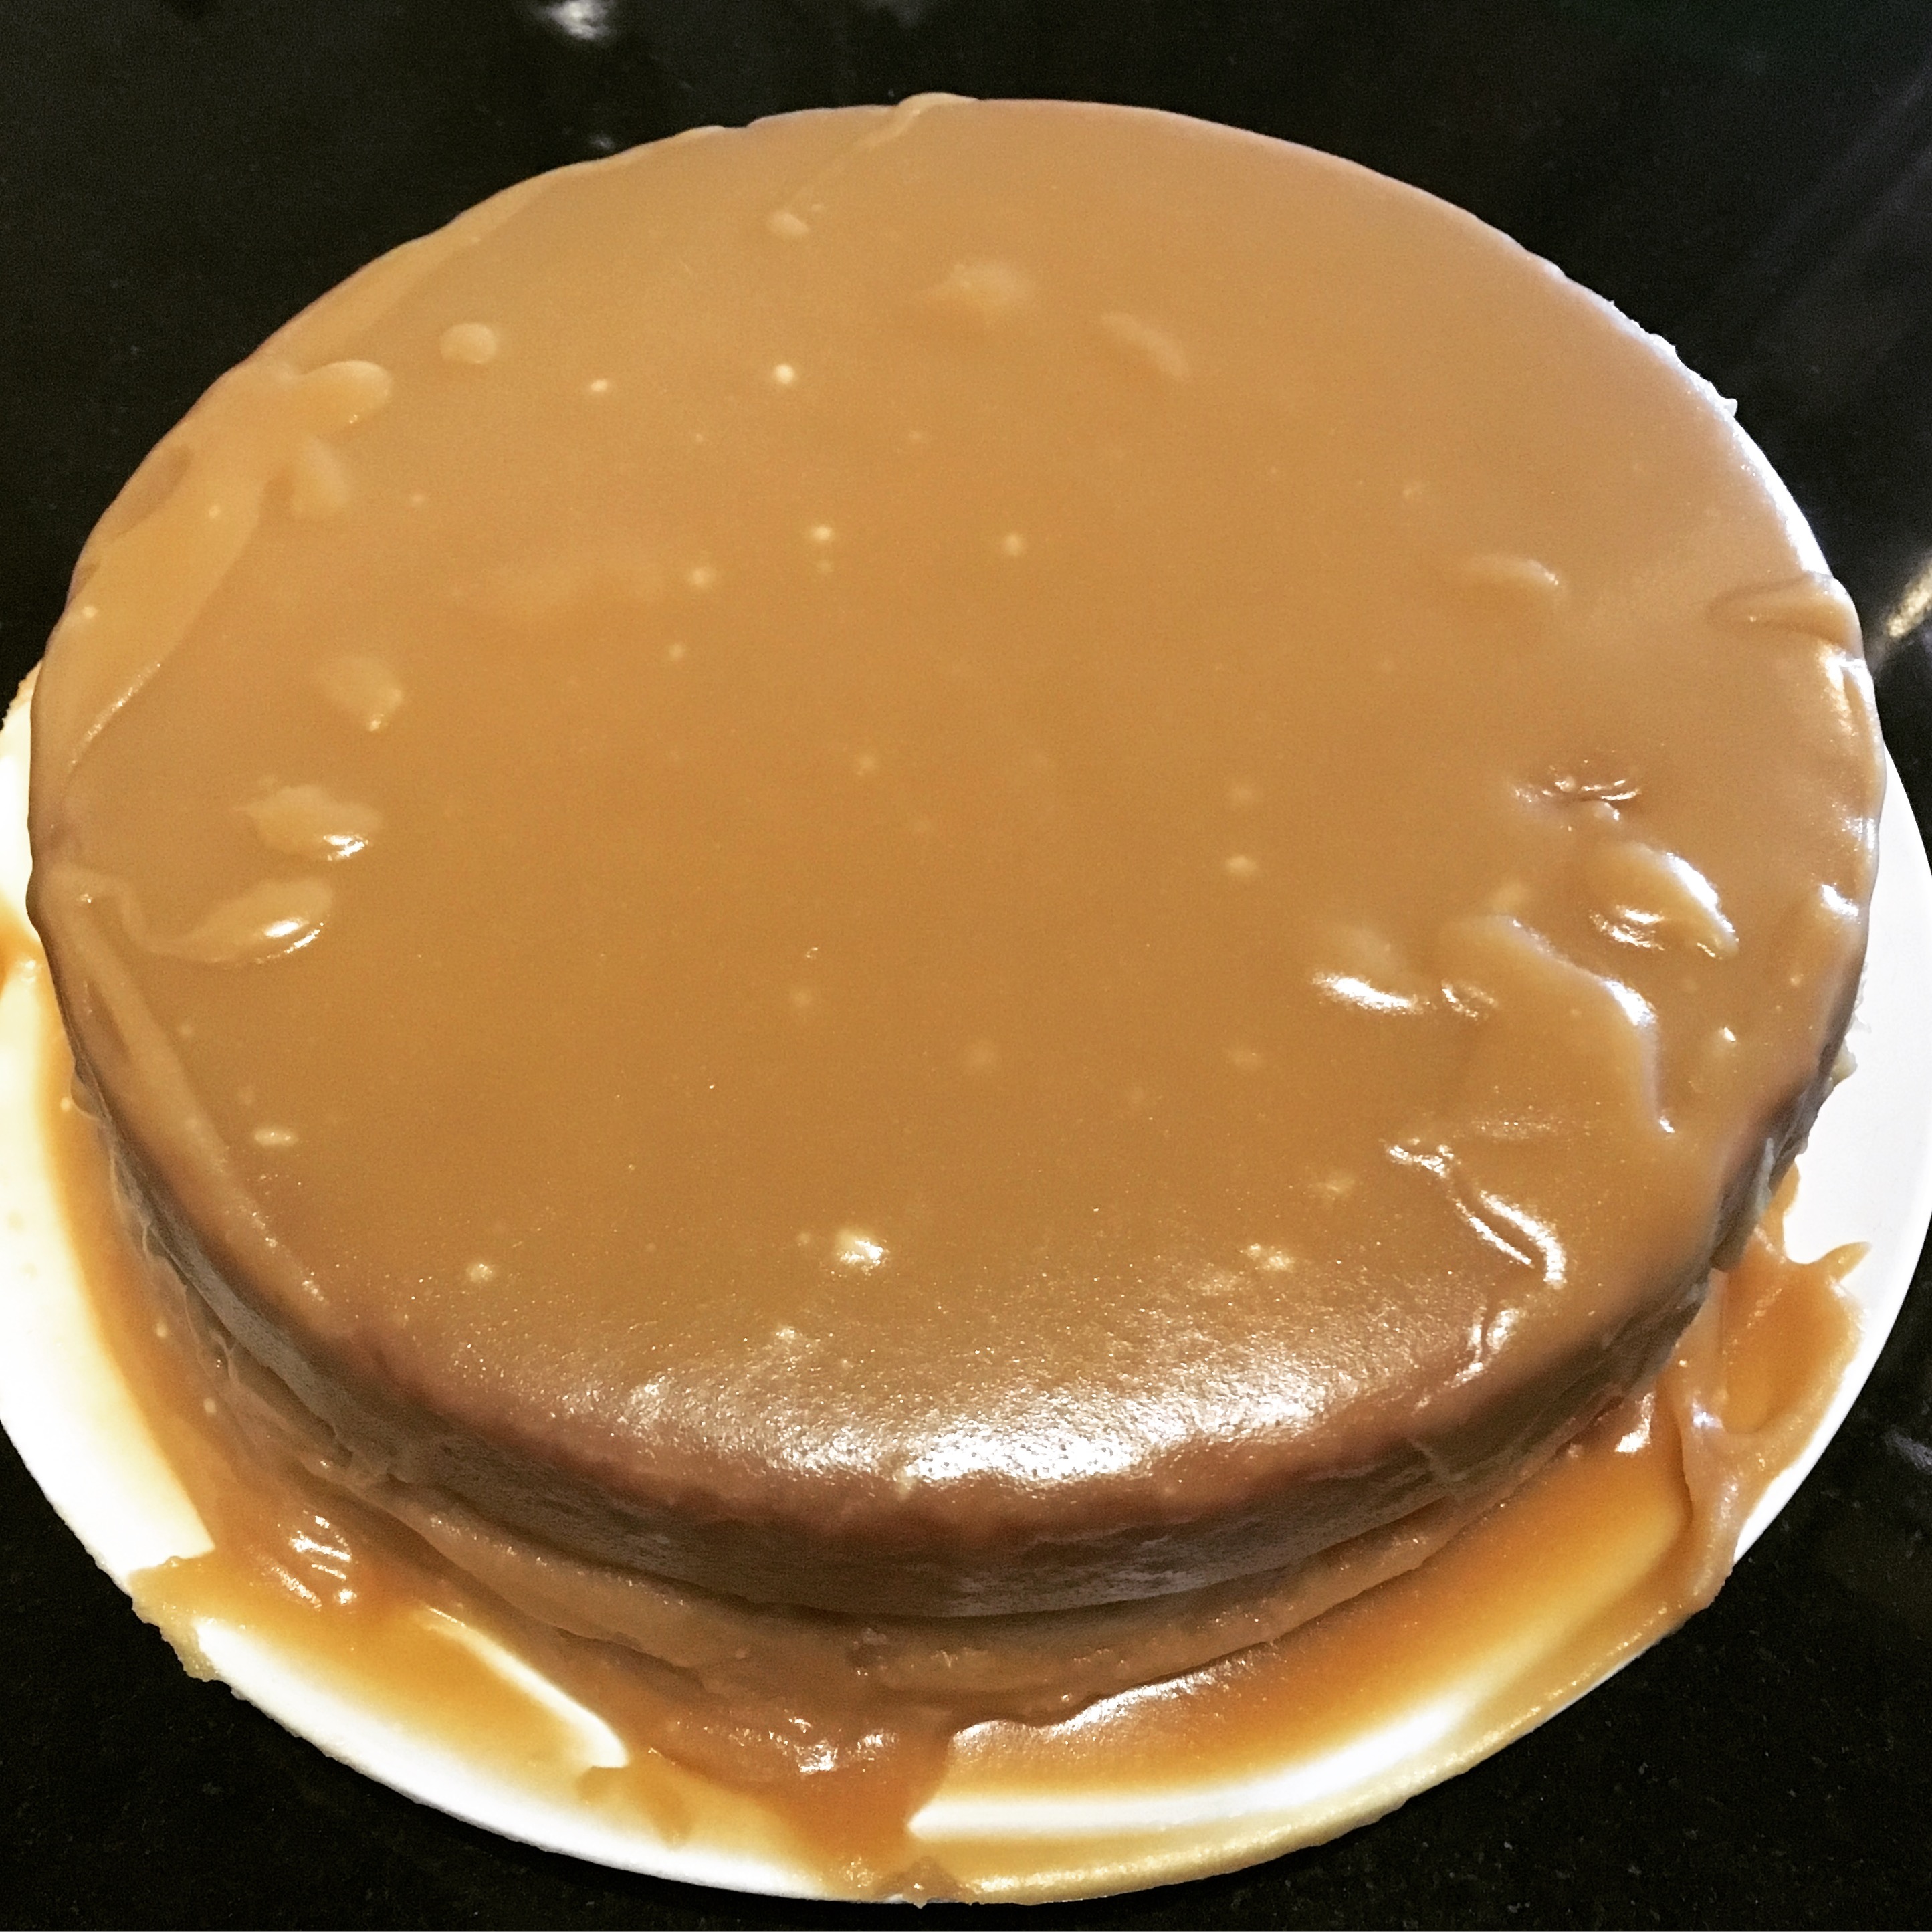
My bottom layer of cake on a plate, I spread a thick layer of caramel icing along the top. Once it was well-coated, I placed the second cake on top of it and poured the icing on it, allowing it to spill off the edges and coat the sides. I’m not great at cake-decorating or evenly icing cakes, so given the consistency of the frosting I thought this would be the best way. If you use this method, be careful that the icing doesn’t spill over the sides of the plate (or that you have something in place to catch the overflow). It did provide even coverage, but it made a bit of a mess. Sadly, my presentation wasn’t as great as it could’ve been, but I was hoping the taste would make up for it.

img_2390

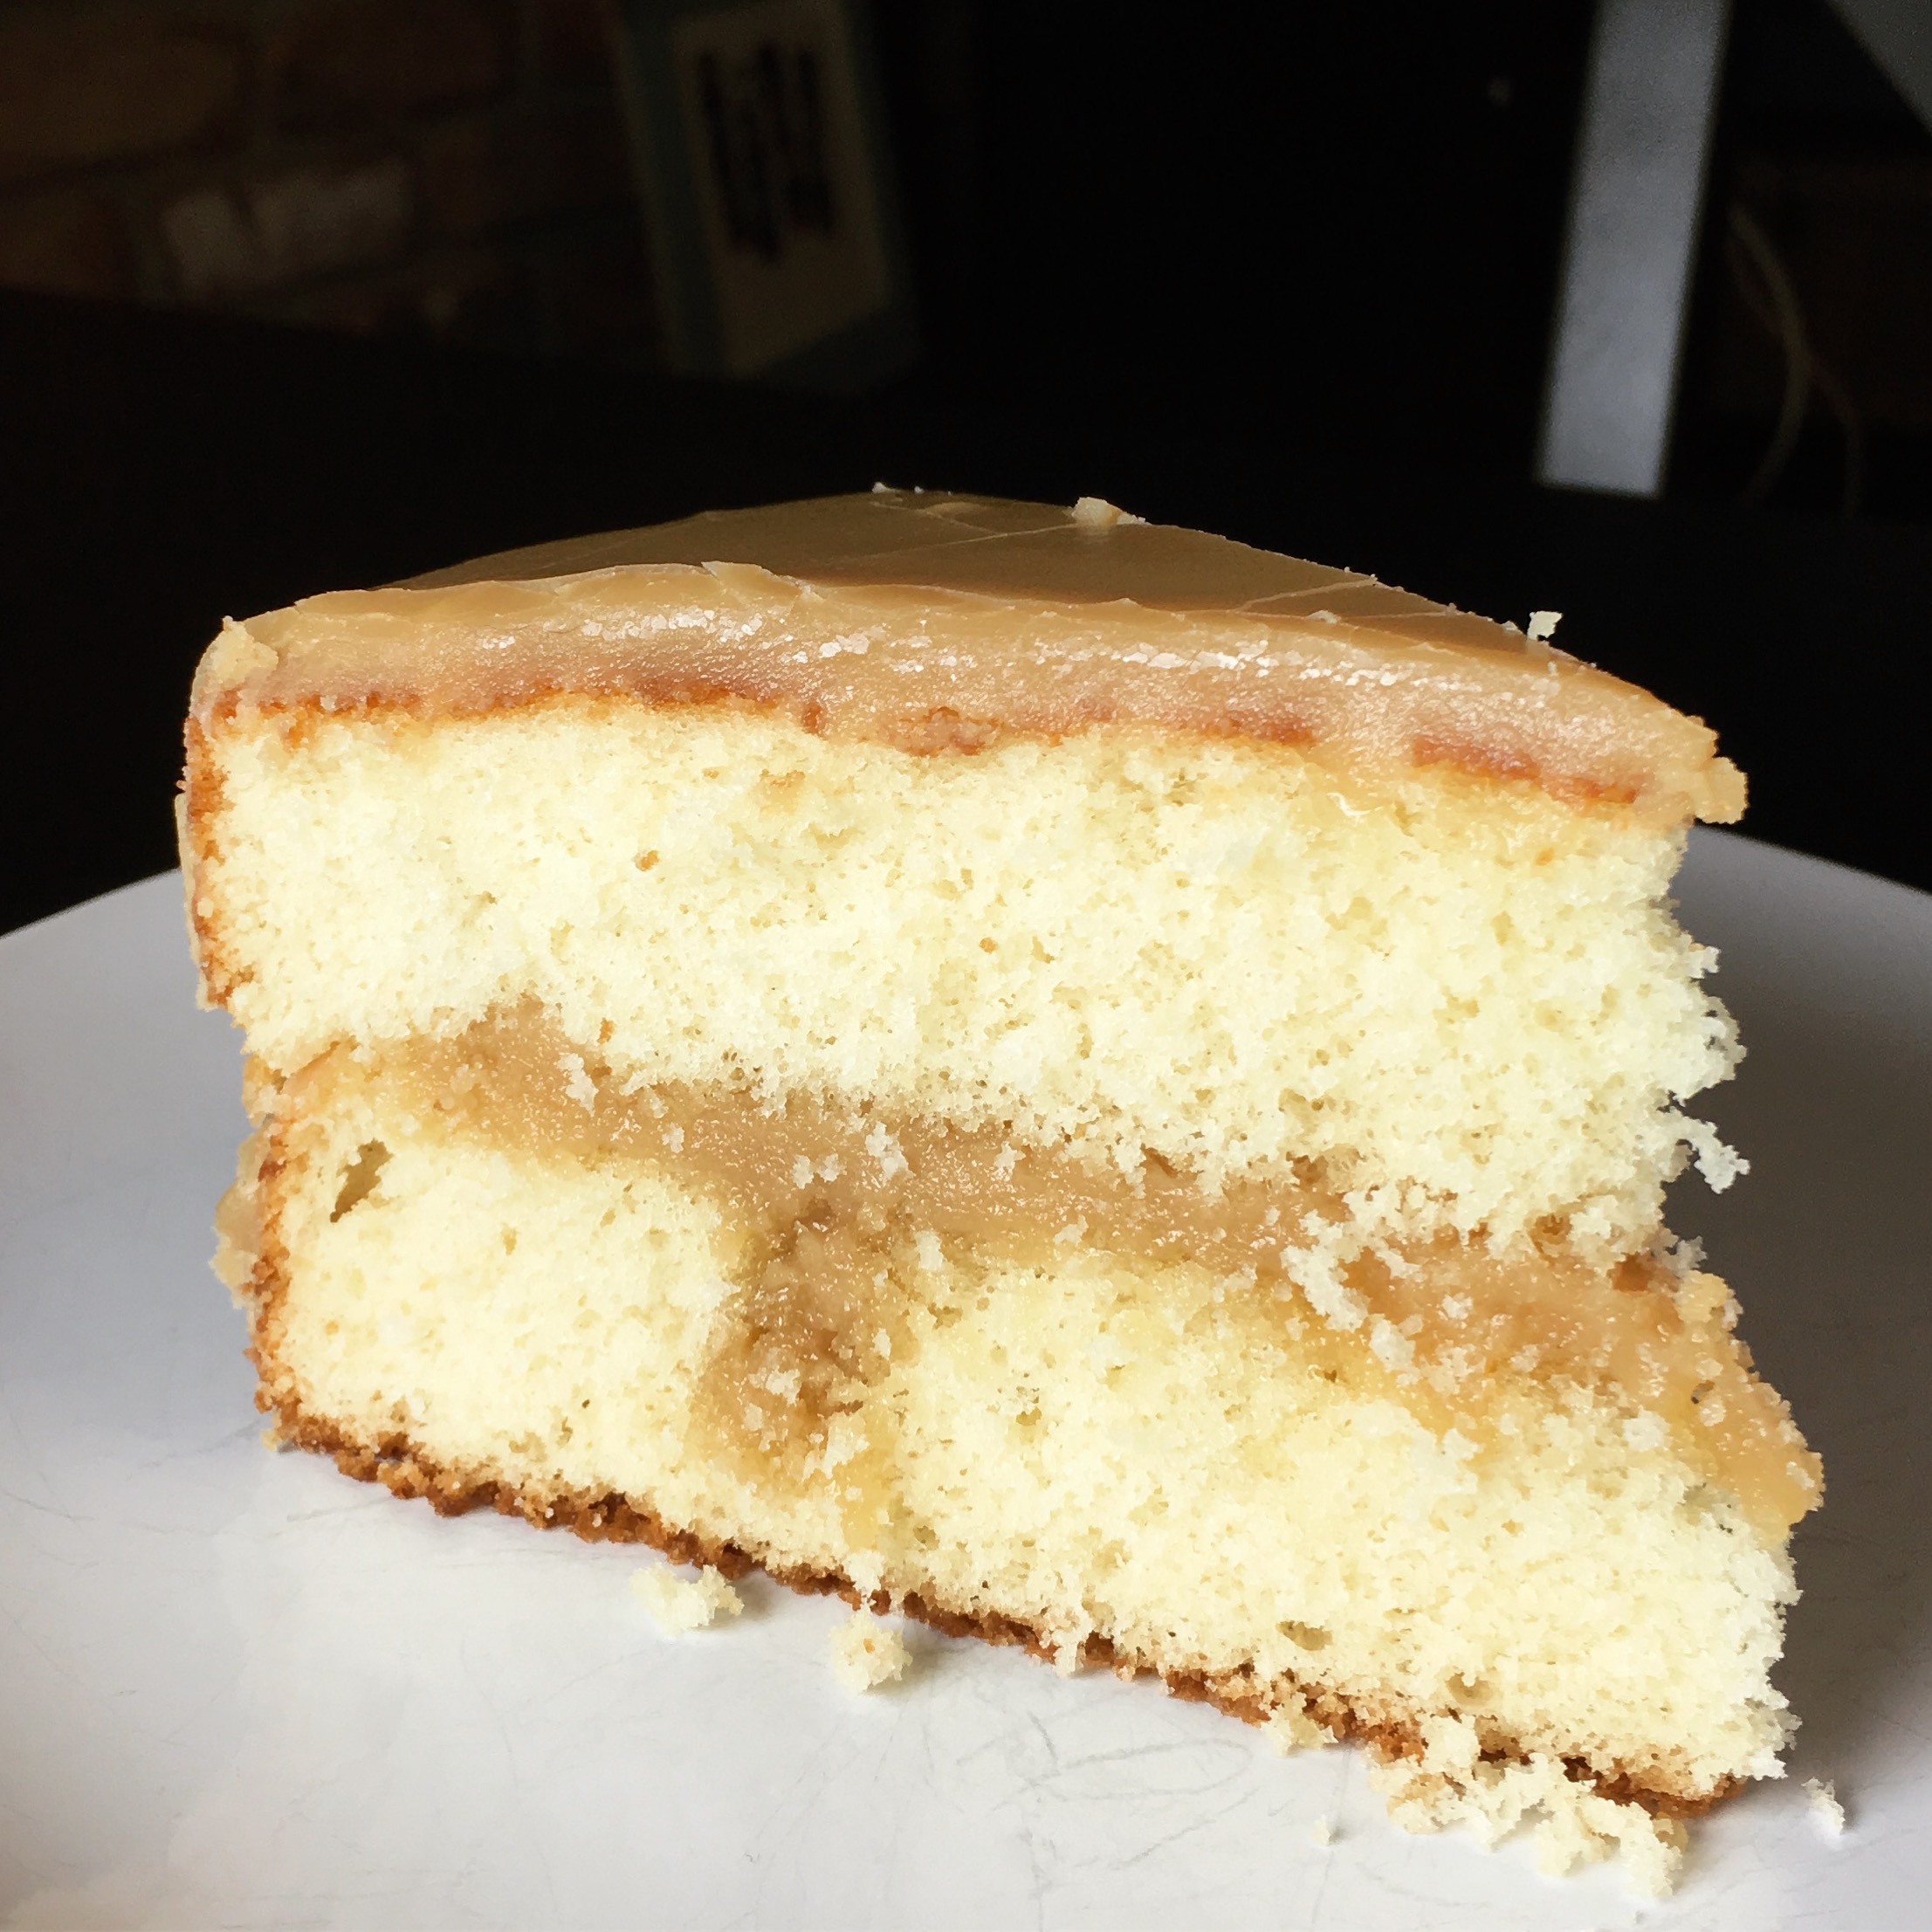
The good news is, it absolutely did. The cake was delicious, very moist and airy. The caramel icing had great flavor and once set, it provided a nice thick and slightly hard coating on the cake. A decadent cake for sure, one that is worth making for any special occasion.

img_2391

Decadent Deep South Caramel Cake

  • Servings: 8-12
  • Time: about 1 hour
  • Print

Provided directly by Ferris Robinson. The recipe and an excerpt of the novel are also available in the free e-cookbook KP Authors Cook Their Books.

Ingredients

    Cake
  • 1 package (18.25 ounces) plain white cake mix [Note: A 16.25 ounce package was the largest I was able to find in the store; I used it and had no problems.]
  • 1 cup whole milk
  • 8 tablespoons butter, melted
  • 3 eggs
  • 2 teaspoons pure vanilla extract (not imitation)
  • Lang’s Famous Decadent Caramel Icing

  • 2 sticks butter
  • 1 (16 oz.) box of light brown sugar
  • ¼ teaspoon salt
  • ⅔ cup evaporated milk (canned)
  • 2 cups sifted confectioner’s sugar
  • 2 teaspoons pure vanilla extract

Directions

  1. Preheat the oven to 350 degrees F.
  2. Grease two 9-inch round cake pans, then dust with flour.
  3. Blend cake mix, milk, melted butter, eggs, and vanilla extract in a large mixing bowl with an electric mixer. When blended, beat on medium speed for about two minutes.
  4. Pour batter into greased cake pans and bake until they are golden brown and spring back when lightly to touch, about 27 to 29 minutes. Let cool 10 minutes before inverting onto plate. Make sure they are completely cool before icing.
  5. While the cakes cool, prepare the Decadent Caramel Icing. Heat butter, brown sugar and salt in a saucepan, stirring until the brown sugar dissolves. Add milk and stir until blended. Bring to slow boil for about four minutes, stirring constantly. Let hot mixture cool for several minutes.
  6. Add confectioner’s sugar and vanilla and mix with electric mixer until lighter in color and caramelized. Ice that cake! Work quickly, while the frosting is still warm because it will set up. If the frosting gets too hard to work with, place it over low heat for a minute, stirring constantly. [I mixed in the sugar and vanilla in a homemade double-boiler (glass bowl over gently boiling saucepan) and this helped to prevent it setting up.]

Cake can be stored covered in plastic wrap or aluminum foil at room temperature for up to 1 week, or it can be frozen, wrapped in saran and foil, for up to 6 months. Thaw the cake overnight before serving.

The icing recipe made significantly more icing than I needed. If you wanted to make an additional cake layer, so that it has 3 instead of 2, you would still likely have enough without altering the above icing recipe.

I hope everyone has a safe New Year's celebration! Looking forward to seeing you all again in 2017!

* This book was given to me by the author in exchange for an honest review.

Filed Under: book review, recipe Tagged With: baking, contemporary, dessert, fiction

  • « Go to Previous Page
  • Go to page 1
  • Interim pages omitted …
  • Go to page 8
  • Go to page 9
  • Go to page 10
  • Go to page 11
  • Go to Next Page »

Primary Sidebar

About

The Hungry Bookworm brings together literature and food. Megan has an insatiable appetite for both.

As C.S. Lewis said, “Eating and reading are two pleasures that combine admirably.” Enjoy!

  • Bloglovin
  • Facebook
  • Instagram
  • Pinterest

Subscribe

Don't miss out on bookish content, exclusive giveaways, and of course, book club-friendly recipes. Get notified of new posts via email.

Join 2879 subscribers.

Search for Ingredients, Recipes, or Books

Recent Posts

  • Subscriber Box Review: Literati Book Club - Roxane Gay's Audacious Book Club
  • Arsenic and Adobo + Ensaymada
  • Review of The Kindred Spirits Supper Club
  • Kids Edition: Sometimes I Like to Curl Up in a Ball + "Dirt" Pudding Cups
  • The Midnight Library + Broccoli and Ricotta Toast

Goodreads

Tags

5 ingredients or less appetizer baking book club book list book of the month books about food bread breakfast brunch chicken contemporary cookies cultural dessert dinner dinner party dystopia easy prep favorites fiction fruit historical fiction holiday ice cream linkup lunch meat memoir mini review nonfiction pasta quick read reading challenge science fiction seafood show us your books side dish snack soup TBR list thriller top ten tuesday vegetarian veggies

Archives

Other Great Book Blogs

Literary Quicksand
Never Enough Novels
Death by Tsundoku
Professional Reader 25 Book Reviews
Privacy & Cookies: This site uses cookies. By continuing to use this website, you agree to their use.
To find out more, including how to control cookies, see here: Cookie Policy

Footer Widget Header

Megan’s Instagram

Copyright © 2025 · Hungry Bookworm