• Skip to primary navigation
  • Skip to main content
  • Skip to primary sidebar
  • Home
  • Reviews
    • Book Index
    • Fiction
    • Non-Fiction
    • Top Ten Tuesdays
The Hungry Bookworm

The Hungry Bookworm

reading + eating

  • Recipes
    • Drinks
    • Snacks, Sides & Apps
    • Main Dishes
    • Desserts
    • 5 Ingredients or Less
  • About
    • Meet Megan
    • How I Rate
    • Review Policy
    • Contact

recipe

Harry Potter and the Cursed Child + Exploding Truffles

October 30, 2016 by Megan 1 Comment

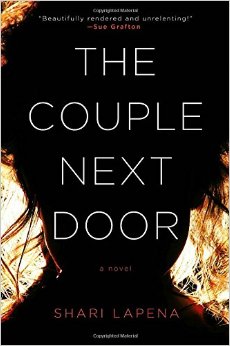
As though magically conjured, the library book I placed a hold on back in July finally became available last weekend - just in time for Halloween! I wasted no time starting (and finishing) the long-awaited Harry Potter and the Cursed Child, better known to some as “Harry Potter #8.” As with all the others, I read it as quickly as I could, though thankfully this was much shorter than Deathly Hallows.

harry_potter_and_the_cursed_child_special_rehearsal_edition_book_cover

For a moment, it was nice to be back in Harry Potter’s world. But I quickly realized it wasn’t the world I know and love. Yes, there was Harry and Ron and Hermione. There was Hogwarts and Professor McGonagall. There was even Draco Malfoy. What was missing was the actual intricacies of the world that J.K. Rowling created, the details that immersed me from the very first chapter of the very first book.

True, this is the script of a play rather than a book. I’m sure a lot of the magic comes across in the costumes, in the acting and on the stage. I can understand that and forgive that it’s just the nature of a play to have less description than a novel.

What makes me wish I hadn’t read it is that being an adult is relatively unmagical - even, oddly, in a magical world. Our famous trio is all grown up. They have jobs and children. They have bad eyesight. It was weird to read, and not just because their adulthood felt pretty much like it does in the muggle world. I think I would’ve been happily comfortable leaving Harry, Ron and Hermione right where we left them (before the final book’s epilogue) - in a magical world full of possibility.

Upon finishing, I decided that the only cure for how I was feeling was chocolate. Everyone knows it has mood-enhancing properties, even in the wizarding world. And, in true Halloween (and Weasley) fashion, I thought it would be fun to make something that was both a trick and a treat - Exploding Truffles.

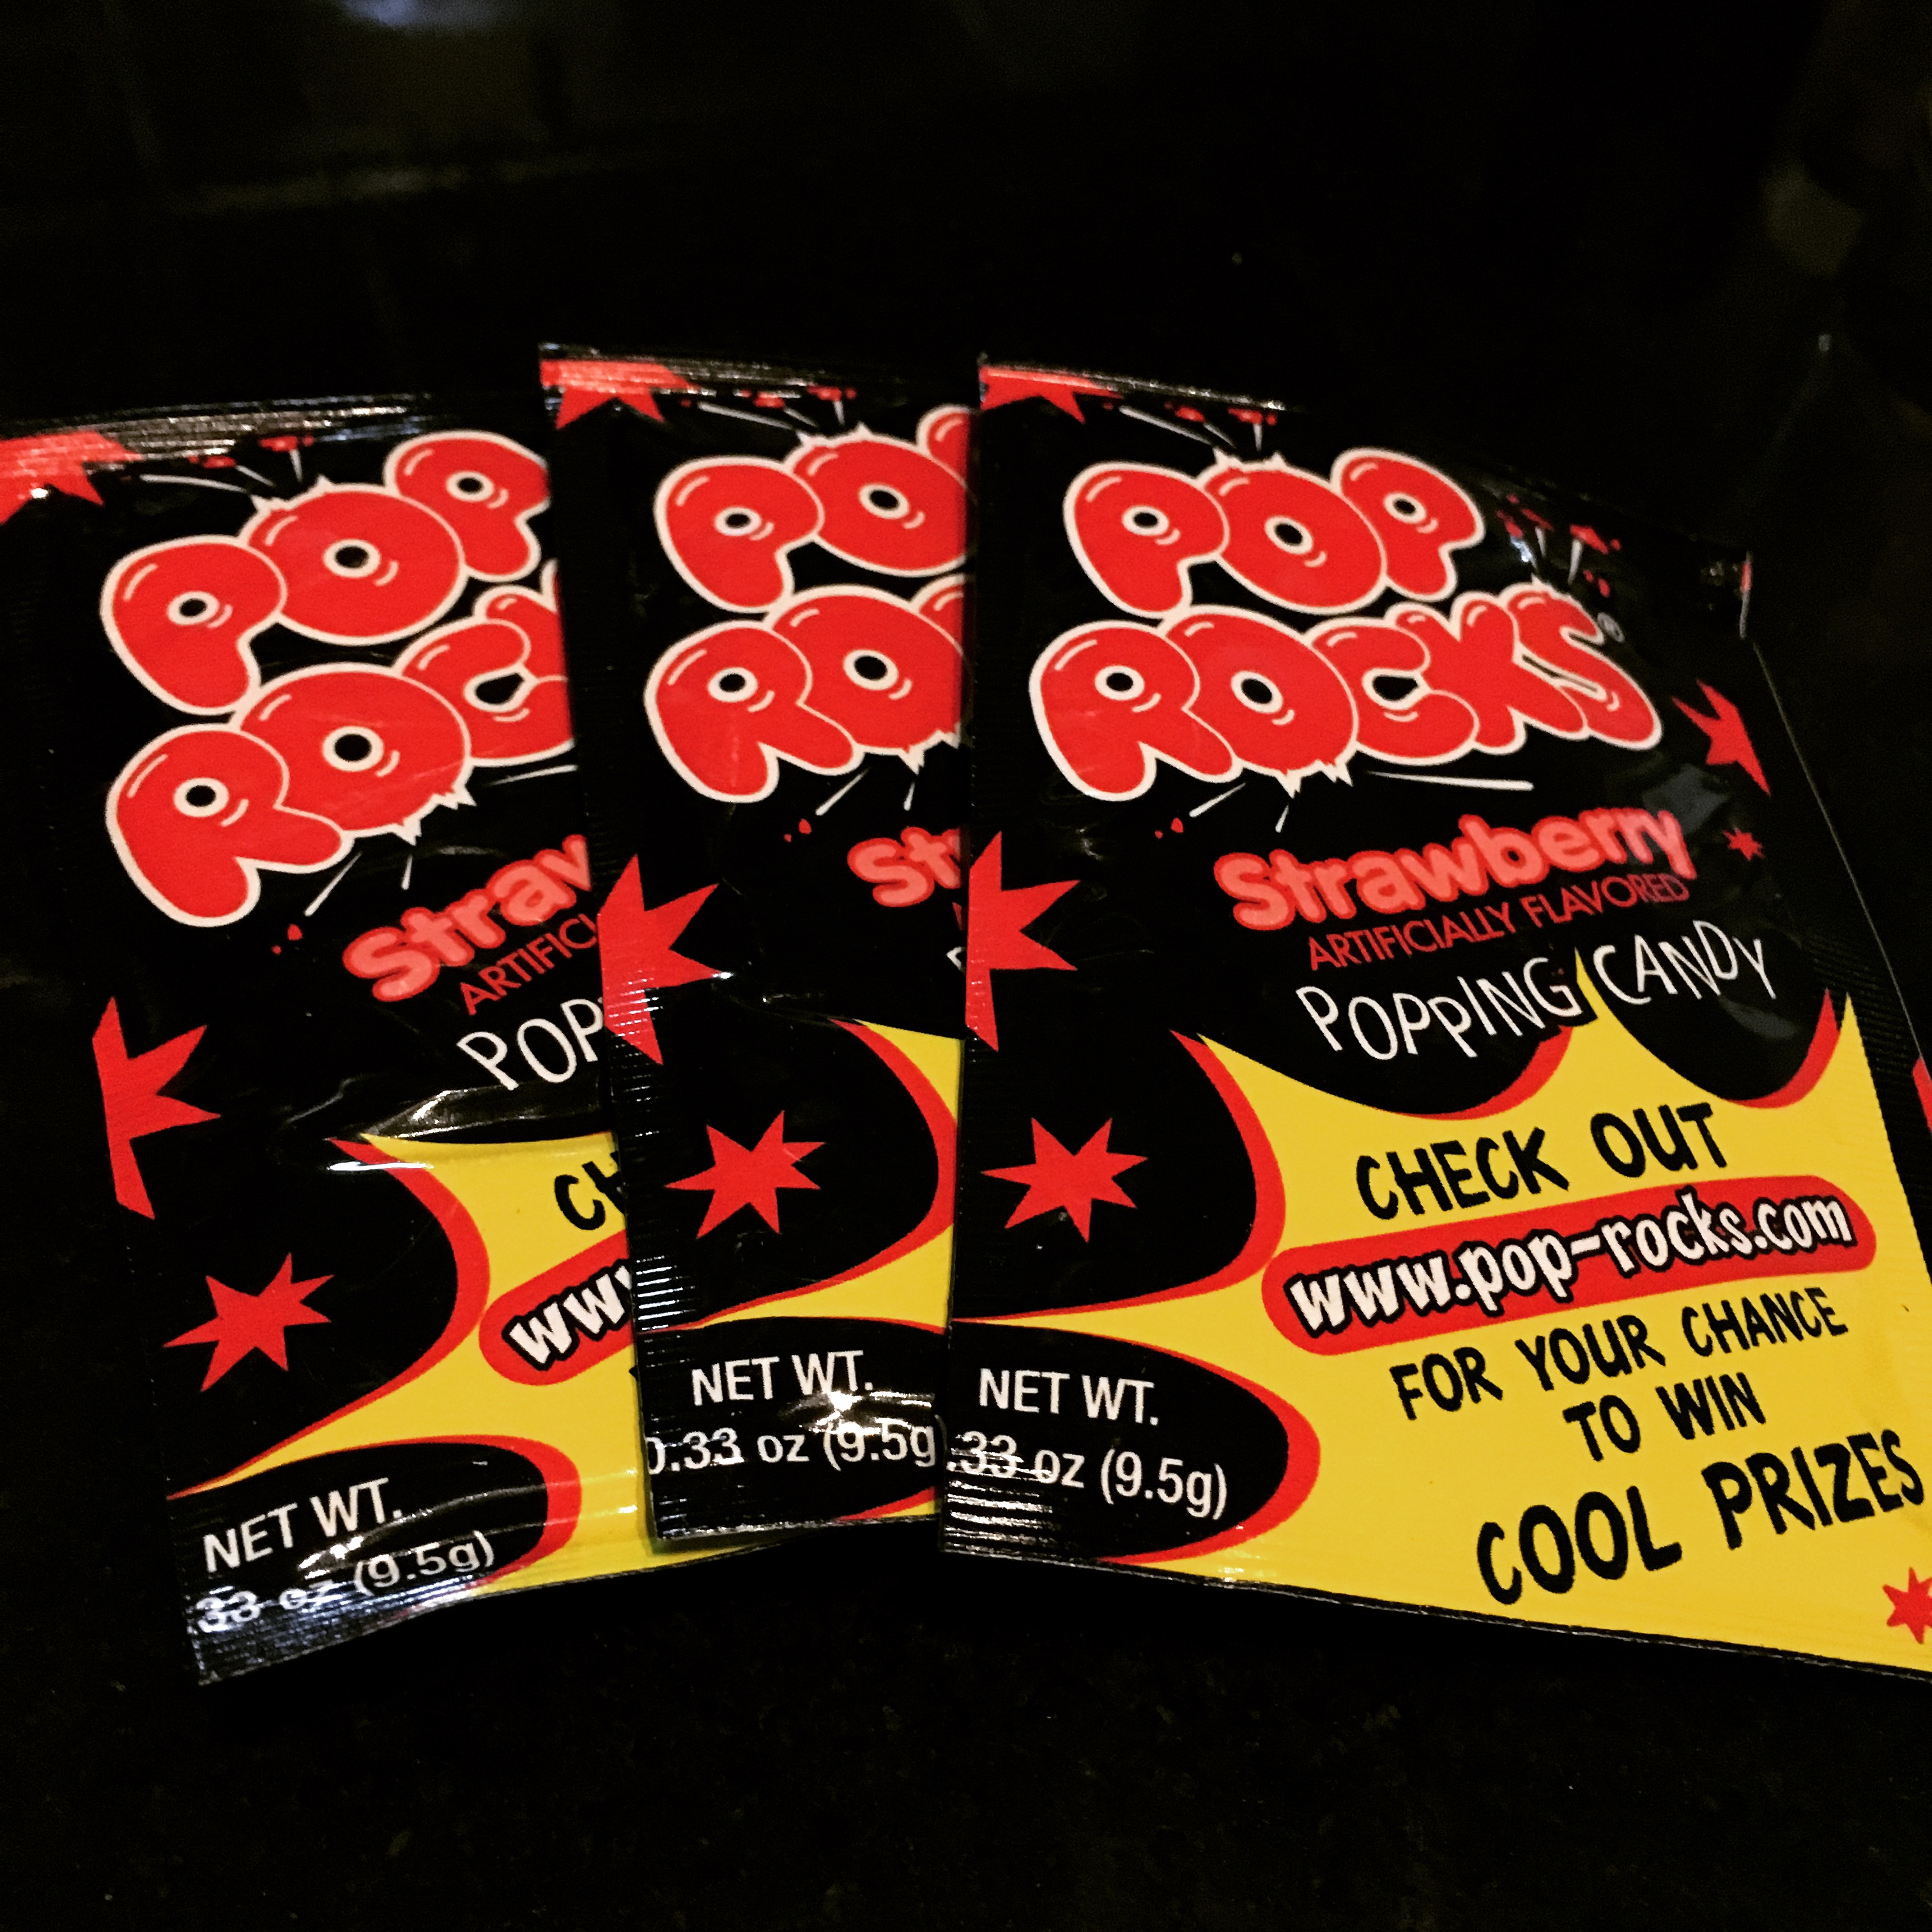
Since this was my first attempt at making candy, I was a little nervous but mostly excited. Surprisingly, finding the Pop Rocks was the hardest part of the task; it turned out to be a very easy recipe to make. ( if you’re having as much trouble as I did finding Pop Rocks, even at the height of Halloween candy madness, I suggest a trip to Party City.) You can choose whichever flavor you like. I chose strawberry, which worked really well with the chocolate.

img_1598

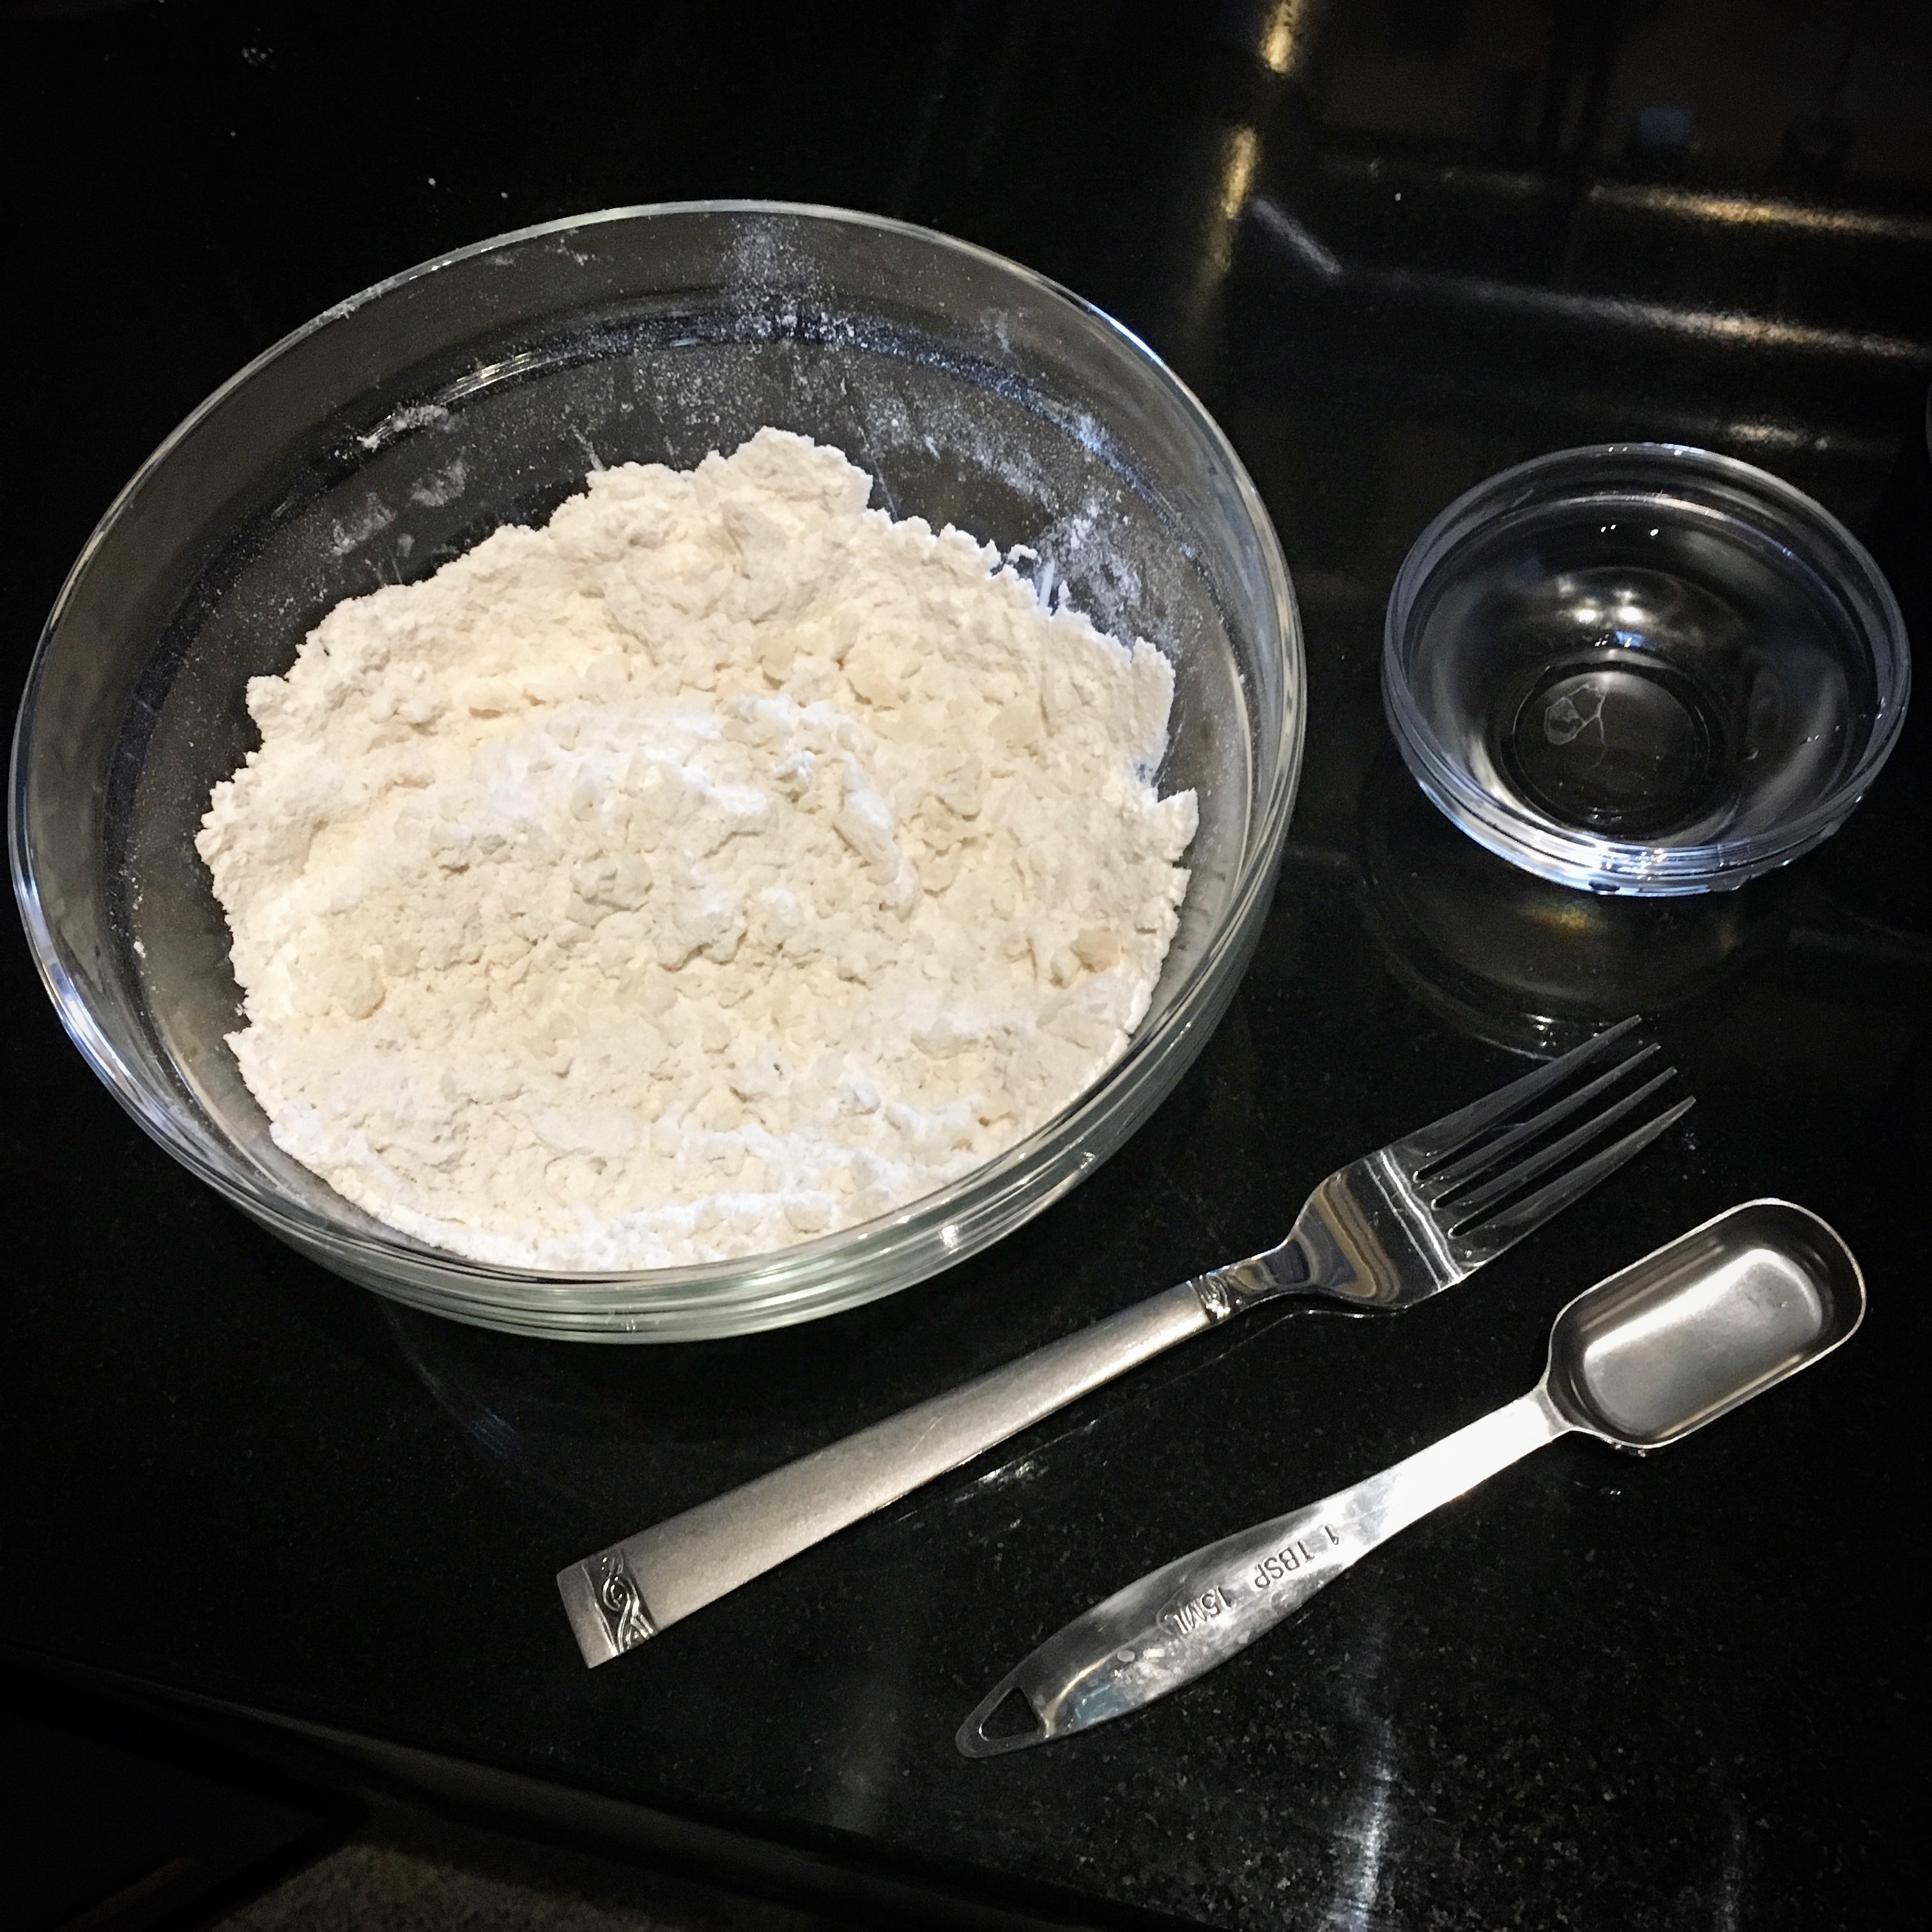
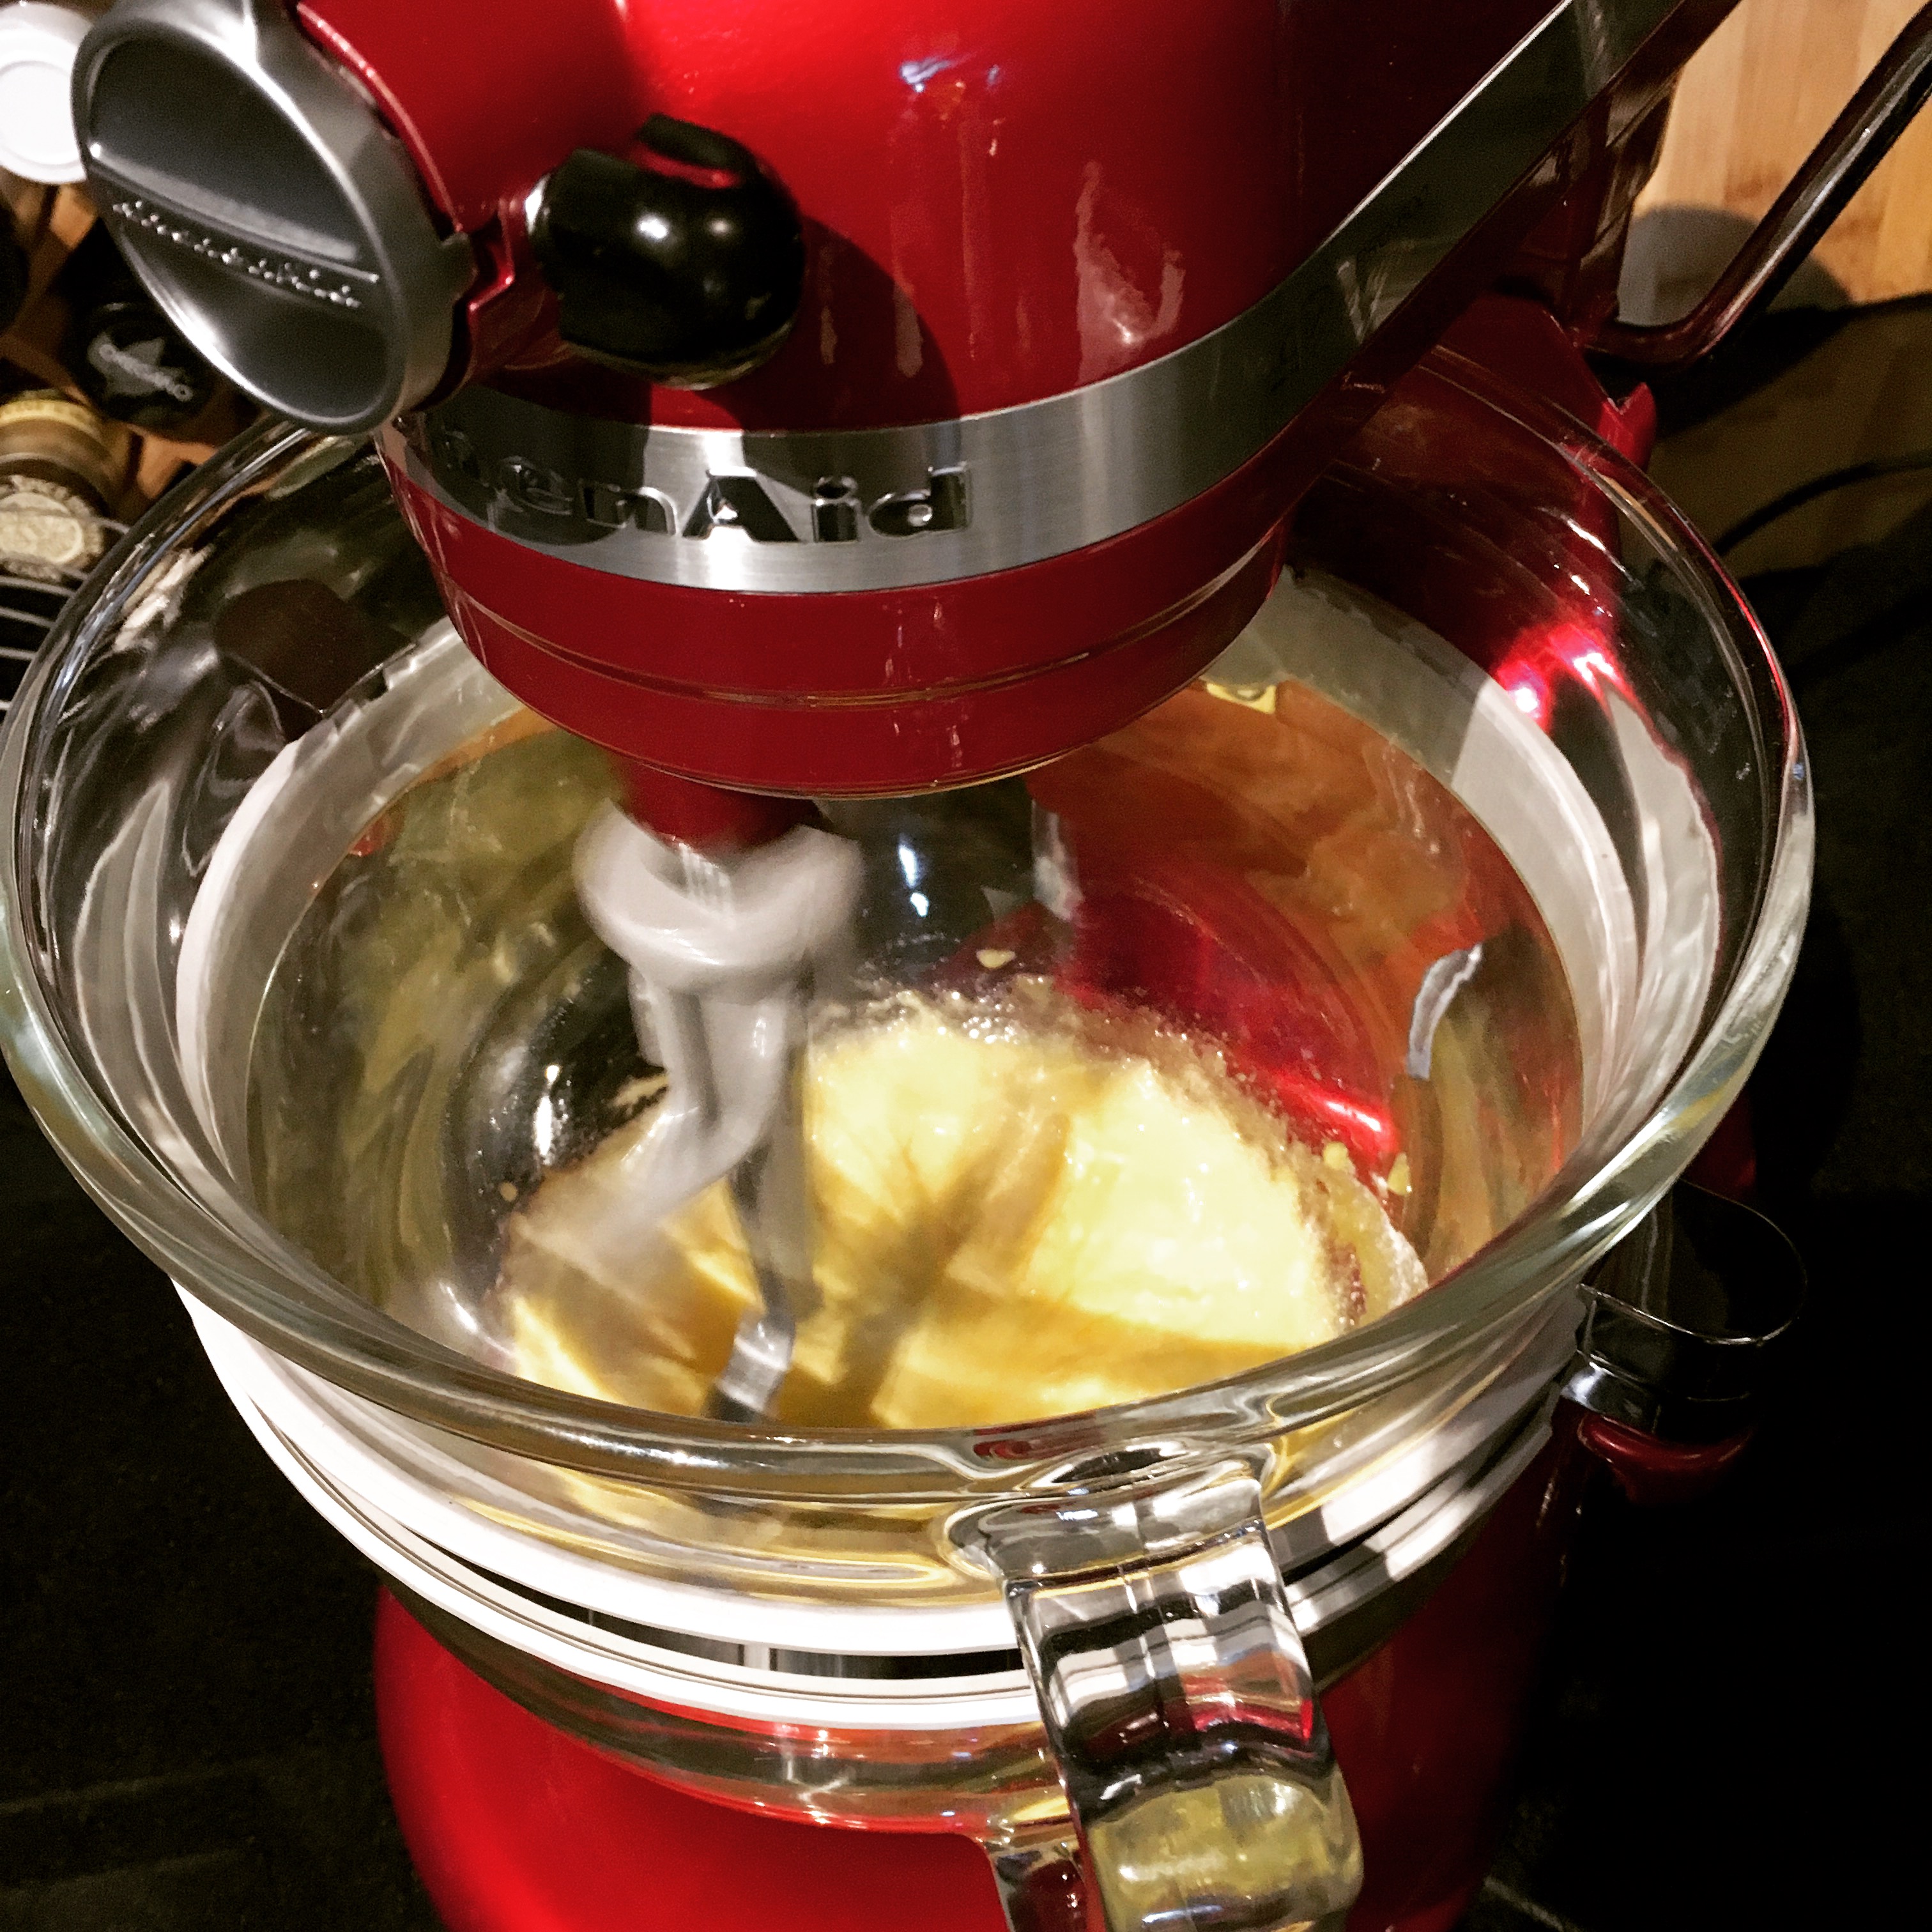
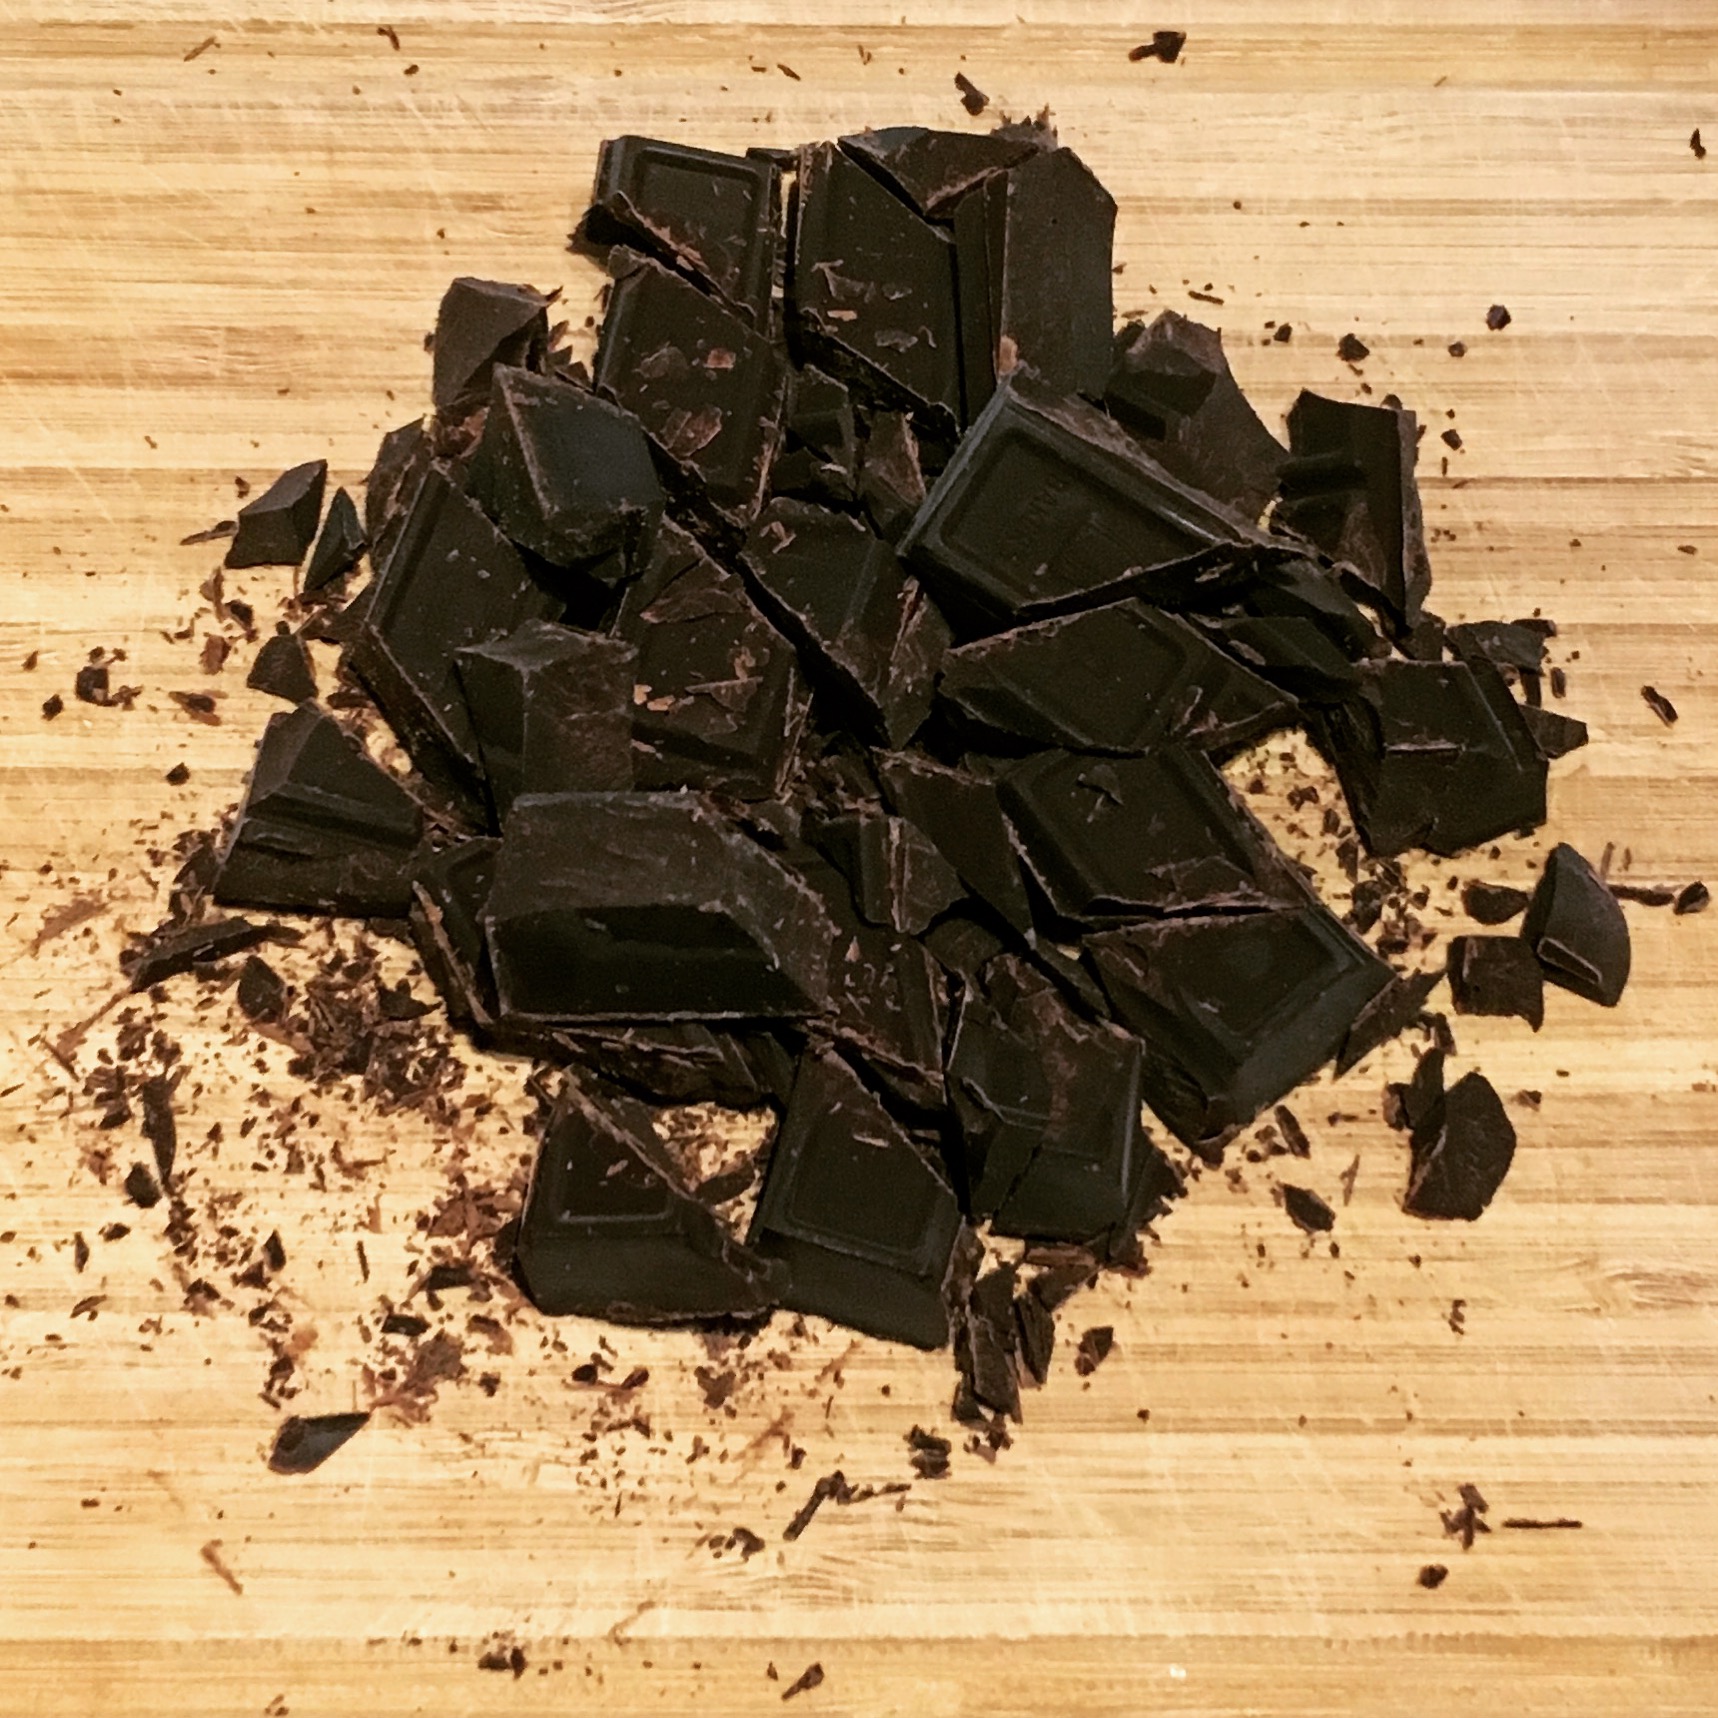
I began by chopping my chocolate into smaller chunks, while my heavy cream simmered on the stove top.

img_1599

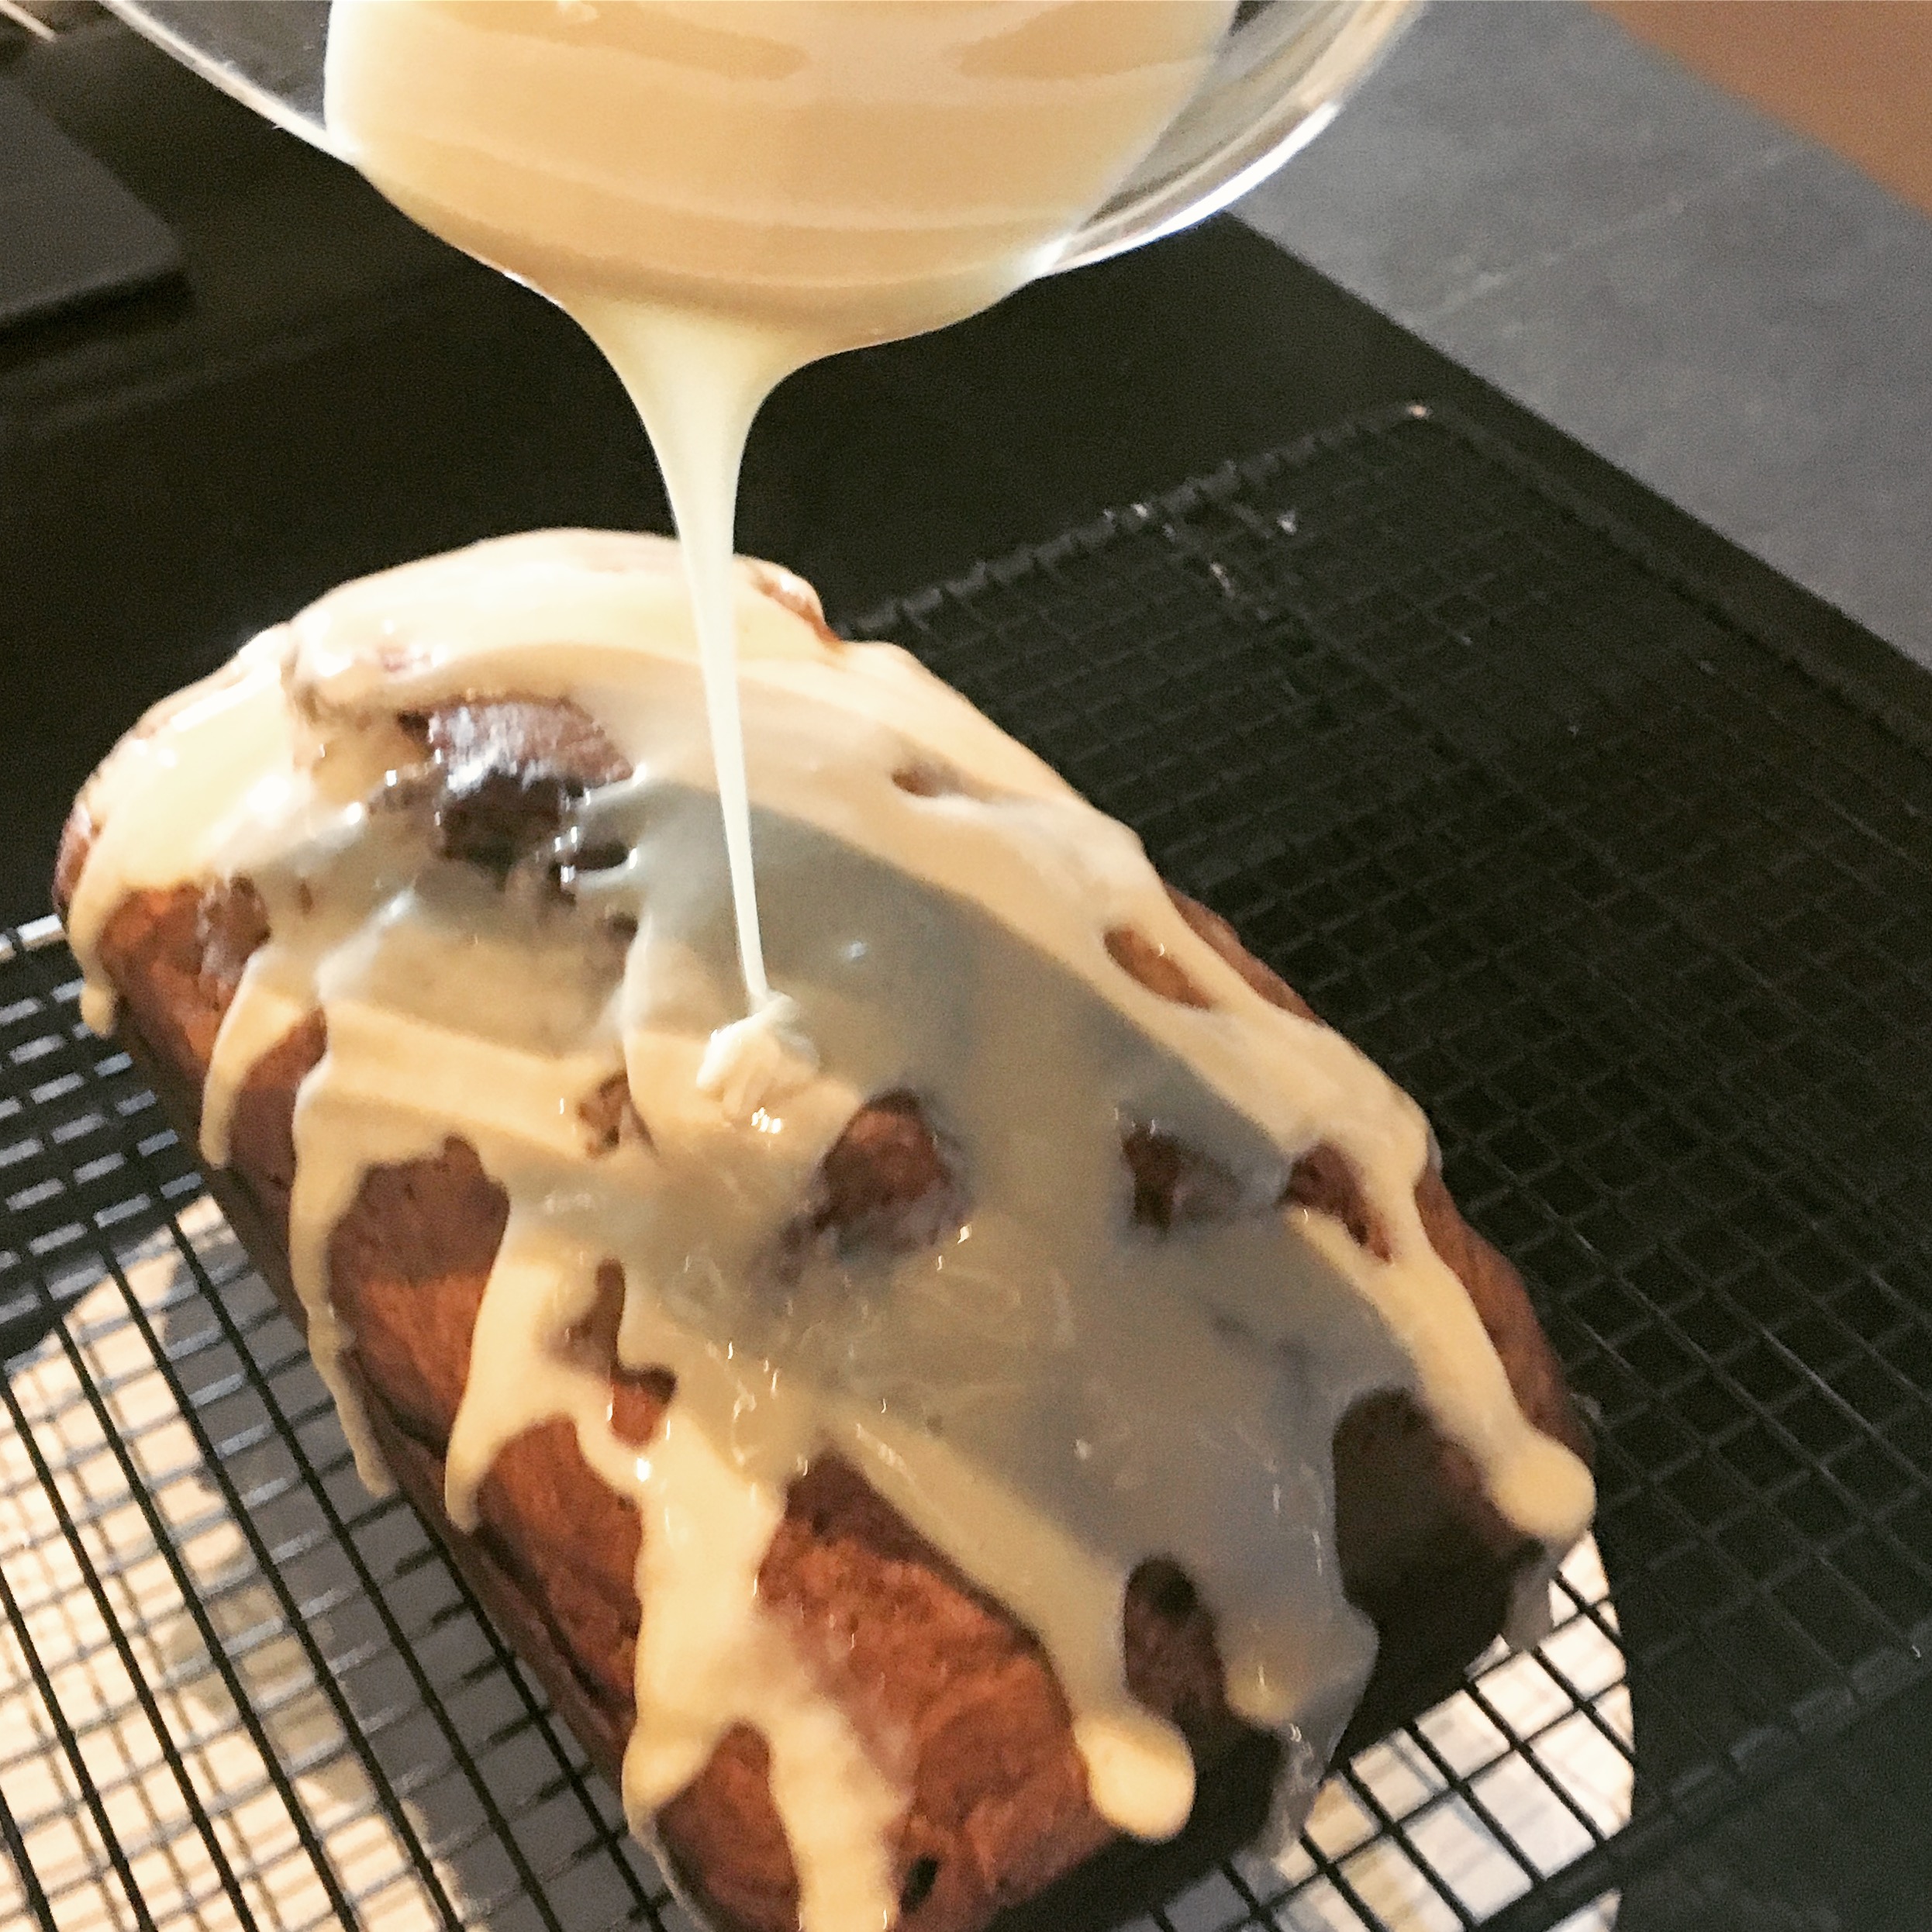
Once the cream is hot, pour over the chocolate pieces and whisk to melt it until together they form a well-combined and smooth mixture. Cover the bowl with plastic wrap and place in the fridge for 3 hours to firm up. (You could probably read the entirety Cursed Child while it’s chilling.)

After it’s chilled, scoop the ganache into small balls (about ¾ inches) and then roll them between your palms to round them out. This doesn’t really get as messy as it seems like it would.

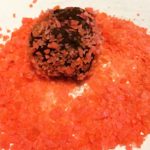
Pour 4 of the Pop Rocks packets onto a plate or into a bowl, leaving one packet for decorating with later. Roll each truffle ball in the candy until it’s well-covered, setting each completed one on a baking sheet covered in aluminum. It’s best to work quickly so that the Pop Rocks are exposed to the air as little as possible (especially if it’s humid). Mine began crackling as soon as I took them out of the package!  

img_1600

img_1601

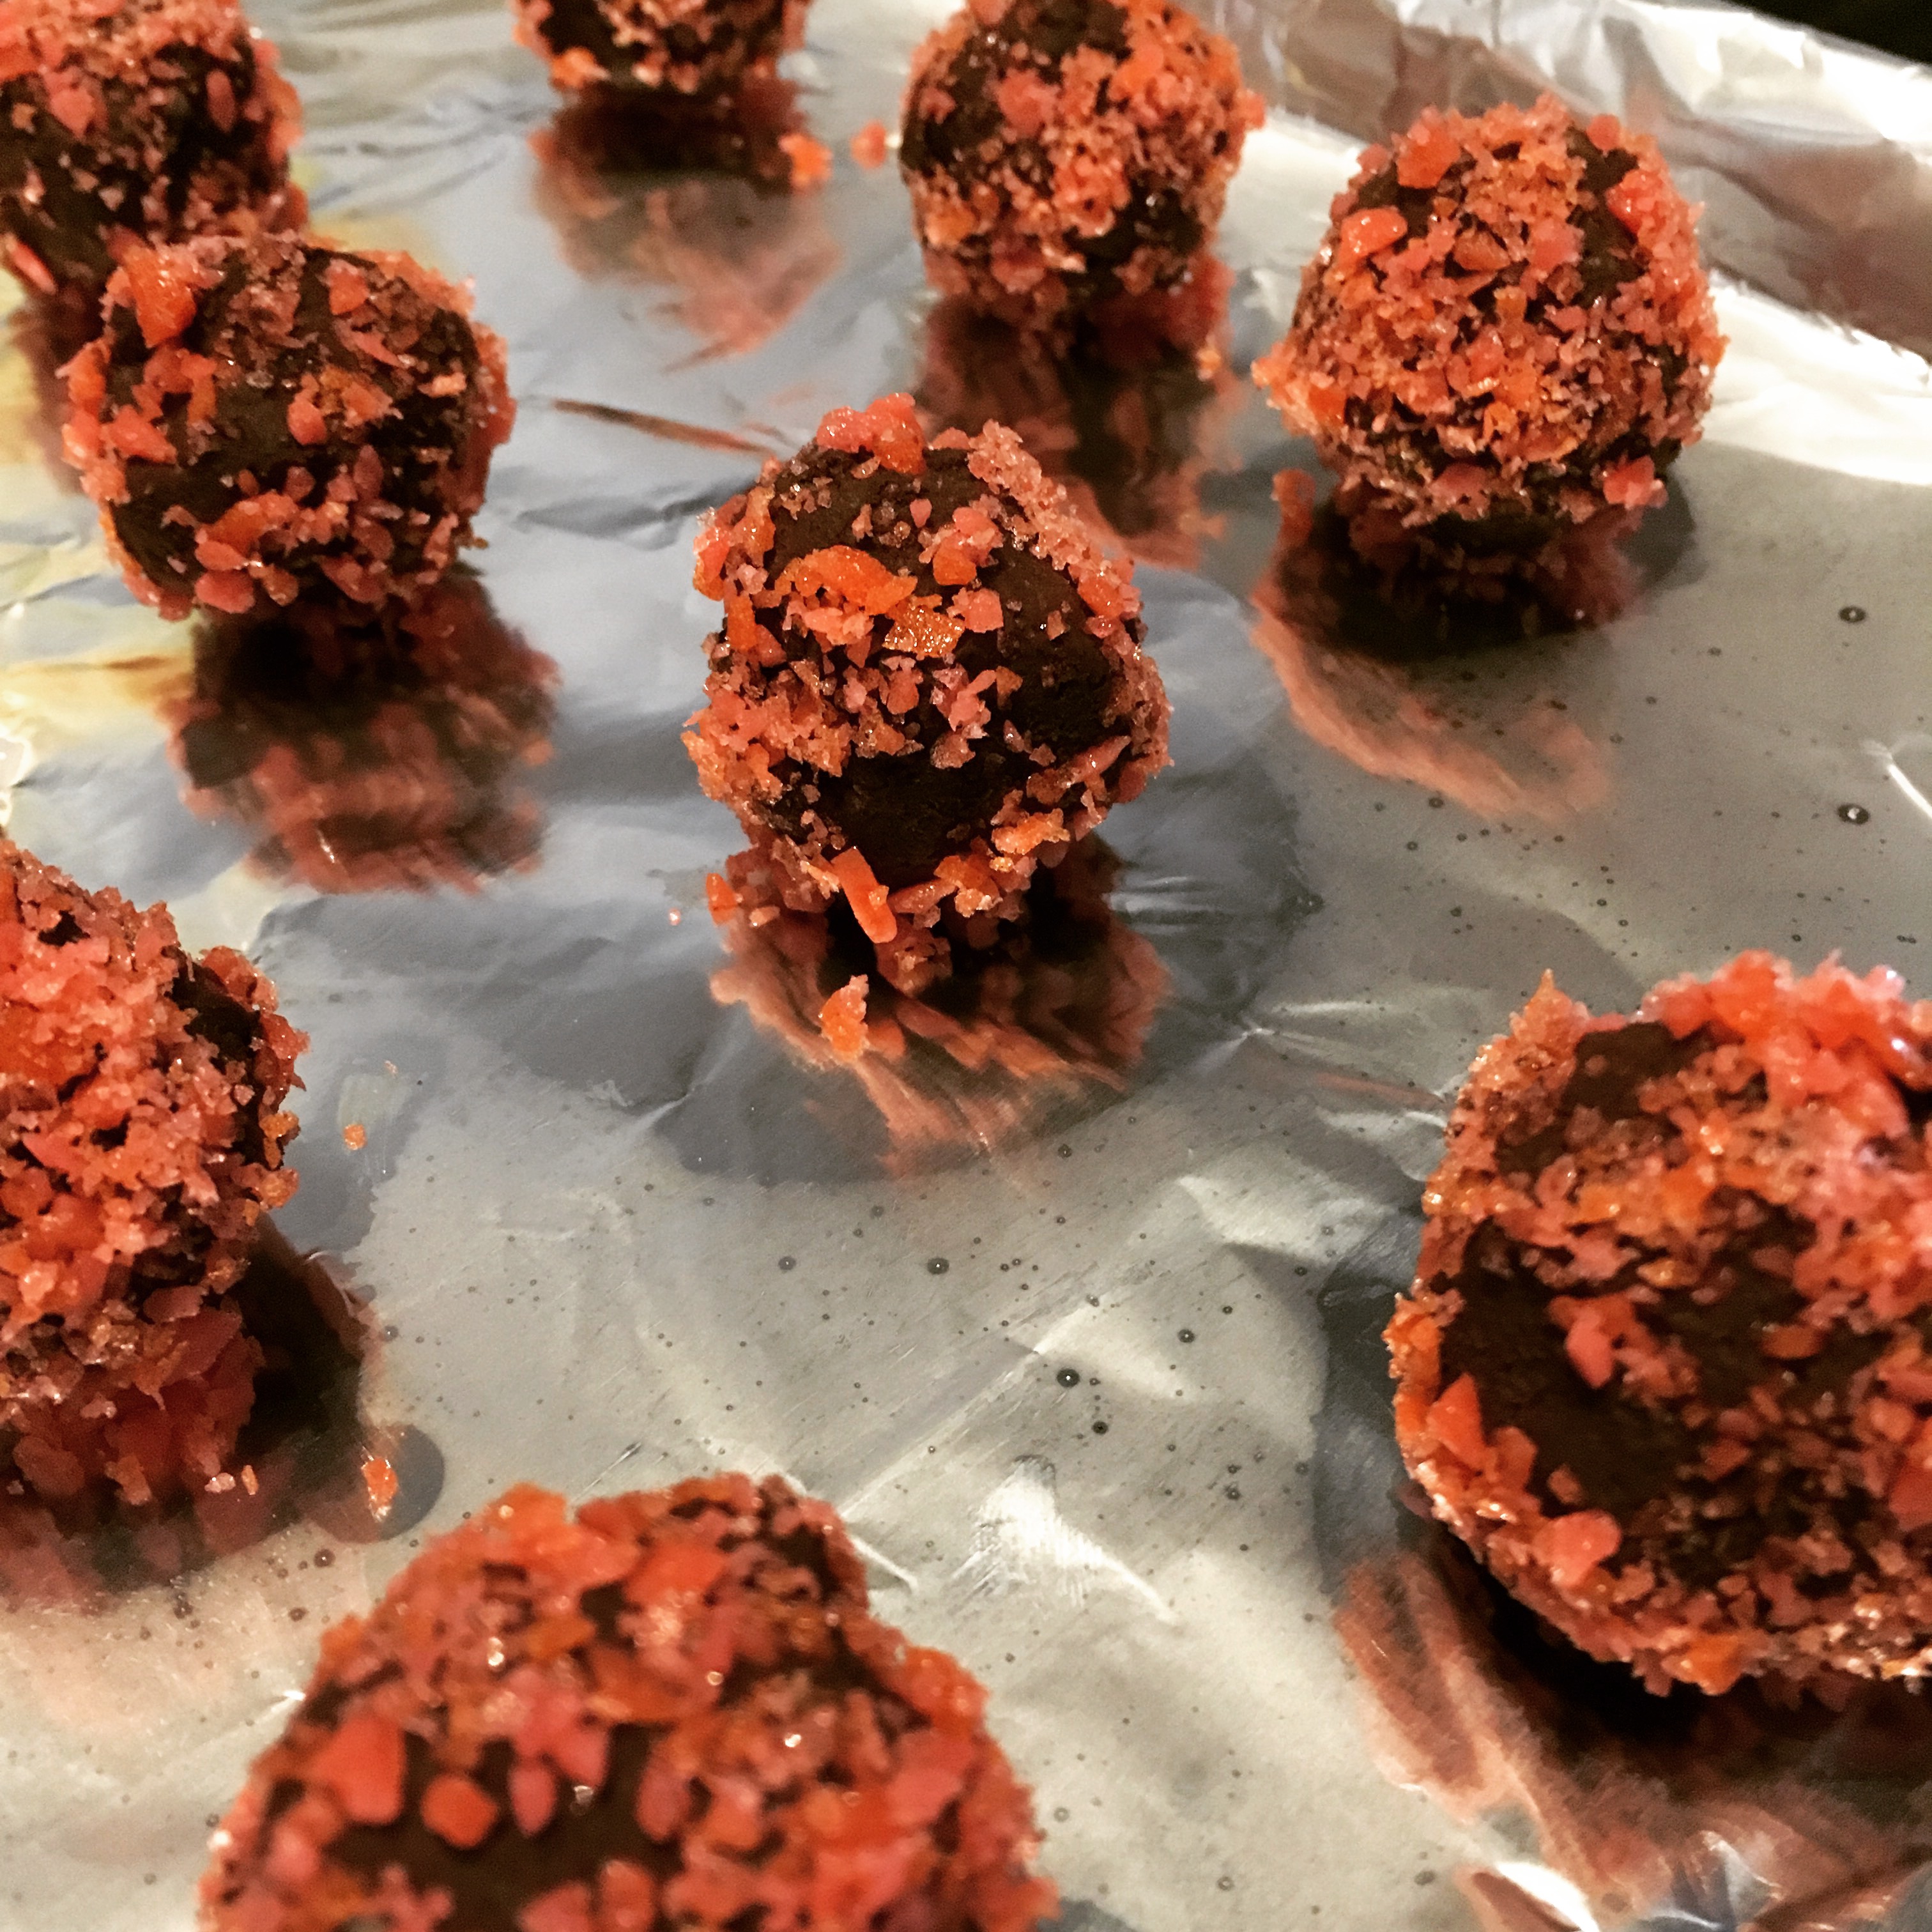
Once finished, plate the truffles in the freezer while you prepare the dipping chocolate (I chose dark chocolate). When that is melted and ready, lower each truffle into the bowl of chocolate using a fork and coat well. Be sure to remove any excess chocolate, which can be done by tapping the fork against the side of the bowl.

Place each truffle back on the foiled baking sheet. While the chocolate is still melted - it dries quickly, so I would do it immediately - sprinkle a few Pop Rocks from the last packet on top.

The original recipe suggests letting them sit in the refrigerator for 10-15 minutes to set, but I was impatient and they tasted great as soon as they were covered in chocolate!

img_1602

These delicious truffles would be an excellent addition to any Halloween party, Harry Potter-themed party, or Harry Potter-themed Halloween party. They are also fun to spring on unsuspecting coworkers in October, or just enjoy them on your average weeknight at home!

Print Recipe

Exploding Truffles

Prep Time45 minutes mins
Cook Time3 hours hrs 15 minutes mins
Inactive Time3 hours hrs 15 minutes mins
Total Time4 hours hrs
Course: Dessert
Servings: 24

Ingredients

  • 6 ounces bittersweet chocolate about 1 cup chopped
  • 4 ounces heavy cream
  • 5 .33-oz envelopes popping candy, like Pop Rocks [I recommend 6 to be on the safe side]
  • 12 ounces chocolate candy coating [I recommend dark chocolate]

Instructions

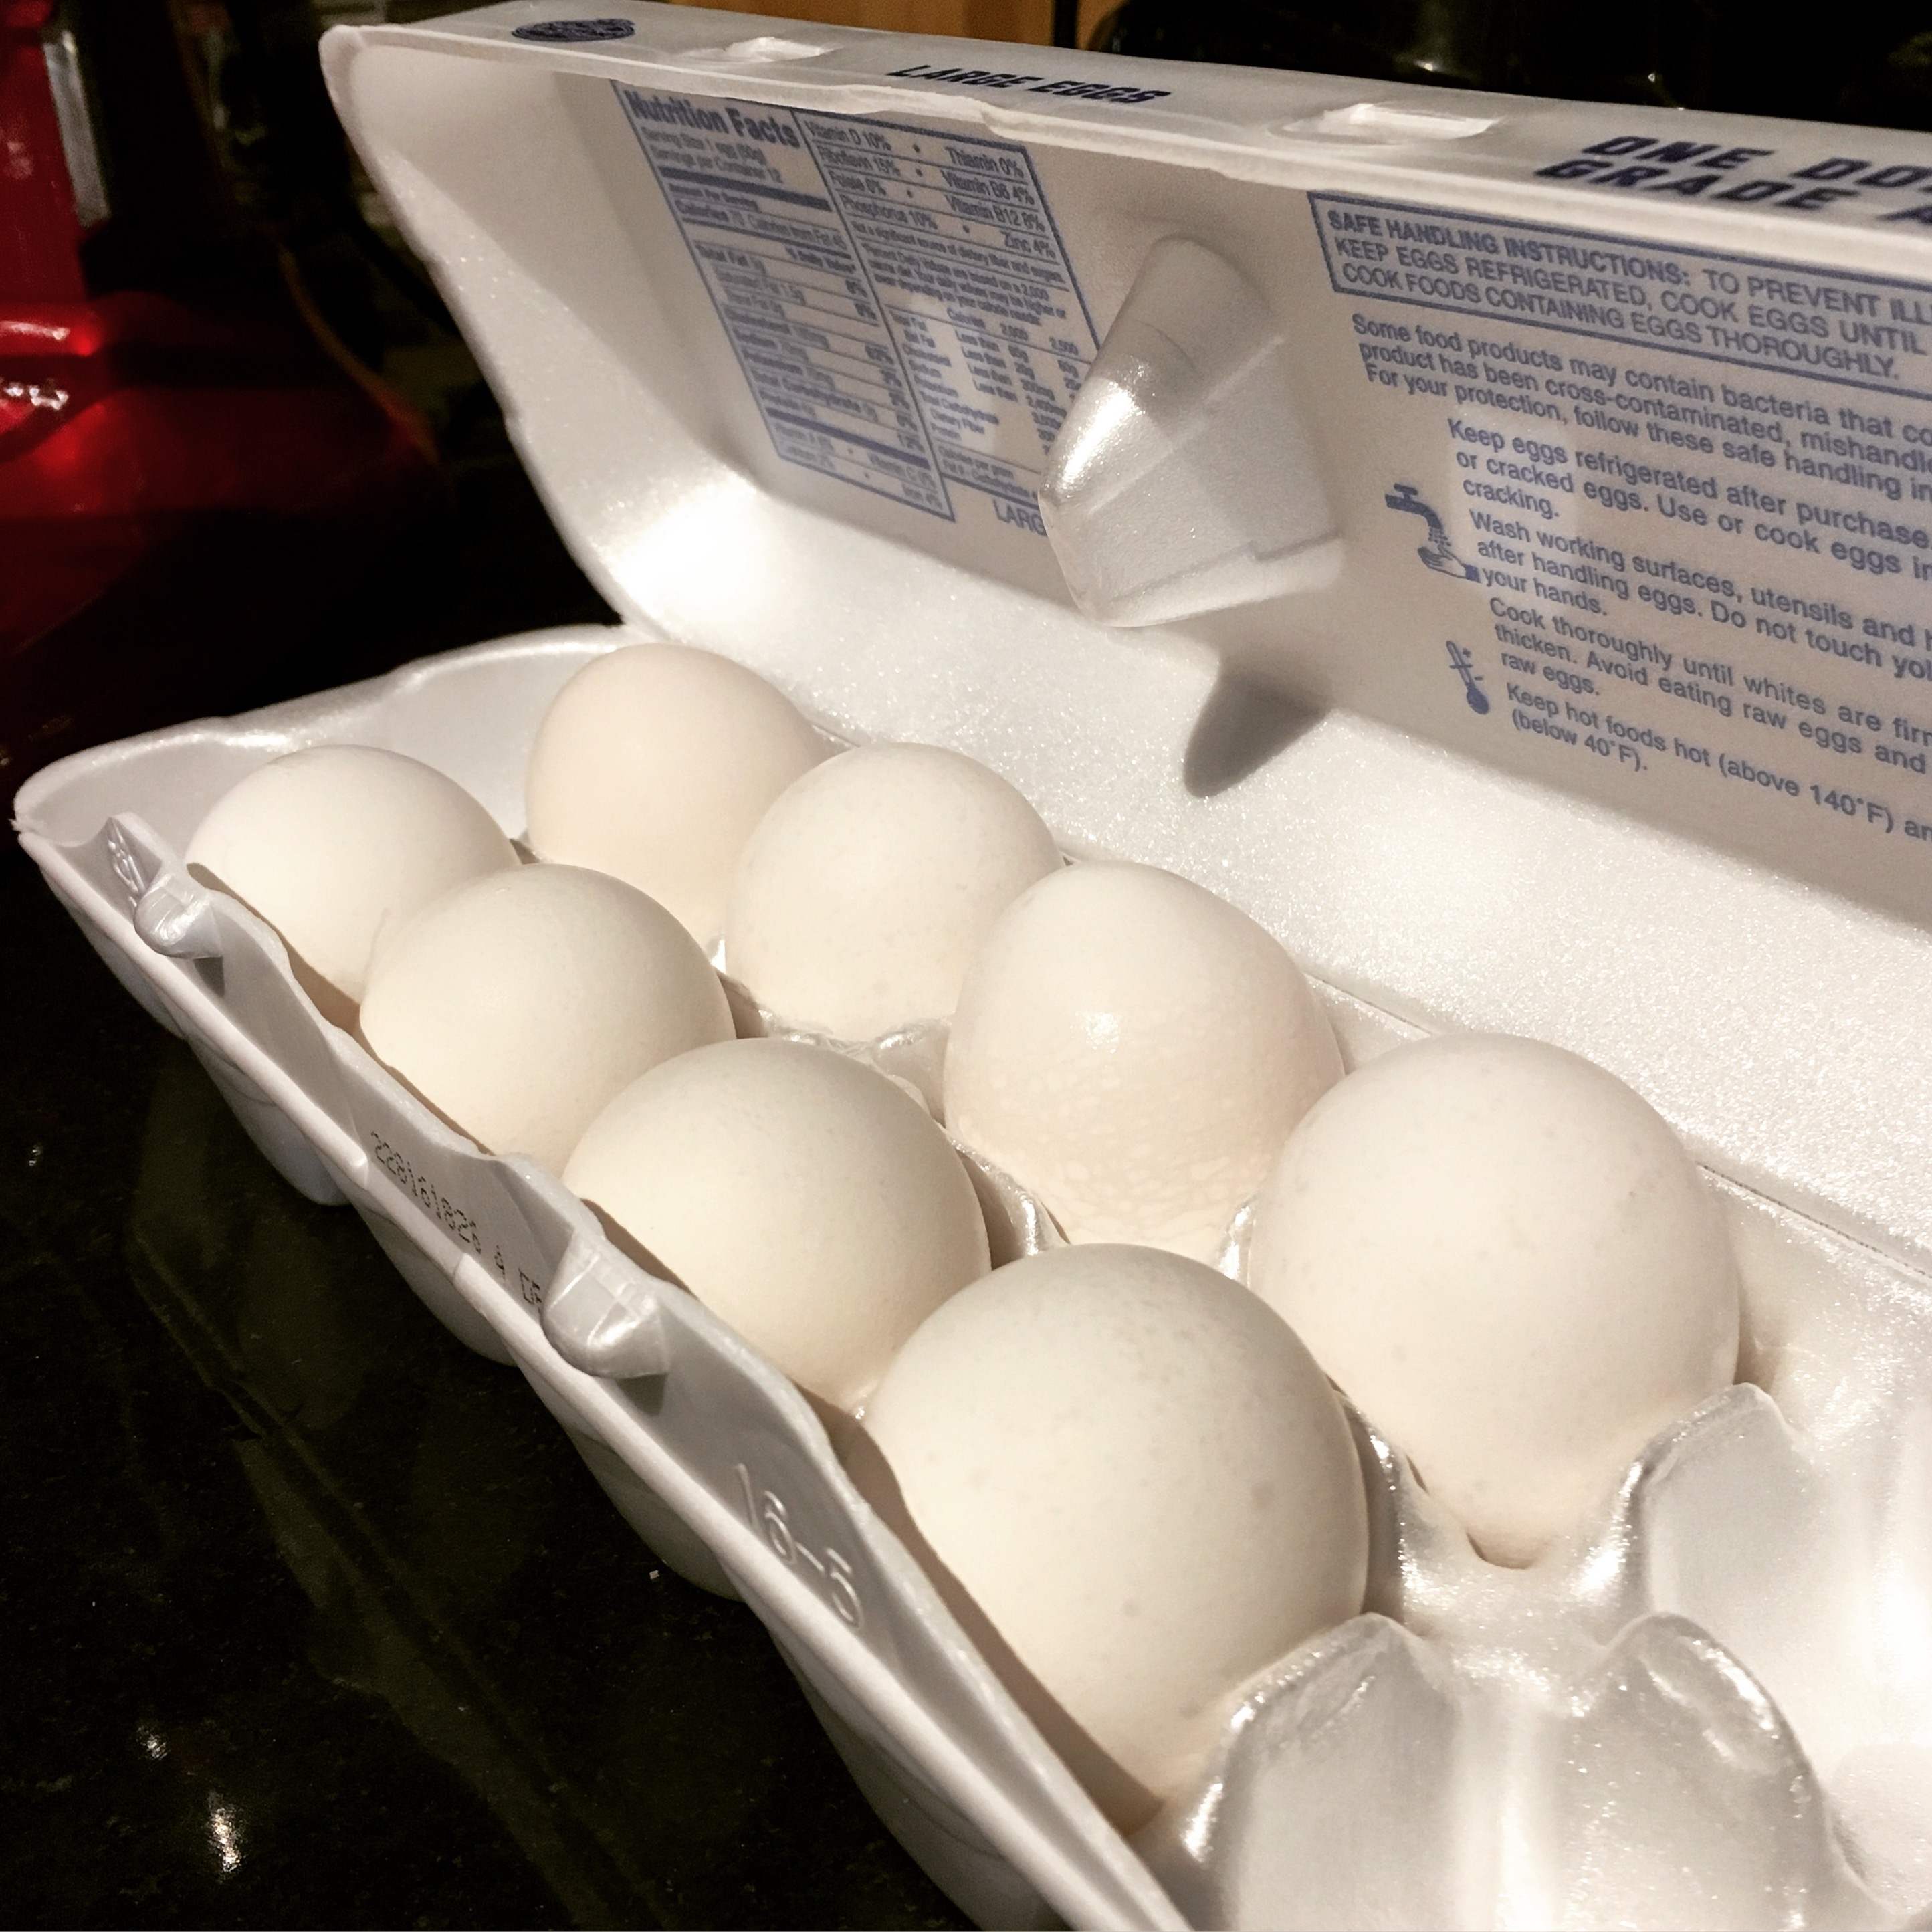
  • Chop the chocolate into small pieces and place it in a medium heat-safe bowl. Place the cream in a small saucepan over medium heat and bring it to a simmer.
  • Pour the hot cream over the chocolate and allow it to soften the chocolate for a minute. Use a whisk to blend the cream and chocolate together. Stir until you have a smooth, homogenous mixture. Press a piece of plastic wrap on top of the ganache and refrigerate it until it is firm enough to scoop, about 3 hours.
  • Scoop the ganache mixture into small balls, about 3/4" in diameter, and roll them into circles between your palms. If the ganache starts to melt and stick, use a little cocoa powder on your palms to prevent sticking.
  • Once they're rolled into balls, open 4 of the Pop Rocks envelopes and pour them into a small bowl. (Do not open them early, as the humidity in the air will start to make them sticky once the package is opened.) Roll a truffle ball in the Pop Rocks, then roll it briefly between your palms to embed the candy into the ganache. If the rocks don't stick, briefly roll the truffle between your palms to soften the chocolate, then roll it in Pop Rocks.
  • Set the coated truffles on a baking sheet covered with aluminum foil, and repeat with remaining truffles and Pop Rocks. At this point you want to dip the truffles as quickly as possible, to avoid exposing the Pop Rocks to air for an extended amount of time. However, the ganache might be a bit too soft for dipping, so I recommend putting the truffles in the freezer while preparing the dipping chocolate.
  • You don't want to freeze them, just chill them quickly for about 5-10 minutes. If you do not plan on dipping them immediately, do not put them in the freezer, just wrap them well with cling-wrap and refrigerate until you dip them.
  • While the truffles chill in the freezer, place the coating chocolate in a microwave-safe bowl and microwave until melted, stirring every 30 seconds to prevent overheating.
  • Once the coating chocolate is smooth and the truffles are firm enough to dip, it's time to dip the truffles. Use dipping tools or a fork to submerge a truffle in the chocolate. Remove it from the chocolate and tap the fork against the bowl several times to remove excess chocolate. Replace it on the foil-lined baking sheet, and, while the chocolate is still wet, sprinkle popping candy from the remaining envelope on top. Repeat with remaining truffles and chocolate.
  • Allow the chocolate to set in the refrigerator for 10-15 minutes. Store Exploding Truffles in an airtight container in the refrigerator, but for best taste and texture, serve at room temperature. Because the popping candy does absorb moisture, these are best eaten within 24 hours of making them, although they will still pop up to 3 days later.

Notes

From: The Spruce Eats

This post contains affiliate links. Full disclosure here.

Filed Under: book review, recipe Tagged With: candy, dessert, kid friendly, play, quick read, seasonal

Blood, Bones and Butter + Lamb Chops

October 26, 2016 by Megan Leave a Comment

I don’t just enjoy cooking and eating (and writing) about food, I also enjoy reading about it - whether it be literature, a piece of nonfiction or another blog. Most often in my case it comes in the form of a memoir, like my latest read, Blood, Bones and Butter: The Inadvertent Education of a Reluctant Chef. This was buried pretty deep on my to-read list (it’s been hanging out there since 2013) when Goodreads Deals brought it back to my attention. I finally added it to my collection and dug in.  

5170smcuhal

For me, nothing compares to extremely detailed descriptions of food that actually existed in real life, food that was often so life-changing that it has made its way to a book, tempting readers from the page. Gabrielle Hamilton’s memoir begins with one such powerful food memory.

She walks us through the preparation for her family’s annual lamb roast, which happened every spring when she was a child. Gabrielle describes her bohemian father, who brought her along to the butcher and later basted several whole lambs with a flavorful, dripping marinade over a crackling open fire. She talks lovingly of her now-estranged French mother who “instilled in [Gabrielle and her siblings] nothing but a total and unconditional pleasure in food and eating.”

Gabrielle didn’t set out to be a chef, but that’s exactly what she becomes. Out of desperation as a teenager, she begins working in a local kitchen, mostly learning on the job. A series of kitchens, a trip around the world and a Masters degree in writing later, she finds herself with an unexpected opportunity to open her own restaurant, and so she does.

Though full of descriptions that made my stomach rumble, Blood, Bones and Butter is about more than just cooking and kitchens. It’s about the family that Gabrielle came from, the family she works with, and the family she is beginning to make.

I kept coming back to the lamb roasts of her childhood. Lacking the backyard to roast an entire lamb, I found a recipe for French-inspired lamb chops and accompanied those with new potatoes and Brussels sprouts, both fresh from the farmers’ market this weekend.

The potato recipe calls for them to be peeled, and so I began there, knowing it could be a little time-consuming. It was, and it was also a little dangerous.

img_1577

Tiny potatoes leave little room to hold onto them while wielding a peeler. On top of which, once the skin is removed, they’re quite slippery. Potatoes were flying all over the counter! I eventually made it through (unscathed), cut them in half and put them in a small pot of water, covered by 1-inch.

Then I preheated the oven to 400 degrees F and began prepping the Brussels sprouts. Cut off the bottoms and remove the outer, dark green leaves, chopping the larger ones in half. (I prefer to keep small sprouts whole, but feel free to cut them in half as well.) Drizzle with olive oil and sprinkle with salt and freshly ground black pepper to taste. Toss on a foil-covered baking sheet until well-coated. They should roast for about 30-40 minutes, according to your preference. I recommend tossing/stirring about halfway through, so they brown more evenly. (Here they are pre-roasting.)

img_1579

With the sprouts in the oven, I began boiling the potatoes and focused on making the butter mixture for the lamb chops. Using a fork, I mixed together the softened butter, mustard, fresh thyme, lemon zest and salt and pepper. Once finished, I put the compound butter in the fridge to stay chilled. (Check the potatoes here and if they’re boiling, reduce heat to a simmer. Set timer for 10-12 minutes.)

img_1580

I readied my broiler pan, as directed, and placed the lamb chops on top. I seasoned generously with salt and pepper on both sides.

img_1581

With the broiler on high, I put them in for 8 minutes and set my attention to the shallot mixture for the potatoes. I minced a large shallot and mixed it with lemon juice and salt. I let this sit until the lamb chops were finished (about 15 minutes), before tossing with the chopped parsley and cooked potatoes.

img_1578

Having never made lamb chops, I found them easier to pull off than I initially expected. I also couldn’t get enough of the rich, buttery potatoes - those will definitely be going in the regular rotation!

img_1582

Happily, everything came together to make a fancier-than-usual weekend meal and the perfect addition to Scott’s birthday weekend. In a meal based on Blood, Bones and Butter, it became clear “you can never have too much butter.”*

Lamb Chops with Lemon, Thyme & Mustard Butter

  • Servings: 4
  • Time: 15 minutes
  • Print

From: Fine Cooking

Ingredients

  • 4 TBS unsalted butter, softened
  • 1 tsp whole-grain Dijon mustard
  • 1 tsp fresh thyme leaves, lightly chopped
  • ¾ tsp finely grated lemon zest
  • ⅛ tsp kosher salt; more as needed
  • ⅛ tsp freshly ground black pepper; more as needed
  • 8 lamb loin chops (1-1/2- to 2-inch-thick chops; about 3 lb.), trimmed

Directions

  1. In a small bowl, mash together the butter, mustard, thyme, zest, salt, and pepper until well combined. Refrigerate until ready to use.
  2. Position an oven rack 5 to 6 inches from the broiler element and heat the broiler to high. Line the bottom of a broiler pan with foil and replace the perforated top part of the pan. Arrange the chops on the pan. Season both sides of the lamb generously with salt and pepper.
  3. Broil until the first side is well browned, about 8 minutes. Turn the chops over with tongs and continue to broil until they’re well browned and the center is cooked to your liking, 3 to 5 minutes longer for medium rare (cut into a chop near the bone to check).
  4. Transfer the lamb to serving plates and top each chop with a dab of the flavored butter. Serve hot.

New Potatoes with Butter, Shallots & Chervil

  • Servings: 6
  • Time: 30 minutes
  • Print

Ingredients

  • 2 ¼ lb. small (2-inch) new potatoes, such as Yukon Gold or Yellow Finn, peeled and halved lengthwise (about 14 potatoes)
  • Kosher salt
  • 1 large shallot, minced (about 1/4 cup)
  • 2 tsp fresh lemon juice
  • 6 TBS unsalted butter, cut into 8 pieces, softened to room temperature
  • 2 TBS chopped fresh chervil or flat-leaf parsley
  • Freshly ground black pepper

Directions

  1. Put the potatoes in a medium pot, add water to cover by 1 inch, and season generously with about 2 TBS salt (the water should taste almost as salty as sea water).
  2. Bring to a boil, reduce the heat to a simmer, and gently cook the potatoes until tender when pierced with a fork, 10 to 12 minutes. (You want them to maintain their shape, so be careful not to overcook them.)
  3. Meanwhile, combine the shallot, lemon juice, and a pinch of salt in a small bowl, and let sit for at least 10 minutes (up to 2 hours).
  4. Drain the potatoes and return them to the warm pot. Immediately add the shallot mixture, butter, and chervil or parsley and gently stir to combine. Season with salt and pepper to taste and serve.


____

*From the wonderful movie, Julie & Julia - thank you, Nora Ephron

Filed Under: book review, recipe Tagged With: dinner, meat, memoir, nonfiction, veggies

Pumpkin: The Curious History of an American Icon + Pumpkin Pie

October 20, 2016 by Megan 2 Comments

Last fall, my cousin Nora and I campaigned hard for Pumpkin: The Curious History of an American Icon at our Good Reads & Good Eats book club - primarily so we could pair it with dinner at The Jolly Pumpkin. We were the only two who voted for it.

Still, the book stayed on my mind, and this fall, I decided to buy a used copy of it - primarily so I could make my very favorite dessert for the blog. Not that I didn’t want to learn the history and virtues of pumpkins; I just really wanted an excuse to make pumpkin pie.

411+6z2JfFL._SY344_BO1,204,203,200_.jpg

As the title promises, Pumpkin: The Curious History of an American Icon is chock-full of facts about pumpkins. In fact, as someone’s Grandma Jane wrote in the note that fell out when I opened my new-to-me copy of the book, it contains “absolutely more than you’ll ever remember about pumpkins!”

fullsizerender

Grandma Jane was right! There is way more information than I could ever remember, or that I ever needed to know. I’ll share a few:

In the very early days of farming, pumpkins and squash were basically interchangeable, in name as well as use. They were prized for their ability to grow abundantly in almost any condition and were often fed to livestock. Sweet pumpkin pie originated in the late eighteenth century and  was included in the first American cookbook by Amelia Simmons. By the time manufactured products became widespread, canned pumpkin made using fresh pumpkins in the kitchen seem like “an old-fashioned novelty.” And, even though canning made it possible to eat pumpkin year-round, Americans continued to prefer to eat it in the fall, particularly as part of the Thanksgiving meal.   

That’s probably why I was so looking forward to making pumpkin pie. The fall harvest has arrived - just look at all of the beautiful pumpkins and squash on display at Eastern Market this past Saturday!

I dug up my trusty pumpkin pie recipe, which I love because it’s well-seasoned. There’s nothing worse than a pumpkin pie that tastes like straight-out-of-the-can pumpkin. Though it’s called Scratch Pumpkin Pie, I’ve never actually made it from scratch because I’m way too impatient to spend 4 hours prepping and baking a pie before it’s ready to eat, and this time was no different.

For the crust, though, I shirked my usual go-to (the store bought frozen kind) and decided to go the homemade route. Despite my fear of additional prep time, the homemade crust really didn’t add more than 15 minutes or so. Plus, it tasted better. I used a recipe from one my very first cookbooks (courtesy of my mother, while I was in college), Anyone Can Cook.

I stirred the flour and salt together and then used my pastry blender to cut in the shortening. I filled a small prep bowl with cold water and grabbed a fork and tablespoon to begin moistening the dough.

img_1549

I probably ended up using closer to 6 or 7 tablespoons, but the recipe suggests 4-5 tablespoons. Use your best judgement - it shouldn’t be wet but should definitely be well-moistened.

I formed the dough into a ball and flattened that into a thick disk before rolling it out. As directed, I used the rolling pin to help lift the dough into the pie dish. I trimmed the edges where needed, folded any overhang underneath, and pressed the dough to fit the scalloped pattern of my dish.

When not using fresh pumpkin, the prep for the custard filling is easy. I use only 1 can of pumpkin puree (15 ounces), then add in the sugar, salt, spices and eggs. Once that’s combined, stir in the can of evaporated milk. I usually just use a wooden spoon, but you could use a whisk or hand-mixer if so desired.

img_1551

If you’re using store bought frozen pie crust, this makes too much filling. Fill the pie to almost the top of the crust; put any leftover filling in a small oven-safe bowl to bake separately in a water bath like a custard. (This is an excellent way to test your filling before you serve it, though I’ve never had any complaints with this recipe!) You’ll also need to watch the cook-time on the smaller portion, as it may not take as long as the whole pie.  

Because I used homemade crust in a larger pie dish (10-inch), this amount filled the pie up perfectly. I covered the edges in foil, so they didn’t brown too quickly and put it in the oven for about 80 minutes. (If using a smaller pie dish or a frozen crust, cook-time will be closer to the original recipe at an hour.)

img_1552

I did want some color on my crust, so I removed the foil with about 20 minutes left. You’ll know the pie is done when a knife or cake tester comes out clean. Allow it to cool, and enjoy!

img_1553

Pumpkin Pie

  • Servings: 6 to 8
  • Time: 1 hour, 10 minutes to 1½ hours
  • Print


Adapted from: Cheri B’s Scratch Pumpkin Pie, Food.com

Ingredients

  • 1 15-ounce can pumpkin puree
  • 1 12-ounce can evaporated milk
  • 3 eggs
  • ¾ cup sugar
  • ½ teaspoon salt
  • 1½ teaspoons ground cinnamon
  • 1 teaspoon ground ginger
  • ½ teaspoon nutmeg
  • ½ teaspoon ground cloves
  • 1 pie shell, 9-inch deep dish up to 10-inch (homemade or store bought)

Directions

  1. In medium bowl, add pumpkin puree, sugar, salt, spices, eggs. Mix until combined, then carefully add evaporated milk and stir.
  2. Pour into pie shell, foil edges, and place on foiled, cookie sheet and bake 350°F for 50-60 minutes. Give knife clean test. If not clean, bake longer. [Larger pie dishes will require longer baking times. My 10-inch pie baked for 80 minutes.]
  3. If using a smaller pie crust/dish, pour leftover pumpkin pie mix into a greased oven-safe dish (up to 1-quart) and bake in a water bath like custard. [This may take less time to bake than the pie.]

Pastry for Single-Crust Pie

  • Servings: 1 pie crust
  • Time: 10-15 minutes
  • Print

From Better Homes & Gardens Anyone Can Cook (Book 20, published in 2007), page 470

Ingredients

  • 1¼ cups all-purpose flour
  • ¼ teaspoon salt
  • ⅓ cup shortening
  • 4-5 tablespoons of cold water

Directions

  1. In a medium bowl, stir together all-purpose flour and salt. Using a pastry blender, cut in shortening until pieces are pea-sized.
  2. Sprinkle 1 tablespoon of cold water over part of the flour mixture, gently tossing with a fork. Push moistened dough to one side of the bowl. Repeat moistening flour mixture, using 1 tablespoon at a time, until all the flour mixture is moistened.
  3. Form pastry into a ball.
  4. On a lightly floured surface, roll dough into a circle about 12 inches in diameter. [Or larger, if needed to properly fill/cover your pie dish. Mine was closer to 15 inches.]
  5. Wrap pastry circle around the rolling pin to transfer it; unroll circle into a 9-inch pie plate. [Mine was a 10-inch dish.] Ease into pie plate without stretching it.
  6. Trim pastry ½ inch beyond edge of plate. Fold under extra pastry. Crimp edges as desired.

Filed Under: book review, recipe Tagged With: baking, dessert, nonfiction, seasonal

The Couple Next Door + Coffee-Glazed Banana Bread

October 15, 2016 by Megan Leave a Comment

From serious memoir to childhood favorite to suspenseful thriller - my last three books have been a little sporadic. The Couple Next Door is certainly more adult than The Secret Garden, but secrets still abound. After a shocking ending to a dinner party with (not surprisingly) the couple next door, Marco and Anne’s seemingly perfect life begins to unravel.

51qI2RzRlzL._SY344_BO1,204,203,200_.jpg

Shari Lapena’s The Couple Next Door was fast-paced, with new revelations at nearly every turn of the page. With a cast of characters that included an inappropriately flirtatious neighbor, a stay-at-home mom with a questionable past, and a power-hungry stepfather, no one’s motives were clear but everyone was suspect.

As the plot twisted here and turned there, food didn’t play much of a role. Despite starting with a dinner party, nothing much was mentioned aside from coffee. Uncertainty breeds sleeplessness, and the best cure for that is caffeine. In one instance, Lapena points out that the two main characters were “both living mostly on coffee and despair.”

In an effort to impart some comfort on a decidedly uncomforting storyline, I opted to make banana bread - with a coffee glaze. Comfort meets caffeine, thanks to this recipe from A Latte Food.

Like most quick breads, this one is pretty easy to get together. The really hard part is waiting for the baking (and cooling!) before you can finally eat it.

I had already-brewed coffee ready to go, but if you don’t, I suggest starting that process before you make the bread. I began by mashing up the bananas, which is always fun to do first thing in the morning. (Make sure your bananas are ripe. See them pre-mashed below; and mashed, with Beta looking on, wondering why she can’t have some of her favorite fruit too.)

I creamed the softened butter together with the sugars, adding the eggs and vanilla extract once the mixture was light and fluffy. To the wet ingredients, I slowly incorporated the flour, salt and baking soda. Once all was well-combined, I added the mashed bananas, stirring until just mixed.

Once in the prepared loaf pan, I let it bake in the oven for about an hour. With a few minutes to spare before the bread came out of the oven, I began the glaze so I could pour it over the loaf before it cooled completely. I whisked together the powdered sugar, brewed coffee and vanilla extract to form a light coffee-colored glaze.

I drizzled it over the still-cooling banana bread, with a plate underneath to catch any sugar-y drips.

img_1497img_1499

For those of you who don’t know me, I have a confession to make: I don’t like coffee. (Rory Gilmore would be horrified, I know.) I do, however, love banana bread. I thought the glaze tasted exactly like coffee, but Scott - who loves coffee - thought it tasted more like sugar. When I brought it to work, consensus all around was that it tasted good. If you actually like coffee, and prefer a more coffee-flavored glaze, I would suggest adding the espresso powder.

Or just enjoy it with a cup of coffee.

img_1498

Coffee-Glazed Banana Bread

  • Servings: 1 loaf
  • Time: 1 hour, 20 minutes
  • Print

Very slightly adapted from: A Latte Food

Ingredients

    Bread

  • ½ cup butter, softened
  • ½ cup sugar
  • ⅓ cup brown sugar
  • 2 eggs
  • 2 cups all-purpose flour
  • 1 tsp baking soda
  • ¼ tsp salt
  • 3 to 4 medium or large bananas
  • 1½ tsp vanilla extract
  • Coffee Glaze

  • 2 TBS strong coffee, brewed
  • 1 cup powdered sugar
  • ½ tsp vanilla extract
  • ¼ tsp espresso powder (optional)

Directions

    Bread

  1. Preheat the oven to 350. Grease a 9x5 loaf pan.
  2. In a small bowl, mash bananas. Set aside.
  3. In a large bowl, cream butter sugar, and brown sugar together until light and fluffy.
  4. Add in the eggs, one at a time, beating well after each addition. Add in vanilla extract, and mix.
  5. Sift together the flour, baking soda, and salt in a separate bowl. Slowly incorporate the dry ingredients into the wet ingredients, and stir until just combined.
  6. Add in mashed bananas, and mix until combined. Pour into prepared loaf pan.
  7. Bake for about 60 minutes, or until a cake tester comes out clean with just a few moist crumbs stuck to it.
  8. Allow to cool for 10 minutes. Move to a wire cooling rack.
  9. Glaze

  10. While bread is cooling, mix together powdered sugar, vanilla extract, espresso powder (if using), and 2 TBS brewed coffee. If the glaze is thicker than your desired preference, add in additional brewed coffee. [I used 2 TBS of coffee and no espresso powder and it was a perfect thickness; according to many, however, the flavor was not enough like coffee. Additional liquid may be required if adding the powder, but taste as you go to ensure a flavor you like.]
  11. Pour the glaze evenly over the loaf. Allow the glaze to harden completely before cutting into slices.

Filed Under: book review, recipe Tagged With: baking, breakfast, fiction, snack, suspense

The Secret Garden + Baked Oatmeal

October 10, 2016 by Megan 1 Comment

I’ve watched the movie The Secret Garden countless times since I was a child (it came out when I was about 7), but until now, I had never read the book. While looking for a “palate cleanser” after my last read, I was delighted to find this on my shelf. I immediately dove in.

secret-garden

A children’s classic, The Secret Garden has been around since 1911. Orphaned in India, Mary Lennox is brought to live at her reclusive uncle’s mansion in England. She is pale and very thin and has a sour disposition. With some prodding from Martha, the housemaid who brings her meals, Mary begins exploring the grounds. She learns of a secret garden that no one has set foot in for ten years and becomes determined to find it.

[Read more...] about The Secret Garden + Baked Oatmeal

Filed Under: book review, recipe Tagged With: breakfast, children's, fiction

Reading Lolita in Tehran + Cream Puffs

October 6, 2016 by Megan 3 Comments

It probably comes as no surprise that I usually adore books* about bookstores, book clubs, book nerds...you get the idea. I find the characters relatable, occasionally discover new insights into books I love, and best case scenario: I walk away with a list of books to read.

book_lolita.jpg

In Azar Nafisi’s memoir, Reading Lolita in Tehran, the books the women read were Western classics - forbidden at the time in Iran. Nafisi, a former professor, and seven of her most like-minded female students meet every Thursday morning to discuss these novels over pastries and tea. It seemed like a book I was destined to love.

Each of four sections is focused on the works of a specific author (Nabokov, Fitzgerald, James and Austen), and their works of fiction were used as a lens through which we learn about Nafisi’s life and her students’ lives. I thought it was a little unbalanced and too literature-focused, particularly in the beginning; I was left wanting more about what was going in Tehran and the lives of the women. Unfortunately, I found it hard to get through - maybe it was because it was written by a literature teacher, but at times I felt like I was back in English class, struggling to get through a required reading assignment.

During the first meeting, Nafisi suggests the “calming distraction of cream puffs and tea” to break the ice. For my recipe, I turned to Julia Child’s Mastering the Art of French Cooking. I had made cream puffs only once during culinary school about five years ago, so I was hoping it would be like riding a bike. With my brand new standing mixer** at the ready and Julia’s words of encouragement, I was up to the task. (Really, has anyone read her cookbook? It’s so cheery that it makes any recipe seem nearly impossible to fail.)

Anyway, I began by putting milk on to boil and beating the sugar and eggs until they turned pale yellow and reached the ribbon stage. Here it is just getting started:

img_1377

I beat in the flour and then carefully dripped in the boiling milk while continuing to beat the mixture, which is where the standing mixer came in handy. After it was well-combined, I transferred to a saucepan on the stovetop and whisked until it became custard-y in consistency. I removed it from the heat and added the vanilla and butter. In an attempt to cool it off, I scraped it into a bowl, covered with saran wrap (so it wouldn’t form a “skin”) and put it in the fridge.

While that cooled, I began prep for the pâte à choux, or puff paste. It is a very light dough that is used to make not only cream puffs but many kinds of puff pastries including eclairs, profiteroles and beignets. In culinary school, we were warned that it takes great attention because the number of eggs you need is not constant. It can vary based on humidity or even the size of each egg. It’s important to not use too few eggs as this can cause the dough not to puff up and form the small caverns inside that are a hallmark of any sort of puff pastry.

I doubled Julia’s recipe, so I started with 8.

img_1378

In the end, I only needed 8. This is something you can only really tell by the look (though if I hadn’t been to culinary school, this wouldn’t have been as clear to me). This website does a good job of explaining how to tell if it’s ready, and I’ve included an excerpt below:

How to Tell if Choux Paste Is Ready

This fact means that it is more important to know how the finished paste should look and feel than it is to just follow the recipe. Finished choux paste should be soft, smooth, and be able to be piped.

If you pull the paddle attachment of an electric mixer out of the paste, a "tongue" should appear at the tip of the paddle.

Similarly, if you gently scoop up a bit of the paste with a rubber spatula and let it fall back into the bowl, a "v" of paste should be left behind on the spatula.

Be sure to mix thoroughly between adding in each egg and then check the paste before adding the next one. The mixture will appear separated and gloppy in between additions, but will come back into a smooth paste as you mix.

If by the second-to-last egg, the paste is already looking smooth and forms a "v" as it falls back into the bowl, it's OK not to add the last egg. Feel like your paste is borderline and just needs a little more egg? Whisk one up and only pour in half!

Before I scooped it into my pastry bag, it looked like this:

img_1379

I didn’t take a picture of my pre-baked choux mounds, but I’ll mention that it’s important that you simply hold the tip to the baking sheet and let the paste gently round up and out until it’s the size you’re looking for. (The size is entirely up to you - puffs can be large, small or medium.) If you attempt to swirl the paste into a circular shape, it can cause your puffs to sort of snail-out and flatten as they bake. (Don’t worry, though, they still taste great! It happened to a few of mine, though they’re not pictured.)

Once all of the puffs were cooled, I used a smaller pastry tip to fill them with the previously-made pastry cream. If I had to do it again, I probably would’ve made the lighter cream that Julia suggested (see notes below), but I was still quite happy with the end result.

img_1380

Creme Patissiere (Pastry Cream)

  • Servings: makes about 2 ½ cups
  • Time: 20 minutes
  • Print


From: Julia Child's Mastering the Art of French Cooking (Anniversary Edition)

Ingredients

  • 1 cup granulated sugar
  • 5 egg yolks
  • ½ cup flour, scooped and leveled
  • 2 cups boiling milk
  • 1 tablespoon unsalted butter
  • 1 ½ tablespoons vanilla extract

Directions

  1. Put the milk in a saucepan on the stove and begin to bring to a boil.
  2. Gradually beat the sugar into the egg yolks and continue beating for 2-3 minutes until the mixture is pale yellow and forms the ribbon.
  3. Beat in the flour.
  4. Beating the yolk mixture, gradually pour on the boiling milk in a thin stream of droplets.
  5. Pour into a heavy-bottomed 2 ½ quart enameled saucepan and set over moderately high heat. Stir with whisk, reach all over bottom of pan. As sauce comes to a boil it will get lumpy, but will smooth out as you beat it. When boil is reached, beat over moderately low heat for 2-3 minutes to cook the flour. Be careful custard does not scorch in bottom of pan.
  6. Remove from heat and beat in the butter, then the vanilla extract. If custard is not used immediately, clean it off the sides of the pan, and dot top of custard with softened butter to prevent a skin from forming over the surface. It will keep for a week under refrigeration, or may be frozen. [I recommend refrigerating in a bowl covered with cling wrap pushed tightly over the top of the custard, prior to filling the puff shells.]

Pâte à Choux (Cream Puff Paste)

  • Servings: 36-40 small dessert puffs
  • Time: 1 hour
  • Print

Ingredients

  • 1 cup water
  • 6 tablespoons or ¾ stick unsalted butter, cut into pieces
  • 1 pinch salt
  • 1 teaspoon sugar
  • ⅛ teaspoon pepper [I didn’t use this in mine]
  • 1 pinch nutmeg
  • ¾ cup all-purpose flour, scooped and leveled
  • 4 large eggs
  • 1 egg, beaten with ½ teaspoon water in a small bowl

Directions

  1. In a 1 ½ quart heavy-bottomed saucepan, bring water to a boil with the butter and seasonings and boil slowly until the butter has melted. Meanwhile measure out the flour.
  2. Remove from heat and immediately pour in all the flour at once. Beat vigorously with a wooden spatula or spoon for several seconds to blend thoroughly. Then beat over moderately high heat for 1-2 minutes until mixture leaves the sides of the pan and the spoon, forms a mass, and begins to film the bottom of the pan.
  3. Remove saucepan from heat and make a well in the center of the paste with your spoon. [Here I transferred the mass to my standing mixer with paddle attachment and added the eggs one at a time while on a setting between 2 and 4.] Immediately break an egg into the center of the well. Beat it into the paste for several seconds until it has absorbed. Continue with the rest of the eggs, beating them in one by one. The third and fourth eggs will be absorbed more slowly. Beat for a moment more to be sure all is well blended and smooth.
  4. Preheat the oven to 425 degrees F and butter [or lightly spray] 2 baking sheets.
  5. Using a rubber spatula, fill a pastry bag with a ½-inch round tube opening with the warm choux paste. [If you do not have a pastry bag, drop the paste with a spoon.]
  6. Squeeze the paste onto the baking sheets, making circular mounds about 1-inch in diameter and ½-inch high. Space the mounds 2-inches apart.
  7. Dip your pastry brush into the beaten egg mixture and flatten each puff very slightly with a side of the brush. Avoid dripping egg down the puff and onto the baking sheet, as this will prevent the puff from rising.
  8. Set the sheets in the upper and lower thirds of your preheated, 425-degree oven, and bake for about 20 minutes. The puffs are done when they have doubled in size, are a golden brown, and firm and crusty to the touch. Remove them from the oven and pierce the side of each puff with a sharp knife. Then set in the turned-off oven and leave the door ajar for 10 minutes. Cool the puffs on a rack.

I filled my shells with the pastry cream recipe provided above, as I did when I was taught to make these in culinary school. The same filling and dough can also be used for eclairs, though instead of baking in mounds, you bake in longer lines.

Julia Child suggests using a Creme Saint-Honore, which is the recipe above with beaten egg whites and additional salt and sugar. It produces a fluffier filling for the cream puffs, if desired. The exact recipe can be found on page 591 of the Anniversary Edition of her cookbook.


_________

*Some that I would recommend include: The Jane Austen Book Club, The Storied Life of A.J. Fikry and Anne of Green Gables

**Once again, a very enthusiastic thank you to Scott’s mom for the thoughtful gift!

Filed Under: book review, recipe Tagged With: baking, dessert, memoir, nonfiction

  • « Go to Previous Page
  • Go to page 1
  • Interim pages omitted …
  • Go to page 33
  • Go to page 34
  • Go to page 35
  • Go to page 36
  • Go to page 37
  • Go to Next Page »

Primary Sidebar

About

The Hungry Bookworm brings together literature and food. Megan has an insatiable appetite for both.

As C.S. Lewis said, “Eating and reading are two pleasures that combine admirably.” Enjoy!

  • Bloglovin
  • Facebook
  • Instagram
  • Pinterest

Subscribe

Don't miss out on bookish content, exclusive giveaways, and of course, book club-friendly recipes. Get notified of new posts via email.

Join 2879 subscribers.

Search for Ingredients, Recipes, or Books

Recent Posts

  • Subscriber Box Review: Literati Book Club - Roxane Gay's Audacious Book Club
  • Arsenic and Adobo + Ensaymada
  • Review of The Kindred Spirits Supper Club
  • Kids Edition: Sometimes I Like to Curl Up in a Ball + "Dirt" Pudding Cups
  • The Midnight Library + Broccoli and Ricotta Toast

Goodreads

Tags

5 ingredients or less appetizer baking book club book list book of the month books about food bread breakfast brunch chicken contemporary cookies cultural dessert dinner dinner party dystopia easy prep favorites fiction fruit historical fiction holiday ice cream linkup lunch meat memoir mini review nonfiction pasta quick read reading challenge science fiction seafood show us your books side dish snack soup TBR list thriller top ten tuesday vegetarian veggies

Archives

Other Great Book Blogs

Literary Quicksand
Never Enough Novels
Death by Tsundoku
Professional Reader 25 Book Reviews
Privacy & Cookies: This site uses cookies. By continuing to use this website, you agree to their use.
To find out more, including how to control cookies, see here: Cookie Policy

Footer Widget Header

Megan’s Instagram

Copyright © 2025 · Hungry Bookworm