• Skip to primary navigation
  • Skip to main content
  • Skip to primary sidebar
  • Home
  • Reviews
    • Book Index
    • Fiction
    • Non-Fiction
    • Top Ten Tuesdays
The Hungry Bookworm

The Hungry Bookworm

reading + eating

  • Recipes
    • Drinks
    • Snacks, Sides & Apps
    • Main Dishes
    • Desserts
    • 5 Ingredients or Less
  • About
    • Meet Megan
    • How I Rate
    • Review Policy
    • Contact

snack

My True Love Gave to Me + Chex Mix

December 19, 2017 by Megan 1 Comment

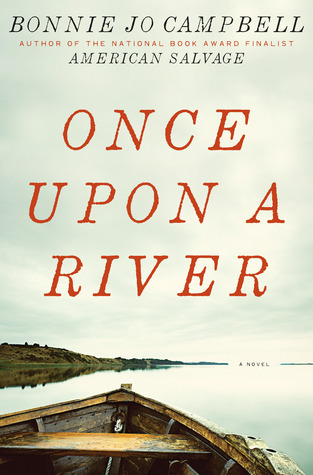
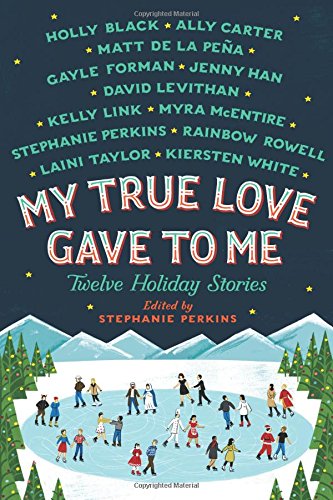
It's the most wonderful time of the year! With Christmas and New Years just around the corner, if you're looking for that special holiday-themed book, I recommend seeking out the YA short story collection My True Love Gave to Me. I don’t often read short stories (I’m not sure why), but this was exactly what I was looking for. It was quick with a wide range of stories, perfect to put me in a holiday mood.

I didn’t love every story in the collection but there were several that made picking this book up worth it. The first one I enjoyed was “Angels in the Snow” by Matt de la Peña which follows Shy, who’s at NYU on scholarship and cat-sitting for a professor because he can’t afford to go home for Christmas. A blizzard strands him in the apartment building with a neighbor, Haley, and the story can’t help but turn romantic. Still, it remains realistic and ends up being heartwarming. I also liked Jenny Han’s “Polaris is Where You’ll Find Me” about Santa’s adopted daughter, a human living among the elves. It was like the beginnings of a less goofy version of Elf, had we hung out with Buddy the Elf as a teenager.

“It’s a Yuletide Miracle, Charlie Brown” by Stephanie Perkins was probably my favorite. Marigold Moon lives across the street from a Christmas tree lot and it’s there that she heard the perfect voice for a video she’s producing; it happens to belong to a boy named North. In trying to get him to agree to narrate her video, Marigold walks away with a Christmas tree and ends the night a lot more hopeful than she started it.

Gayle Forman’s “What the Hell Have You Done, Sophie Roth?” was also charming. Sophie is stuck alone at a school where no one else is celebrating the last day of Hanukkah. As she tries to fit in, she stumbles into fellow outcast Russell and they embark on a memorable evening together. The surprisingly titled “Beer Buckets and Baby Jesus” by Myra McEntire reminded me a bit of one of my favorite novels, A Walk to Remember. Bad boy Vaughn’s antics land him a job helping out with the church nativity play, whether he wants to or not. He brings a unique point of view to the task, something both the pastor and his daughter are thankful for. Though both of these were a bit cliche, the combination of a little romance alongside a little something deeper made them satisfying reads.

Lastly, “Welcome to Christmas, CA” by Kiersten White about a Californian town that takes the meaning of its name to a whole other level. The story’s originality was an unexpected breath of fresh air in this collection. A diner in the middle-of-nowhere isn’t the most likely setting for a holiday story, but White managed to infuse it with plenty of holiday spirit and it definitely left me feeling Christmas-y!

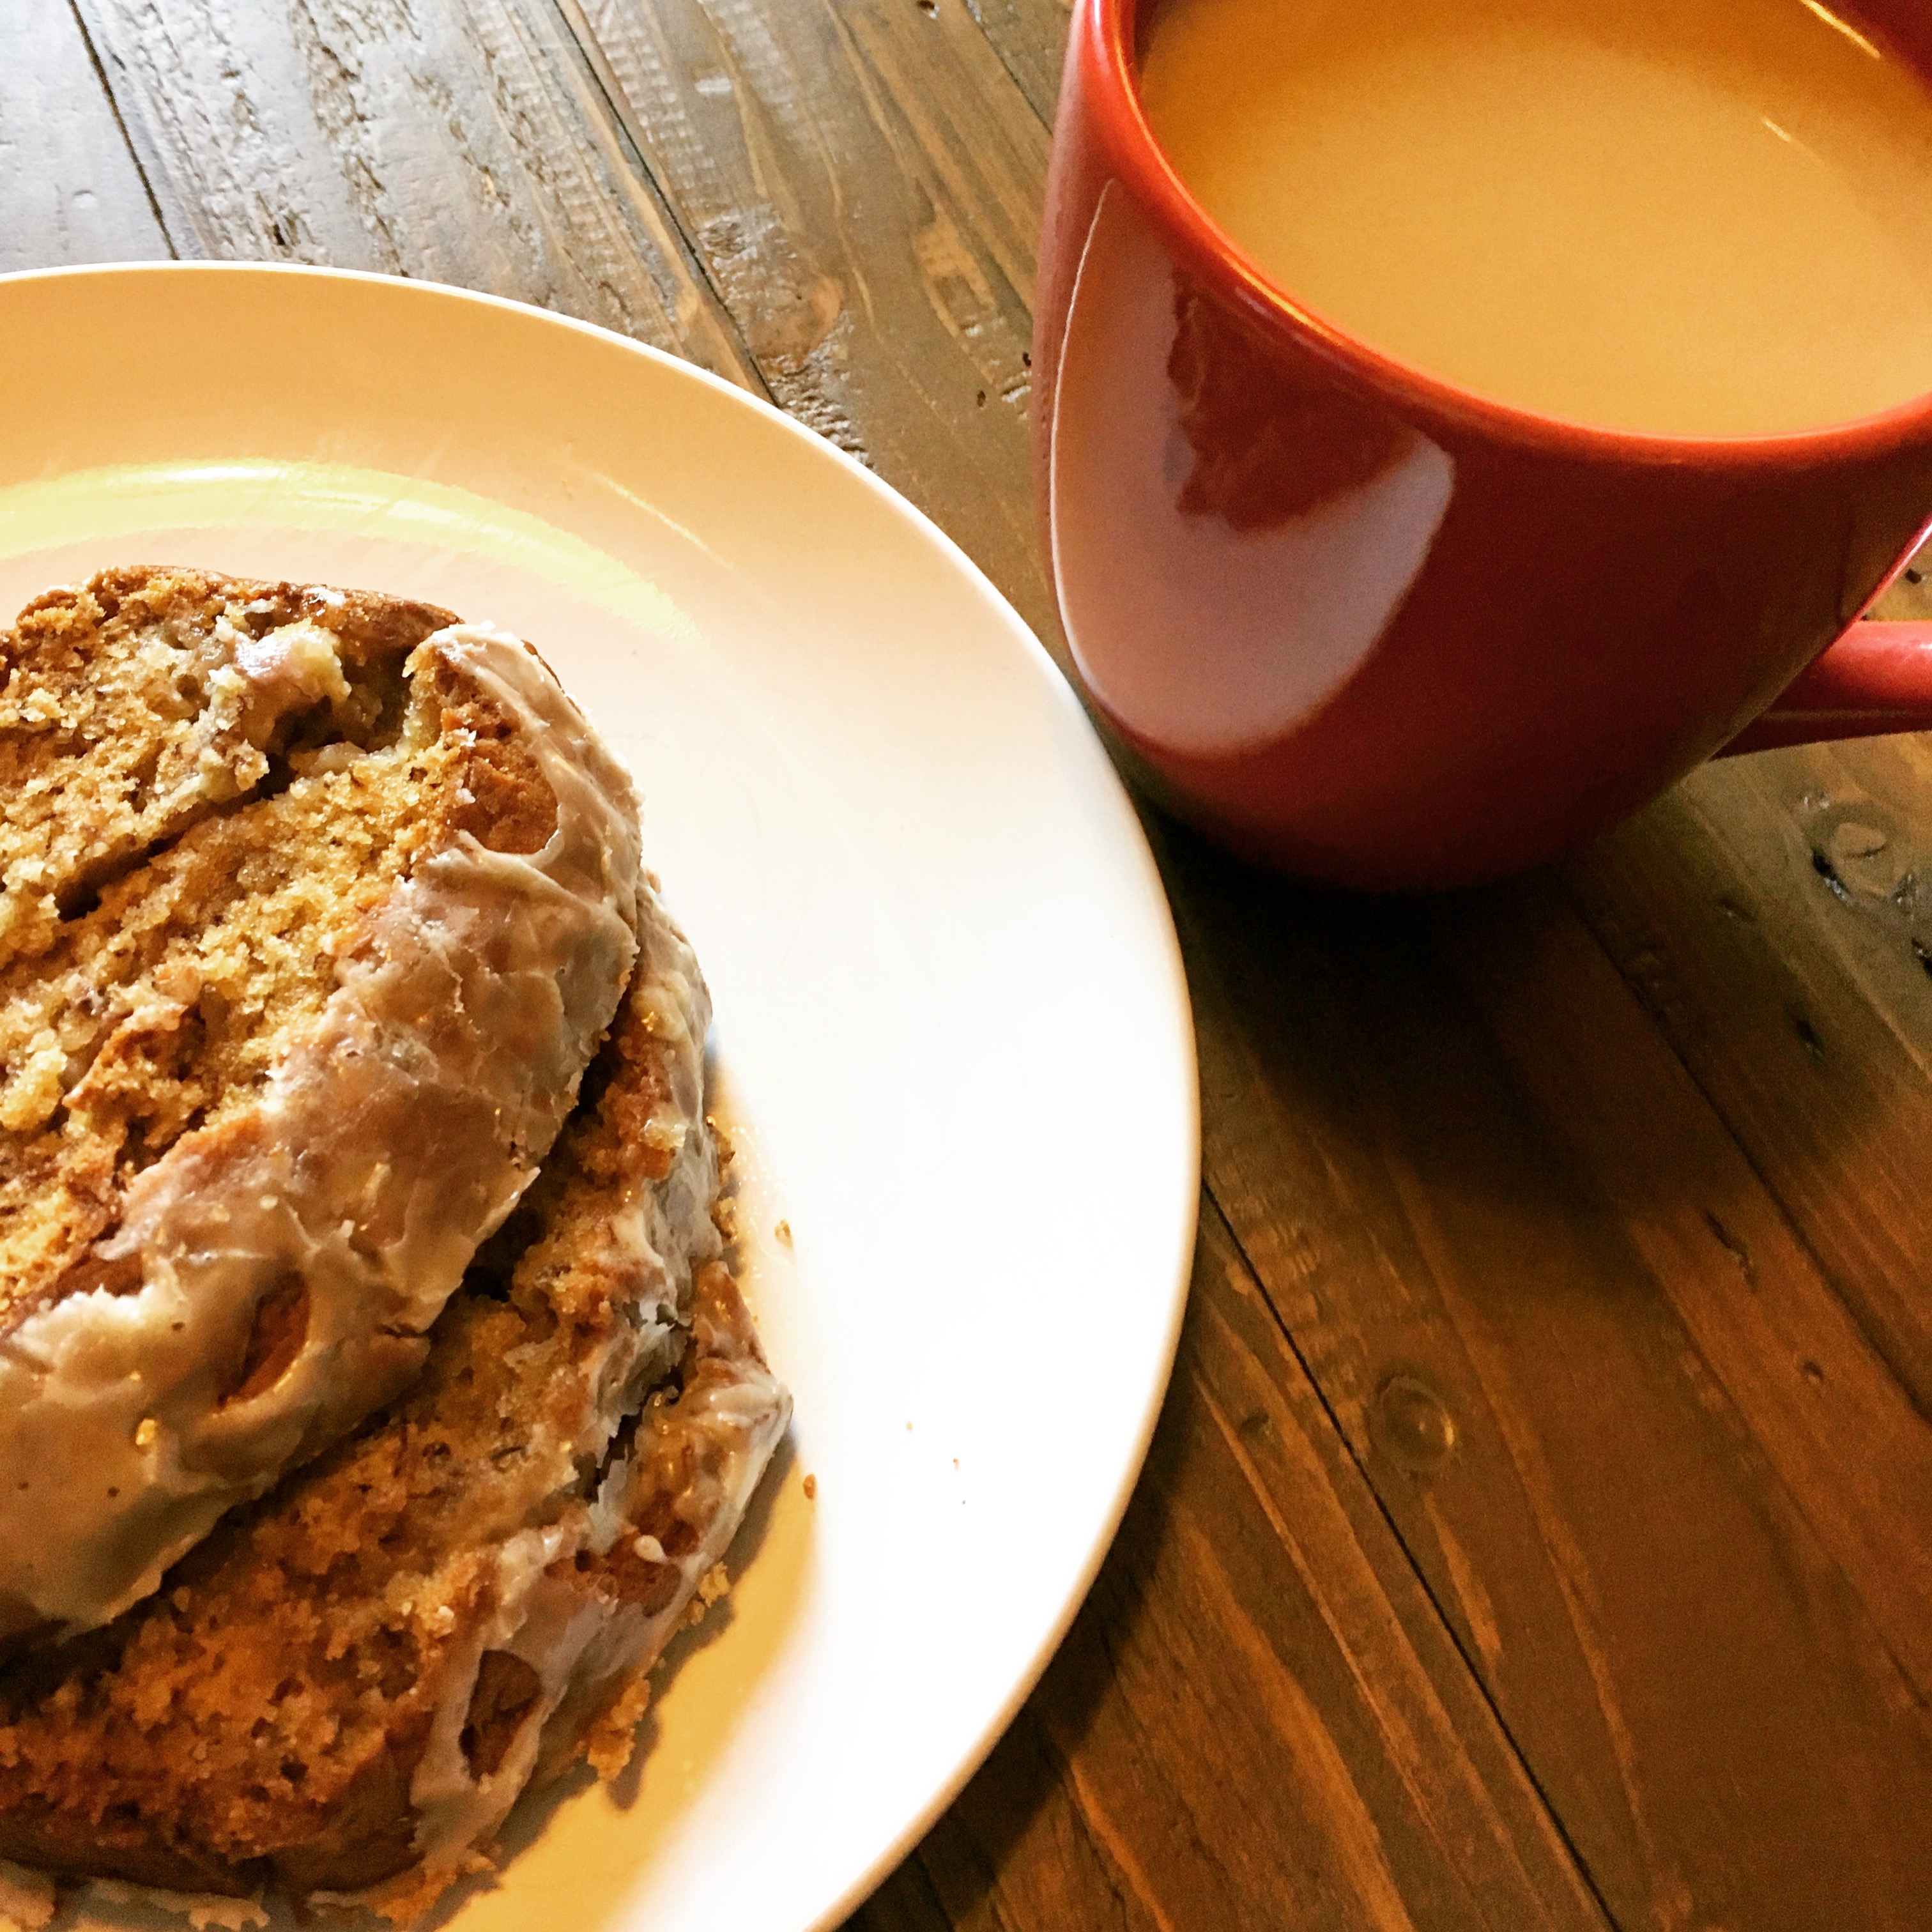
I didn’t make a recipe today but wanted instead to share a recipe my mom’s been making for years. She makes it every year around Christmas, often giving it as an extra gift to friends and family. It always tastes delicious when you want a snack on New Years Eve, if it lasts that long. I thought it would work well with this short story collection because it’s mentioned on literally the first page in the first story:

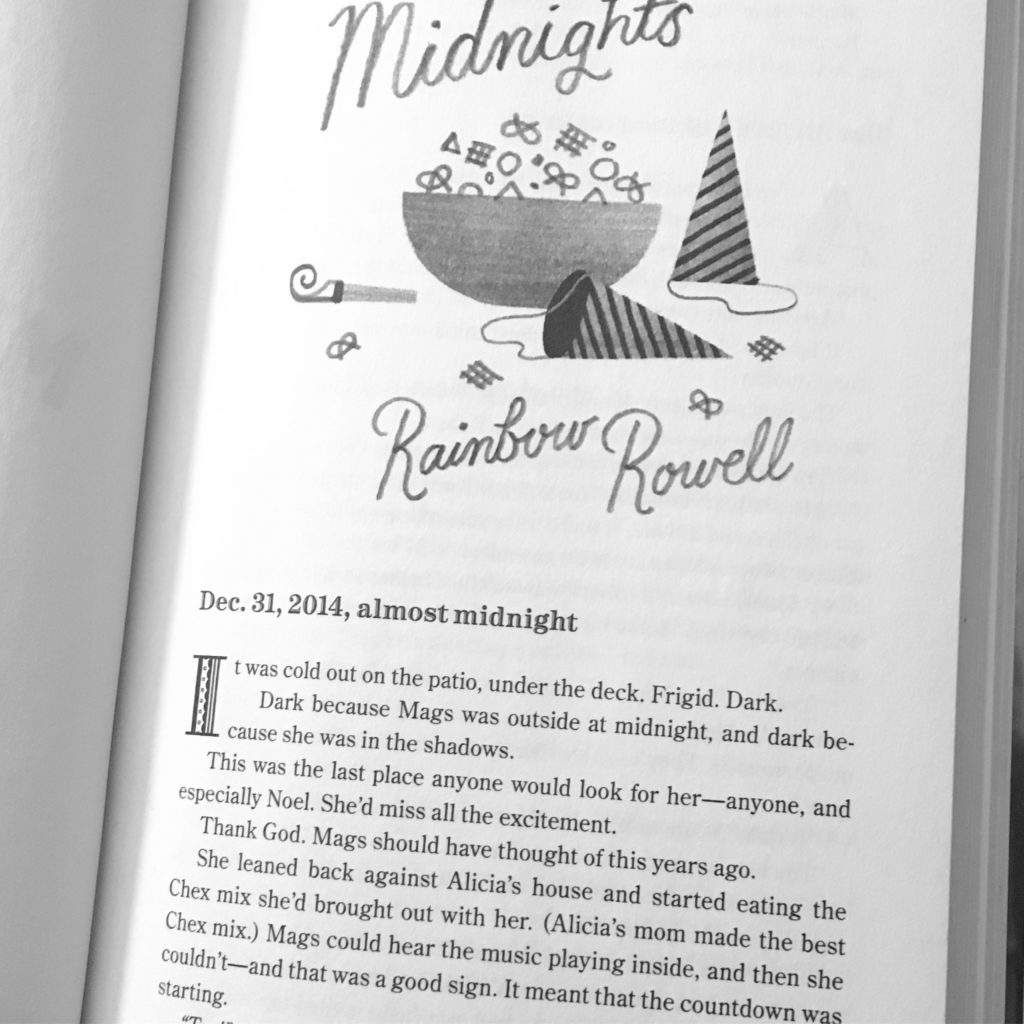
Now, no offense, to Alicia’s mom - who I’m sure makes a fine Chex Mix (certainly better than the store bought bagged stuff) - but I like to think my mom makes the best Chex Mix. My mom claims her recipe is straight from Chex cereal itself, but when I tried looking it up, I couldn’t find one that matched exactly.

So, without further ado, here is my mom’s version of Chex Mix… the actual best Chex Mix.
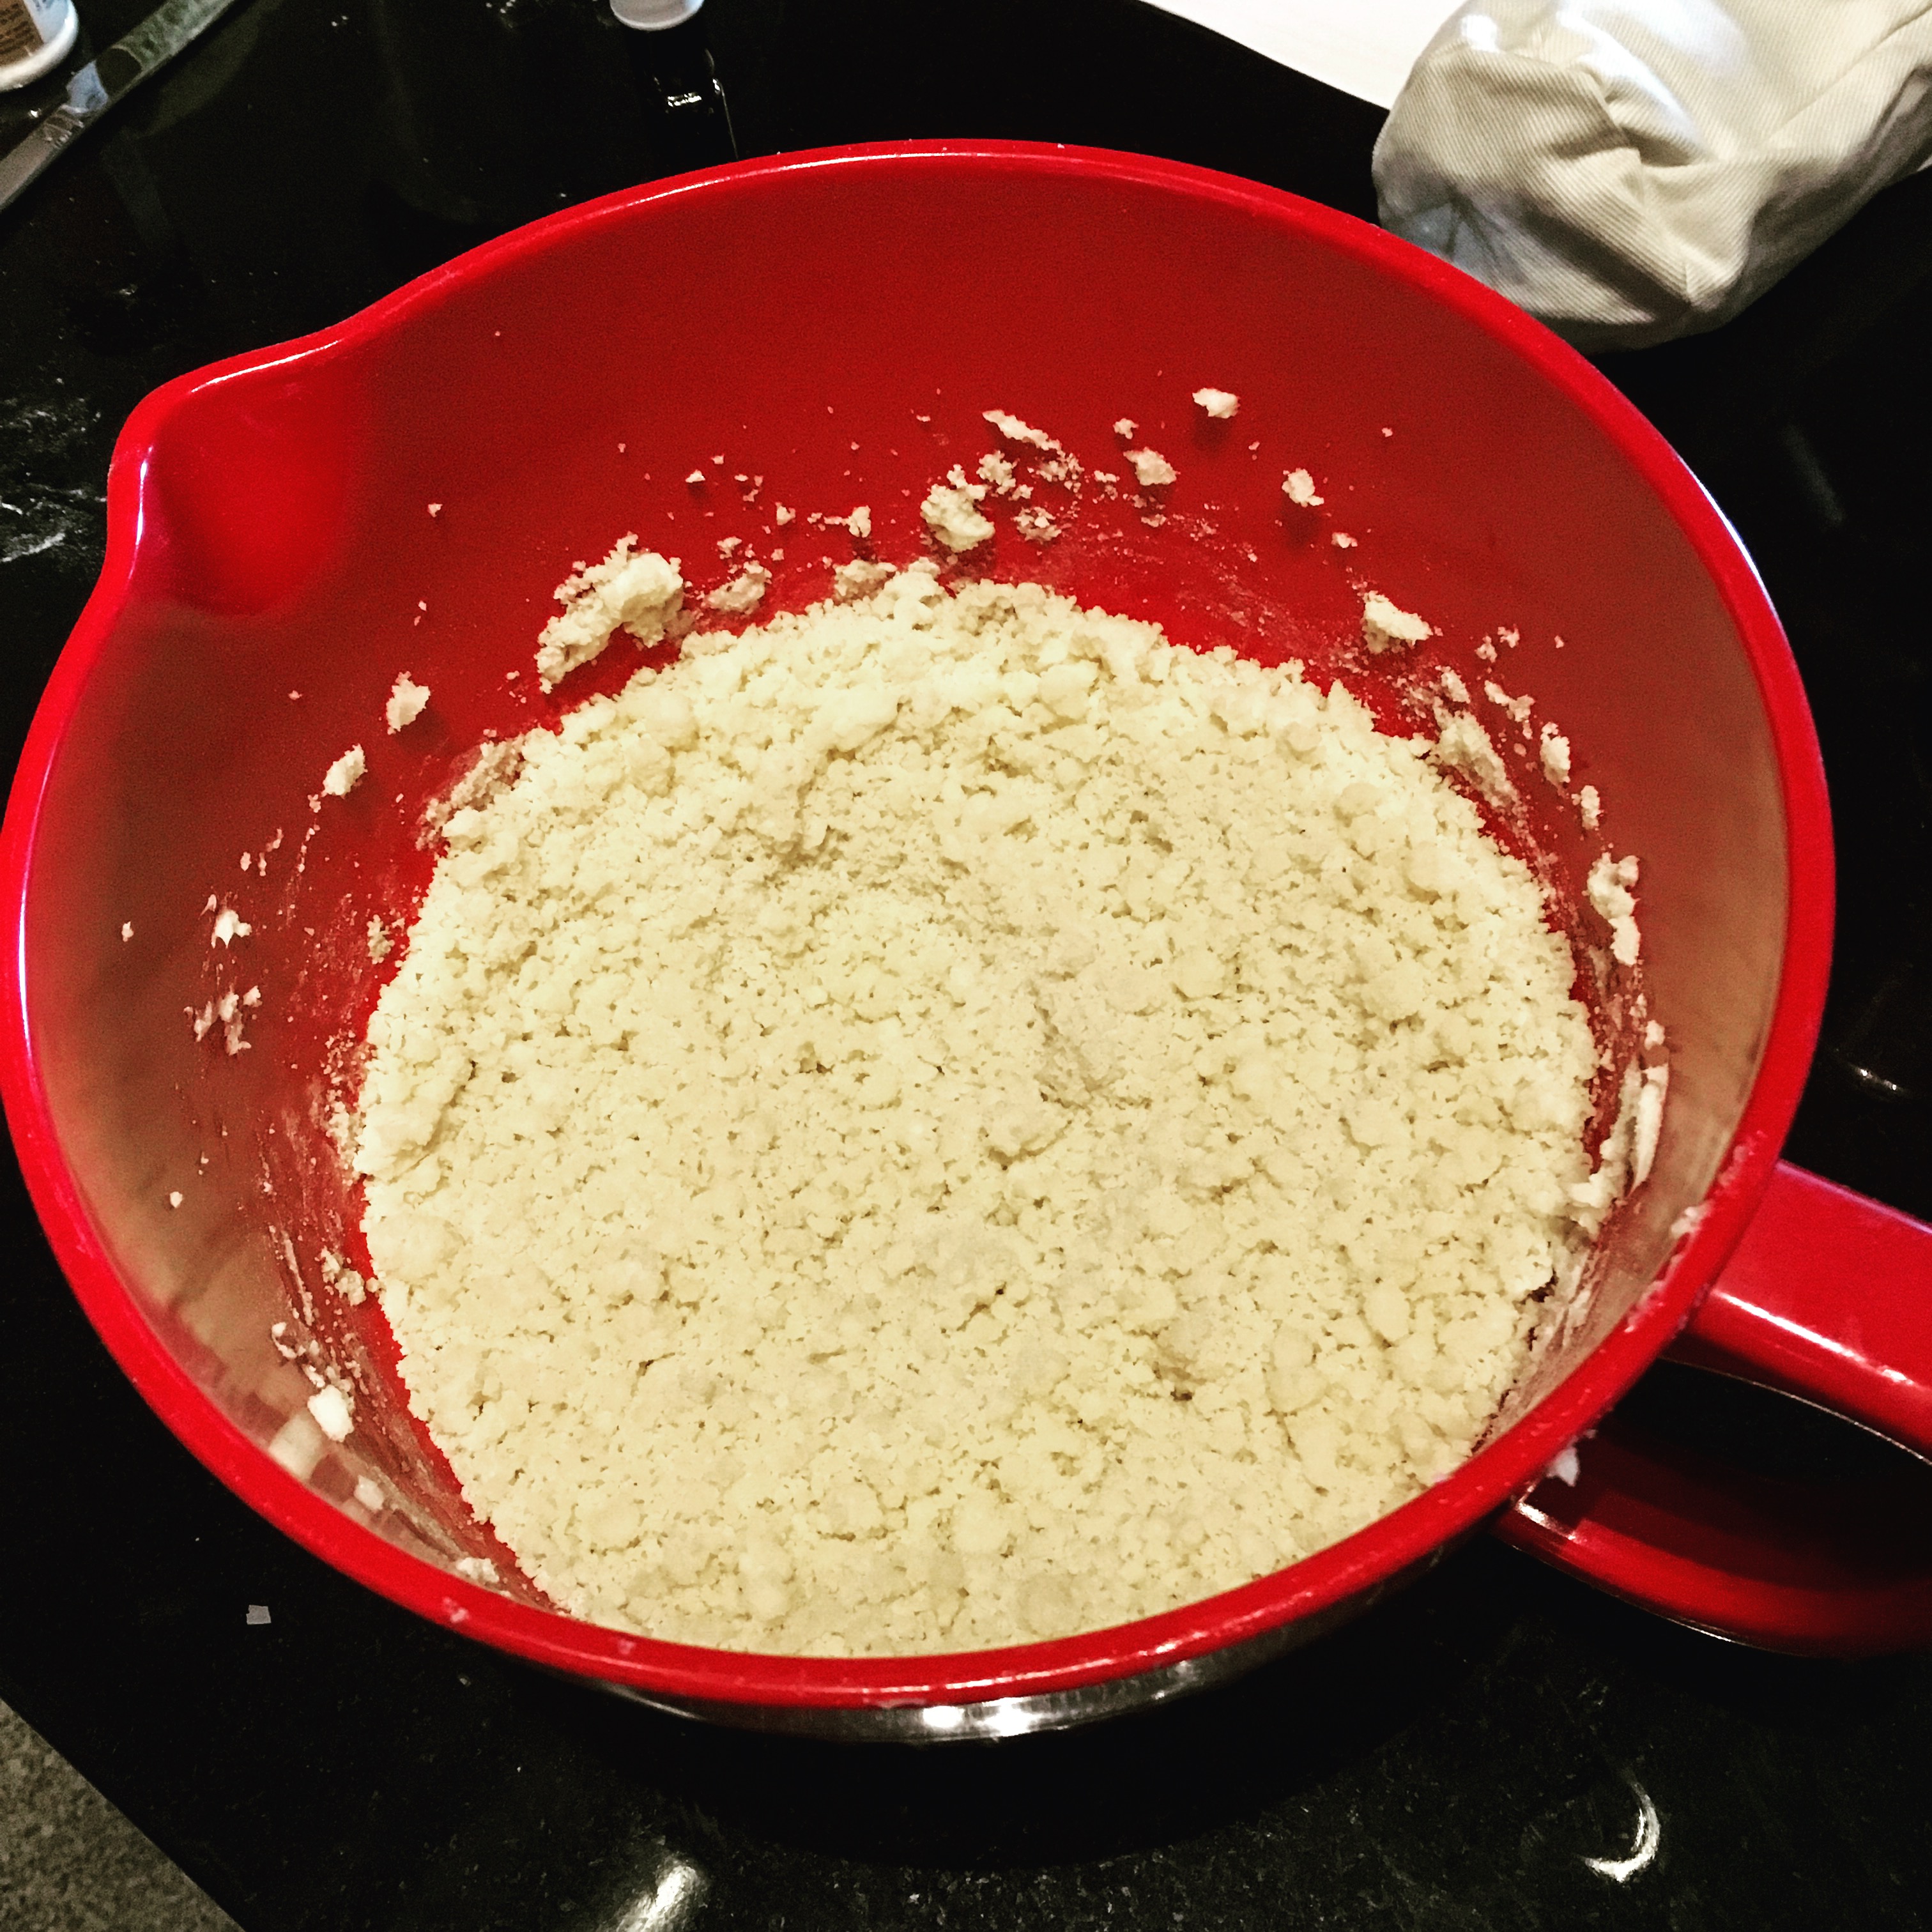
Chex Party Mix

  • Servings: 20 (½ cup servings)
  • Time: 1 hour, 15 minutes
  • Print

Ingredients

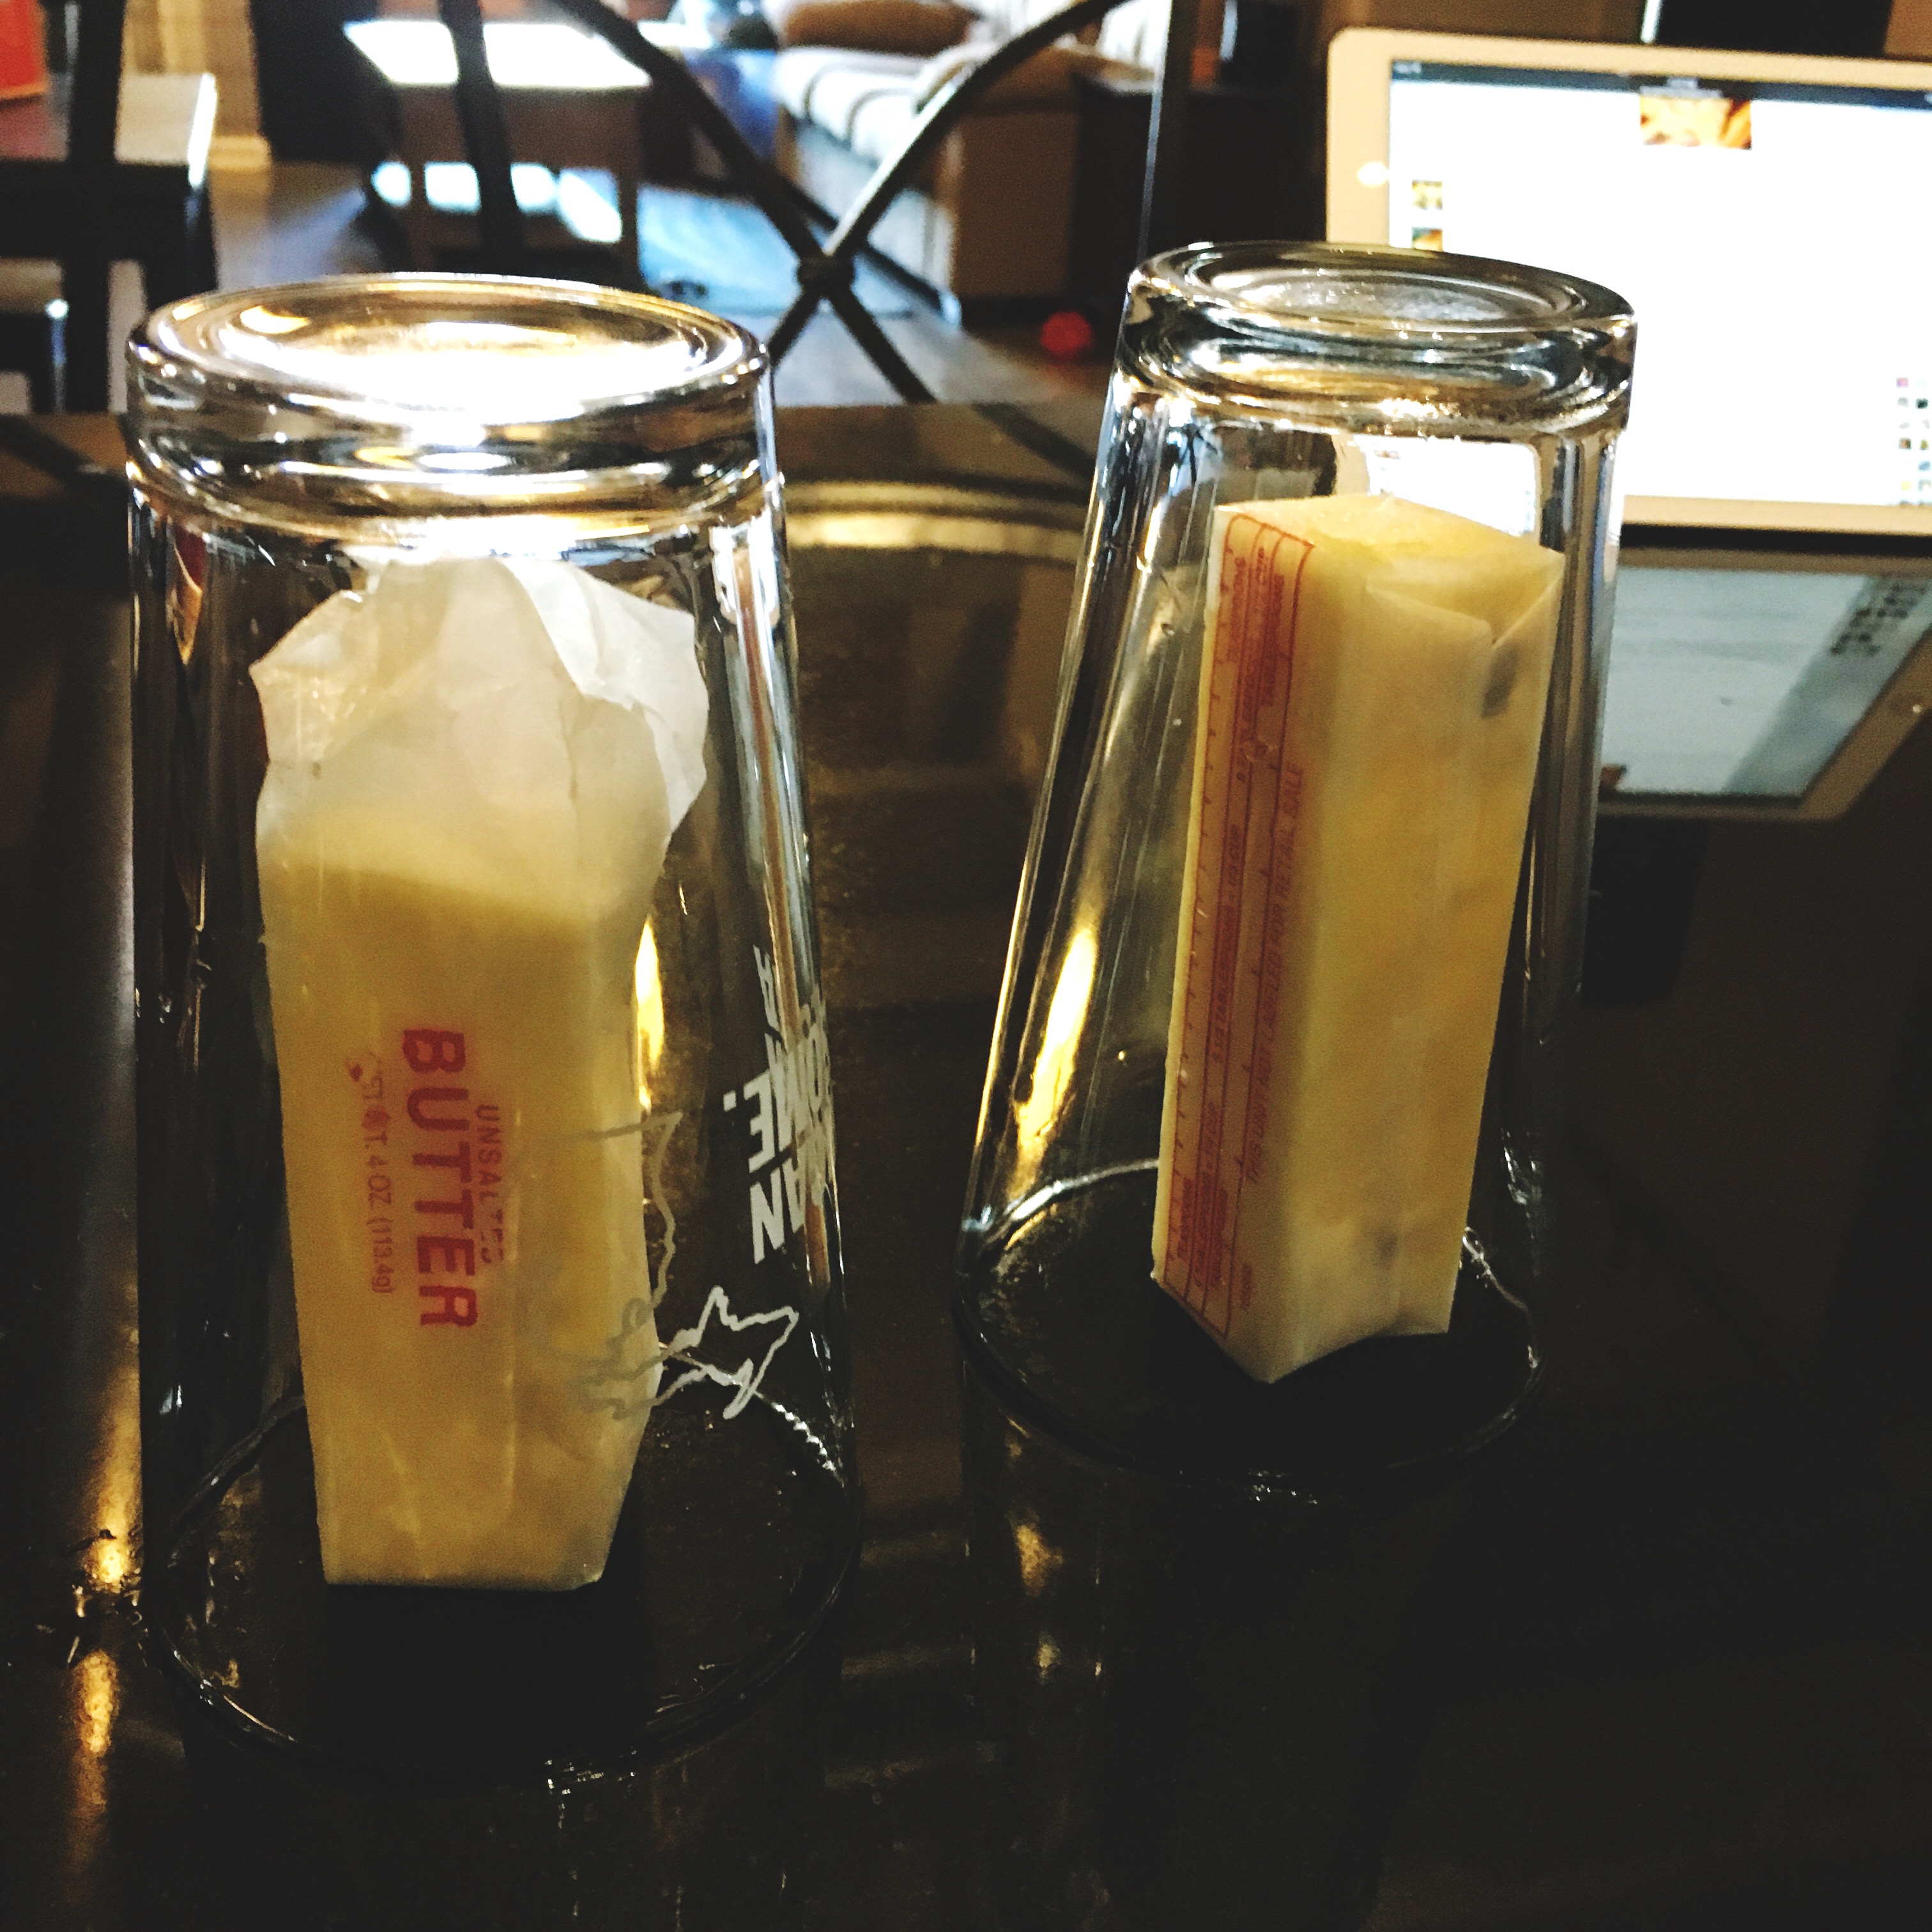
  • ½ cup (1 stick) butter
  • 1¼ teaspoon seasoned salt
  • 4½ teaspoons Worcestershire sauce
  • 2⅔ cups corn Chex
  • 2⅔ cups wheat Chex
  • 2⅔ cups rice Chex
  • 1 cup salted mixed nuts
  • 1 cup pretzel rods

Directions

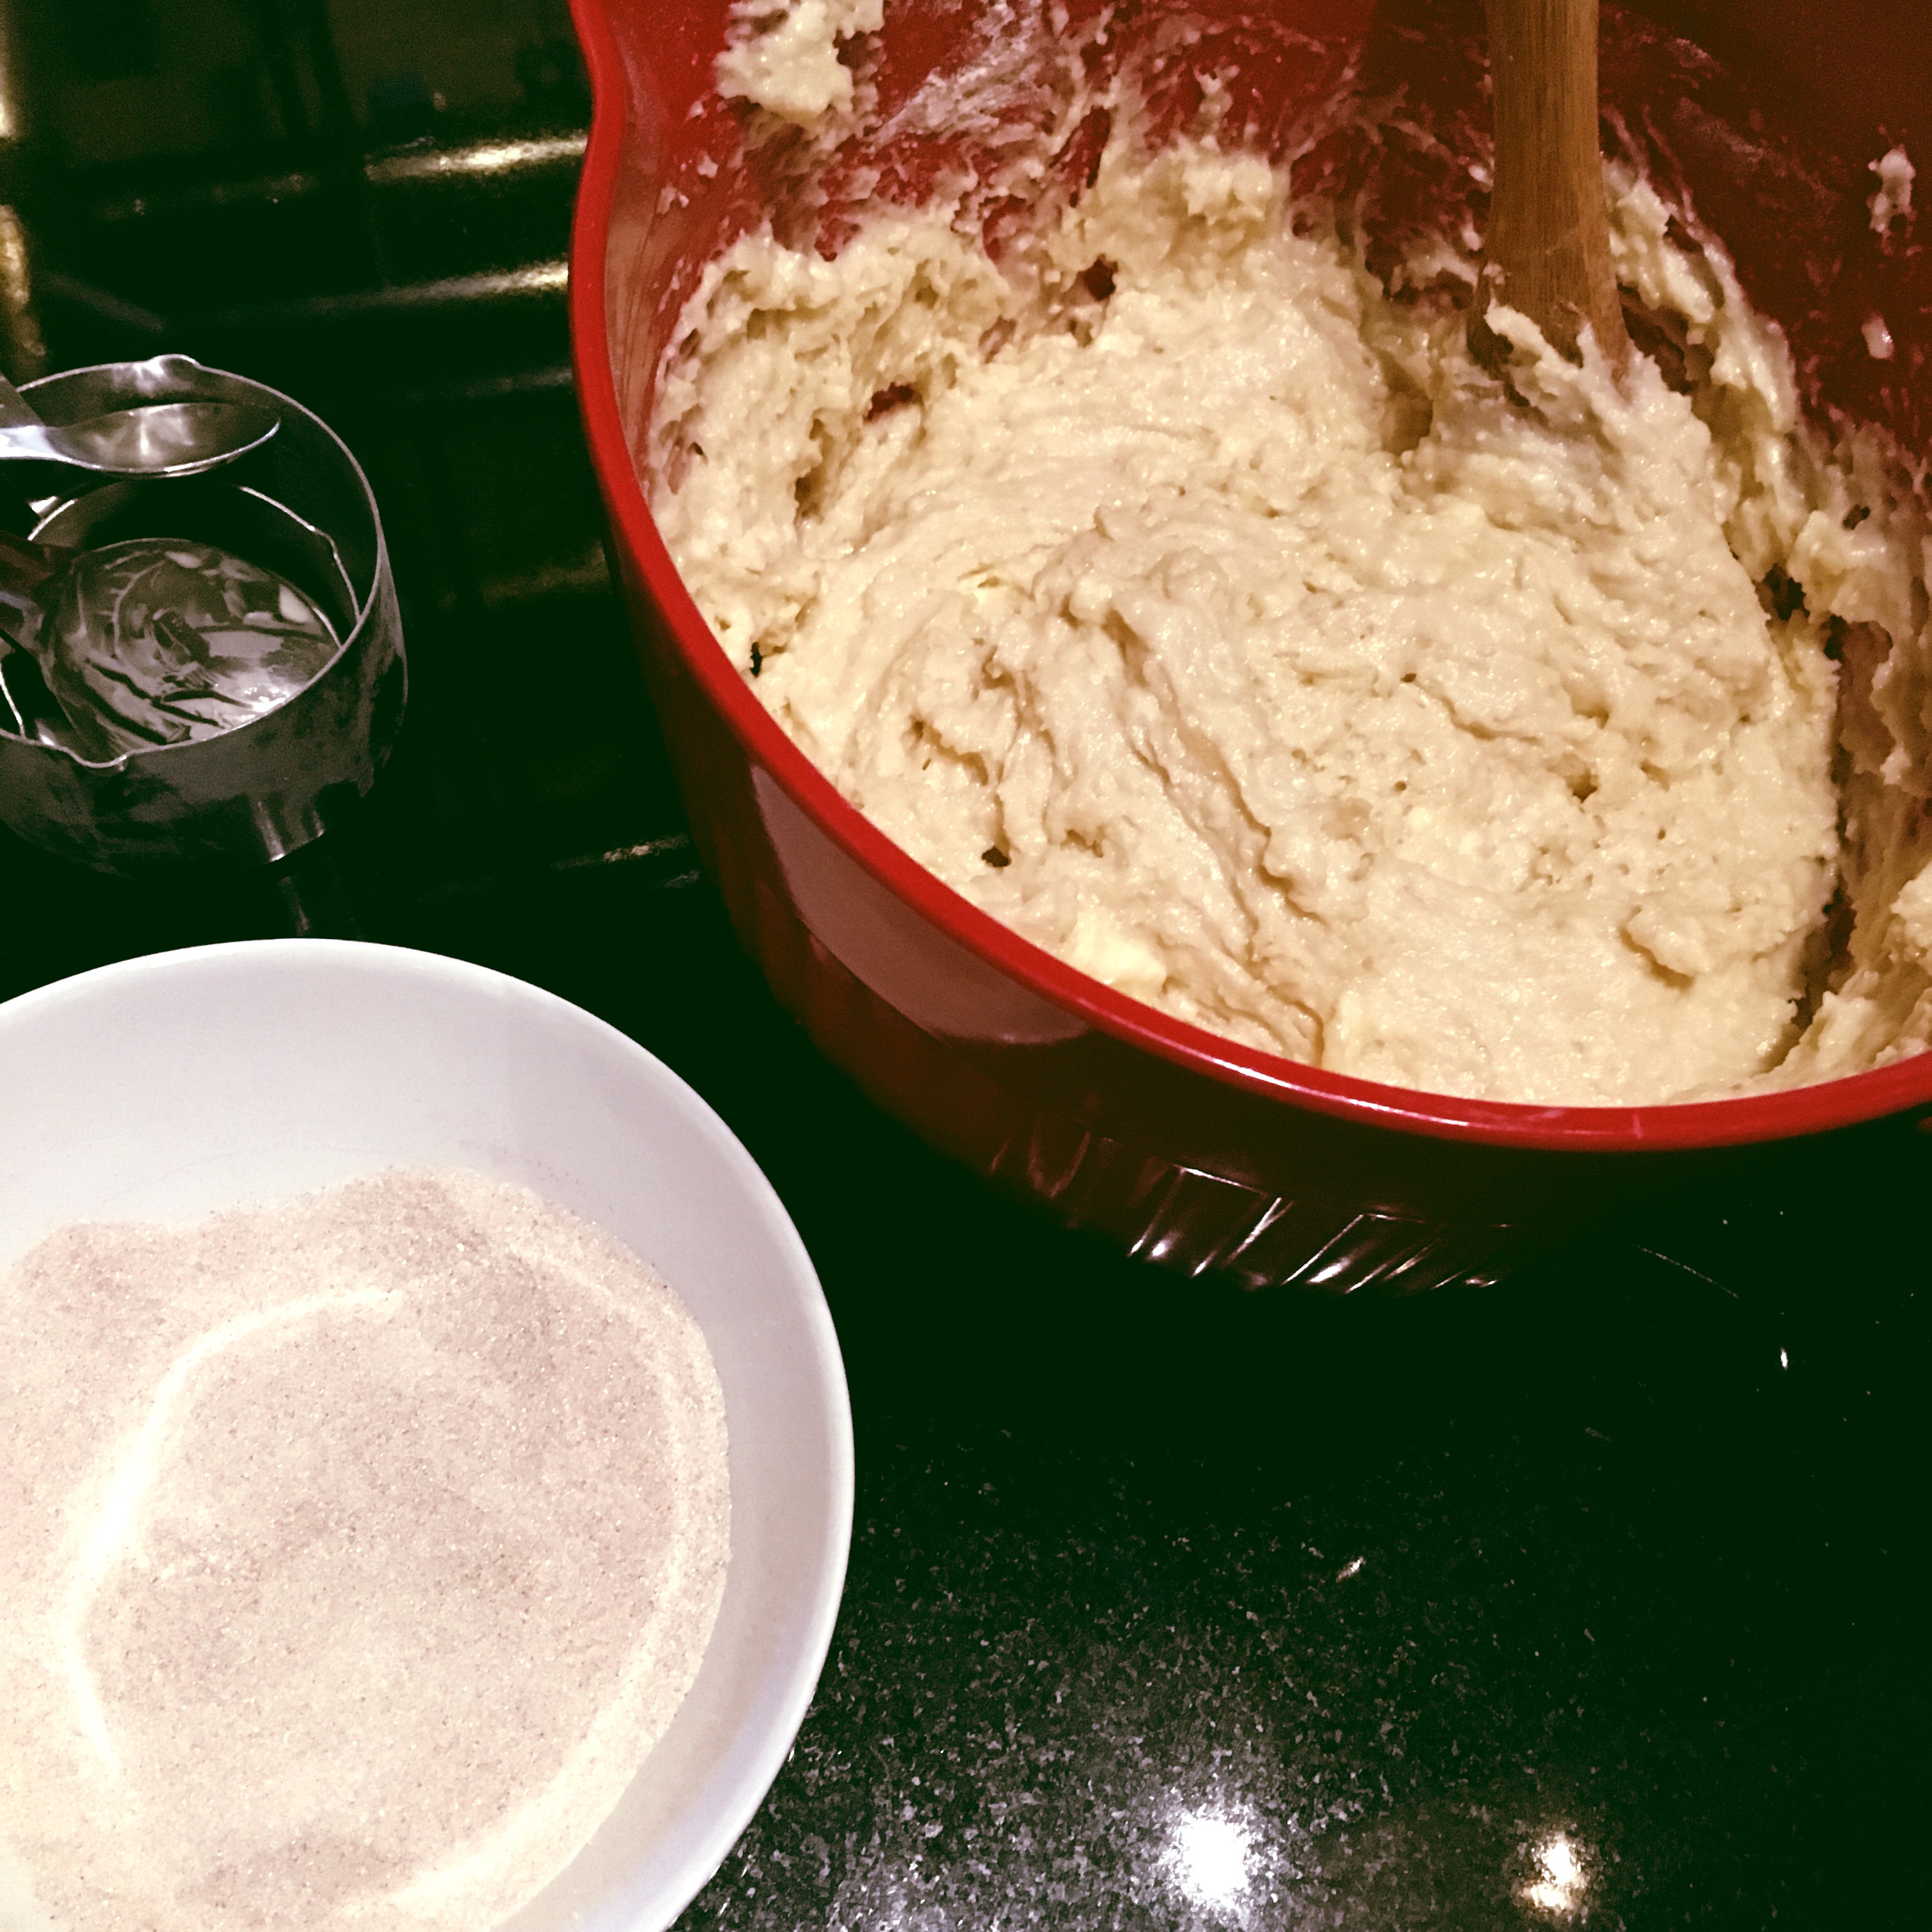
  1. Preheat oven to 250 degrees F. Heat butter in large shallow roasting pan in oven until melted (or melt in microwave and add to pan). Remove.
  2. Add seasoned salt and Worcestershire sauce to butter and stir. Add cereal and nuts. Mix gently until all pieces are coated.
  3. Heat in oven for 1 hour, stirring every 15 minutes.
  4. Spread on absorbent paper towels to cool. Once cooled, store in airtight containers.


From: Mom’s recipe, based on Chex Mix Original Recipe

Notes: You can use whichever combination of Chex “flavors” (or Crispix or similar cereal) you prefer, as long as they add up to 8 cups. You can also reduce Chex by 1 cup and add in 1 cup of Cheerios instead if desired.


This post contains affiliate links. Full disclosure here.

Filed Under: book review, recipe Tagged With: celebration, fiction, holiday, mini review, short story, snack, young adult

Geek Love + Sharp Cheddar Popcorn and Cotton Candy Ice Cream

August 12, 2017 by Megan Leave a Comment

Before I get started on today's post, I want to announce the winner of my first ever Hungry Bookworm Giveaway, in honor of my 1 Year Anniversary (which I still can't get over!). But, without further ado...

Congratulations, Laura!

I'm so happy to have made your day with your win. Your copy of Pachinko has already shipped, and you should receive it soon! (More details emailed to you as well.) Thank you to everyone who participated, subscribers new and old! It is much appreciated, and I hope you continue to enjoy my posts week after week. 🙂 Now onto another review and recipe!

_________________________

While usually I got to my own to-be-read list when picking book club selections, sometimes I try to be a little more open-minded. In this most recent case, I stumbled upon a Buzzfeed list that sounded like a perfect fit for book clubs - Books You Won’t Be Able To Stop Thinking About usually equals good discussion. As a bonus, I’d already a handful of them and liked most of them, so I filed it away for future use.

I don’t remember exactly what prompted me to choose Geek Love, but that’s how we got here. Katherine Dunn’s novel tells the story of an extremely unique family. At best, the Binewski family runs a traveling carnival and unique is probably a generous understatement. The parents, Al and Lil, despise “norms” and stop at nothing to breed their odd children, who go on to become acts in the Binewski freak show. Though many of the children died in the attempts at their creation, five remain. Arty, also known as Aquaboy, has flippers instead of hands and feet. The twins, Elly and Iphy, are conjoined. Chick, though a disappointment at first, is discovered to have telekinetic powers. And Olympia, our narrator, is a hunchbacked albino dwarf.   

Like a car accident, I often wanted to look away, but I couldn’t help myself. It was gruesome and unbelievable, and honestly, so incredibly imaginative on Dunn’s part. It’s hard to explain many of my reactions to the book without sharing plot points, though a lot of it had me going, “Wait, what?” It wasn’t perfect, and I didn’t love it, but like the list that drew me to it, I will definitely never forget this one.

Though food was only mentioned in the periphery, as Dunn described the hustle and bustle of the midway, you could almost smell the freshly-made popcorn and the sugary-sweetness of the cotton candy. I went with a Sharp Cheddar Cheese Popcorn recipe to serve at book club, alongside the rest of the snacks, and later on I made some blue-ish Cotton Candy Ice Cream to accompany the book as well.

Both recipes were really quite easy, which is always nice. To start with the popcorn, I popped a half cup of kernels on the stove top just by following directions on the container itself.


Then, I combined the butter, garlic powder and salt in a saucepan, allowing it to melt. Once it began to simmer, I poured it over the popped popcorn, as directed, and stirred until it was all well-coated.

Then, with the popcorn on a sheet pan, I covered it with freshly grated extra sharp cheddar cheese and placed it in the oven under the broiler for a few minutes until the cheese was melted. I transferred most of it to a bowl (and snacked on the rest until everyone arrived!) and served it up.

The cotton candy ice cream was significantly easier than the Earl Grey Ice Cream I had made just before trying this recipe. If you’re looking for an easy way to get into the ice cream game, I’d recommend this one - it’s basically foolproof.

First, I combined the sugar and milk with a whisk, until the sugar was dissolved. Then, I added the vanilla, whipping cream and cotton candy syrup. (I used a pink syrup, and since I wanted it to be blue, I also added some blue food coloring in this step.) Once the mixture was well-combined, I poured it into my ready-to-go ice cream attachment and let it do its thing.


After 30 minutes, the ice cream was done...except that I prefer it to be a bit more on the hard side, so I stuck it in the freezer for a handful of hours before I actually was able to dig in. It was nothing like the ice cream I’d made before - where that was dense and rich, this was airy and light in flavor. Initially, I wasn’t sure I liked it as much, but the more I ate, the more I enjoyed it. Light and airy is exactly how cotton candy should be, regardless of if you’re eating the candy itself or an ice cream version of it. I ended up loving it 🙂

Sharp Cheddar Cheese Popcorn

  • Servings: 2-4
  • Time: 15 minutes
  • Print

Ingredients

  • ½ cup popcorn kernels, popped
  • ¼ cup butter
  • ⅛ tsp garlic powder
  • ¼ -½ tsp kosher salt
  • 3 oz sharp cheddar cheese, finely shredded

Directions

  1. In a small saucepan, combine butter, garlic powder and salt. Melt butter and heat until starting to simmer.
  2. Pour butter over popcorn. Stir until all popcorn is evenly coated.
  3. Spread popcorn on a sheet pan, sprinkle with finely shredded cheese (I used a microplane zester to shred mine). Stir it around until evenly distributed.
  4. Place rack in the center of the oven and turn broiler to low. Cook popcorn until cheese is melted (about 2-3 minutes). Watch carefully so it does not burn.
  5. Pour cheesy popcorn into bowl and mix. Enjoy!

Adapted from: Houseful of Homemade

Cotton Candy Ice Cream

  • Servings: 6
  • Time: 35 minutes
  • Print

Ingredients

  • ¾ cup granulated sugar
  • 1 cup whole milk
  • 2 cup heavy whipping cream
  • ½ cup cotton candy syrup (I used Jelly Belly Cotton Candy Syrup)
  • 1 tsp vanilla extract
  • food coloring (optional)

Directions

  1. Before mixing ingredients, be sure that your chosen ice cream maker is ready to churn ice cream (attachments frozen, ice added, etc).
  2. In a medium bowl, whisk together milk and sugar until sugar is dissolved.
  3. Pour vanilla, heavy whipping cream, and cotton candy syrup into the bowl and whisk until combined.
  4. If using food coloring: Depending on the brand of cotton candy syrup you used, the mixture might already have a pink hue. If you'd like the ice cream to be pink, keep this in mind - you won't need to add much pink food coloring to get your desired color. If you'd like the ice cream to be another color than pink, don't worry - as pictured, I used blue food coloring, and only had to add a few drops to achieve a nice light blue color. No matter what color you're using, add the food coloring slowly (one drop at a time) and whisk thoroughly between each until the desired color is reached. Also, the hue of the cream should be a few shades darker than the color you'd like the final ice cream to be, as the whipped and frozen cream will appear lighter. TIP: If you're still worried how your chosen color will look, add a little bit of the cotton candy syrup and milk to a separate glass or bowl and test your food coloring with it.

  5. Pour the mixed ice cream mixture into the chilled bowl/attachment of your ice cream maker.
  6. Churn ice cream for 25-30 minutes or until desired consistency is reached. If you'd like soft ice cream, serve cotton candy ice cream immediately. If you'd like firmer ice cream, transfer the ice cream to your chosen storage container and let it freeze for another 4-6 hours.
From: Homemade Hooplah

This post contains affiliate links. Full disclosure here.

Filed Under: book review, of interest, recipe Tagged With: book club, dessert, easy prep, fiction, ice cream, snack

The Couple Next Door + Coffee-Glazed Banana Bread

October 15, 2016 by Megan Leave a Comment

From serious memoir to childhood favorite to suspenseful thriller - my last three books have been a little sporadic. The Couple Next Door is certainly more adult than The Secret Garden, but secrets still abound. After a shocking ending to a dinner party with (not surprisingly) the couple next door, Marco and Anne’s seemingly perfect life begins to unravel.

51qI2RzRlzL._SY344_BO1,204,203,200_.jpg

Shari Lapena’s The Couple Next Door was fast-paced, with new revelations at nearly every turn of the page. With a cast of characters that included an inappropriately flirtatious neighbor, a stay-at-home mom with a questionable past, and a power-hungry stepfather, no one’s motives were clear but everyone was suspect.

As the plot twisted here and turned there, food didn’t play much of a role. Despite starting with a dinner party, nothing much was mentioned aside from coffee. Uncertainty breeds sleeplessness, and the best cure for that is caffeine. In one instance, Lapena points out that the two main characters were “both living mostly on coffee and despair.”

In an effort to impart some comfort on a decidedly uncomforting storyline, I opted to make banana bread - with a coffee glaze. Comfort meets caffeine, thanks to this recipe from A Latte Food.

Like most quick breads, this one is pretty easy to get together. The really hard part is waiting for the baking (and cooling!) before you can finally eat it.

I had already-brewed coffee ready to go, but if you don’t, I suggest starting that process before you make the bread. I began by mashing up the bananas, which is always fun to do first thing in the morning. (Make sure your bananas are ripe. See them pre-mashed below; and mashed, with Beta looking on, wondering why she can’t have some of her favorite fruit too.)

I creamed the softened butter together with the sugars, adding the eggs and vanilla extract once the mixture was light and fluffy. To the wet ingredients, I slowly incorporated the flour, salt and baking soda. Once all was well-combined, I added the mashed bananas, stirring until just mixed.

Once in the prepared loaf pan, I let it bake in the oven for about an hour. With a few minutes to spare before the bread came out of the oven, I began the glaze so I could pour it over the loaf before it cooled completely. I whisked together the powdered sugar, brewed coffee and vanilla extract to form a light coffee-colored glaze.

I drizzled it over the still-cooling banana bread, with a plate underneath to catch any sugar-y drips.

img_1497img_1499

For those of you who don’t know me, I have a confession to make: I don’t like coffee. (Rory Gilmore would be horrified, I know.) I do, however, love banana bread. I thought the glaze tasted exactly like coffee, but Scott - who loves coffee - thought it tasted more like sugar. When I brought it to work, consensus all around was that it tasted good. If you actually like coffee, and prefer a more coffee-flavored glaze, I would suggest adding the espresso powder.

Or just enjoy it with a cup of coffee.

img_1498

Coffee-Glazed Banana Bread

  • Servings: 1 loaf
  • Time: 1 hour, 20 minutes
  • Print

Very slightly adapted from: A Latte Food

Ingredients

    Bread

  • ½ cup butter, softened
  • ½ cup sugar
  • ⅓ cup brown sugar
  • 2 eggs
  • 2 cups all-purpose flour
  • 1 tsp baking soda
  • ¼ tsp salt
  • 3 to 4 medium or large bananas
  • 1½ tsp vanilla extract
  • Coffee Glaze

  • 2 TBS strong coffee, brewed
  • 1 cup powdered sugar
  • ½ tsp vanilla extract
  • ¼ tsp espresso powder (optional)

Directions

    Bread

  1. Preheat the oven to 350. Grease a 9x5 loaf pan.
  2. In a small bowl, mash bananas. Set aside.
  3. In a large bowl, cream butter sugar, and brown sugar together until light and fluffy.
  4. Add in the eggs, one at a time, beating well after each addition. Add in vanilla extract, and mix.
  5. Sift together the flour, baking soda, and salt in a separate bowl. Slowly incorporate the dry ingredients into the wet ingredients, and stir until just combined.
  6. Add in mashed bananas, and mix until combined. Pour into prepared loaf pan.
  7. Bake for about 60 minutes, or until a cake tester comes out clean with just a few moist crumbs stuck to it.
  8. Allow to cool for 10 minutes. Move to a wire cooling rack.
  9. Glaze

  10. While bread is cooling, mix together powdered sugar, vanilla extract, espresso powder (if using), and 2 TBS brewed coffee. If the glaze is thicker than your desired preference, add in additional brewed coffee. [I used 2 TBS of coffee and no espresso powder and it was a perfect thickness; according to many, however, the flavor was not enough like coffee. Additional liquid may be required if adding the powder, but taste as you go to ensure a flavor you like.]
  11. Pour the glaze evenly over the loaf. Allow the glaze to harden completely before cutting into slices.

Filed Under: book review, recipe Tagged With: baking, breakfast, fiction, snack, suspense

Behold the Dreamers + Chicken Suya

September 29, 2016 by Megan 6 Comments

Jende and Neni Jonga have come to New York City (Harlem) from Cameroon to achieve the American Dream. After struggling to make ends meet for a few years in the States, Jende secures a meeting with Clark Edwards, a high-level executive at Lehman Brothers. In 2007, this seems like another step closer to Jende’s dream.

26025588

In Behold the Dreamers, Imbolo Mbue examines the American Dream from both sides - the Jengas’ desperate pursuit of it serves as a stark contrast to the Edwards’ comfortable lifestyle and achievements. Jende is overjoyed at the opportunity to chauffeur the entire Edwards family around the city so that Neni can complete pharmacy school and take care of their son.

In the driver’s seat, Jende is privy to many of Clark’s important conversations in the car but never lets the sensitive information slip. Even when tensions arise between the Jongas and the Edwards, Jende remains ever-loyal, not wanting to upset the careful balance that is keeping him in America. Mbue’s novel is a reminder that even those comfortably at the top should never get too comfortable, and sometimes it’s important to take a step back to determine what will truly make you happy.

Even though Jende and Neni are all too happy to be in the U.S., their kitchen table is filled with foods that remind them of home. One of the first meals we see Jende eat in the novel is African pepper chicken. I found a recipe online for Chicken Suya, commonly found in Cameroon, served with an African Pepper Sauce. Neni also serves fried ripe plantains throughout the novel, so I added those to the menu. Together, I thought it would make the perfect meal to accompany their story.

I started with the sauce and tried to remain unintimidated by the number of hot peppers it required. After cleaning and chopping them, I also roughly chopped the onions and tomatoes. Everything went into the food processor.

It came together pretty easily (as most blended sauces do), and while it simmered on the stovetop, I began prepping the chicken. I trimmed and cut the chicken thighs, dividing the pieces onto the skewers.

For the rub, I combined all of the spices, peanut butter and bouillon, working it into a paste of sorts. It ended up being extremely thick - to the point that it was nearly impossible to “brush” on the chicken as directed. I thinned it out a bit with water and ended up forcefully painting it onto the chicken with a rubber scraper.

It’s up to you, but it might be worthwhile to thin it out a bit more (either with oil or water) so that you can cover your chicken more thoroughly - mine ended up rather blotchy.

While the chicken baked, I let my oil get up to temperature for the plantains. The sauce was done by this time, so I removed it from the heat, allowing it to cool off a bit before we ate.

For the fried ripe plantains, I tried to find as a ripe a plantain as I could at the store. Thinking it would be similar to peeling a banana, I ended up having a difficult time. I would’ve benefitted from a handy guide, like this one. (Hopefully your peeling experience will be much easier than mine!) Once the pesky peel was off, I sliced it on the diagonal into large oblong coins.

img_1373

Frying them proved to be much easier than peeling them, thanks in part to my adventures in frying the johnnycakes the week before.

After a few minutes, they were a nice golden brown. I scooped them out onto a paper towel and sprinkled with salt. They proved to be not only a nice complement to the seasoning of the chicken and the spiciness of the sauce but a break from the heat as well!

I was happy to be able to make a dish that paired so well with such an enjoyable book, but truth be told, this wasn’t something I would make again. Not one for super spicy foods anyway, I could only use about a tablespoon of the pepper sauce over two skewers of chicken. My boyfriend (who loves spicy food) thought the sauce went well alongside the chicken but probably not something he’d eat without it. And, heads up, the recipe makes a decent amount of sauce - at least 4 cups.      

Chicken Suya with African Pepper Sauce

  • Servings: 4-6
  • Time: 1 hour
  • Print


From: African Bites [Annotations from me]

Ingredients

    Suya Chicken

  • 3 pounds skinless chicken thigh
  • 4 tablespoons peanut butter or groundnut paste
  • ½ - 1 tablespoon cayenne (depending on heat preference)
  • 1 tablespoon smoked paprika
  • 1 tablespoon garlic powder
  • 1 tablespoon onion powder
  • 1 tablespoon white pepper
  • 1 tablespoon Bouillon
  • 1 teaspoon salt
  • 2 - 3 tablespoons vegetable oil
  • 6 - 8 wooden skewers
  • African Pepper Sauce

  • 10 peppers (habenero or scotch bonnet)
  • 1 medium onion
  • 4 garlic cloves
  • 2 tablespoon bouillon powder [I used chicken]
  • 2 basil leaves [I used 1 teaspoon dried basil]
  • 2 tablespoon parsley [I used 2 teaspoons dried parsley]
  • 1 - 3 roma tomatoes (adjust for spiciness)
  • ½ - 1 cup vegetable oil
  • salt

Directions

  1. Coarsely chop the tomatoes, onions, and discard stems of the peppers. Put the tomatoes, onions, peppers, garlic, parsley, basil, bouillon in the food processor along with as much oil as desired. [I used ½ cup, which seemed to be enough for my sauce.]
  2. Pour the pepper mixture into a small sauce pan bring to a boil and slowly simmer for about 15 minutes, stirring frequently to prevent burns. Add salt and adjust as needed.
  3. While the sauce is simmering, preheat the oven to 450 degrees F. Soak the skewers for at least 20 minutes totally submerged in water before using it to prevent burns.
  4. In a medium bowl, mix garlic powder, onion powder, smoked paprika, white pepper, cayenne pepper, peanut butter and bouillon. [Mine formed a pretty thick paste, making it difficult to brush/spread on the chicken. I would suggest adding some water or oil as needed to thin it out a bit.]
  5. Pat the chicken thighs dry with a paper towel. You want to have a completely dry chicken before cooking. Trim and slice the chicken into thin slices or bite size cuts (suggest cutting on a diagonal).
  6. Lightly spray or oil baking sheet or roasting pan to prevent the suya from sticking to the pan. [I covered mine with foil to make cleanup easier.]
  7. Thread the chicken onto the skewers (about 4 per skewer), making sure the skewer is fully covered with slices of chicken.
  8. Brush the chicken skewer with spice mixture on both sides. Place skewers on the sprayed/oiled roasting pan or baking sheet.
  9. Drizzle with oil and bake for about 20-25 minutes, flipping halfway through baking until chicken is fully cooked through. Towards the last 3 minutes of baking, switch to broil to get a nice crisp brown on the outside.
  10. When the pepper sauce is finished, let it cool. Pour in a mason jar or a container with a lid and store in a fridge for about a week. In order for your pepper sauce to last longer, make sure it is fully covered in oil.
  11. Serve chicken suya warm with a side of African pepper sauce [and fried plantains, if desired].

Filed Under: book review, recipe Tagged With: appetizer, chicken, contemporary, cultural, fiction, sauce, snack

My Grandmother Asked Me to Tell You She's Sorry + Swedish Dream Cookies

September 1, 2016 by Megan 2 Comments

Almost-eight-year-old Elsa’s best friend is her eccentric grandmother. Like her granny, Elsa is different. Different in a way that makes her good at running, because “that’s what happens when you get chased all the time.” Different in a way that allows to her to relate to adults with wisdom beyond her years.

My Grandmother Asked Me To Tell You She's Sorry Book Cover

As in Fredrick Backman’s first novel, the successful A Man Called Ove (which I also loved), My Grandmother Asked Me to Tell You She’s Sorry revolves around a cast of Swedish neighbors, whom we meet as Elsa embarks on a so-called treasure hunt to find and deliver apologetic letters from her grandmother.  

When the story begins, Elsa seems to know some of the neighbors well enough. Maud and her husband Lennart, for example, are the nicest and second nicest persons in the world, respectively. Elsa likes them because they “always have dreams and hugs - dreams are a kind of cookie; hugs are just normal hugs.” On the other hand, there are The Monster and Our Friend. The idea of either of them emerging into the hallway terrifies Elsa.

The letter deliveries help Elsa to conquer her fears and bring the entire house of neighbors together. Sad yet uplifting, Backman’s charmingly written novel carries you to the Land of Almost-Awake and back again, as you uncover the unexpected truths behind Granny’s fairy tales with Elsa.

Since I recently made cinnamon buns (Granny’s favorite food), I was so happy when I found out that dreams are an actual cookie! Apparently a staple in Sweden, they are beloved by both Elsa and Our Friend.

I found the recipe searching around online and immediately set about to obtain some baker’s ammonia - the only ingredient not readily available in American grocery stores. After 48 hours I had it (thank you, Amazon Prime!), and cookie baking could begin.

After creaming the butter and sugar, adding the ammonium carbonate, almond extract and flour, I ended with a sort of crumbly mixture that looked like this:

IMG_1103

It looked unlike any cookie dough I’d made in the past but I kept on and added the flaked coconut. I was convinced the chilling process would bring it all together, so I formed my disk and popped the dough into the refrigerator.

Even after a long chill, the dough remained crumbly as I tried forming it into 1-inch balls. I recommend doing this with your hands, as opposed to a scooper, which I tried first to encourage uniformity. It ended up being much easier. I think the heat of the hands helped them keep their shape a bit better.

IMG_1104

I baked three batches of one cookie sheet each (16 cookies), closely following the recipe’s recommendation of using the top-third of the oven only. I was a bit disappointed that the recipe only made 52 cookies, well short of the 72 it was supposed to - even after carefully making sure they were as close to an inch as possible. Still, they turned out beautifully!

IMG_1008

I’m usually not one for coconut, but to me, they were more like an amazing sugar cookie. These dreams may have required tracking down an obscure ingredient online, but they were worth it. I hope you enjoy them as much as I did!

Swedish Dream Cookies
Print Recipe

Swedish Dream Cookies

Prep Time30 minutes mins
Cook Time1 hour hr
Inactive (Chill) Time1 hour hr
Total Time2 hours hrs 30 minutes mins
Course: Dessert
Cuisine: Swedish
Keyword: cookie
Servings: 4 dozen

Ingredients

  • 2 cups all-purpose flour
  • 1/2 teaspoon salt
  • 2 sticks (1 cup) unsalted butter softened
  • 1 1/4 cups sugar
  • 1 teaspoon crushed ammonium carbonate also called baker’s ammonium
  • 1/2 teaspoon almond extract
  • 1 1/2 cups sweetened flaked coconut

Instructions

  • Sift together flour and salt.
  • Beat together butter and sugar with an electric mixer until pale and fluffy. Beat in ammonium carbonate and almond extract until combined well. Mix in flour mixture at low speed just until blended, then stir in coconut.
  • Form dough into a disk and chill, wrapped in plastic wrap, until firm, about 1 hour. [You could probably skip the chilling, if you’re short on time. A few comments said they didn’t chill it and it made no difference. I chilled mine, but the dough was essentially the same consistency after an hour as it was before.]
  • Preheat oven to 300°F.
  • Roll dough into 1-inch balls and arrange 1 inch apart on greased baking sheets.
  • Bake cookies in batches in upper third of oven until pale golden around edges, 18 to 22 minutes. [Mine baked for 21 minutes.] Transfer cookies to a rack to cool.

Notes

From: Epicurious

This post contains affiliate links. Full disclosure here.

Filed Under: book review, recipe Tagged With: baking, contemporary, cookies, dessert, fiction, snack

Once Upon a River + Cinnamon Bread

August 4, 2016 by Megan 1 Comment

Confession: I’m probably in too many book clubs. My last post was about a novel I read for my book club, and this one is too. At this particular book club, we try our best to choose a restaurant we haven’t been to before that also reflects the culture or location of our latest selection. For August, we opted to vote on all Michigan-based books and ultimately went with Once Upon a River by Michigan author Bonnie Jo Campbell as our pick. (Our restaurant choice was a local brewery.)

cover

When I received this book as a gift about two years ago, I was initially excited. It’s a novel by someone from Michigan about characters in Michigan, and as anyone who knows me will tell you, I am nothing if not ridiculously proud of being a Michigander. That being said, I started it and couldn’t get past the first few chapters. So I set it aside, only to suggest it as a part of this vote. I don’t like giving up on books, and I wanted to give it another try (with some motivation to help me along).

Once Upon a River follows the journey of Margo Crane, a beautiful sixteen-year-old with a penchant for target shooting, a skill that ultimately changes the course of her life. As Margo sets off along the river in search of her mother, she does what she must to survive, both taking advantage of others and being taken advantage of by them. For me, Margo was a hard character to connect with - she wasn’t particularly personable and I questioned many of her decisions - but I warmed to her towards the end. She stumbles along the way, but she also grows stronger and more sure of herself.

Because of her ability to shoot a rabbit in the eye and her extensive knowledge of the world around her, Margo rarely goes hungry. She is able to hunt (and gut and skin) various game and to find edible plant-life along the way. Still, nothing beats the comforts of home, specifically her Aunt Joanna’s cinnamon bread.

Twelve times throughout the course of the story, Campbell mentions and describes this delicious bread. At one point, she writes, “Margo awoke dreaming of cinnamon bread and apple butter so vividly she could taste it.” I, too, found myself hankering for this delicious homemade bread.

So, despite it being 80+ degrees all week long, I decided to make some myself. (Thank goodness for central air!) I found a recipe for Amish Cinnamon Bread from Farm Girl Tails and got to work.

As I was assembling the ingredients, I realized my butter wasn’t softened, which is always the case when I am preparing to bake. Instead of making the mistake I usually make and softening (er, melting) it in the microwave, I remembered to use this handy Pinterest trick. I hadn’t tried it before, so I was a bit skeptical, but it worked like a charm! I left the butter sticks under the glasses for about 5 minutes, but 10 minutes would probably have been better.  

IMG_0888

After I was done creaming the (mostly) softened butter with the eggs and sugar, which I decided to do by hand rather than with a mixer, I added the remaining ingredients. The final mixing process was a bit slow-going, but I managed to work up the strength to get through it. Ta-da!

IMG_0887

I filled each loaf pan with 1/4 of the batter and sprinkled with 3/4 of the cinnamon-sugar mixture. It felt like a LOT of cinnamon and sugar. I covered it with the rest of the batter and cinnamon-sugar, swirled, and tossed it into the oven. Here’s the before:

IMG_0886

And, following 65 minutes of baking and 20 minutes of cooling, here’s the after:

IMG_0885

It was definitely best served warm from the oven. I personally wanted it to be more cinnamon-y, but everyone else who ate it didn’t seem to have the same complaint, so that was probably just me.   

Amish Cinnamon Bread
Print Recipe

Amish Cinnamon Bread

Total Time1 hour hr 30 minutes mins
Keyword: quick bread
Servings: 2 loaves

Ingredients

Batter Ingredients

  • 1 cup butter softened
  • 2 cups sugar
  • 2 eggs
  • 2 cups buttermilk
  • 4 cups flour
  • 2 tsp baking soda

Cinnamon Sugar Mixture

  • 2/3 cups sugar
  • 2 tsp cinnamon

Instructions

  • Grease two 9x5 loaf pans. Set aside until needed.
  • Cream together butter, 2 cups sugar, and eggs. Add milk, flour, and baking soda. Mix well.
  • Put 1/4 of batter in each greased loaf pan.
  • Mix the 2/3 cup sugar and cinnamon in separate bowl.
  • Sprinkle 3/4 of the cinnamon mixture on top of the batter in each pan. Add remaining batter to pans; sprinkle the remaining cinnamon topping. Swirl with a knife.
  • Bake at 350 degrees in a preheated oven for 45-50 minutes or until tester comes clean. [I had to bake them for 65 minutes before they were finished.]
  • Cool in pan for 20 minutes before removing from pan.

Notes

From: Farm Girl Tails [Annotations from me]
Excellent if eaten warm out of the oven [yes!] but great toasted with a little butter or cinnamon butter. [Margo would recommend it with apple butter.]

This post contains affiliate links. Full disclosure here.

Filed Under: book review, recipe Tagged With: adventure, baking, book club, breakfast, brunch, coming of age, contemporary, fiction, snack

  • « Go to Previous Page
  • Go to page 1
  • Go to page 2
  • Go to page 3
  • Go to page 4
  • Go to Next Page »

Primary Sidebar

About

The Hungry Bookworm brings together literature and food. Megan has an insatiable appetite for both.

As C.S. Lewis said, “Eating and reading are two pleasures that combine admirably.” Enjoy!

  • Bloglovin
  • Facebook
  • Instagram
  • Pinterest

Subscribe

Don't miss out on bookish content, exclusive giveaways, and of course, book club-friendly recipes. Get notified of new posts via email.

Join 2879 subscribers.

Search for Ingredients, Recipes, or Books

Recent Posts

  • Subscriber Box Review: Literati Book Club - Roxane Gay's Audacious Book Club
  • Arsenic and Adobo + Ensaymada
  • Review of The Kindred Spirits Supper Club
  • Kids Edition: Sometimes I Like to Curl Up in a Ball + "Dirt" Pudding Cups
  • The Midnight Library + Broccoli and Ricotta Toast

Goodreads

Tags

5 ingredients or less appetizer baking book club book list book of the month books about food bread breakfast brunch chicken contemporary cookies cultural dessert dinner dinner party dystopia easy prep favorites fiction fruit historical fiction holiday ice cream linkup lunch meat memoir mini review nonfiction pasta quick read reading challenge science fiction seafood show us your books side dish snack soup TBR list thriller top ten tuesday vegetarian veggies

Archives

Other Great Book Blogs

Literary Quicksand
Never Enough Novels
Death by Tsundoku
Professional Reader 25 Book Reviews
Privacy & Cookies: This site uses cookies. By continuing to use this website, you agree to their use.
To find out more, including how to control cookies, see here: Cookie Policy

Footer Widget Header

Megan’s Instagram

Copyright © 2025 · Hungry Bookworm