• Skip to primary navigation
  • Skip to main content
  • Skip to primary sidebar
  • Home
  • Reviews
    • Book Index
    • Fiction
    • Non-Fiction
    • Top Ten Tuesdays
The Hungry Bookworm

The Hungry Bookworm

reading + eating

  • Recipes
    • Drinks
    • Snacks, Sides & Apps
    • Main Dishes
    • Desserts
    • 5 Ingredients or Less
  • About
    • Meet Megan
    • How I Rate
    • Review Policy
    • Contact

side dish

Pachinko + Kimchi

August 26, 2017 by Megan Leave a Comment

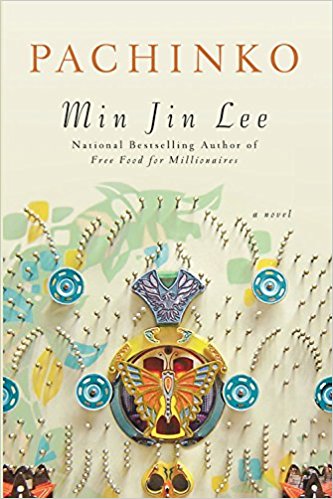
Pachinko, for those of you who don’t know (and I didn’t until I read Min Jin Lee’s novel of the same name), is a Japanese game of chance, a combination of pinball and a slot machine. Like the game it’s named for, Lee spins an epic tale that goes up and down, away and back again, all as the Korean family we follow move to Japan and either suffer or thrive there. The novel starts with the parents of our strong central female character Sunja and spans over seventy years and several generations.

I liked Pachinko, but despite being well-written, it wasn’t a particularly enjoyable read. Lee really put her characters through the ringer, and the suffering they experienced left me feeling very defeated. It was an interesting perspective on an immigration story - one we aren’t often exposed to here in the United States but one that didn’t leave me with much hope either.

It was a book we chose for our August book club, and I’ll admit I put it on the list because I already owned it (checking off that TBR!) and because I wanted to make and eat sushi. It turned out that while sushi did show up a couple of times in the novel, kimchi is what really made an impression. Sunja and her sister-in-law used their skills in the kitchen to make kimchi when times were tough, supporting their family the only way they could.

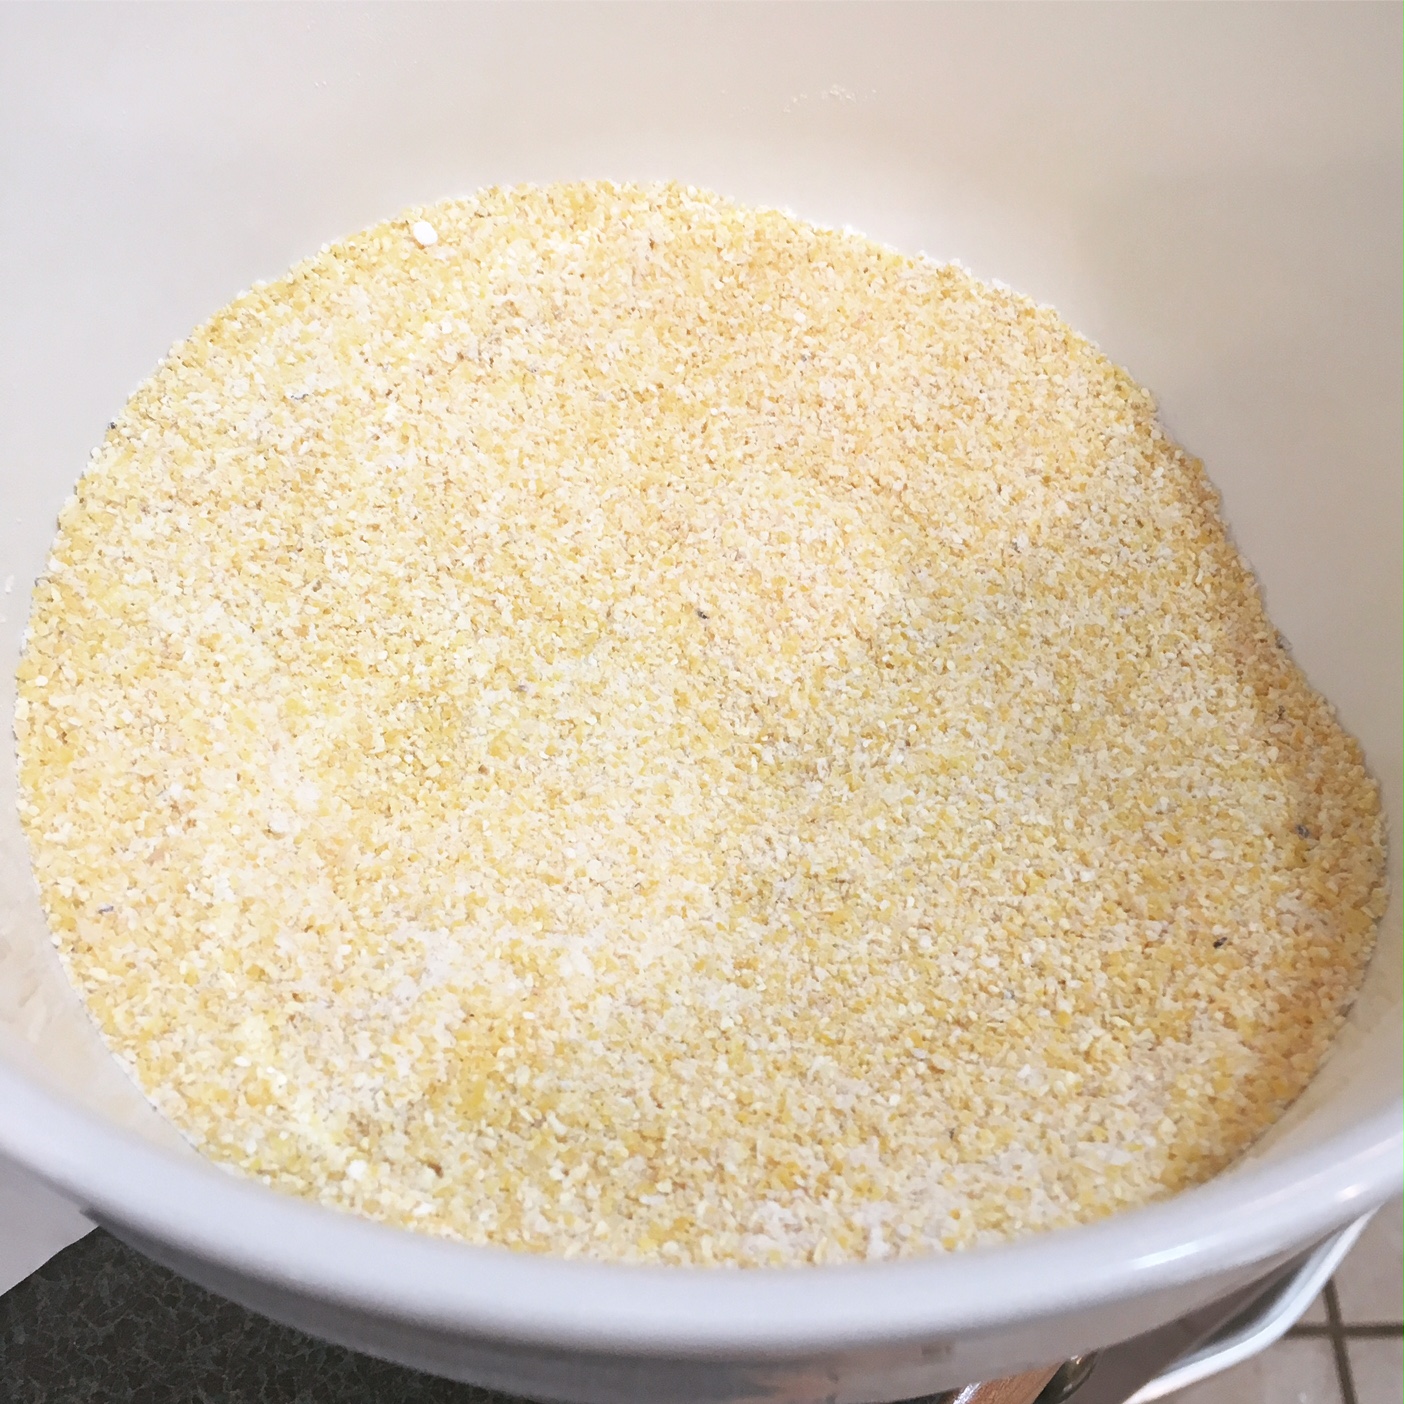
Kimchi, which is made of fermented vegetables - usually cabbage, requires about a minimum of a week to make. So, it was about two weeks ago that I set to work. I found a recipe that didn’t seem too intimidating and stopped by the trusty 168 Asian Mart (you may remember from my dumpling-making adventures) to gather all of the Korean-specific ingredients, such as salted shrimp and red pepper powder.

I chopped my cabbage into roughly 2-inch pieces, put them in a large bowl and sprinkled them with a generous amount of salt (half a cup), tossing the leaves to make sure they were well-coated. Then, I covered the cabbage with water - I ended up using about 15 cups - and covered the entire bowl with plastic wrap. I let it sit for about a day.

Then, I placed the cabbage in a colander, rinsed it and squeezed it out. While that sat, I combined all of the other ingredients in a large bowl - radish cut into matchsticks, scallions cut into 1-inch pieces, what seemed like a ton of Korean red pepper powder, fish sauce, minced ginger and garlic, Korean salted shrimp and a little bit of sugar.

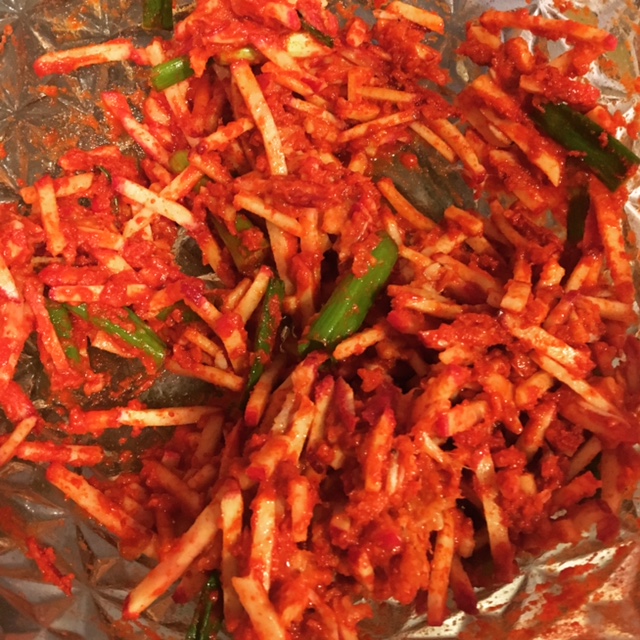
Once it was well-combined, I added the cabbage and tossed it until it was well-coated and pretty red too. Then, I stuffed everything into my large glass jar and sealed it. I snapped a quick picture before I left it in the dark, cool basement for another full day.

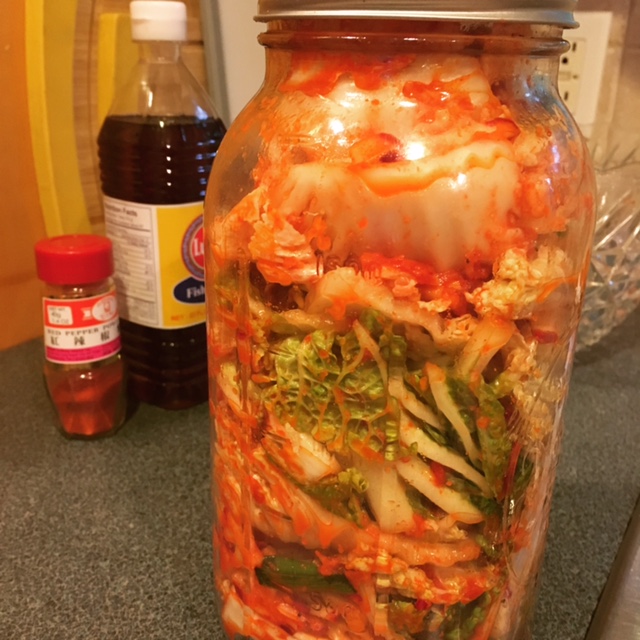
Then, I opened the lid and allowed the gases to escape - the product of our fermentation process was quite pungent. I’d recommend doing this with the windows open, or in a very well-ventilated room. After about a half an hour, I sealed it back up and placed it in the fridge. The jar hung out in the fridge for about 10 days, until yesterday, when I opened it up to attempt to make kimchi fried rice.

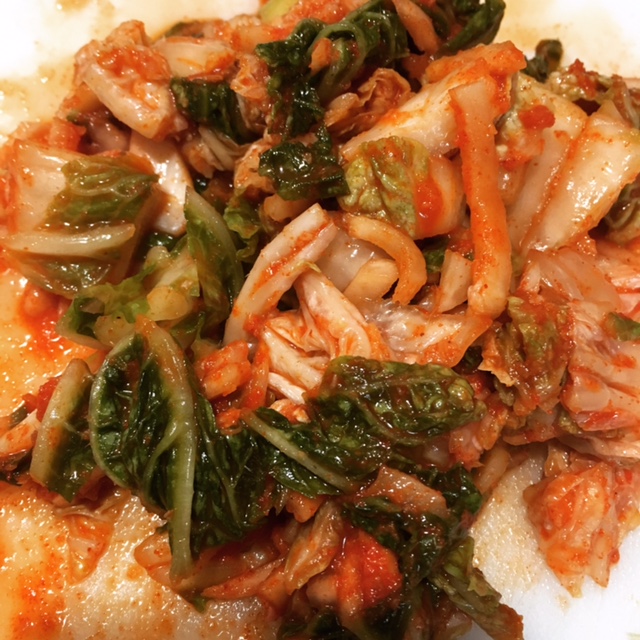
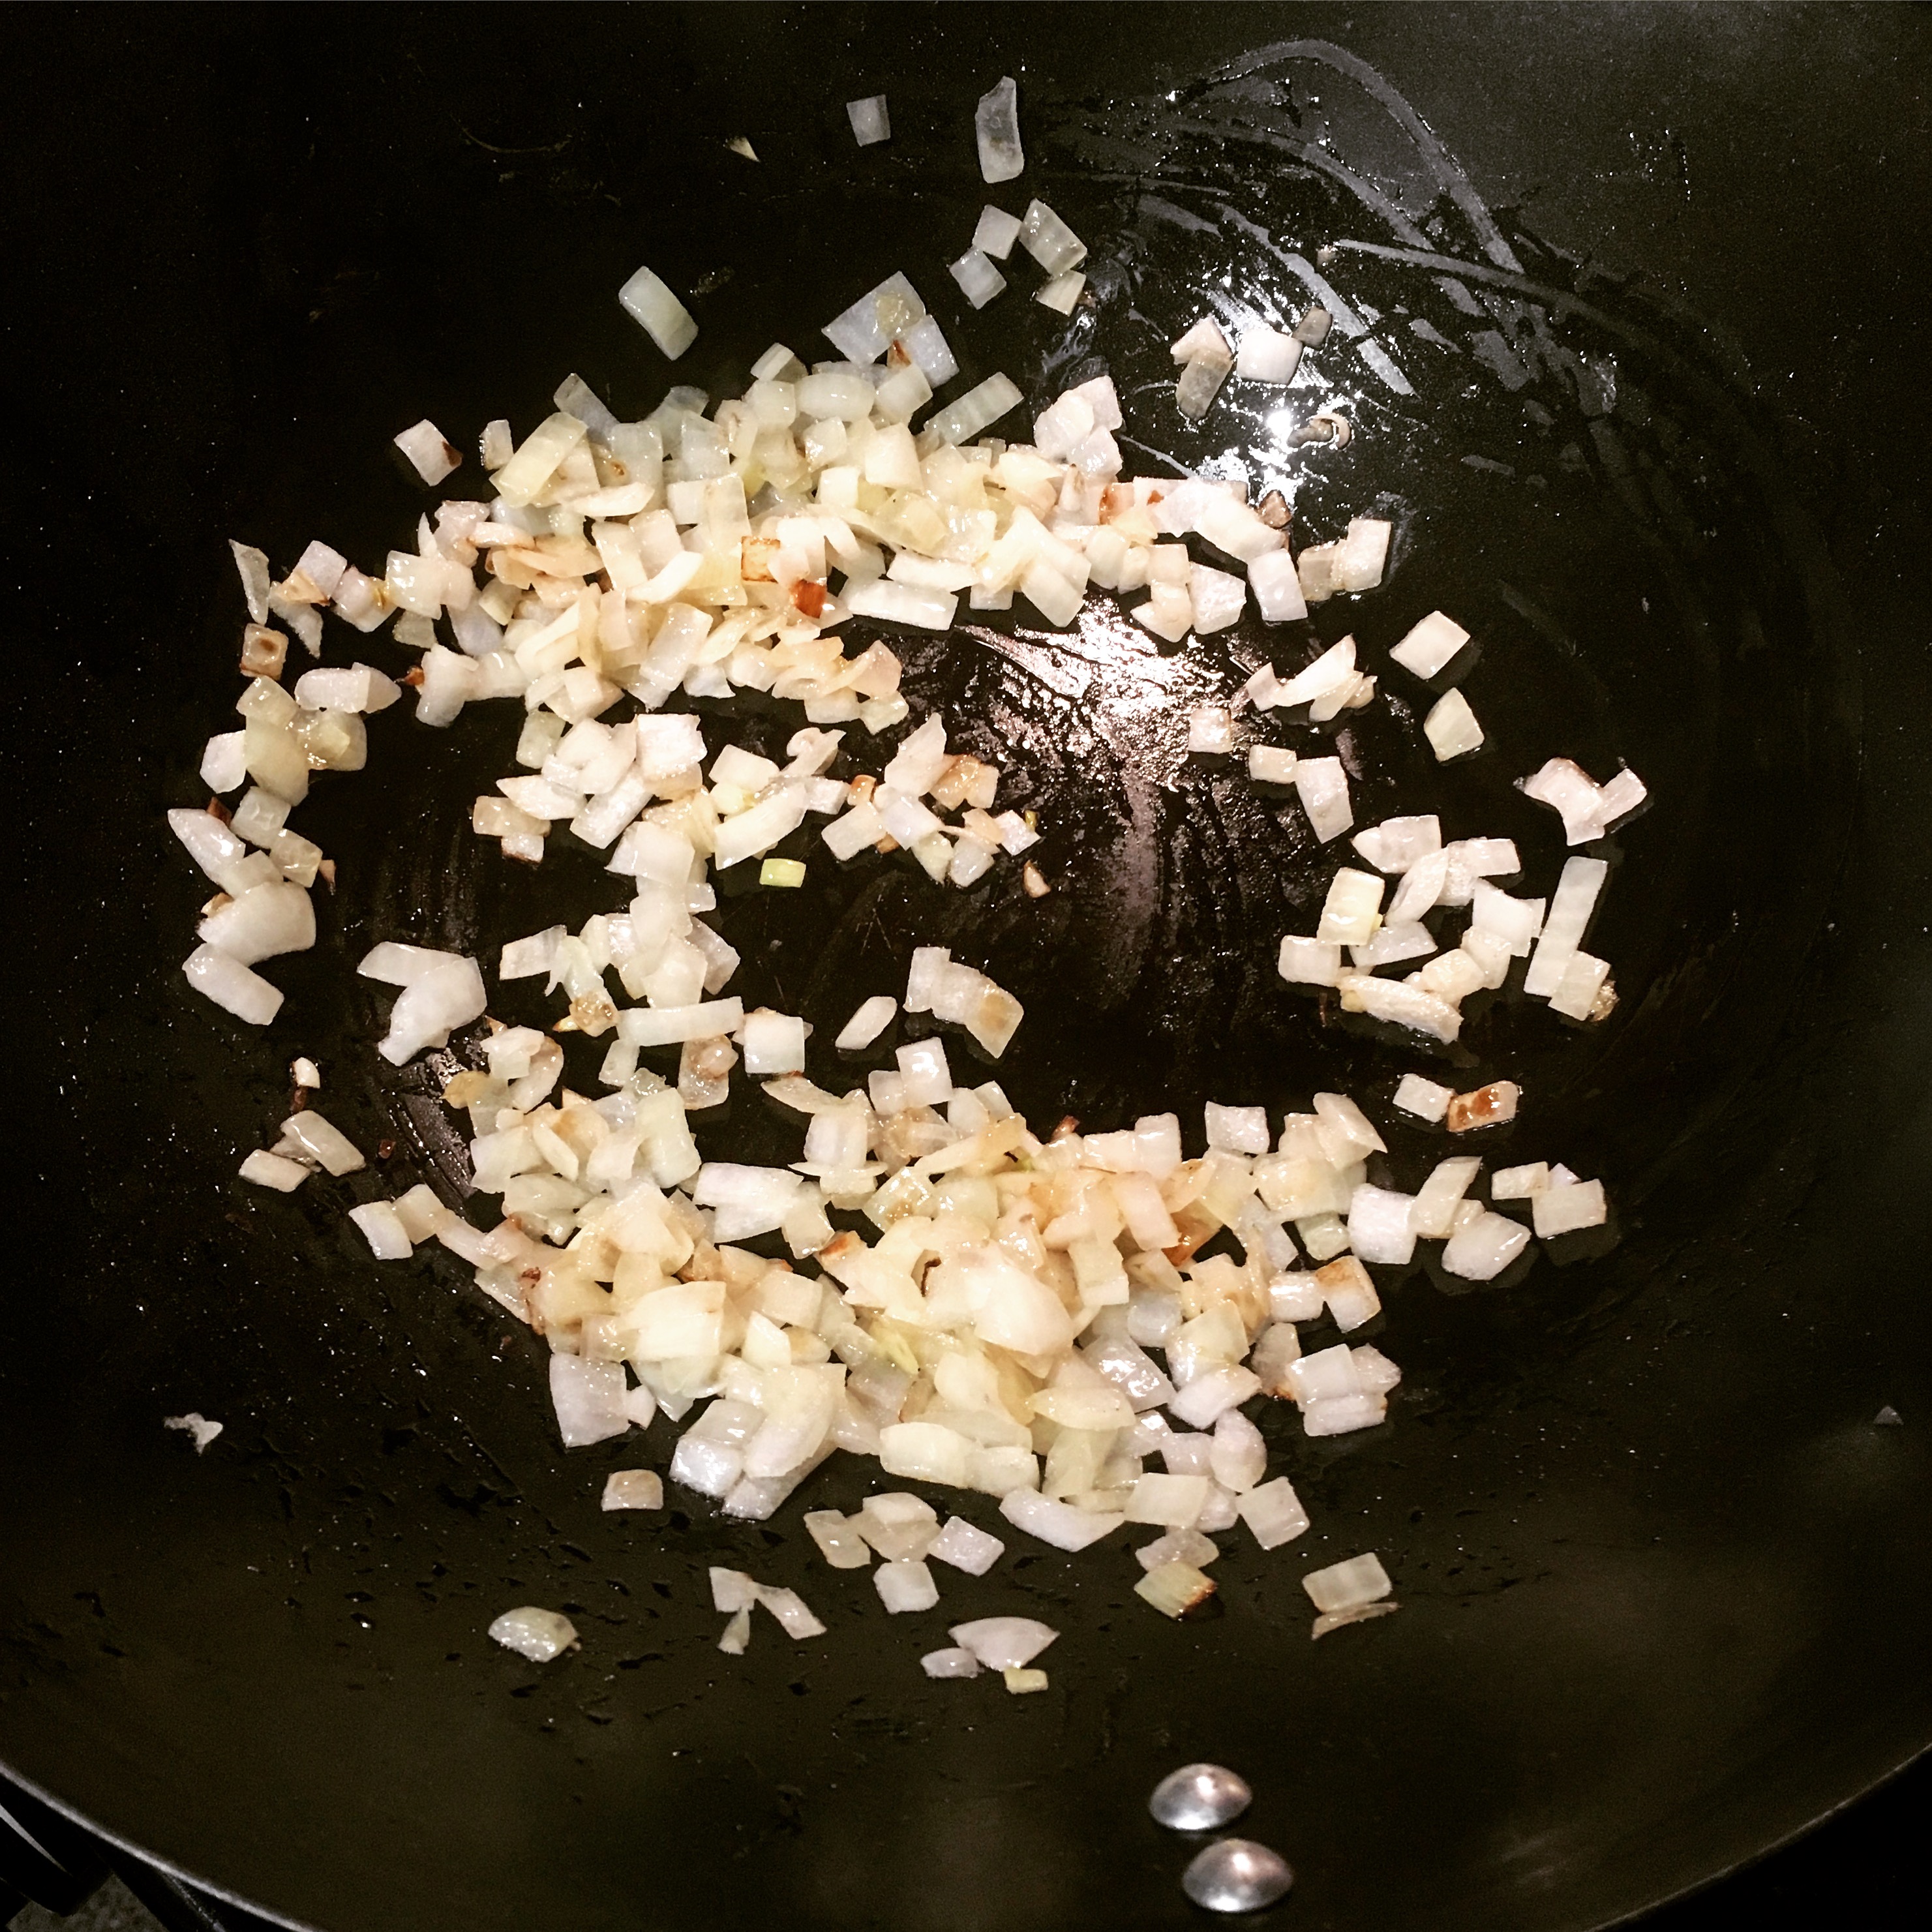
You can use kimchi for a lot of different things, but the one I thought I might enjoy the most was kimchi fried rice. (Disclaimer: I’m not a huge kimchi fan to begin with.) Luckily, I was already familiar with fried rice from my Boston Girl blog entry earlier this year.

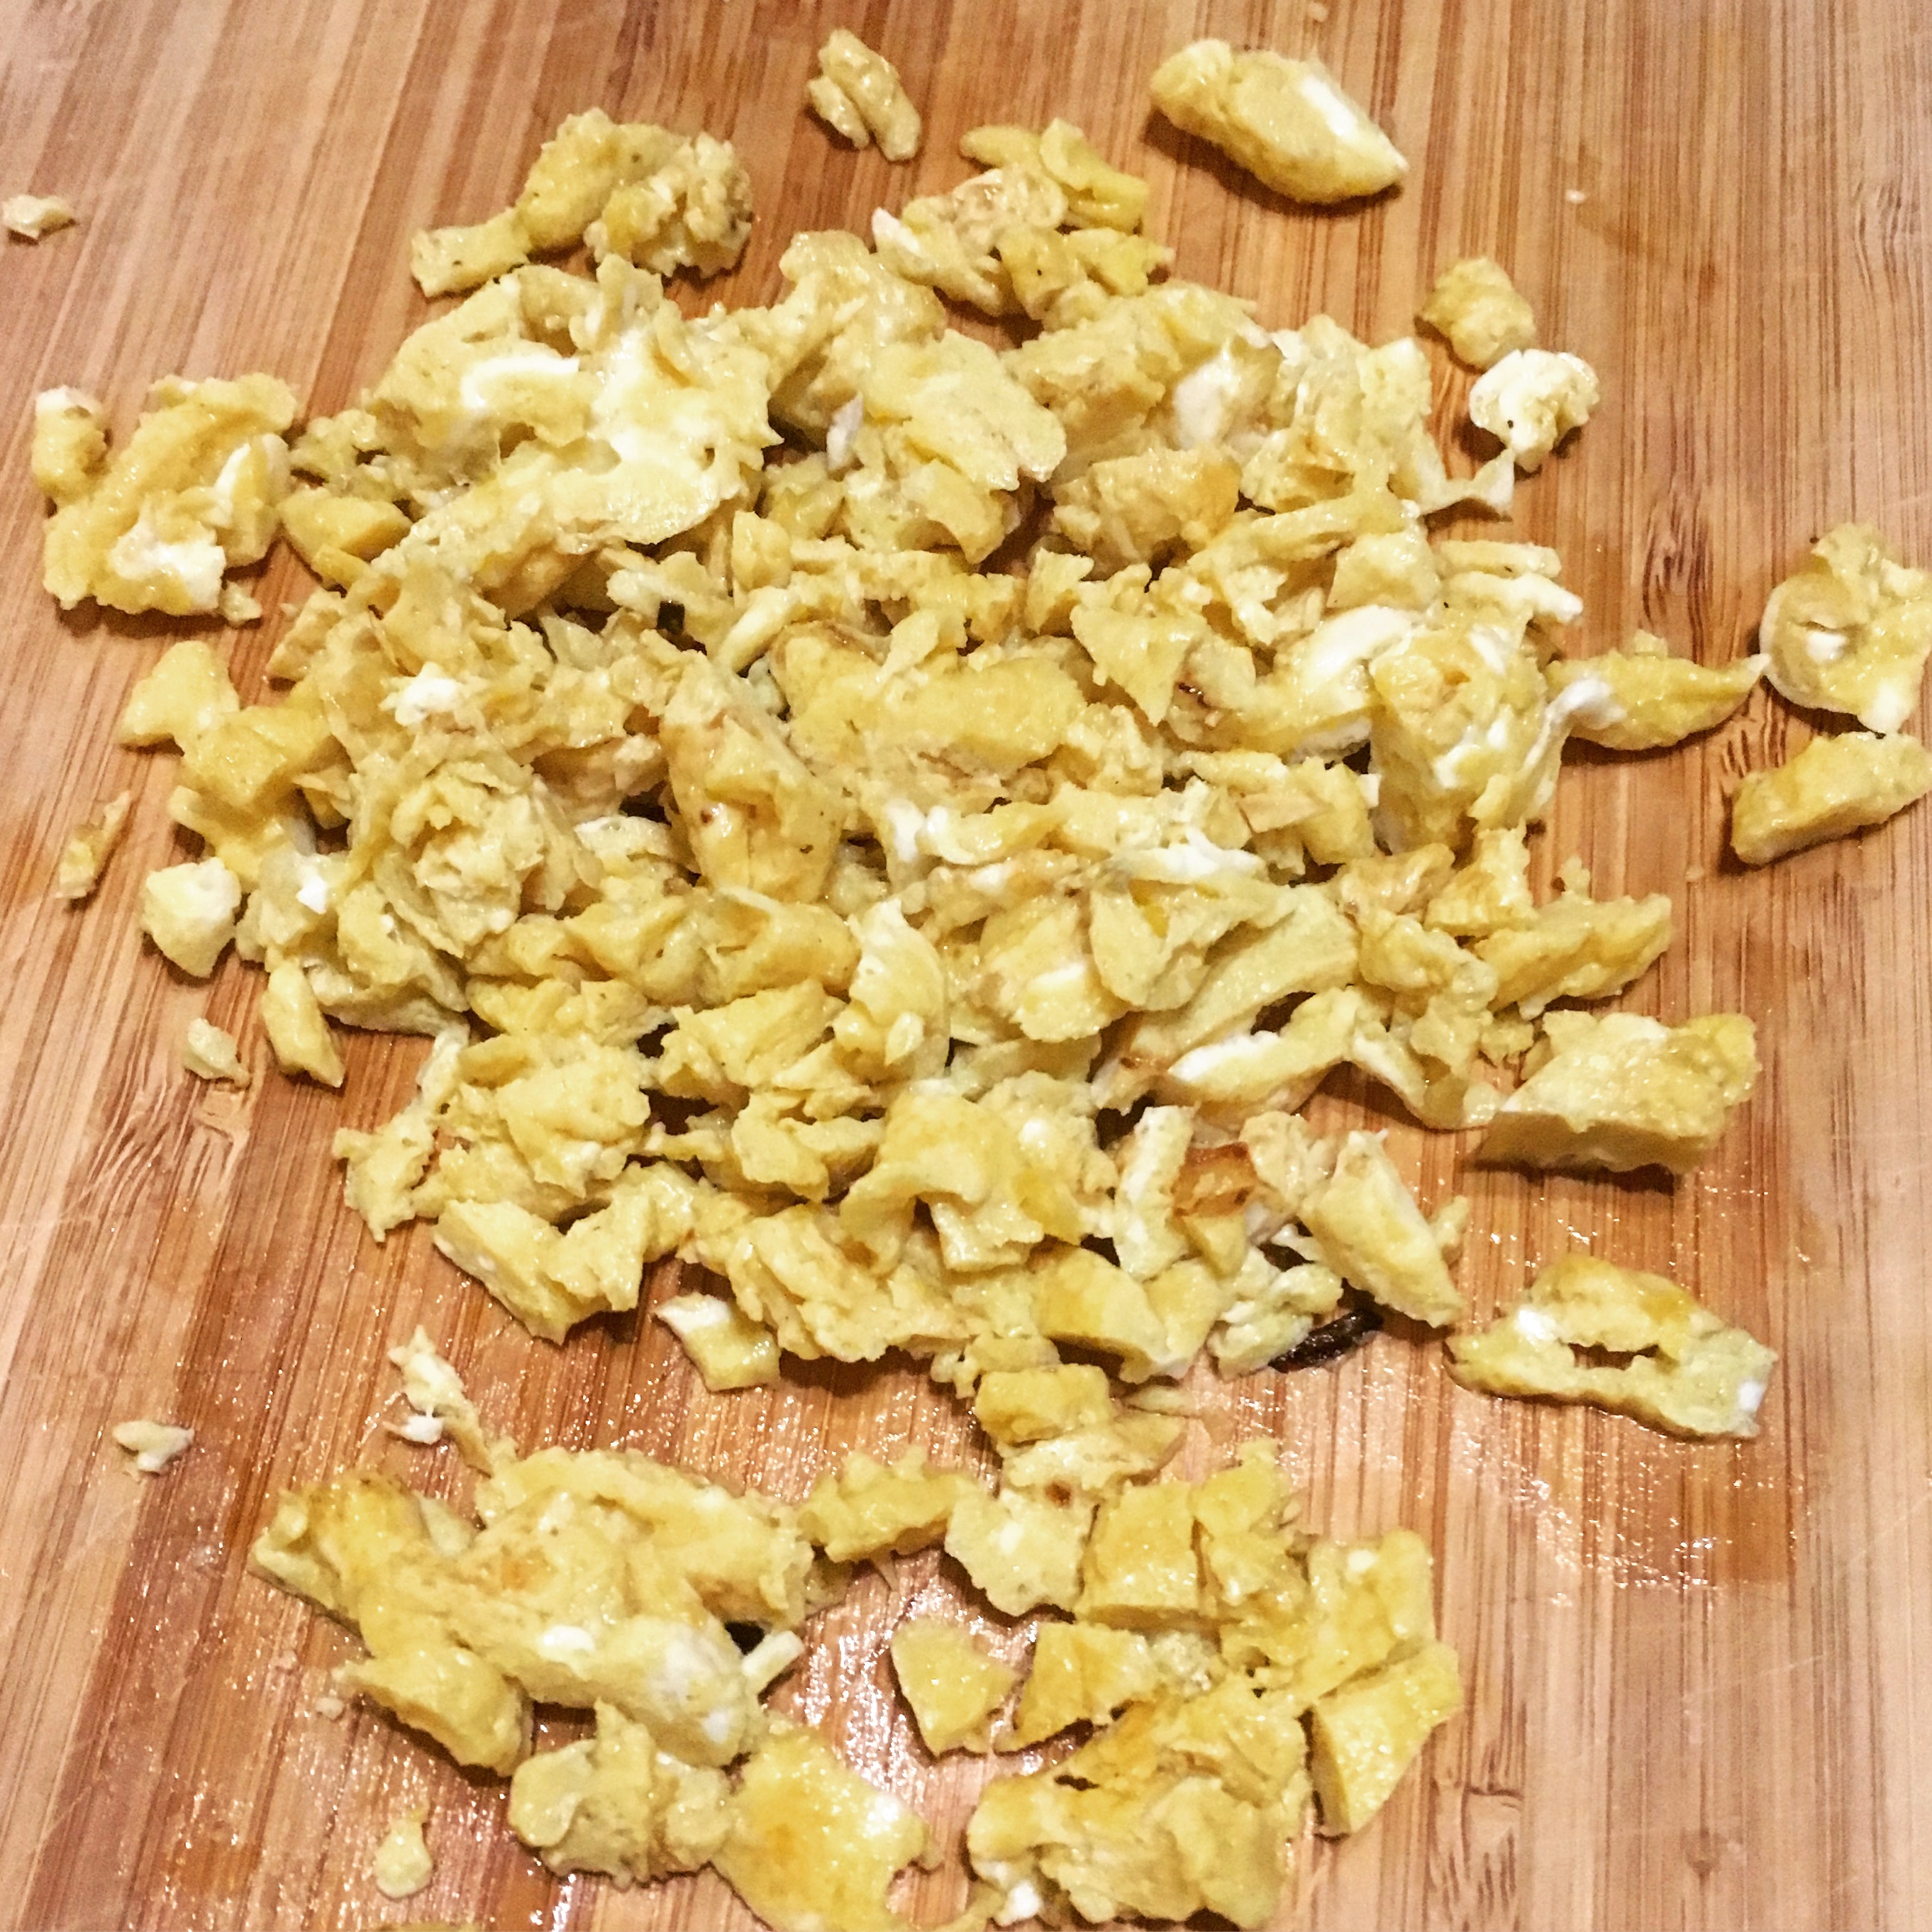
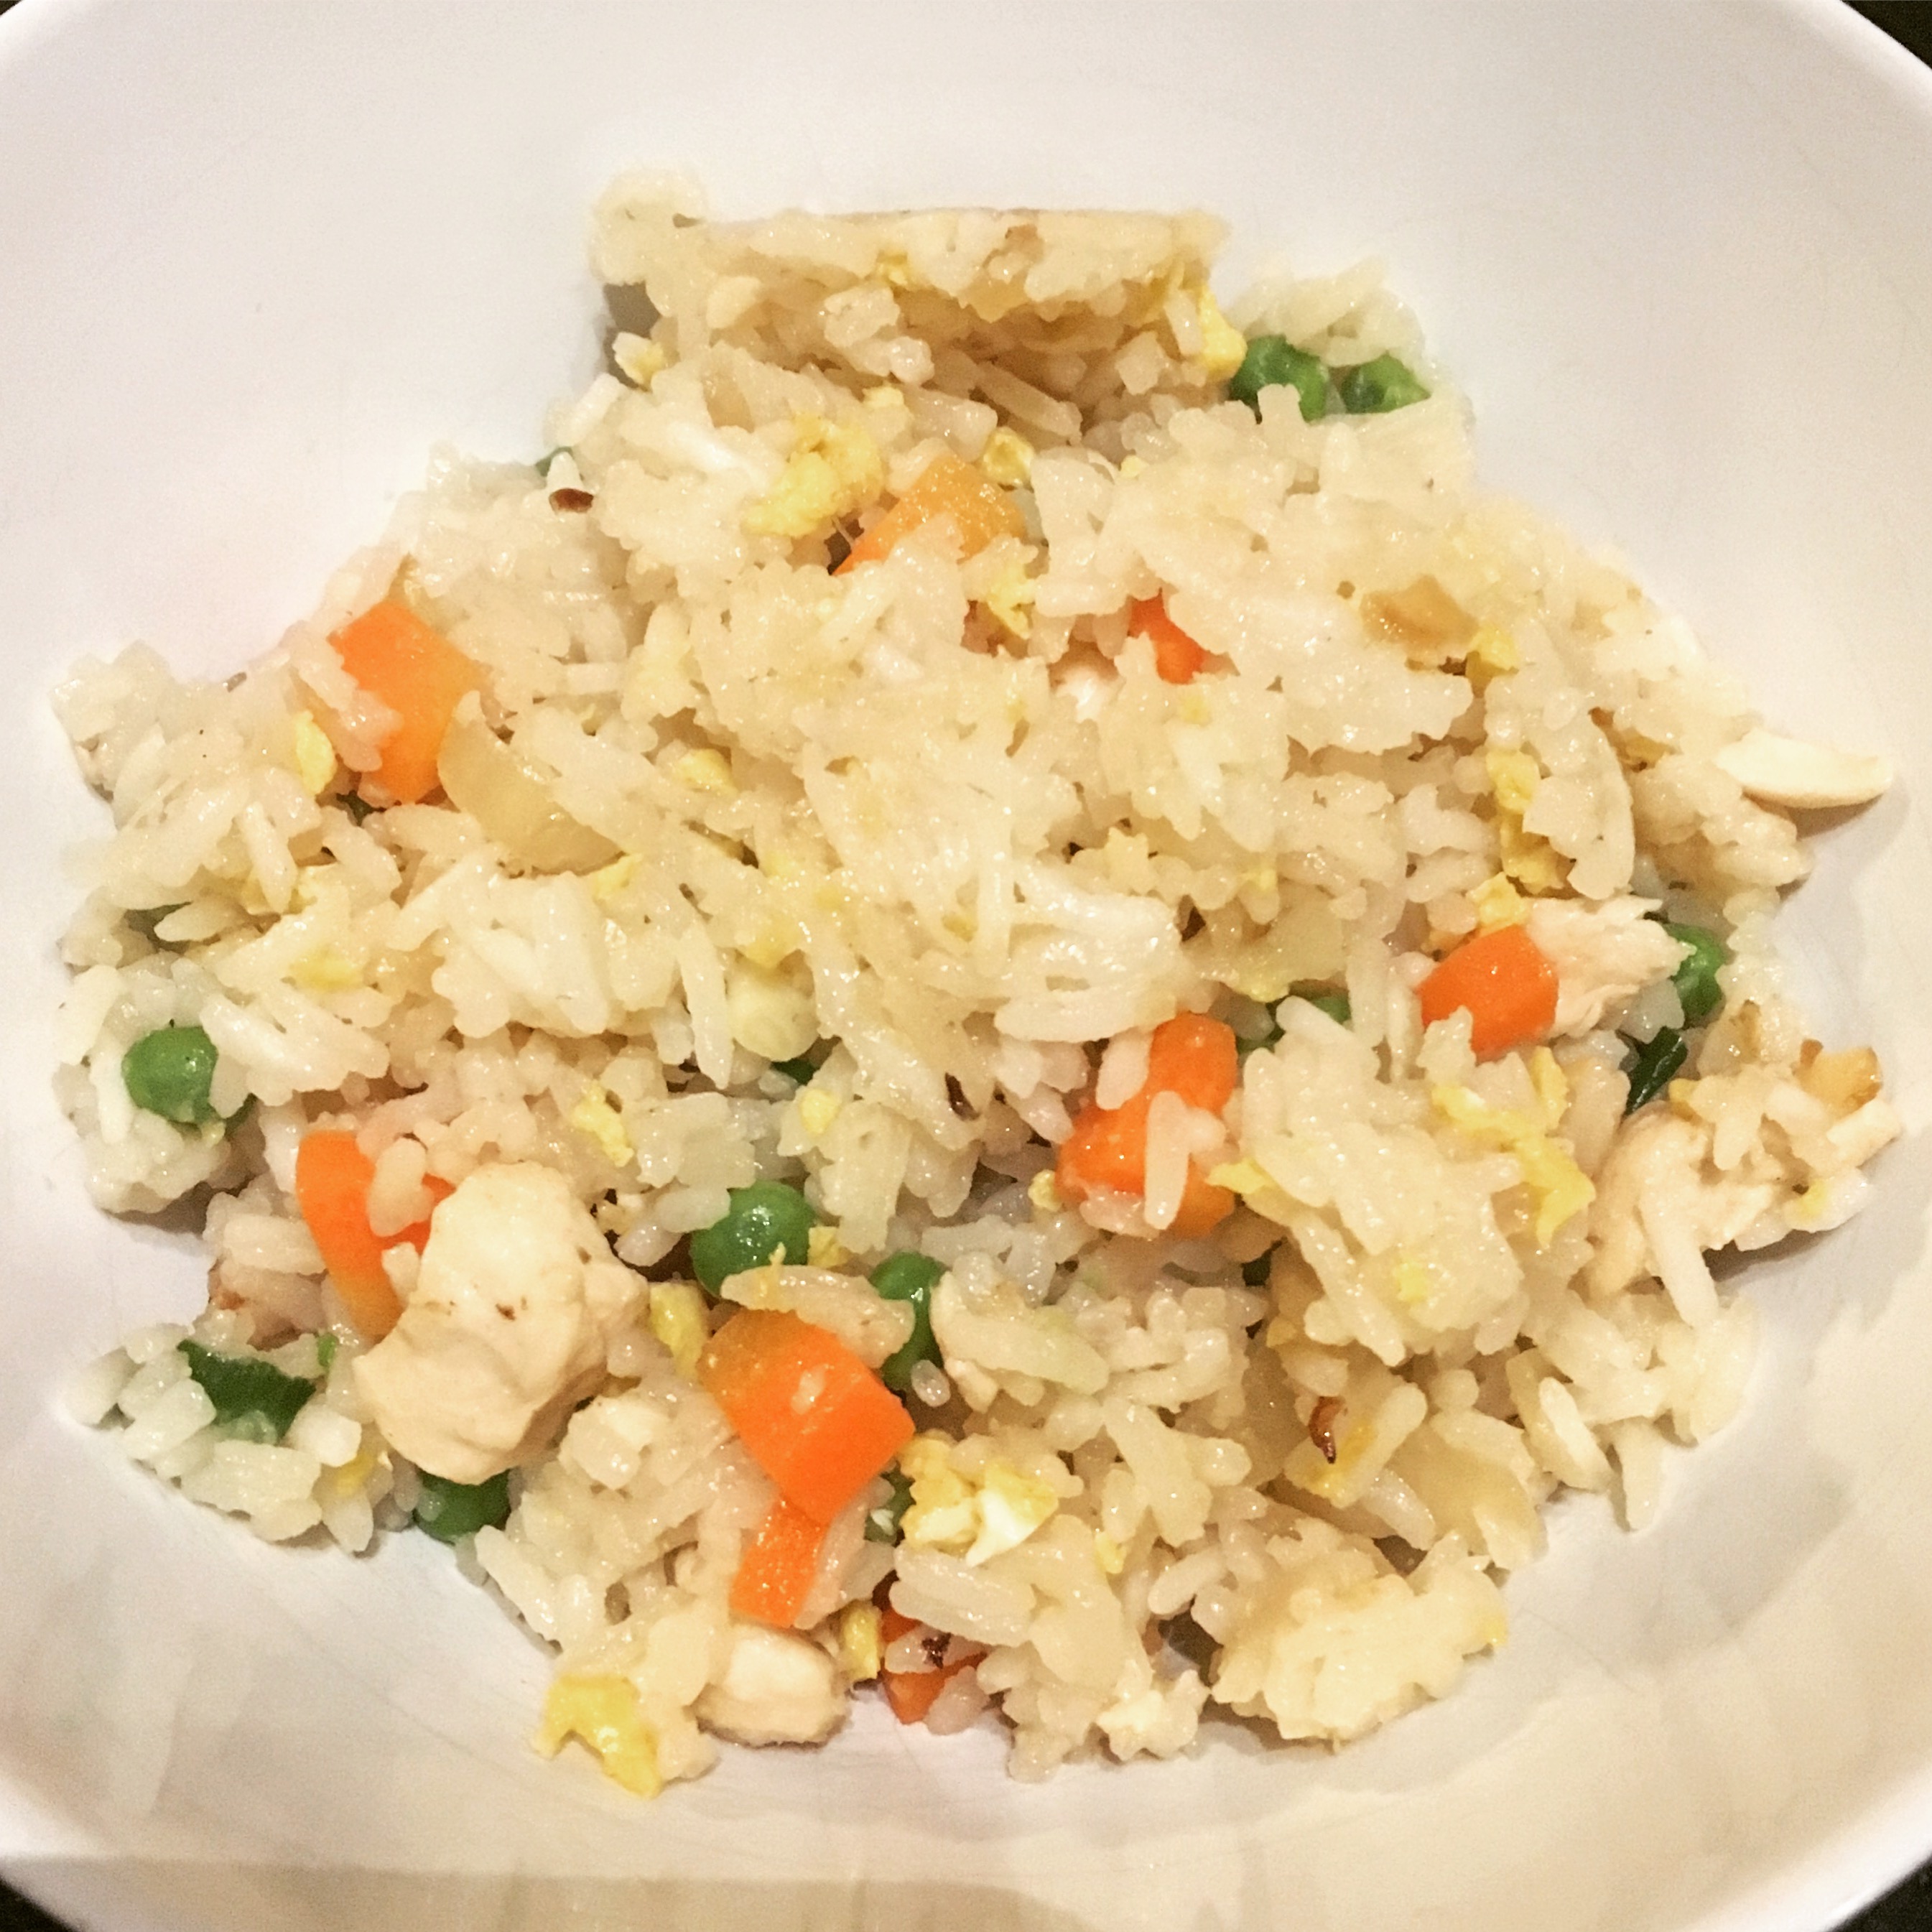
I ended up tweaking the recipe I found a little bit, but I loved the idea of serving it with an egg on top, so I had Scott fry some up while I put the finishing touches on the rice. The whole meal turned out really well - the kimchi added a little bit of an extra kick to the fried rice, and I liked it much more than I expected to! Now, we just have to figure out how to use the rest of the kimchi 🙂 Any suggestions, fellow foodies?

Basic Napa Cabbage Kimchi

  • Servings: 1½ quarts
  • Time: 25 minutes, plus about 4 days inactive soaking/fermenting time (up to one week)
  • Print

Ingredients

  • 1 (2-pound) napa cabbage
  • ½ cup kosher salt
  • about 12 cups cold water, plus more as needed
  • 8 ounces daikon radish, peeled and cut into 2-inch matchsticks
  • 4 medium scallions, ends trimmed, cut into 1-inch pieces (use all parts)
  • ⅓ cup Korean red pepper powder
  • ¼ cup fish sauce
  • ¼ cup peeled and minced fresh ginger (from about a 2-ounce piece)
  • 1 Tablespoon minced garlic cloves (from 6 to 8 medium cloves)
  • 2 teaspoons Korean salted shrimp, minced
  • 1½ teaspoons granulated sugar

Directions

  1. Cut the cabbage in half lengthwise, then crosswise into 2-inch pieces, discarding the root end. Place in a large bowl, sprinkle with the salt, and toss with your hands until the cabbage is coated. Add enough cold water to just cover (about 12 cups), making sure the cabbage is submerged (it’s OK if a few leaves break the surface). Cover with plastic wrap or a baking sheet and let sit at room temperature at least 12 hours and up to 24 hours.
  2. Place a colander in the sink, drain the cabbage, and rinse with cold water. Gently squeeze out the excess liquid and transfer to a medium bowl; set aside.
  3. Place the remaining ingredients in a large bowl and stir to combine. Add the cabbage and toss with your hands until evenly combined and the cabbage is thoroughly coated with the mixture.
  4. Pack the mixture tightly into a clean 2-quart or 2-liter glass jar with a tight-fitting lid and seal the jar. Let sit in a cool, dark place for 24 hours (the mixture may bubble). Open the jar to let the gases escape, then reseal and refrigerate at least 48 hours before eating. (Kimchi is best after fermenting about 1 week). Refrigerate for up to 1 month.

From: Chowhound

I used the kimchi to make Kimchi Fried Rice (from Rasa Malaysia), though it can be served as a side or in a variety of dishes.


This post contains affiliate links. Full disclosure here.

Filed Under: book review, recipe Tagged With: contemporary, cultural, drama, fiction, long read, side dish, spicy, veggies

The Kitchen House + Cracklin' Bread

June 17, 2017 by Megan 4 Comments

As you may know from my latest life update, Scott and I recently moved into our first house. The following Monday, I ventured out to find the local library and become a member. I also found out about an upcoming semi-annual used book sale hosted by the Friends of the Library - it was just a few weeks away, and I was so excited I hadn’t missed it! I ended up buying 13 books that day and The Kitchen House was one of them.

the-kitchen-house.jpg

I’d read about half of the books I bought and took a gamble on the other half. Not sure of where to start, I posted the haul on my online book club’s page and was overwhelmed with suggestions to start with Kathleen Grissom’s novel; so I did. It’s not exactly the expected tale of Southern plantation life, and I loved it all the more for that.

After her parents die on the journey from Ireland to the States, newly-orphaned Lavinia is taken in by the master of a tobacco plantation and placed under the care of Belle, a slave in the kitchen house. Though she lives and works with them, the difference between Lavinia and her adopted family becomes more and more clear as she grows up. She is given opportunities that are intended to improve her life, including whisking her off the plantation and providing her with an education.  

Eventually, the bond Lavinia shares with her adopted family puts them all in a precarious situation and tough choices must be made. I found myself rooting for Lavinia, Belle and every one of their family members.

Early on, Belle makes cracklin’ bread, cornbread with “crunchy bits of pork fat” mixed in. Lavinia and Fanny ate the cracklin’ “with zeal” and, from that point on, all I could think about was making my own cracklin’ bread. I couldn’t get my hands on any cracklin’, nor was I exactly sure of how to go about finding the pork bits to make it, so I unfortunately had to substitute with bacon crumbles. Don’t worry, the recipe I found from Southern Living said it’s okay, but maybe it’s just trying to make northerners like me feel better.

It was very easy to make, and I started by rendering down my bacon. Once it cooled a bit, I chopped it into small crumbly bits. I preheated the oven to 425 and melted the butter in my skillet.

In a bowl, I used a whisk to mix the cornmeal, baking powder and salt (making my own self-rising cornmeal) with the flour.

IMG_3276

In a separate bowl, I mixed together the buttermilk and eggs before adding to the well in the middle of my dry ingredients. I added the crumbled bacon as well and stirred until just wet. I poured the whole mixture into the hot skillet.

IMG_3277

After baking for about 25 minutes, the cracklin’ bread was a beautiful golden brown.

IMG_3278

Grannie’s Cracklin’ Bread

  • Servings: 8-10
  • Time: 40 minutes
  • Print

Ingredients

  • ¼ cup butter or margarine
  • 2 cups self-rising cornmeal*
  • ½ cup all-purpose flour
  • 2½ cups buttermilk
  • 2 large eggs, lightly beaten
  • 1 cup cracklings**

Directions

  1. Place butter in a 9-inch cast-iron skillet (or other oven-safe skillet), and heat in a 425° oven for 4 minutes.
  2. Combine cornmeal and flour in a large bowl; make a well in center of mixture.
  3. Stir together buttermilk, eggs, and cracklings; add to dry ingredients, stirring just until moistened. Pour over melted butter in hot skillet.
  4. Bake at 425° for 25 to 30 minutes or until golden brown.

From: Southern Living, by way of MyRecipes.com

*If you don’t have self-rising cornmeal, you can make your own by adding 1 TBS of baking powder and 1 tsp of salt to 2 cups of regular cornmeal.

**1 cup cooked, crumbled bacon (12 to 15 slices) may be substituted for cracklings.


Here is the rest of my book haul. What should I dive into next?

IMG_3057.JPG

This post contains affiliate links. Full disclosure here.

Filed Under: book review, recipe Tagged With: bread, historical fiction, meat, side dish

1984 + Artisan Dinner Rolls

March 25, 2017 by Megan 1 Comment

I never read George Orwell’s 1984 in high school. I also never read Animal Farm until my boss recommended it to me as an adult, and while it was fine, I wasn’t particularly moved to seek out other Orwellian novels. But, like many Americans, once Trump was elected and “alternative facts” became a thing, I got interested. Suddenly, it was selling out everywhere - even Amazon - and I had to backorder my copy.

31besGg4t3L._SX311_BO1,204,203,200_

For those of you who don’t know, 1984 is a dystopian novel that imagines a world where Big Brother watches over your every move, the Thought Police have jurisdiction and the news is altered on a regular basis to better correspond to reality and/or change the past. It was written 35 years prior to 1984, and now, another almost 35 years later, it is more relevant than ever.

In the bleak world Orwell paints, the main character Winston Smith is a member of the Outer Party, and since he actively participates in spreading propaganda and revising history, he lives a decently comfortable life - even if it’s under constant scrutiny. While we primarily follow his journey for the truth, I found the “Proles” to be the most interesting, and Winston too, thinks of them as the best chance to overthrow the ruling Inner Party. Though they are roughly 85% of the population, they exist only to supply labor and grow the population.

I’m not sure I would’ve fully understood this book, let alone appreciated it had I read it in high school. It’s not a book that I like even now, as alarming as it was, but it certainly respect its message. I think everyone should read it once, and it was certainly worth it for me.

I could’ve made something decadent to represent the Inner Party, who always seem to be enjoying chocolate and wine while the rest of the country is told there’s a shortage, but I felt like a rustic bread was more representative of those who struggle beneath them - the Outer Party and the Proles. Outside of culinary school, I haven’t attempted bread, so I found a recipe for Unbelievably Easy Artisan Rolls and set to work.

As promised, the rolls were unbelievably easy to make. Just before going to bed one night, I whisked together the flour, salt and yeast before adding 2 cups of room temperature water. I mixed it all together with a rubber spatula, covered it with plastic wrap and set the bowl on the stove to hang out while I slept.

IMG_2636

In the morning, I removed the plastic wrap to see how much the dough had risen. It wasn’t a crazy amount, but it definitely had expanded and there were bubbles on top.

IMG_2650

With the oven coming up to 425-degrees F, I began coating the large ball of dough with flour and then used a bench scraper to divide it into a dozen smaller pieces. With each well-coated with more flour, I formed them into balls and placed them on the parchment paper with the pinched side down (to make a smooth top). They rested for another 20 minutes before going in the oven.

I baked them for 15 minutes, rotated the pan, and baked for an additional 5 minutes. Mine probably could’ve spent another few minutes in the oven to get some more color, but I pulled them and allowed them to cool at that point - mostly because I’m impatient and they looked done enough to me.

IMG_2663

More importantly, they tasted delicious! They were great alongside soup, salad and pasta - all of our meals for the rest of the week. With rolls this easy, I probably don’t have any excuse for not making my own ever again.

Artisan Rolls

  • Servings: 10-16
  • Time: about 20 minutes active time, but requires several hours of unsupervised rising time
  • Print

From: The Café Sucre Farine

Ingredients

  • 4 cups bread flour, plus extra for shaping [I used all-purpose flour because it’s what I had at home and the rolls still tasted delightful.]
  • 2 teaspoons kosher salt
  • 1 teaspoon dry yeast
  • 2 cups room temperature tap water

Directions

  1. In a medium-large bowl, whisk together the bread flour, salt, and yeast. Make a well in the center and add the water. Mix with a sturdy rubber spatula until all flour is incorporated. Don’t worry, the dough will be wet and sticky, that’s how it should be. Cover bowl with a plastic wrap and leave to rise at room temperature overnight or for up to 12 hours.
  2. The following morning (or after 8-12 hours), the dough will have risen, but it may still look shaggy and it's surface will be covered with bubbles.
  3. Line a sheet pan with parchment paper*. Preheat the oven to 425ºF.
  4. Spread a generous ¼ cup of flour on a work surface. Dump the dough out onto the floured surface and turn it several times to coat with flour. I like to use a bench scraper for this.
  5. Divide the dough into 12-16 equal portions, turning each piece in the flour to coat. (The bench scraper is also great for cutting the dough). Shape each piece into a ball, pulling edges under and pinching together to make a smooth top. Invert balls and place on prepared pan, pinched side up. This will give you craggy, rustic textured rolls. If the dough is sticky as you’re shaping, just roll the piece in more of the flour. Let shaped rolls rise for 20 minutes.
  6. Transfer pan to the oven. Bake 15 minutes. Rotate pan. Bake 5 minutes more or until nicely golden. Transfer rolls to cooling rack to cool completely.
  7. If making in advance, remove from oven when pale golden brown (about 3-4 minutes less). Cool completely, then freeze on a baking sheet. Once frozen, transfer rolls to a large zip lock bag and store in the freezer. To serve, allow rolls to thaw, then heat for 8-10 minutes at 350˚F.

Filed Under: book review, recipe Tagged With: dystopia, fiction, five ingredients or less, side dish

All the Ugly and Wonderful Things + Mashed Potatoes

March 2, 2017 by Megan Leave a Comment

The title of All the Ugly and Wonderful Things really got it right. Bryn Greenwood’s novel is about a little girl, Wavy, whose father is a meth dealer. While the subject matter was ugly, I thought the writing in this novel was beautiful. I was captivated even though I often wanted to put it down for a bit of a mental break.

All-The-Ugly-And-Wonderful-Things-By-Bryn-Greenwood.jpg

Wavy’s life is hard for many reasons, not the least of which is that, at eight years old, she is essentially the caregiver for her little brother. And, because of the life she was born into, she spends most of the novel seeking out the love and safety most children take for granted. The central bright spot in the novel is Wavy’s relationship with one of her father’s gentle but tattooed employees, Kellen. Not without its own problems, it still gives her the protection she craves.

Wavy struggles to eat in front of people, and while she might not partake, she takes it upon herself to ensure there is good food on the table at home. Kellen brings her the ingredients she requests. One of her favorite things about his grocery shopping is that he doesn’t forget any items and he always brings real butter for the mashed potatoes.

In one of her letters to Kellen, Wavy devotes an entire paragraph to mashed potatoes, and so that’s what decided to make to complement her story. I found a recipe online for Creamy Mashed Potatoes, with lots of real butter, of course.

Since it was just the two of us, I cut the recipe in half. I peeled half of the potatoes in a 5-lb bag (about 6) and added them to a large pot of water. Once it came to a boil, I partially covered the pot with a lid and let it continue to boil for about 20 minutes. (Timing will vary.)

I drained the potatoes and put them into my stand mixer bowl, using the whisk attachment to break them up by hand.

Then, I put the bowl in place and attached the whisk, setting it on low speed. After 30 seconds, I switched it up to medium speed and began to add the hot milk. Next, I added the butter, 1 tablespoon at a time, until the potatoes were smooth and fluffy.  Finally, I poured in the salt, plus a little black pepper to taste.

Creamy Mashed Potatoes

  • Servings: 6-8, as a side
  • Time: 40 minutes
  • Print


From: Natasha’s Kitchen

Ingredients

  • 4 lbs (12 medium) russet potatoes, peeled
  • 1 ¼ cups hot milk
  • 2 sticks unsalted butter at room temperature (not melted)
  • 1 ½ tsp salt, or to taste
  • 1 TBS fresh parsley or chives, finely chopped for garnish (optional)

Directions

  1. Peel potatoes (cut potatoes in half if very large). If you want the potatoes to be the smoothest possible, you can take the time to remove the little knots from the potatoes with a small spoon or the tip of a potatoes peeler. Place potatoes in a large pot (5 Qt+) and add enough cold water to cover potatoes. Bring to a boil and cook partially covered until easily pierced with a knife (boil 20-25 minutes depending on the size of your potatoes; mine took 22 min).
  2. Drain well and transfer to the bowl of your stand mixer. Grab the whisk attachment and mash potatoes lightly by hand to break them up. Fit mixer with whisk attachment and start mixer on low speed 30 seconds then increase to medium and slowly drizzle in HOT milk.
  3. With mixer on, add softened butter 1 Tbsp at a time, waiting a few seconds between each addition. Potatoes should be whipped and fluffy. Finally add 1 1/2 tsp salt, or to taste.


To keep mashed potatoes warm until serving: cover potatoes and place into a warm oven or transfer to a slow cooker on the low setting to keep potatoes warm until ready to serve.

This post contains affiliate links. Full disclosure here.

Filed Under: book review, recipe Tagged With: contemporary, fiction, side dish, tough topics, veggies

The Boston Girl + Fried Rice

February 23, 2017 by Megan 2 Comments

Anita Diamant’s novel The Boston Girl had been on my to-read list for a while and when it finally got selected for one of my book clubs, I was excited. I didn’t know much about it beyond the description; it was about a young Jewish woman growing up in Boston with her immigrant family.

the-boston-girl-by-anita-diamant

Though this had quite a different story to tell, I couldn’t help but be reminded of the lovely Lillian Boxfish (which I had just finished a few weeks before). Both stories follow strong females making their own way in big cities during a time when most women were supposed to be making families instead. This one is also narrated by an 85-year-old woman, this time Addie, as she tells her granddaughter how she got to be the woman she is today.

Our book club’s consensus was that the story was “so light” but as we dove in, we realized it actually wasn’t. Perhaps it was the narration style or the benefit of knowing it all turned out okay (after all, Addie was here telling us what happened so long ago), but Diamant tackles quite a few tough issues and Addie certainly has her share of hardships throughout the novel.

Despite the fact that she ate “pie for breakfast every day [one] summer,” food isn’t a key player in the story. It does make an appearance in the few dinner dates that Addie shares with us, and on one such evening she is introduced to Chinese food for the first time. In the retelling, she asks her granddaughter, “Did you know there was a time before all Jews loved Chinese food?” I had recently read an article around Christmas that tackled this very question, which I had found quite interesting. Chinese food has since become so interwoven with Jewish culture and there is such joy in the experience that Addie describes, I knew what I had to make.

I found an unintimidating recipe for fried rice and got to work. (After actually making it, however, I don’t know why I was ever intimidated - it’s quite easy.) I began by prepping all of my vegetables. I finely diced my onions and carrots and chopped my chicken breasts into bite-sized pieces. I was using leftover white rice, so thankfully that was already set to go. I put my egg into a small bowl, added 3 drops each of soy sauce and sesame oil and beat it until well-combined.

I let one tablespoon of oil heat up in my wok, then added the chopped onion. Once they were cooked through and starting to turn light brown, I removed them and set aside.

img_2575

With another small amount of oil heated in the wok, I added the mixture of egg, soy sauce and sesame oil. Once it was cooked, I transferred it to a cutting board and chopped it up.

img_2576

Again, I heated another tablespoon of oil and added the chicken, carrots, peas and cooked onion. (I would recommend adding the carrots in a few minutes earlier - perhaps even up to 5 minutes before the rest of the ingredients - to ensure that it gets cooked well enough to be a bit soft. My carrots ended up slightly crunchy, on the underdone side; my only complaint about the dish.)

img_2577

Once the chicken was mostly cooked, about 3 or 4 minutes, I added the rice and green onions (I didn’t use bean sprouts this time) and cooked for another 2 to 3 minutes. I was a little wary of undercooked chicken, which is why I cooked each stage a little longer than recommended in the recipe. Cook as long as feels/looks right to you, making sure to note that it will keep cooking throughout the process.

img_2578

For the last step, I added 2 tablespoons of soy sauce (plus a little extra) and the chopped egg, allowing the entire mixture to cook through for another minute and a half. The finished dish was quite tasty, one I would definitely make - and not be intimidated by! - again.

img_2579

Chinese Fried Rice

  • Servings: 4, 1 cup each
  • Time: 30 minutes
  • Print


From: Sue Lau on Food.com

Ingredients

  • ¾ cup finely chopped onion
  • 2½ tablespoons oil
  • 1 egg, lightly beaten (or more eggs if you like)
  • 3 drops soy sauce
  • 3 drops sesame oil
  • 8 ounces cooked lean boneless pork or 8 ounces chicken, chopped
  • ½ cup finely chopped carrot (very small)
  • ½ cup frozen peas, thawed
  • 4 cups cold cooked rice, grains separated (preferably medium grain)
  • 4 green onions, chopped
  • 2 cups bean sprouts
  • 2 tablespoons light soy sauce (add more if you like)

Directions

  1. Heat 1 TBS oil in wok; add chopped onions and stir-fry until onions turn a nice brown color, about 8-10 minutes; remove from wok.
  2. Allow wok to cool slightly.
  3. Mix egg with 3 drops of soy and 3 drops of sesame oil; set aside.
  4. Add 1/2 TBS oil to wok, swirling to coat surfaces; add egg mixture; working quickly, swirl egg until egg sets against wok; when egg puffs, flip egg and cook other side briefly; remove from wok, and chop into small pieces.
  5. Heat 1 TBS oil in wok; add selected meat to wok, along with carrots, peas, and cooked onion; stir-fry for 2 minutes.
  6. Add rice, green onions, and bean sprouts, tossing to mix well; stir-fry for 3 minutes.
  7. Add 2 TBS of light soy sauce and chopped egg to rice mixture and fold in; stir-fry for 1 minute more; serve.
  8. Set out additional soy sauce on the table, if desired.

Filed Under: book review, recipe Tagged With: chicken, dinner, fiction, historical fiction, lunch, side dish

  • « Go to Previous Page
  • Go to page 1
  • Go to page 2
  • Go to page 3

Primary Sidebar

About

The Hungry Bookworm brings together literature and food. Megan has an insatiable appetite for both.

As C.S. Lewis said, “Eating and reading are two pleasures that combine admirably.” Enjoy!

  • Bloglovin
  • Facebook
  • Instagram
  • Pinterest

Subscribe

Don't miss out on bookish content, exclusive giveaways, and of course, book club-friendly recipes. Get notified of new posts via email.

Join 2879 subscribers.

Search for Ingredients, Recipes, or Books

Recent Posts

  • Subscriber Box Review: Literati Book Club - Roxane Gay's Audacious Book Club
  • Arsenic and Adobo + Ensaymada
  • Review of The Kindred Spirits Supper Club
  • Kids Edition: Sometimes I Like to Curl Up in a Ball + "Dirt" Pudding Cups
  • The Midnight Library + Broccoli and Ricotta Toast

Goodreads

Tags

5 ingredients or less appetizer baking book club book list book of the month books about food bread breakfast brunch chicken contemporary cookies cultural dessert dinner dinner party dystopia easy prep favorites fiction fruit historical fiction holiday ice cream linkup lunch meat memoir mini review nonfiction pasta quick read reading challenge science fiction seafood show us your books side dish snack soup TBR list thriller top ten tuesday vegetarian veggies

Archives

Other Great Book Blogs

Literary Quicksand
Never Enough Novels
Death by Tsundoku
Professional Reader 25 Book Reviews
Privacy & Cookies: This site uses cookies. By continuing to use this website, you agree to their use.
To find out more, including how to control cookies, see here: Cookie Policy

Footer Widget Header

Megan’s Instagram

Copyright © 2025 · Hungry Bookworm