• Skip to primary navigation
  • Skip to main content
  • Skip to primary sidebar
  • Home
  • Reviews
    • Book Index
    • Fiction
    • Non-Fiction
    • Top Ten Tuesdays
The Hungry Bookworm

The Hungry Bookworm

reading + eating

  • Recipes
    • Drinks
    • Snacks, Sides & Apps
    • Main Dishes
    • Desserts
    • 5 Ingredients or Less
  • About
    • Meet Megan
    • How I Rate
    • Review Policy
    • Contact

fiction

The Handmaid's Tale + Strawberry Pie

April 20, 2017 by Megan 1 Comment

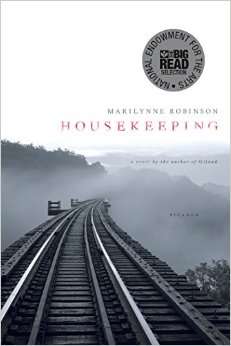
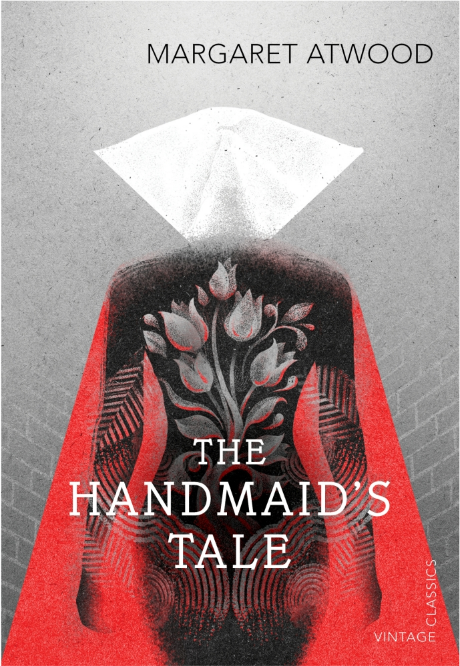
Is everyone else looking forward to Hulu’s The Handmaid’s Tale as much as I am? The trailer gives me chills. I had read the Margaret Atwood’s dystopian novel about three years ago, but anticipating the upcoming series, I was excited for the chance to re-read it with one of my book clubs.

cover.jpg.rendition.460.707

The first time I read The Handmaid’s Tale, I thought it was interesting, but I don’t think I fully appreciated it. This time around, I was able to read it through different eyes; it felt more relevant to me than it did a few years ago, and frankly, it was a little scary.

In Atwood’s imagined Republic of Gilead, Offred is one of the Handmaids placed with a Commander and his barren wife for the sole purpose of having his child and giving them a family. In her red dress, she is limited in who she’s allowed to communicate with, and even more so by the restrictions forbidding her to read or write. When Offred is not alone in her room, she runs errands with her partner Handmaid and occasionally attends birthings and special ceremonies designed to remind her and every woman of their place in this new totalitarian society.

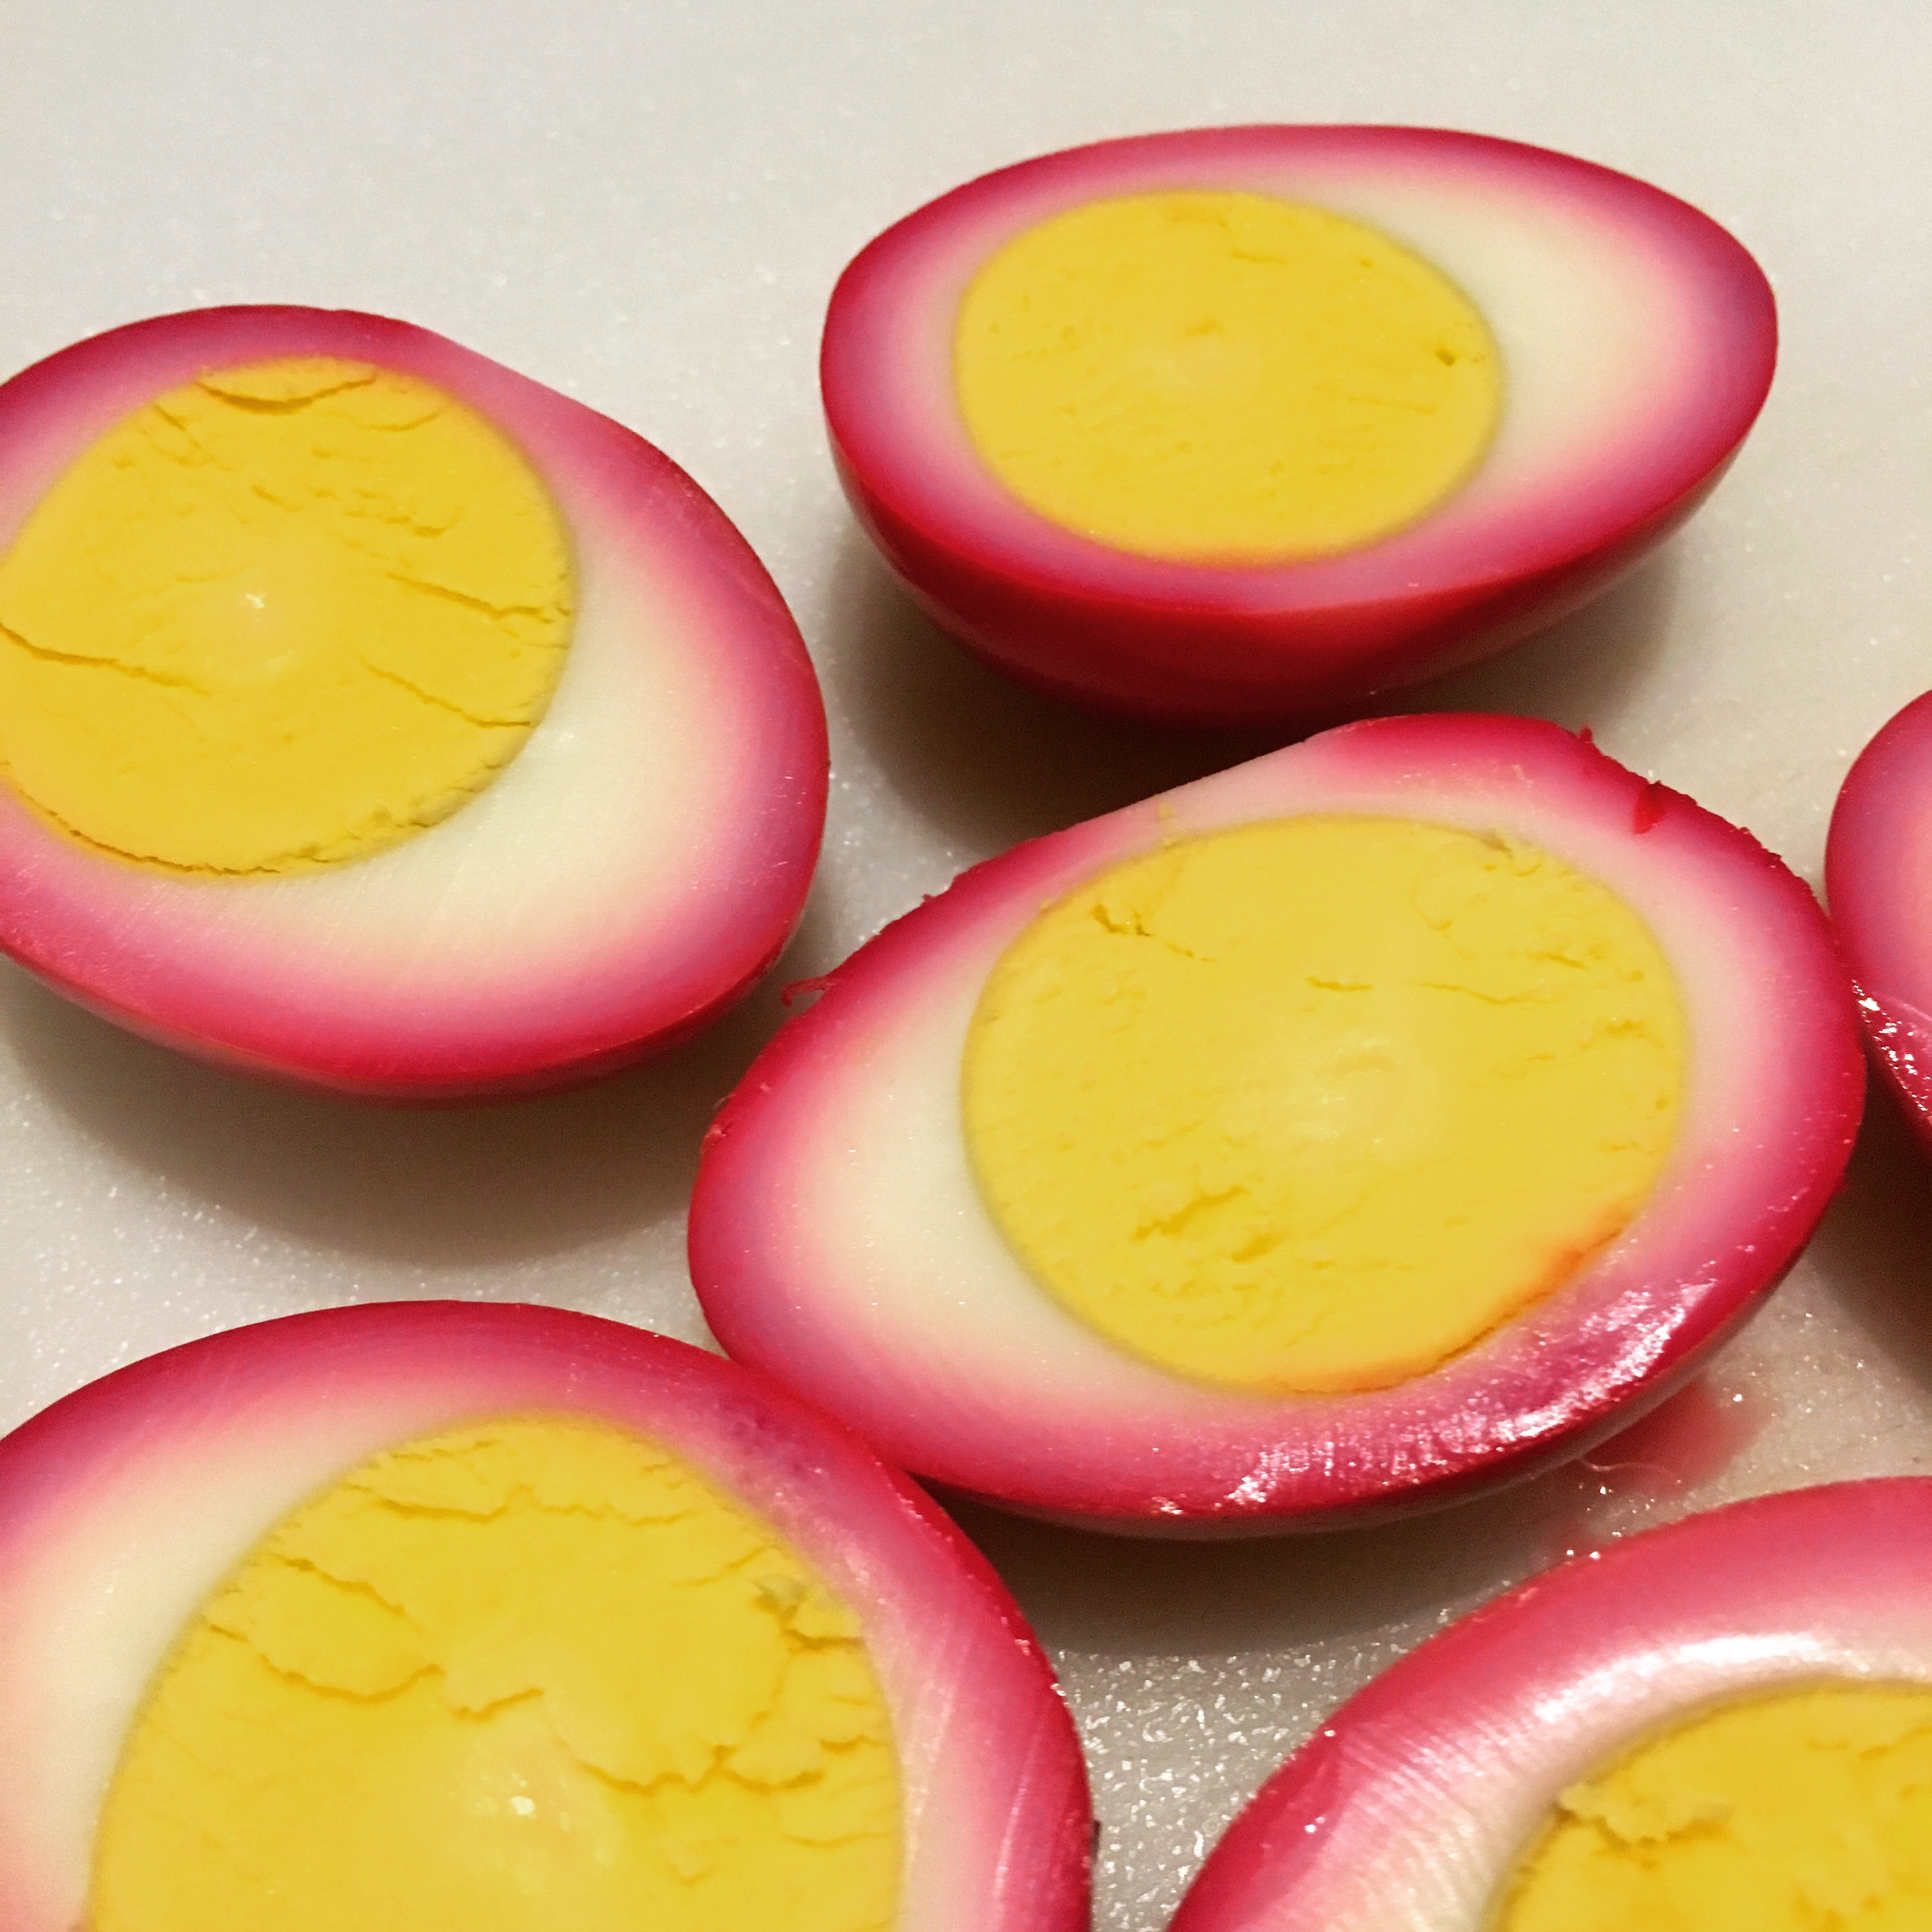
Offred’s diet, and presumably that of all Handmaids in Gilead, is controlled in its amount and restricted to that which is nourishing. Though Offred is the one to pick up the household’s groceries, it seems she has no say in what she eats. When shopping one day, she muses on the smell of fresh strawberries and the memories of summers past they recall.

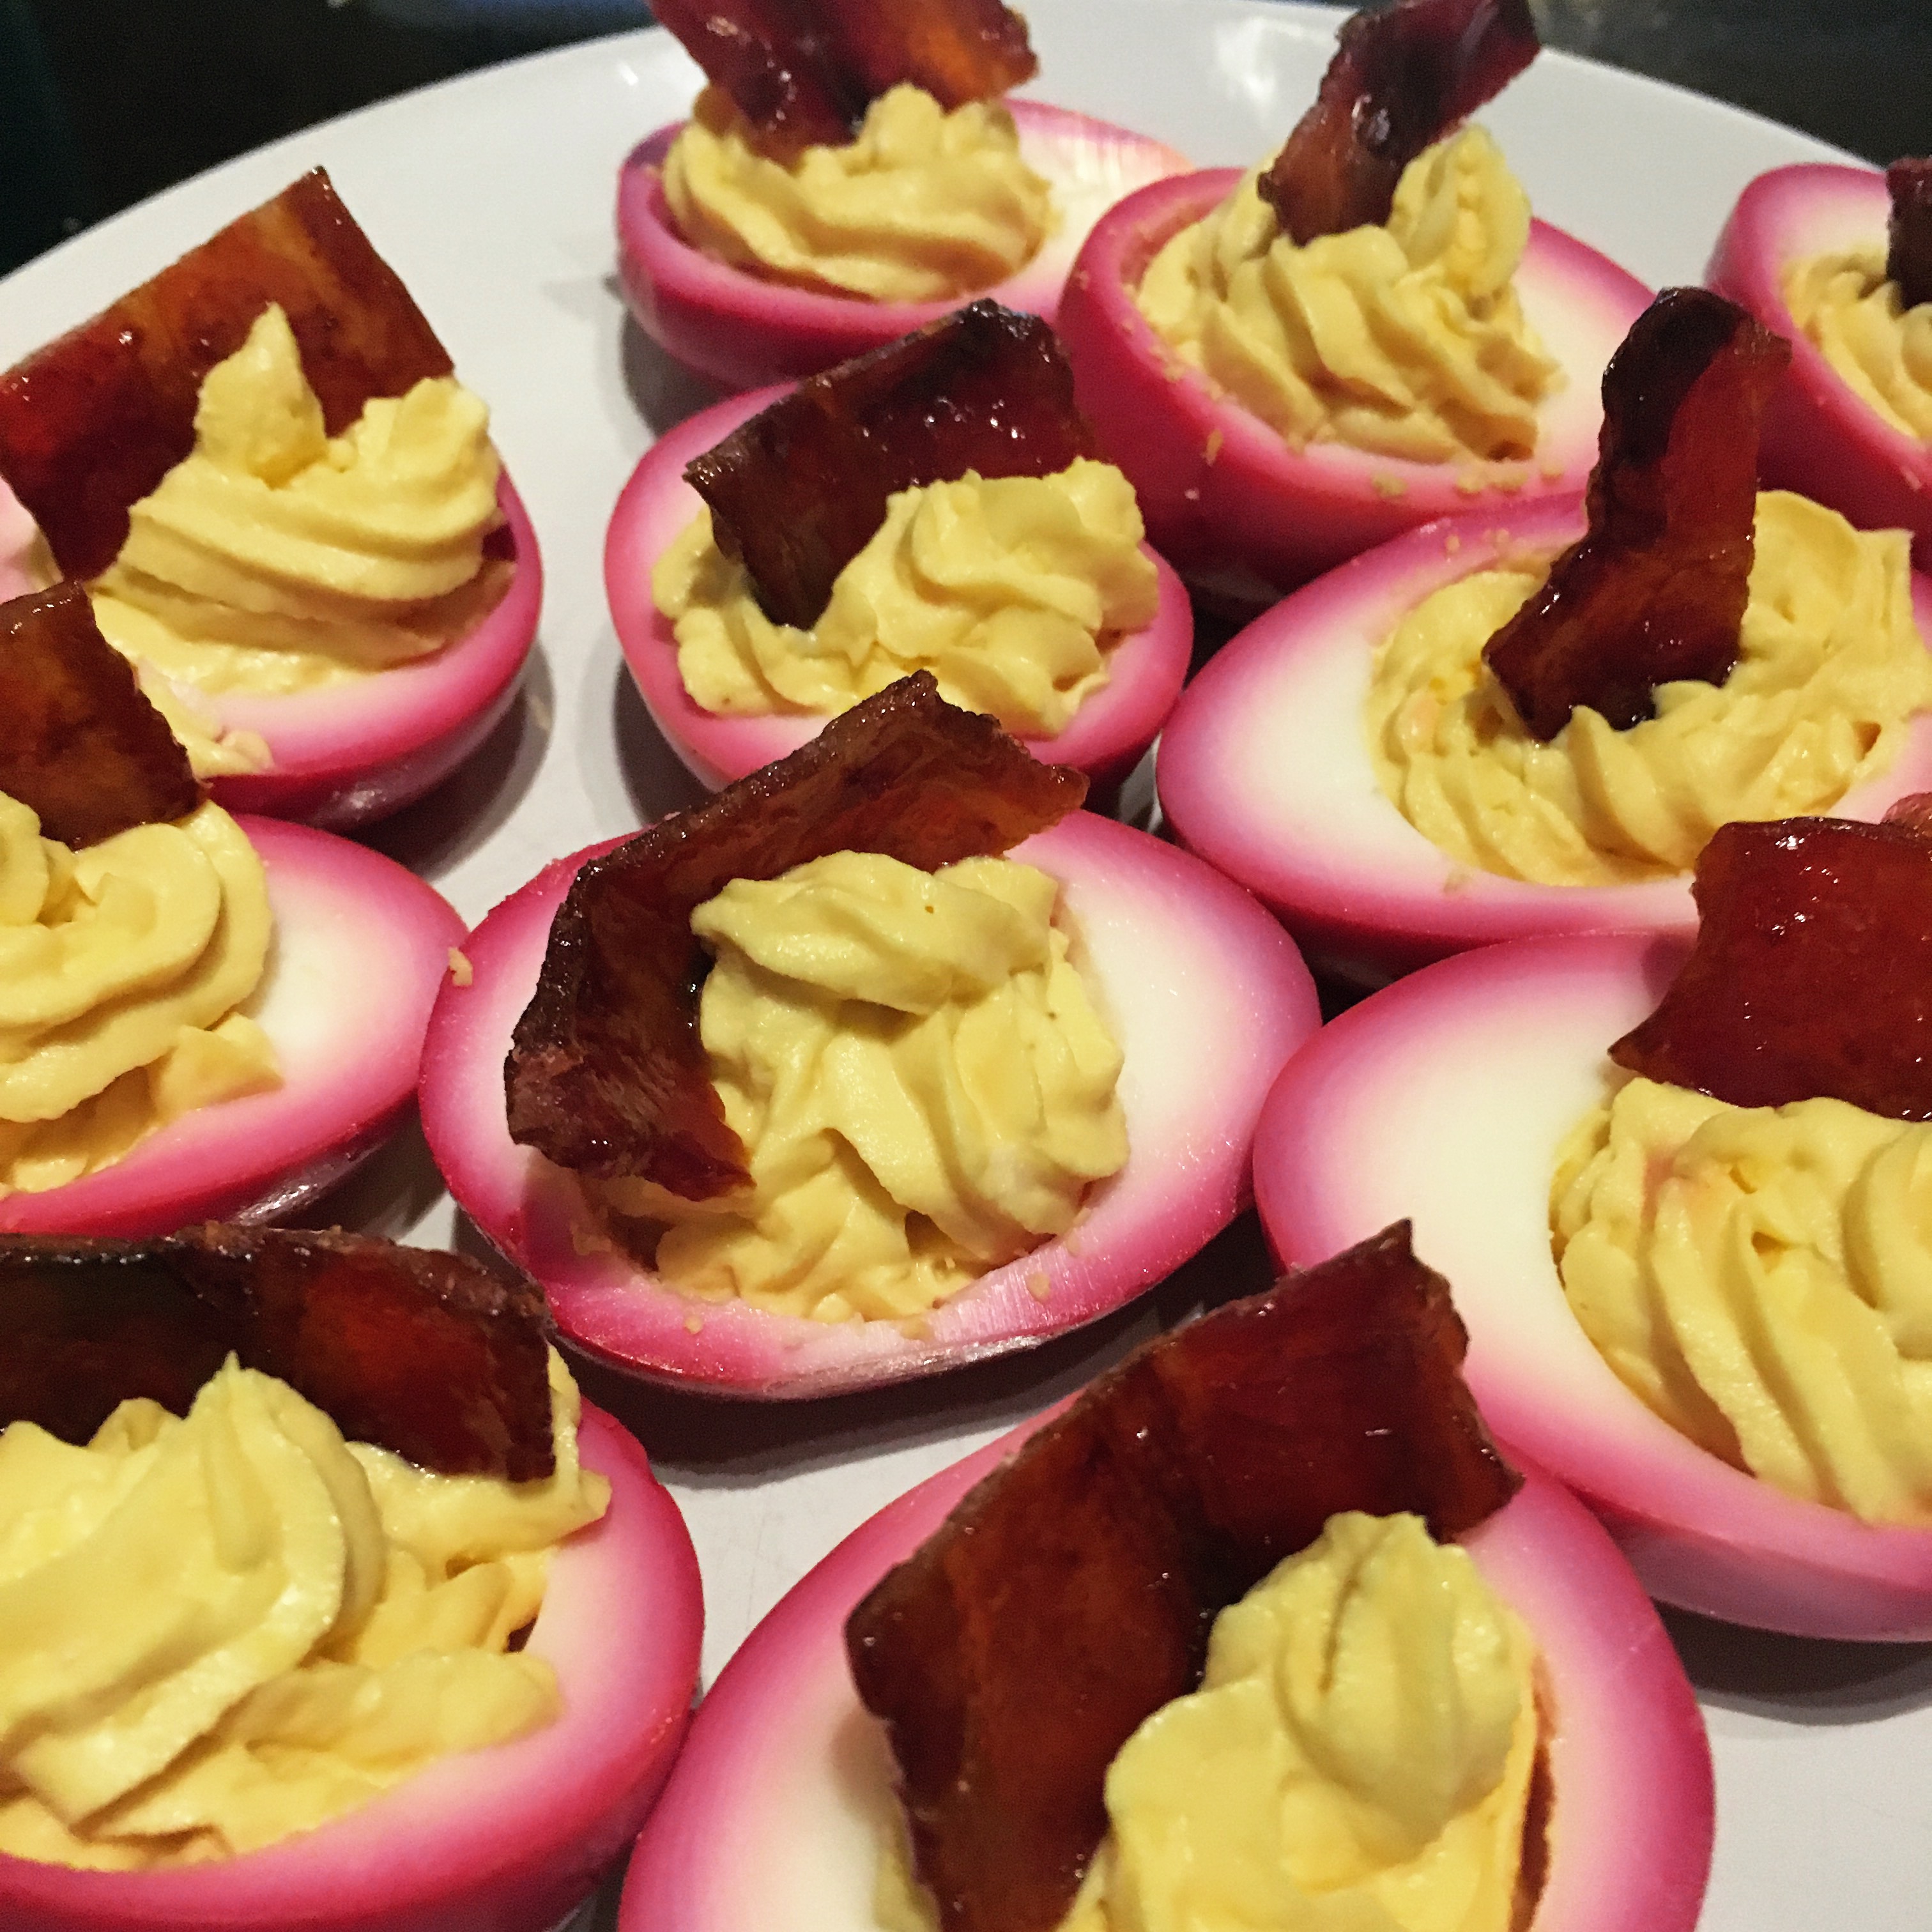
Living in a society so much like the one Offred used to live in - where women work outside of the home, have freedom of movement and choice, and can make their own decisions to have children or not - it was hard to see how easily it was all taken away. Many American women believe we have come a long way. And we have. But until we are truly equal and are equally represented in society, women are not in control of their own destinies. For me, the fact that these rollbacks are not inconceivable was the most eye-opening part of reading this book.

In the end, Offred’s story left me with more questions than answers, but it was one that sparked a lively conversation with my fellow book club members and one that I heartily recommend.

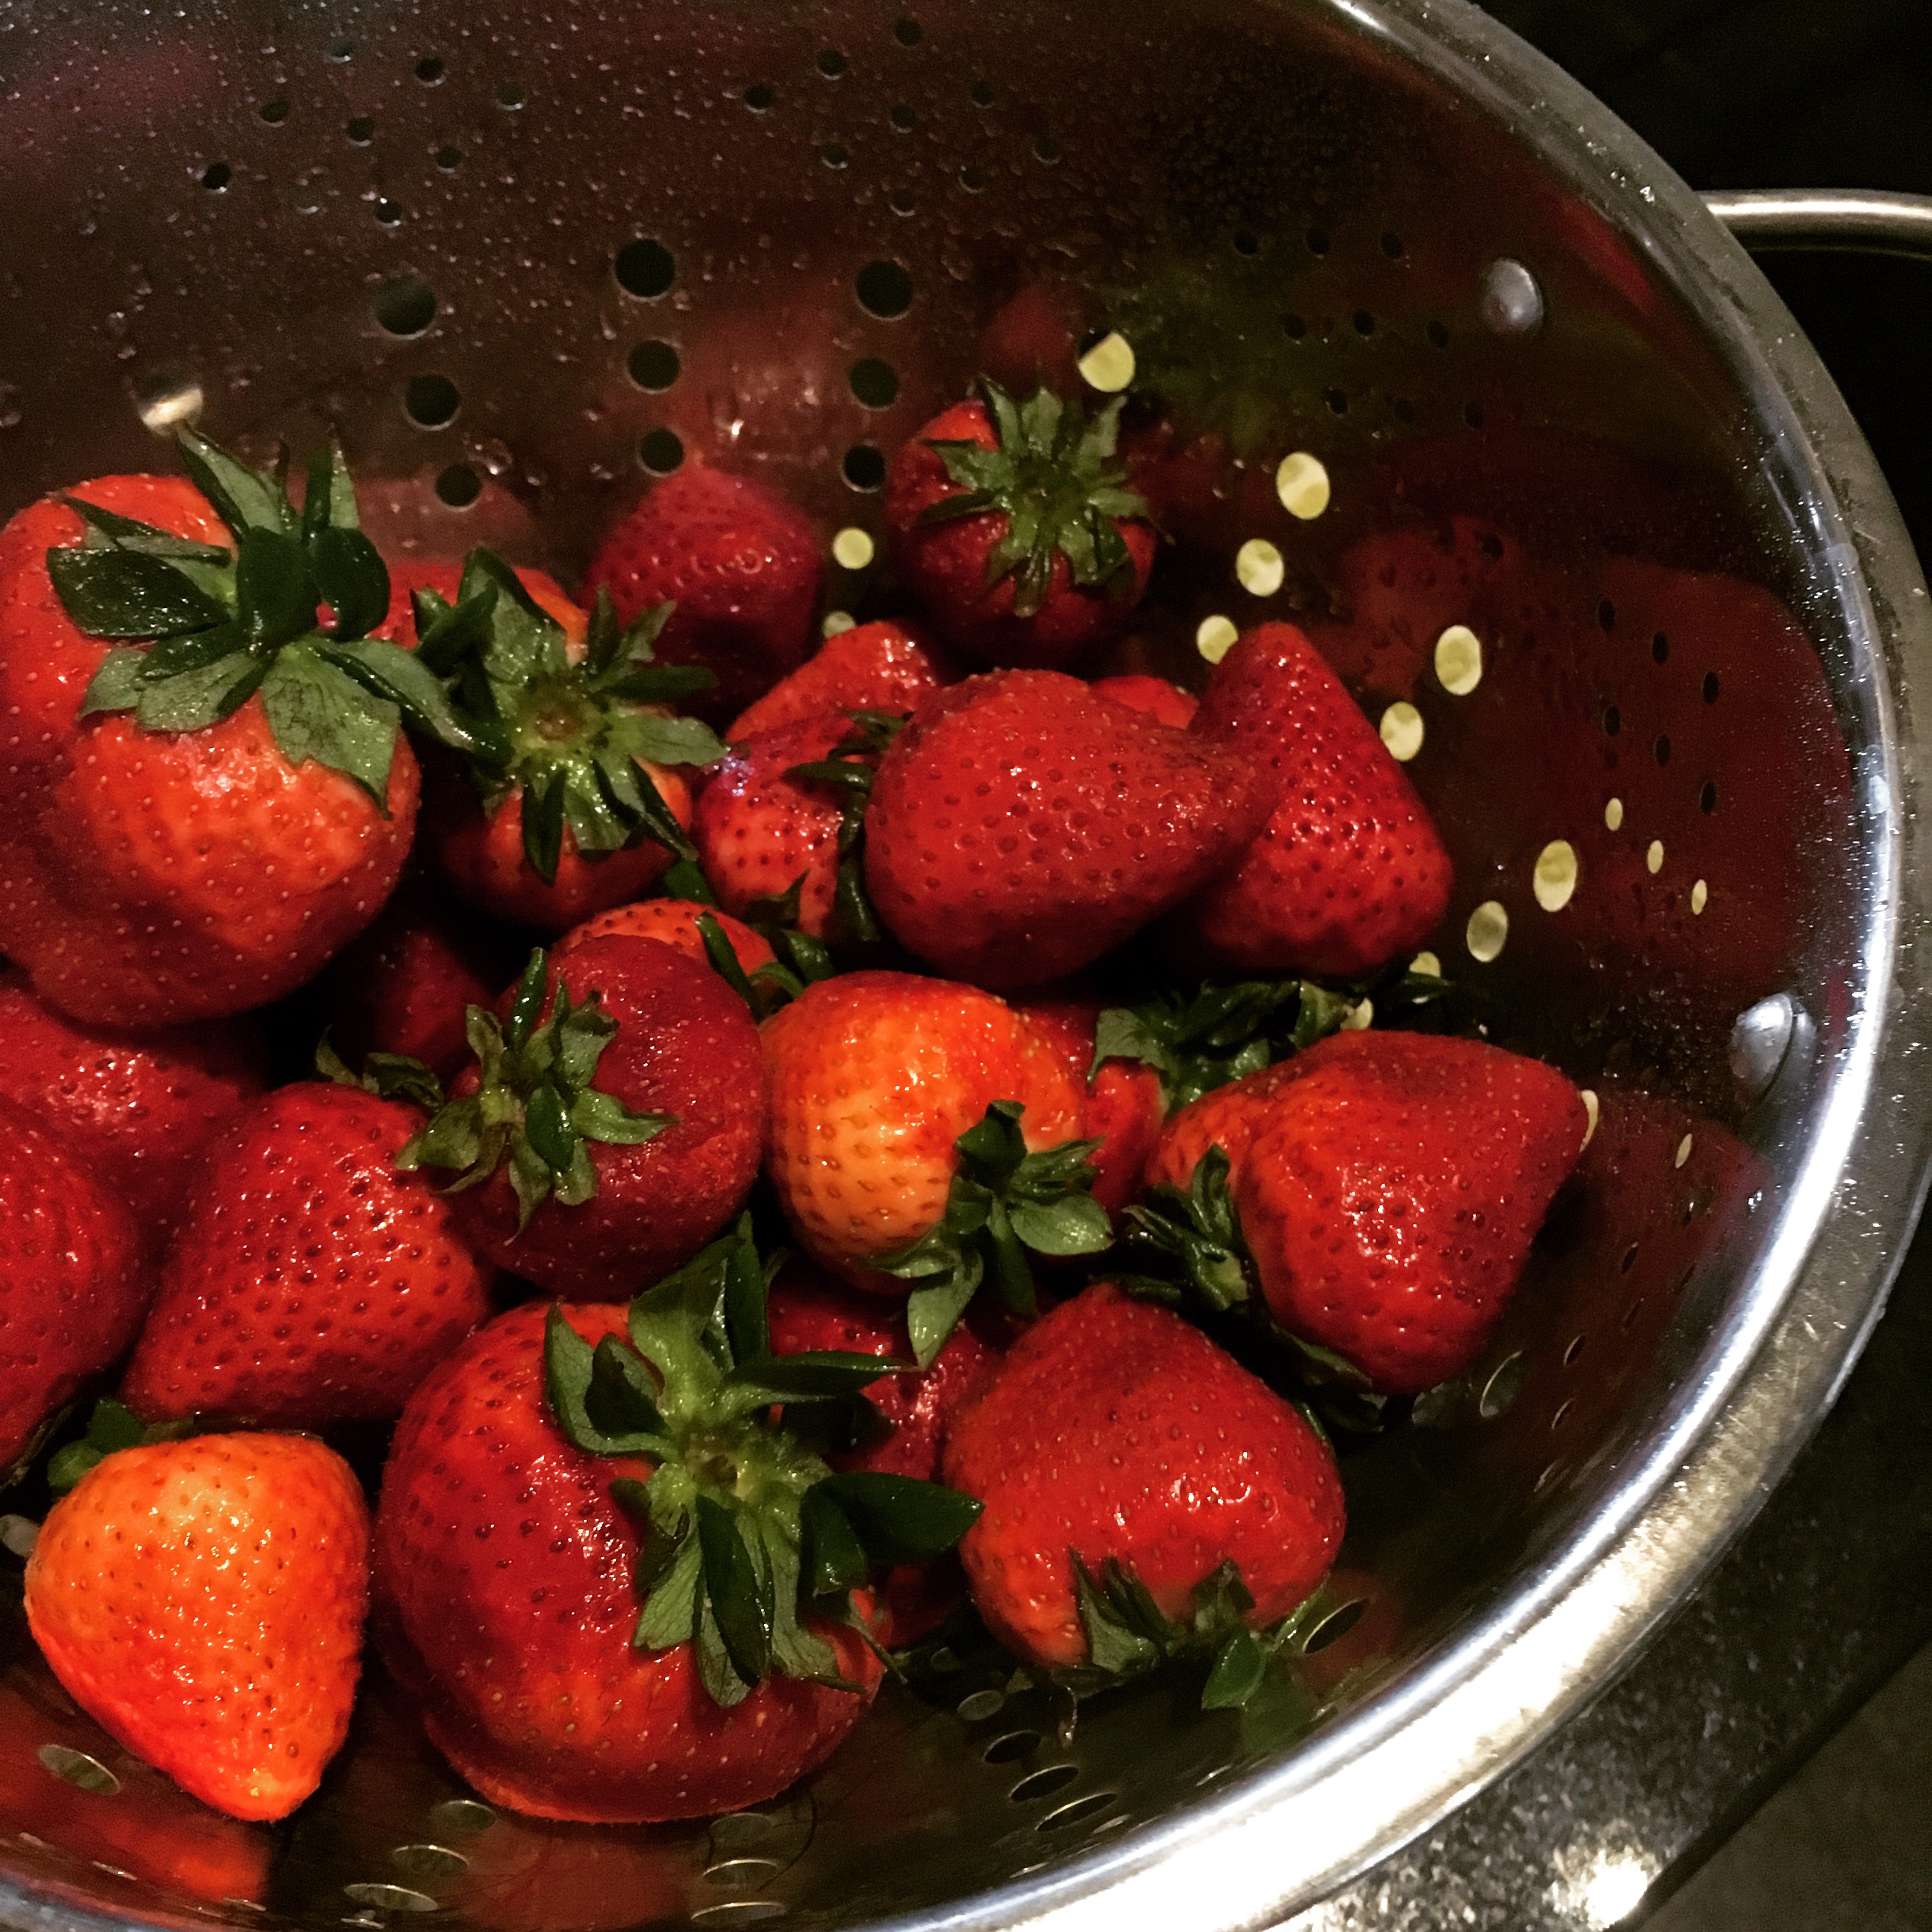
Capitalizing on their bright red color, strawberries seemed like an excellent choice to represent The Handmaid’s Tale. I found a recipe for Fresh Strawberry Pie that looked too good to resist.

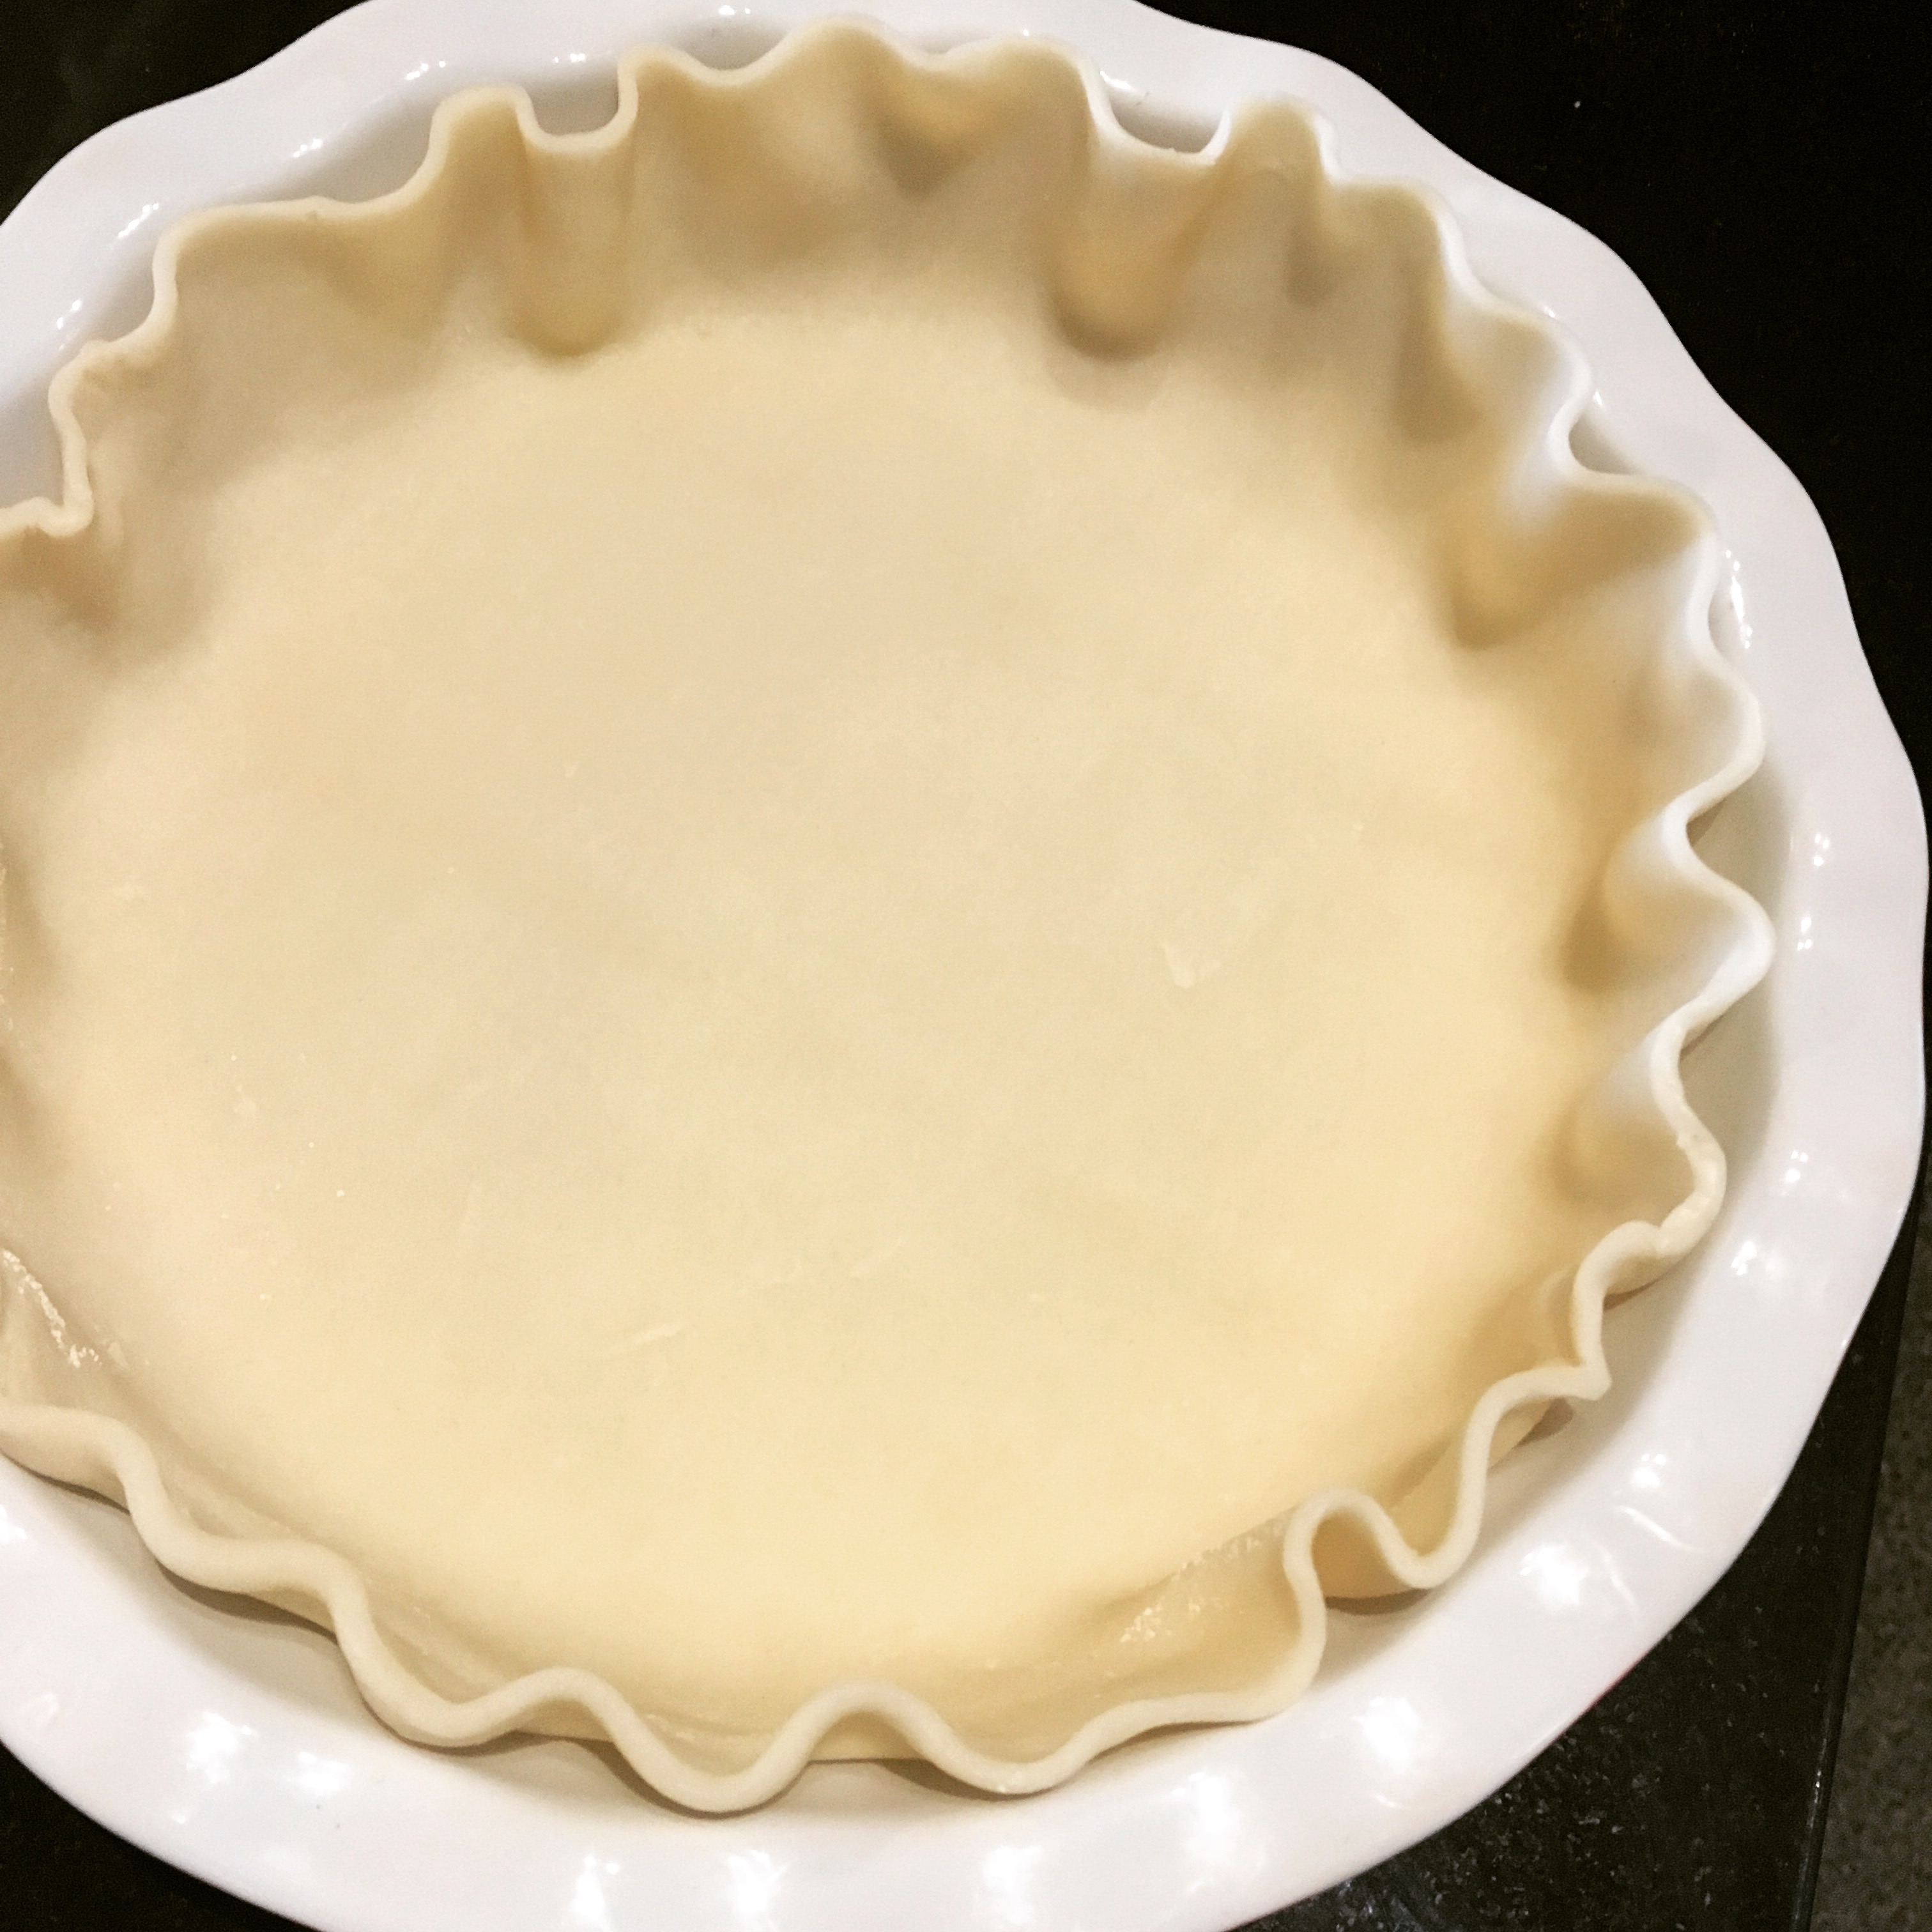
Using a storebought crust proved to be a lifesaver for me as I had some issues and had to bake it three times before I got it right (don’t forget your pie weights!). While that was a bit frustrating, I was happy I didn’t have to re-make crust from scratch just as many times. Before it went into the oven each time, I made sure to scallop the edges to create a pretty design.

IMG_2805

While it baked, I washed, hulled and quartered the fresh strawberries - I used 4 cups in the end, though I had prepared 6 cups. It will ultimately depend on how deep and wide your pie dish is, but I don’t think it hurts to have some extra prepared strawberries around.

IMG_2806

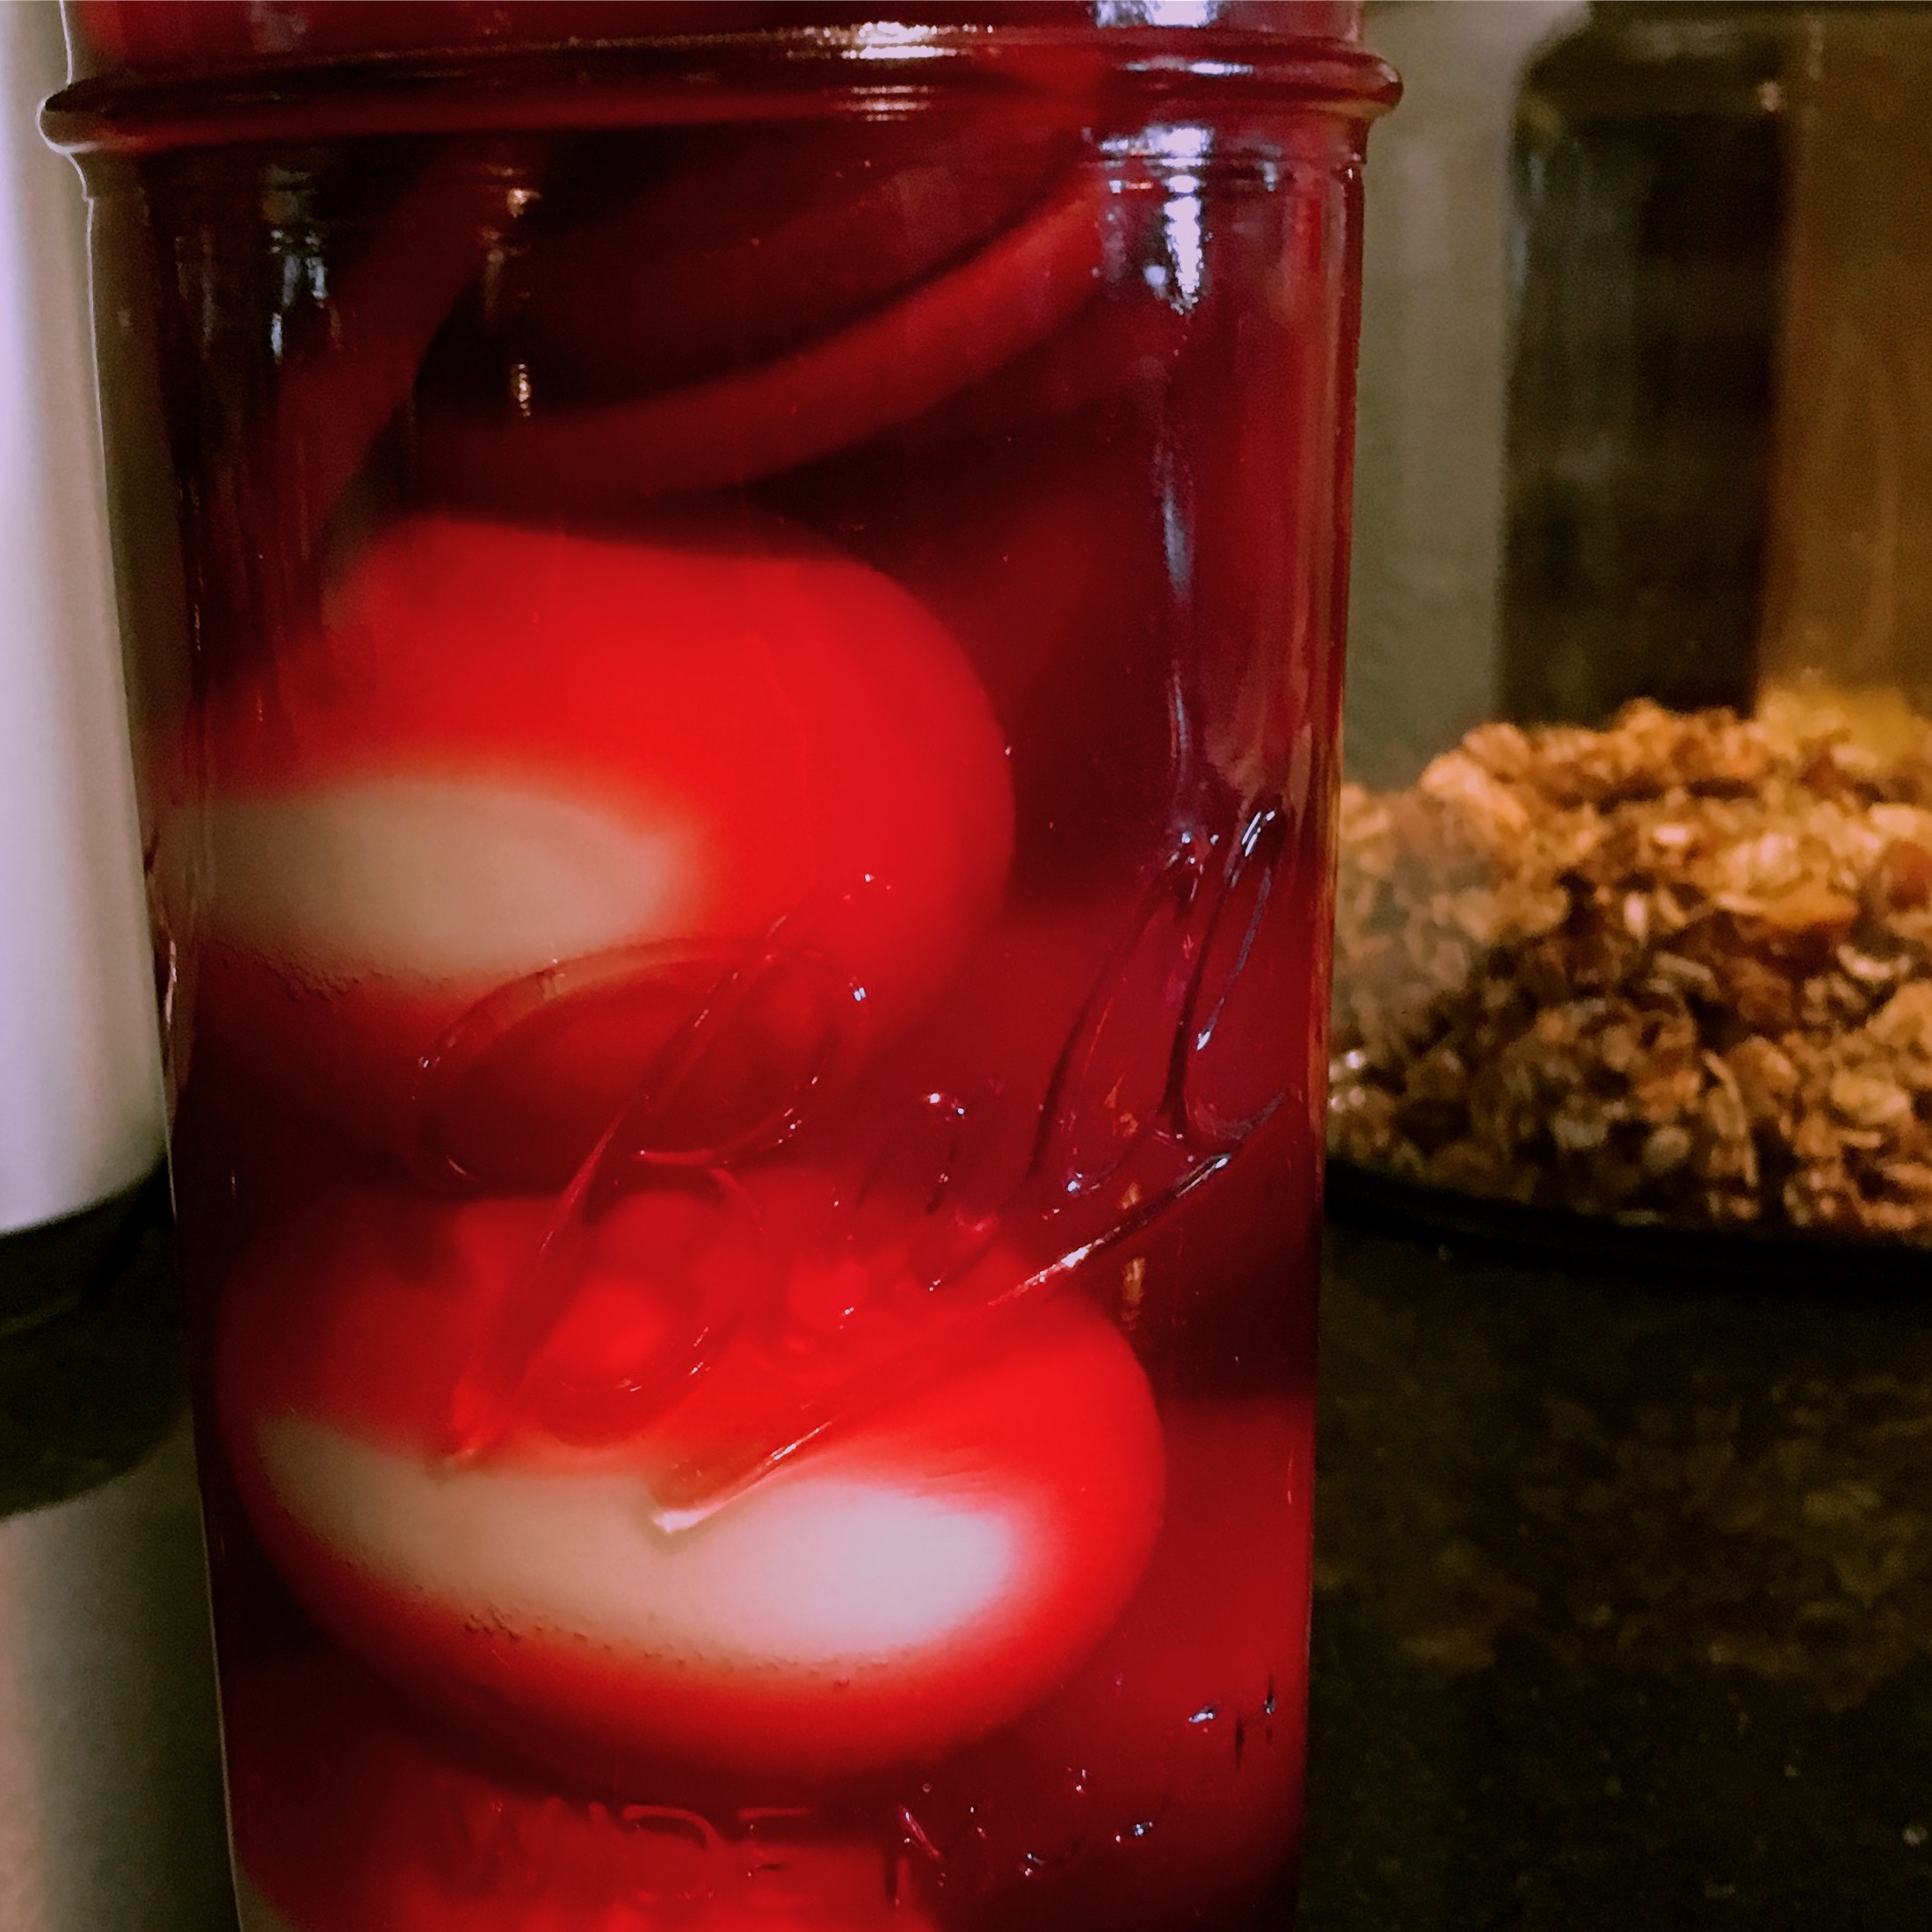
When my successful crust was finally cooling, I got to work on the glaze. I combined 1 cup of water, 1 cup of sugar and some cornstarch in a small saucepan and brought it all to a boil. Then, I whisked until the glaze began to thicken, about 3 minutes. Last, I added the box of strawberry Jell-O and whisked that for another minute or so. The finished glaze also had to cool about 15 minutes before filling the pie.

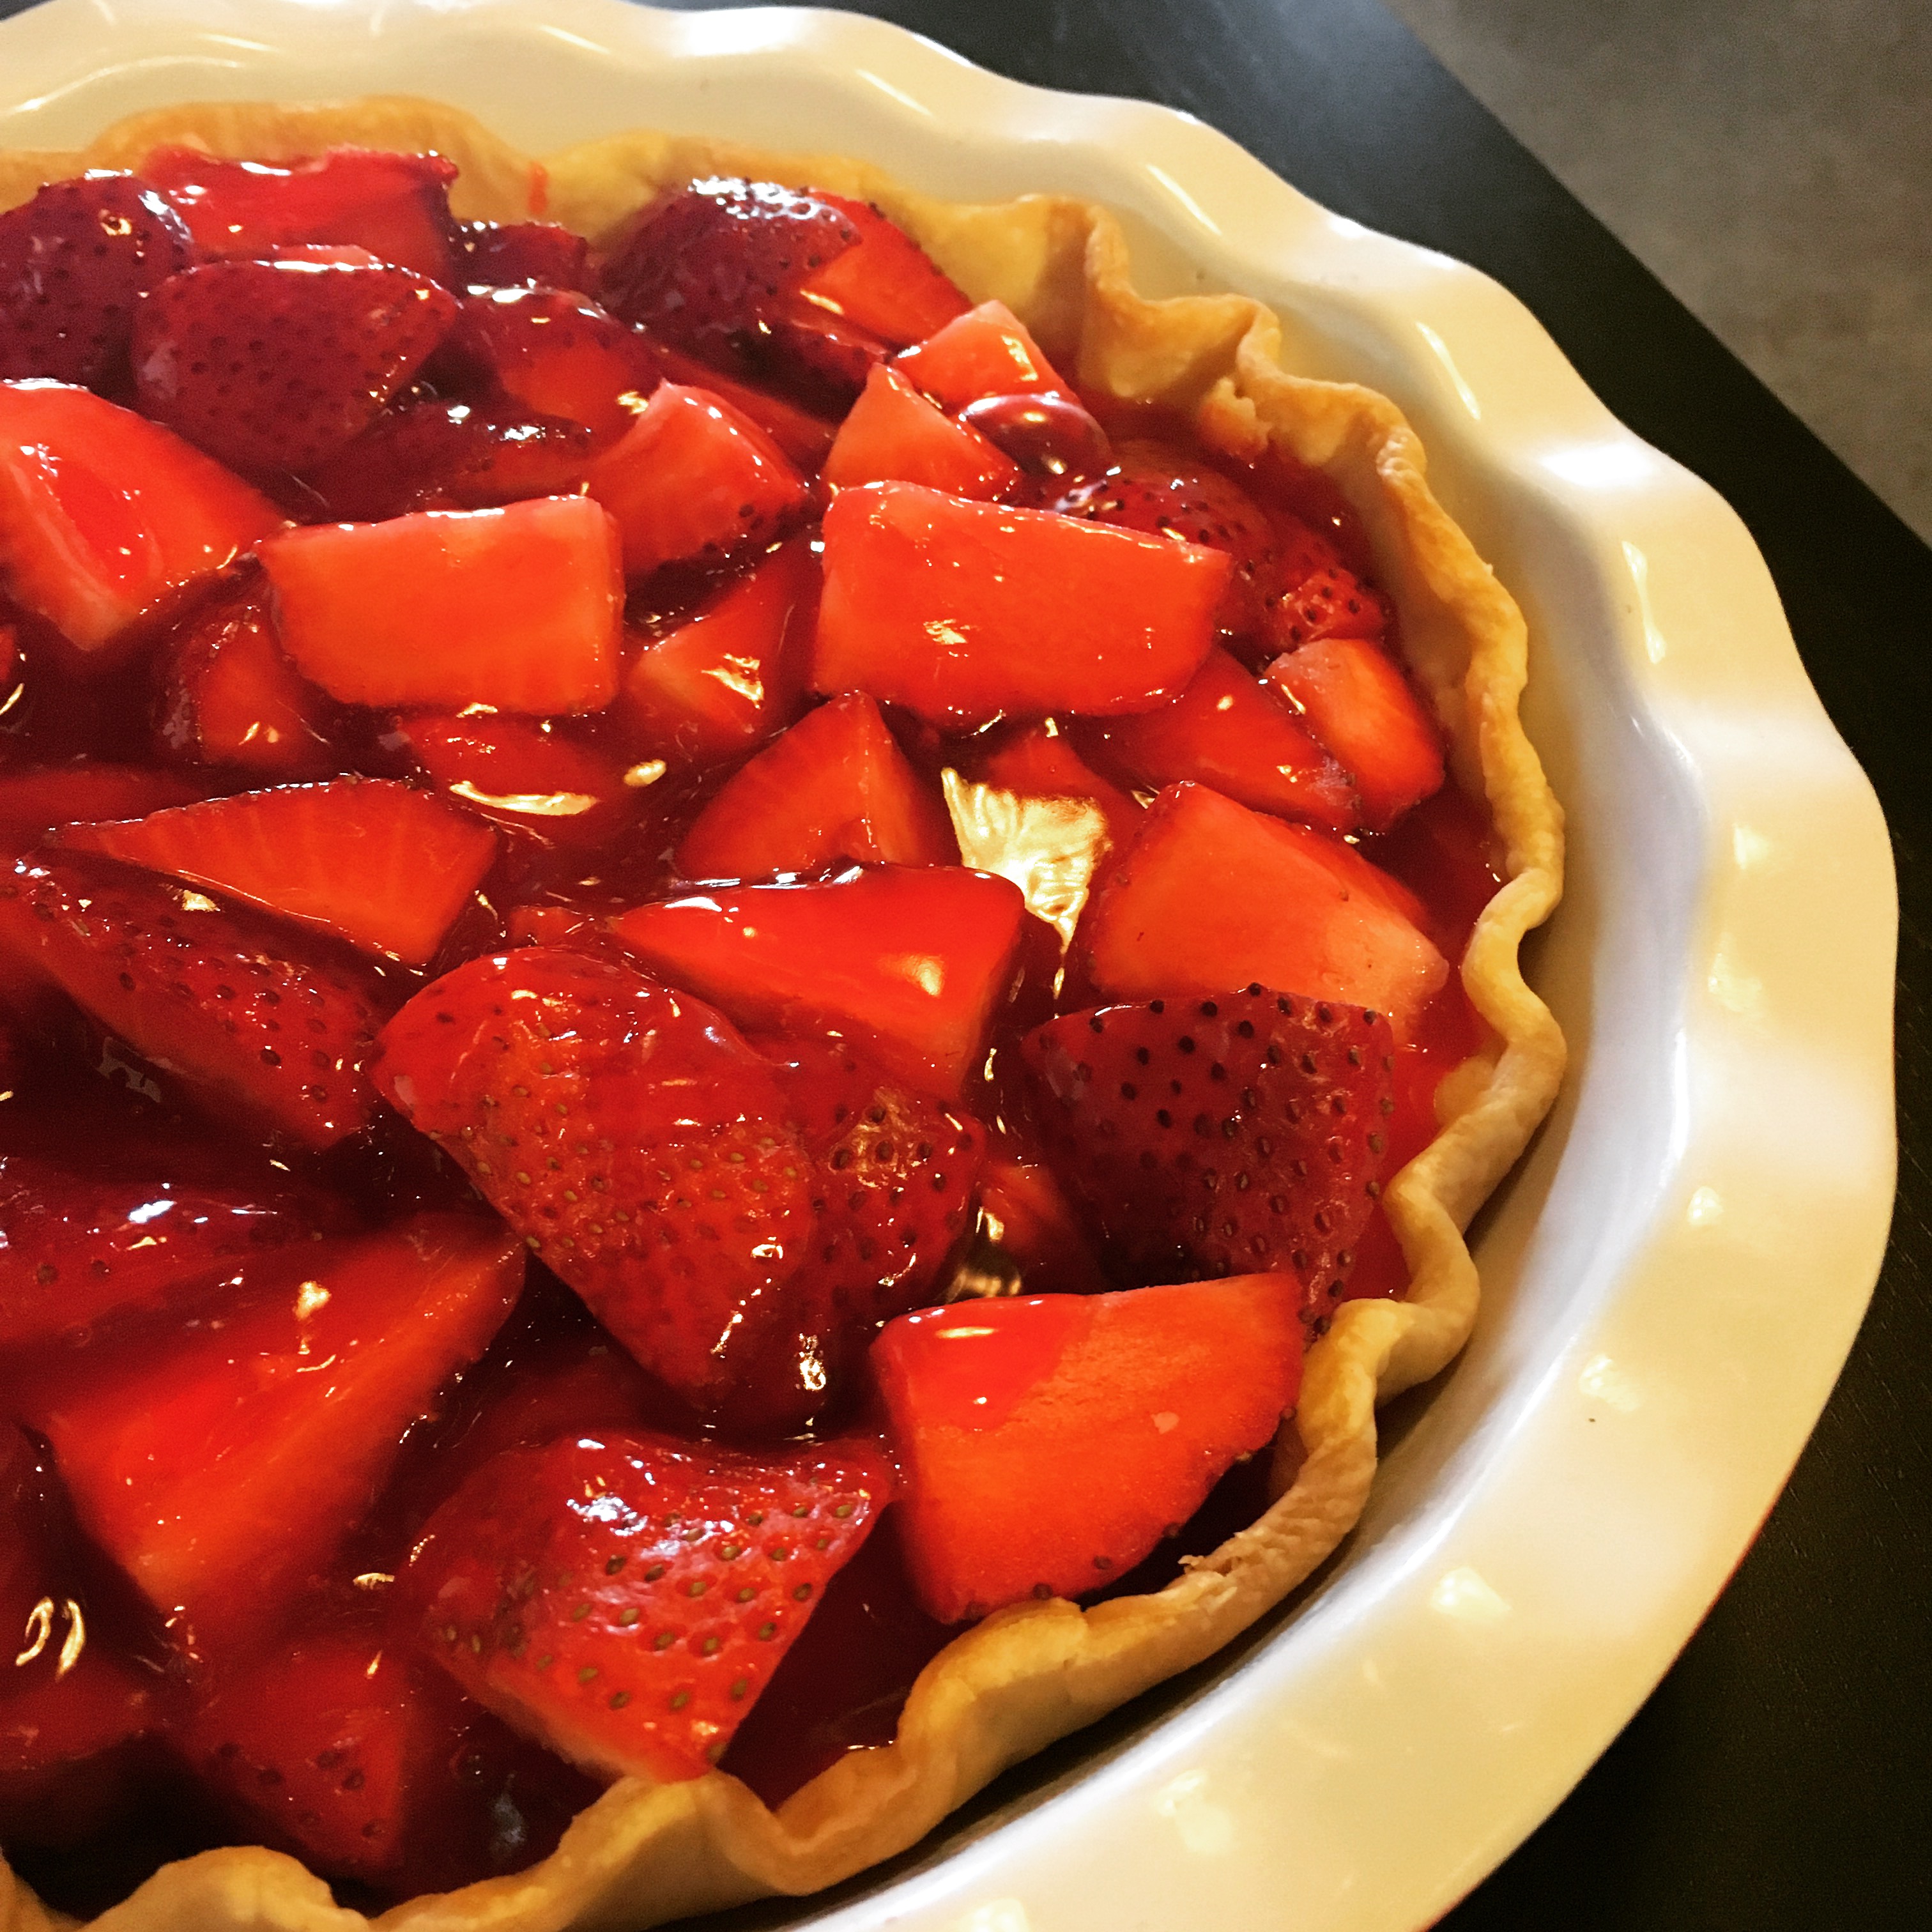
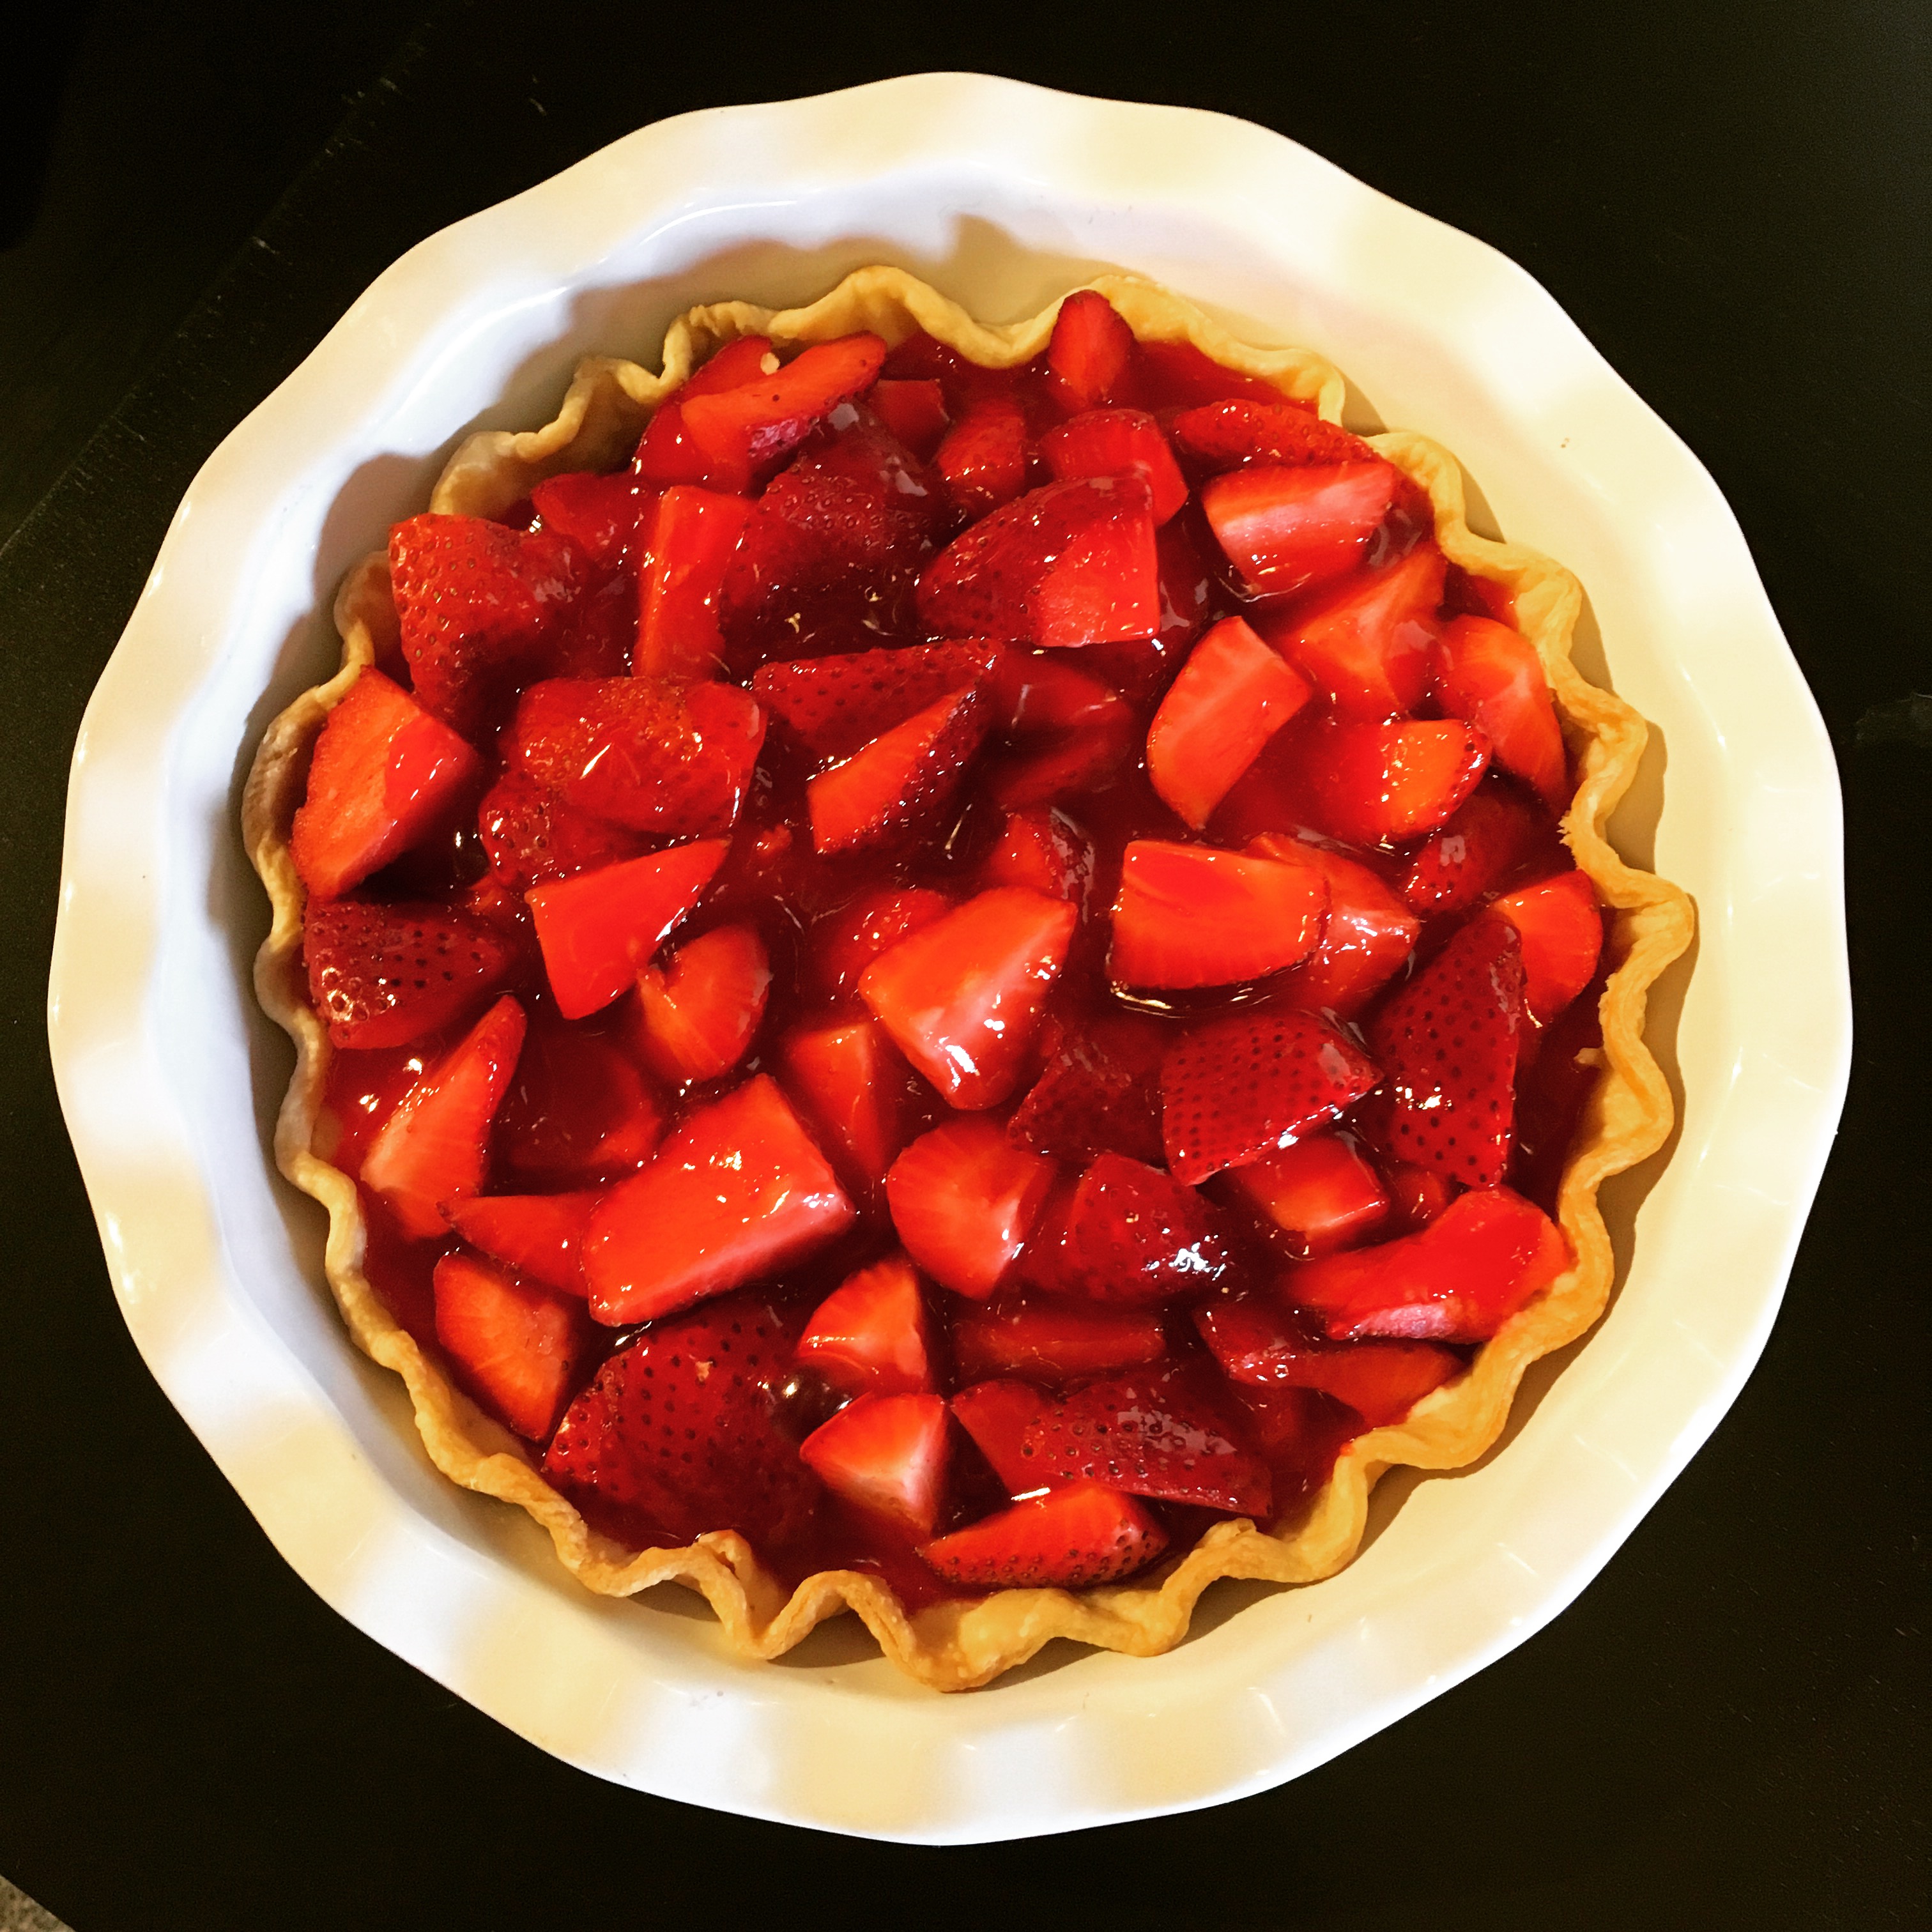
When assembling the pie, I first added the prepared fresh strawberries to the cooled crust. I did my best to keep the top relatively even, but you could certainly create a thicker middle if you wanted to. (That option might require additional glaze to get good coverage.) Then it was time to pour on the delicious glaze, again doing my best to get even coverage over the strawberries.

The finished product was absolutely beautiful - and SO red. I couldn’t wait to dig in. This pie will definitely be making future appearances over the summer.

IMG_2807

IMG_2808

Fresh Strawberry Pie

  • Servings: 8-12
  • Time: 50 minutes
  • Print

Ingredients

  • 9 inch pie crust (homemade or storebought)
  • 4 to 6 cups fresh strawberries, quartered and hulled
  • 1 cup water
  • 1 cup sugar
  • 1 3oz. box of strawberry Jell-O
  • 3 tablespoons of cornstarch

Directions

  1. Bake pie crust in 9-inch deep pie dish and set aside to cool.
  2. Put the water, sugar and cornstarch in a saucepan and bring to a boil. Whisk constantly until it becomes thick, about 3 minutes.
  3. Whisk in the Jell-O and cook for a minute longer. Remove from the heat and let cool for about 15 minutes.
  4. As the glaze cools, place strawberries straight into the pie crust.
  5. Pour the glaze over the strawberries.
  6. Refrigerate until set. Serve with whipped cream if desired.

From: Sugar Apron

When baking the pie crust, be sure to use pie weights or dry beans to ensure that the sides of your crust doesn’t fall. Poke holes in the bottom of the crust with a fork, add weights or beans and bake according to directions. After half the baking time, remove weights and allow to bake for the remaining time without them.

This post contains affiliate links. Full disclosure here.

Follow my blog with Bloglovin

Filed Under: book review, of interest, recipe Tagged With: book club, dessert, dystopia, fiction, fruit, television series

Perfect Little World + Pickled Deviled Eggs

April 13, 2017 by Megan 2 Comments

My latest Book of the Month selection explored the concept of a utopian society - a nice change of pace from the other books I’ve been reading lately. In Perfect Little World, Isabelle is a teenage mother without the father in the picture or the support of her own family. Lucky for her, Dr. Preston Grind is currently casting for his new experiment in childrearing - The Infinite Family Project.

30107561

Designed as a utopia for raising children, The Infinite Family Project brings together 10 children and 19 parents. They live in a housing compound among the best experts in child development and raise the children together as one carefully-chosen extended family.

As the only single mother in the project, Izzy has a few obstacles to overcome, but she eventually finds her place among the other parents. She becomes an apprentice to the hired cook, learning new skills and taking pride in her work. When a magazine comes to do a profile on them, she impresses even herself with pickled deviled eggs topped with candied bacon.

To the reporter and photographer, the experiment may not seem as cultish as they had originally thought. But, as with any family, things aren’t always what they seem to an outsider, and over the course of 10 years, the perfection Dr. Grind was seeking starts to show some cracks.  

Obviously, I seized on the opportunity to make my own pickled eggs and candied bacon and turn them into the masterpiece that Izzy served during the visit from the magazine. With Easter just around the corner, it seemed like a perfect fit. First, I learned how to pickle eggs with beet juice and how to candy bacon, but then I was ready to dive in!

Pickling eggs is pretty easy, and it’s a great way to make the deviled eggs look more festive. For wary picky eaters, it didn’t alter the taste all that much in this application, but added a bit of tang. Overall, it just made them better. 

I took my peeled, hard-boiled eggs and added them to a large jar. (If you don’t have a jar, another container will work, but glass is preferred.) To that, I added my pickling liquid - beet juice, vinegar, salt and water boiled together - and let the whole thing sit overnight in my fridge.

IMG_2802

The next day, I started with my candied bacon, since cooking it low and slow as suggested took a while and could be done while I otherwise prepped the deviled eggs. I recommend following the link in the notes section of the recipe and only making one or two slices total, if you’re making a dozen deviled eggs.

While the bacon cooked, I began working on the eggs. First, I cut them in half and arranged them on a plate.

IMG_2803

I scooped out the yolks and put them in a small bowl. To that, I added the mayo, vinegar and mustard. I stirred those together with a fork until most of the lumps were gone - this is especially important if you're going the piping route. Then I added a generous sprinkle of seasoned salt and a bit of freshly ground black pepper.

IMG_2804

I used a piping bag in an effort to make the eggs look a bit more elegant, but feel free to use a spoon if you’re not trying to impress anyone. (That’s what I usually do.) Once the egg whites were filled, I added the finished candied bacon, which I cut into about half-inch sections.

Combined, the flavors complemented each other very well. The vinegar from the pickling helped to cut the richness of the deviled eggs and the candied bacon added an element of crunch and some sweetness to balance the tart. These lovely purple eggs will be a great addition to any Easter celebration or even a picnic as the weather warms up. Enjoy!

IMG_2772

Pickled Deviled Eggs with Candied Bacon

  • Servings: 12
  • Time: 30-45 minutes, plus pickling overnight
  • Print

Ingredients

  • 6 hard-boiled eggs
  • 1 15-oz can sliced beets with liquid
  • ½ cup white vinegar
  • ½ cup granulated sugar
  • ½ cup water
  • ½ cup mayonnaise
  • 1 tsp yellow mustard
  • ¾ teaspoon white vinegar
  • pinch of Lawry’s seasoned salt, or to taste
  • freshly ground black pepper, to taste
  • candied bacon as garnish, optional (see notes)

Directions

  1. Hard boil your eggs according to your preference or favorite recipe. (My method in notes.) Peel and place in a large jar.
  2. To make the pickling liquid, combine beets, vinegar, water and sugar in a sauce pan. Bring to a boil, stirring until sugar is fully dissolved. Pour over the eggs. (I left out the majority of the beets because I didn’t have a lot of room in my container.)
  3. Make sure the jar/container is covered or sealed and then place in the fridge overnight.
  4. Slice pickled eggs in half lengthwise. Remove yolks and put into a small bowl. Place egg whites cut side up on a serving platter or tray.
  5. In bowl with yolks, add mayonnaise, mustard and vinegar. Mix until well-combined and not lumpy. Add seasoned salt and pepper to taste.
  6. Using a spoon or a piping bag and tip, fill the egg whites with the deviled egg mixture until finished.
  7. If using candied bacon, garnish with about half-inch slices on top.

Adapted from: Pinch My Salt’s deviled eggs and Sweet Little Bluebird’s pickled eggs

I made the hard-boiled eggs by placing them in a saucepan and filling with cold water until the eggs were covered by about an inch. Bring water to a boil and then immediately remove from heat. Cover and let sit for 12 minutes. Remove from the water and use a cold water rinse or ice water bath until eggs are cool.

If you choose to garnish with candied bacon, you really only need 1-2 slices per dozen deviled eggs. This link has a good explanation along with step-by-step photos. I recommend about 2-3 tablespoons of brown sugar for 1-2 slices. Use your best judgment.


Filed Under: book review, recipe Tagged With: appetizer, contemporary, dinner party, fiction

Small Great Things + Bite-Size Appetizer Trio

April 6, 2017 by Megan 4 Comments

When I sat down with Jodi Picoult’s latest novel Small Great Things, I admit I hadn’t read a description. One of my clients had recommended it to me last last year, so I requested it from the library and sort of forgot about it. It came in a couple of weeks ago and I dove right in without expectation.

small-great-things-hc-400w.jpg

Right off the bat, this quote hit me. It felt so on-the-nose about the world we’re currently living in; I knew the right book had found me again.

IMG_2672

The narrative began, and I was immediately engrossed. I was also often uncomfortable. Three points of view bring this story to life - a black nurse, a white supremacist man, and a white lawyer who “doesn’t see color.” It isn’t shy about race or racism. The topic is the crux of the novel, the reason the story is being told. (Make sure to read the Author’s Note at the end.)

Ruth Jefferson doesn’t realize when she walks into the hospital room of proud new parents that she’s walking into a room of white supremacists. Despite her 20 years of experience, she is prohibited from having contact with them or their baby because of the color of her skin. The next day, when another nurse has no choice but to leave Ruth alone with the baby, he goes into cardiac arrest. She is forced to choose between obeying orders and her duty as a nurse, and ultimately, she is blamed for the baby’s death.

During the course of Ruth’s trial, each character examines their lives, their beliefs and the world around them. It’s intense and it will make you examine yourself and our world as well. Like any story told about race - real or imagined - it made me think, and I still can’t stop recommending this book to everyone I encounter.

To go along with Small Great Things, I opted to make a trio of bite-size appetizers. I wanted to make a “well-balanced” variety, so I opted for meatballs, spinach artichoke dip bites, and mini crab-stuffed mushrooms. All of them were easy and could, for the most part, be prepped ahead of time. Of course, they were delicious too.

I started with making the filling for the spinach artichoke dip bites. I combined my spinach (make sure it’s thawed and thoroughly drained), chopped artichoke hearts, garlic, garlic powder, salt and parmesan cheese.

IMG_2777

Then, I added the softened cream cheese and half of the shredded cheese, ground some black pepper over the bowl and mixed it all together. I set the filling aside while I cut the crescent roll dough into squares. I sprayed the mini muffin tin with cooking spray and popped one square in each opening, before filling it with the spinach artichoke mixture. I didn’t stress out about it too much - just made sure each one was amply filled and had a good sprinkle of shredded cheese on top.

IMG_2778

These should bake in a 375 degree oven for 15-17 minutes. After they’re finished, allow them to cool for 5-10 minutes before removing from the muffin tin.

Then, I moved on to the mushrooms. First, I cleaned my little army of mini bella mushrooms. (These are my favorite kind of mushroom because they have great flavor, but feel free to use white button mushrooms if you prefer.)

IMG_2779

The original recipe recommended that you toss the mushrooms in melted butter until they’re well-coated. I did that, but I took out of my recipe below. They were a little too moist, in my opinion. If you’d like to lightly brush the tops only with olive oil (or melted butter) that is probably sufficient.

I lined them all up on a foil-covered sheet pan while I made the filling. To make the the crab stuffing, take a medium bowl and combine the lump crab meat, cream cheese, shredded cheese, Worcestershire sauce and green onions.

IMG_2780

Then, I stuffed each mushroom with as much filling as would fit. It’s okay to be generous here - I had them all a little over-filled because the filling cooks down as it bakes. Top each mushroom with the parmesan cheese.

IMG_2781

The mushrooms should bake in a 350 degree oven for about 10 minutes. After they are heated through and the cheese is melted, turn on the broiler for between 2-5 minutes, watching closely so they don’t burn. The goal is to get the tops to be a nice lightly golden brown.

While everything else was baking, I began on the meatballs. I combined all of the ingredients for the sauce - peach preserves, finely diced chipotle peppers, ketchup, Worcestershire sauce, garlic powder, salt and pepper in a high-sided skillet.

IMG_2782

It turned it up to medium so that it could come up to a simmer and allowed it to cook at that temperature for about 5 minutes. Then, I added the meatballs and covered the pan.

IMG_2783

The meatballs cooked for another 25 minutes. I stirred them a few times, making sure they were well-coated and cooking evenly. Serve warm.

Spinach Artichoke Dip Bites

  • Servings: 24 pieces
  • Time: 30 minutes
  • Print

Ingredients

  • 1 9-oz package frozen chopped spinach, thawed and drained
  • 1 6-oz jar artichoke hearts, drained and chopped
  • ½ tsp minced garlic
  • 2 TBS shredded parmesan cheese
  • 4 ounces cream cheese, softened
  • 1 cup shredded Monterey Jack cheese, divided
  • ¼ tsp garlic powder
  • ¼ tsp salt
  • pepper to taste (freshly ground)
  • 1 can seamless crescent roll dough

Directions

  1. Preheat oven to 375 degrees F.
  2. In a bowl, combine spinach, artichoke hearts, garlic, garlic powder, salt and parmesan cheese. Blend in cream cheese and half of your shredded cheese. Add freshly ground black pepper to taste.
  3. Using a rolling pin, lay out dough on a cutting board and lightly stretch to 8x12. (It should already be close to this straight out of the package.) Cut down into 2-inch squares, so you have 24 squares total.
  4. Lightly grease a mini muffin tin and place a square in each slot, gently pushing down to create an indent. (You do not need to mold it to the cup.) In most cases, the dough should naturally fall into the cups.
  5. Scoop about 1 Tablespoon of your spinach mixture on top of each square and gently push in. (Bites will mold to the tin while baking.) If there is any remaining mixture, add to cups that look less full than others.
  6. Sprinkle the remaining Monterey Jack cheese over the tops of each bite.
  7. Bake for 15-17 minutes, until golden brown. Let cool for 5-10 minutes before removing from the muffin tin.

Adapted from: Lil’ Luna

Don’t worry about making sure your squares are perfectly uniform. I had a whole variety of some that looked more rectangle-y, some that were small and some that were larger. They all tasted delicious.


Mini Crab Stuffed Mushrooms

  • Servings: 80-100 mushrooms
  • Time: 30 minutes
  • Print

Ingredients

  • 80-100 mini Bella mushrooms (5-6 containers)
  • 8 ounces lump crab meat, drained
  • 8 ounces whipped cream cheese
  • 12 ounces (1½ cups) shredded Monterey Jack cheese
  • 2 bunches chopped green onions
  • 1 TBS Worcestershire sauce
  • 4-6 TBS shredded parmesan cheese
  • olive oil or melted butter, as desired

Directions

  1. Preheat oven to 350 degrees F.
  2. Wash mushrooms and remove the stems. If desired, lightly brush the tops only with olive oil or melted butter. Set aside.
  3. Mix remaining all ingredients except the parmesan cheese.
  4. Stuff mushrooms with the crab-cheese mixture. Top with the parmesan cheese.
  5. Bake mushrooms at 350 degrees for 10 minutes. Broil for 2-5 minutes, watching to ensure they don’t burn. Mushrooms should be slightly golden brown on top.

Adapted from: Crazy Jamie

Bonus Recipe: If you have any of the filling leftover (as I did when I made these following the original recipe), it makes great crab quesadillas. Just warm tortilla(s) in a lightly greased skillet over medium heat. Add filling to one half of the quesadilla and fold over. Once the bottom is lightly golden, flip. Wait for that side to become lightly browned as well and ensure the filling is heated through. Serve with hot sauce, salsa, guacamole, or whatever toppings you prefer!


Chipotle Peach Meatballs

  • Servings: 60 meatballs
  • Time: 35 minutes
  • Print

Ingredients

  • 18 oz peach preserves
  • 3-4 chipotle peppers in adobo sauce, finely diced
  • ½ cup ketchup
  • ½ TBS Worcestershire sauce
  • ¼ tsp garlic powder
  • ½ tsp salt
  • ¼ tsp pepper
  • 32 oz, or about 60 frozen cocktail meatballs (see notes)

Directions

  1. Add peach preserves, diced chipotle peppers, ketchup, Worcestershire sauce, garlic powder, salt and pepper into a medium to large high-sided skillet. Bring to a simmer over medium heat and allow to simmer for 5 minutes.
  2. Cooking in two batches, add half (about 30) of the meatballs and cover. Let simmer over medium-low heat, stirring occasionally for an additional 25 minutes, or until meatballs are thawed.
  3. Using tongs so the majority of the sauce stays in the skillet, transfer the meatballs to your serving container and keep warm. Repeat step 2.
  4. Add second batch of meatballs and sauce to serving bowl. Serve warm.

Adapted from: The Culinary Compass

If you have multiple meatball options in your grocery store, opt for Homestyle as they’ll have less seasoning than Italian (which were the two options at mine).

If you prefer your meatballs saucier, you can use 18 oz (approximately 32) meatballs instead and cook in one batch only.


This post contains affiliate links. Full disclosure here.

Filed Under: book review, recipe Tagged With: appetizer, contemporary, dinner party, drama, easy prep, fiction, meat, seafood, tough topics

Dark Matter + Spanish Bean Stew with Chorizo

March 30, 2017 by Megan 1 Comment

Usually when I finish a novel that I really enjoyed and think Scott would like it, I recommend he read it too. He tends to be more of a non-fiction reader, so I choose pretty carefully. Blake Crouch’s Dark Matter is one of those rare novels that Scott read first and then recommended to me.

27833670.jpg

I love science fiction that grabs you from the start and has you rooting for something bigger (and usually stranger) than you ever imagined. This novel certainly fits the bill, and it’s one that everyone can relate to because, at its heart, it’s all about going home. After Jason Dessen is abducted, he finds himself in a situation he never would’ve imagined - one that calls into question all of the choices he has ever made.  

Since it’s a book that’s all about the plot, it’s hard to say too much without giving it away, so I won’t. It starts out simple but quickly gets complicated, pulling Jason into a twisty universe that will have you anxious to get to the end. If you loved The Martian (and I absolutely did!), you’ll love this.

Throughout Dark Matter, Jason is a bit untethered, guided only by his desperation to reunite with his family. His wife, Daniela, makes him a traditional Spanish dish once or twice a year that serves as a reminder of everything he’s missing. I didn’t have much to go on outside of “a bean stew made with an assortment of native legumes and meats. Chorizo, pancetta, black sausage.” So, I did some googling and found this recipe for a Hearty Spanish Bean Stew with Chorizo.

With some minor tweaks (but still no black/blood sausage, thank you very much), Scott and I were ready to enjoy some of Daniela’s stew. First, I heated some olive oil in a medium pot and add the chopped pancetta, cooking until just crisp. Then I added the onion and minced garlic, cooking for a few more minutes until lightly browned.

IMG_2731

I stirred in the spices before adding the browned andouille chunks, white beans with their liquid and chicken broth. The whole stew got a few generous stirs and then I let it come up to a simmer.

IMG_2732

Once it simmered for about 25 minutes, I added the browned (slightly crispy) chorizo and cooked the stew for another 5 minutes or so. I didn’t need any additional salt and pepper, but check here and season as needed. I served it as The Dessens prefer it, with grated cheddar, chopped cilantro and a generous dollop of sour cream. A nice glass of Spanish red wine completed the meal.

IMG_2730

Hearty Spanish Bean Stew with Chorizo

  • Servings: 6-8
  • Time: 45 minutes
  • Print


Adapted From: Whole Foods

Ingredients

  • 1 tablespoon extra-virgin olive oil
  • ¼ pound pancetta, chopped
  • 3 cloves garlic, minced
  • 1 small yellow onion, finely chopped
  • 1 tablespoon paprika, preferably Spanish
  • 1 teaspoon dried thyme
  • Salt and pepper, to taste
  • 1½ andouille sausage links, cut into chunks and then browned
  • 3 16-oz cans white beans, with their liquid
  • 1 cup low-sodium chicken broth
  • 4-5 oz. ground chorizo, cooked through until browned
  • Grated sharp cheddar, sour cream, cilantro (optional)

Directions

  1. Heat oil and pancetta in a medium pot over medium heat and cook, stirring occasionally, until pancetta is just crisp. Add garlic and onions and cook until lightly browned.
  2. Stir in paprika, thyme, salt and pepper, then add andouille, beans/liquid and chicken broth. Simmer gently for 20 to 25 minutes.
  3. Add chorizo and cook for 5 minutes more.
  4. Season with salt and pepper and serve with desired toppings. Grated cheddar cheese, sour cream and cilantro recommended.

This post contains affiliate links. Full disclosure here.

Filed Under: book review, recipe Tagged With: dinner, fiction, meat, science fiction, soup, thriller

1984 + Artisan Dinner Rolls

March 25, 2017 by Megan 1 Comment

I never read George Orwell’s 1984 in high school. I also never read Animal Farm until my boss recommended it to me as an adult, and while it was fine, I wasn’t particularly moved to seek out other Orwellian novels. But, like many Americans, once Trump was elected and “alternative facts” became a thing, I got interested. Suddenly, it was selling out everywhere - even Amazon - and I had to backorder my copy.

31besGg4t3L._SX311_BO1,204,203,200_

For those of you who don’t know, 1984 is a dystopian novel that imagines a world where Big Brother watches over your every move, the Thought Police have jurisdiction and the news is altered on a regular basis to better correspond to reality and/or change the past. It was written 35 years prior to 1984, and now, another almost 35 years later, it is more relevant than ever.

In the bleak world Orwell paints, the main character Winston Smith is a member of the Outer Party, and since he actively participates in spreading propaganda and revising history, he lives a decently comfortable life - even if it’s under constant scrutiny. While we primarily follow his journey for the truth, I found the “Proles” to be the most interesting, and Winston too, thinks of them as the best chance to overthrow the ruling Inner Party. Though they are roughly 85% of the population, they exist only to supply labor and grow the population.

I’m not sure I would’ve fully understood this book, let alone appreciated it had I read it in high school. It’s not a book that I like even now, as alarming as it was, but it certainly respect its message. I think everyone should read it once, and it was certainly worth it for me.

I could’ve made something decadent to represent the Inner Party, who always seem to be enjoying chocolate and wine while the rest of the country is told there’s a shortage, but I felt like a rustic bread was more representative of those who struggle beneath them - the Outer Party and the Proles. Outside of culinary school, I haven’t attempted bread, so I found a recipe for Unbelievably Easy Artisan Rolls and set to work.

As promised, the rolls were unbelievably easy to make. Just before going to bed one night, I whisked together the flour, salt and yeast before adding 2 cups of room temperature water. I mixed it all together with a rubber spatula, covered it with plastic wrap and set the bowl on the stove to hang out while I slept.

IMG_2636

In the morning, I removed the plastic wrap to see how much the dough had risen. It wasn’t a crazy amount, but it definitely had expanded and there were bubbles on top.

IMG_2650

With the oven coming up to 425-degrees F, I began coating the large ball of dough with flour and then used a bench scraper to divide it into a dozen smaller pieces. With each well-coated with more flour, I formed them into balls and placed them on the parchment paper with the pinched side down (to make a smooth top). They rested for another 20 minutes before going in the oven.

I baked them for 15 minutes, rotated the pan, and baked for an additional 5 minutes. Mine probably could’ve spent another few minutes in the oven to get some more color, but I pulled them and allowed them to cool at that point - mostly because I’m impatient and they looked done enough to me.

IMG_2663

More importantly, they tasted delicious! They were great alongside soup, salad and pasta - all of our meals for the rest of the week. With rolls this easy, I probably don’t have any excuse for not making my own ever again.

Artisan Rolls

  • Servings: 10-16
  • Time: about 20 minutes active time, but requires several hours of unsupervised rising time
  • Print

From: The Café Sucre Farine

Ingredients

  • 4 cups bread flour, plus extra for shaping [I used all-purpose flour because it’s what I had at home and the rolls still tasted delightful.]
  • 2 teaspoons kosher salt
  • 1 teaspoon dry yeast
  • 2 cups room temperature tap water

Directions

  1. In a medium-large bowl, whisk together the bread flour, salt, and yeast. Make a well in the center and add the water. Mix with a sturdy rubber spatula until all flour is incorporated. Don’t worry, the dough will be wet and sticky, that’s how it should be. Cover bowl with a plastic wrap and leave to rise at room temperature overnight or for up to 12 hours.
  2. The following morning (or after 8-12 hours), the dough will have risen, but it may still look shaggy and it's surface will be covered with bubbles.
  3. Line a sheet pan with parchment paper*. Preheat the oven to 425ºF.
  4. Spread a generous ¼ cup of flour on a work surface. Dump the dough out onto the floured surface and turn it several times to coat with flour. I like to use a bench scraper for this.
  5. Divide the dough into 12-16 equal portions, turning each piece in the flour to coat. (The bench scraper is also great for cutting the dough). Shape each piece into a ball, pulling edges under and pinching together to make a smooth top. Invert balls and place on prepared pan, pinched side up. This will give you craggy, rustic textured rolls. If the dough is sticky as you’re shaping, just roll the piece in more of the flour. Let shaped rolls rise for 20 minutes.
  6. Transfer pan to the oven. Bake 15 minutes. Rotate pan. Bake 5 minutes more or until nicely golden. Transfer rolls to cooling rack to cool completely.
  7. If making in advance, remove from oven when pale golden brown (about 3-4 minutes less). Cool completely, then freeze on a baking sheet. Once frozen, transfer rolls to a large zip lock bag and store in the freezer. To serve, allow rolls to thaw, then heat for 8-10 minutes at 350˚F.

Filed Under: book review, recipe Tagged With: dystopia, fiction, five ingredients or less, side dish

Housekeeping + Poached Eggs on Mushroom Arugula Toast

March 16, 2017 by Megan Leave a Comment

Marilynne Robinson is perhaps best known for her Gilead series, of which the first novel was published to much acclaim about 25 years after the book I’m here to share today, Housekeeping. This novel is understated, following sisters Ruth and Lucille, as they are left in the quiet, flood-prone town of Fingerbone to live in their grandmother’s house.

41u8MwmPhkL._SY344_BO1,204,203,200_

After their grandmother dies, the house is passed on to two great aunts who move in to take care of Ruth and Lucille, though they seem to doubt their abilities to do so. Late one evening, the girls’ Aunt Sylvie appears, seemingly unaware of her mother’s passing. She is greeted with surprise and a quick meal of poached eggs.  

Eventually, Sylvie becomes the girls’ caretaker, though she isn’t much for mothering, cooking or housekeeping, instead piling up cans and newspapers in the living room, preferring to eat her food cold and allowing the girls to skip school. Her transient ways leave her restless in the house. In response, Lucille seeks out a more normal childhood; Ruth can’t help but be drawn in, with implications that last their whole lives.

Shortly after Sylvie takes up permanent residence, a flood seeps into Fingerbone, covering the town with water and dampening everything, including her spirits. So, I thought some local mushrooms, which require a damp environment to grow well, would pair nicely with the poached eggs Sylvie ate upon her arrival. This weekend’s brunch was Poached Eggs on Mushroom Arugula Toast.

First, I roughly chopped my mushrooms (so nicely picked up by Scott at Eastern Market on Saturday morning) and my flat leaf parsley.

IMG_2673

I set a high-sided skillet mostly filled with water onto the stove to begin coming to a boil for the poached eggs. In another medium skillet, I heated through a tablespoon or so of olive oil and added the mushrooms. After a few minutes, when they were lightly browned and softened, I added the minced garlic and a pinch of red pepper flakes.

About a minute later, I added the goat cheese and milk and stirred until combined. I seasoned with salt and black pepper before adding the butter. At this point, I turned off the heat because my poaching water was ready to go. I also slipped my bread into the toaster.

I poured approximately 2 tablespoons of vinegar into my softly boiling water (vinegar will vary based on the amount of water, but for about 3 inches of water in a 10” pan, 2 tablespoons worked perfectly). I started with 2 eggs and cracked each into its own small bowl, lowering them one at a time into the water so that a bit of the water could seep in and help to start setting the egg white. I slowly poured the egg into the boiling water and used a wooden spoon to “collect” the egg whites around the yolk. I repeated with the second egg and set a time for 3 minutes.

I reignited the heat under the mushrooms and added the parsley and arugula so it could begin to wilt while the eggs finished poaching. I placed the finished toast on a plate, topped with the mushroom mixture and, once the eggs were done (fish them carefully out of the water with a slotted spoon), I added them to the top of the toasts.

Poached Eggs on Mushroom Arugula Toast

  • Servings: 2
  • Time: 20 minutes
  • Print


Slightly Adapted From: Shutterbean (whose pictures are much nicer than mine)

Ingredients

  • 2 slices hearty bread, toasted
  • a glug olive oil
  • 6 oz. mixed mushrooms, roughly chopped
  • 2 cloves garlic, minced
  • 2 tablespoons milk
  • 2 oz. goat cheese
  • a pad of butter
  • kosher salt & fresh ground pepper
  • a pinch red pepper flakes
  • ⅓ cup chopped Italian parsley
  • a handful of arugula
  • 4 eggs, poached in two batches

Directions

  1. Begin by heating a deep-sided skillet or wide pot filled with about 2-3 inches of water over medium-high heat. This should be brought to a soft boil while you cook the mushroom topping.
  2. Meanwhile, heat a medium skillet over medium-high heat with a glug of olive oil. Add in mushrooms and cook until softened and lightly browned, about 3-4 minutes. Stir in the garlic and red pepper flakes and cook for another minute.
  3. Add in the milk, and goat cheese, stirring until well combined. Season with salt and pepper. Stir in butter. Turn off the heat while you make the poached eggs.
  4. Add about 2 tablespoons of vinegar to the softly boiling water. (If it boils to aggressively it will cause the whites of the eggs to fall apart.)
  5. Put each egg in a small bowl (a measuring cup works well too). Carefully tip the bowl into the pot so that a bit of the hot water helps to start setting the egg and then pour the egg slowly into the pot. Using a wooden spoon or similarly blunt cooking utensil, gently push the egg whites over/around the yolk. Repeat with the second egg. Allow eggs to cook for approximately 3 minutes.
  6. While the eggs cook, put your toast in the toaster.
  7. Turn the heat back on under the mushrooms and add the parsley and arugula. When arugula has wilted, take mushrooms off the heat and transfer them to the top of the toasts. Place a poached egg (or two) on the top of each mound of mushrooms. Season with salt & pepper and serve immediately.

This post contains affiliate links. Full disclosure here.

Filed Under: book review, recipe Tagged With: book club, breakfast, brunch, fiction, vegetarian

  • « Go to Previous Page
  • Go to page 1
  • Interim pages omitted …
  • Go to page 23
  • Go to page 24
  • Go to page 25
  • Go to page 26
  • Go to page 27
  • Interim pages omitted …
  • Go to page 30
  • Go to Next Page »

Primary Sidebar

About

The Hungry Bookworm brings together literature and food. Megan has an insatiable appetite for both.

As C.S. Lewis said, “Eating and reading are two pleasures that combine admirably.” Enjoy!

  • Bloglovin
  • Facebook
  • Instagram
  • Pinterest

Subscribe

Don't miss out on bookish content, exclusive giveaways, and of course, book club-friendly recipes. Get notified of new posts via email.

Join 2879 subscribers.

Search for Ingredients, Recipes, or Books

Recent Posts

  • Subscriber Box Review: Literati Book Club - Roxane Gay's Audacious Book Club
  • Arsenic and Adobo + Ensaymada
  • Review of The Kindred Spirits Supper Club
  • Kids Edition: Sometimes I Like to Curl Up in a Ball + "Dirt" Pudding Cups
  • The Midnight Library + Broccoli and Ricotta Toast

Goodreads

Tags

5 ingredients or less appetizer baking book club book list book of the month books about food bread breakfast brunch chicken contemporary cookies cultural dessert dinner dinner party dystopia easy prep favorites fiction fruit historical fiction holiday ice cream linkup lunch meat memoir mini review nonfiction pasta quick read reading challenge science fiction seafood show us your books side dish snack soup TBR list thriller top ten tuesday vegetarian veggies

Archives

Other Great Book Blogs

Literary Quicksand
Never Enough Novels
Death by Tsundoku
Professional Reader 25 Book Reviews
Privacy & Cookies: This site uses cookies. By continuing to use this website, you agree to their use.
To find out more, including how to control cookies, see here: Cookie Policy

Footer Widget Header

Megan’s Instagram

Copyright © 2025 · Hungry Bookworm