• Skip to primary navigation
  • Skip to main content
  • Skip to primary sidebar
  • Home
  • Reviews
    • Book Index
    • Fiction
    • Non-Fiction
    • Top Ten Tuesdays
The Hungry Bookworm

The Hungry Bookworm

reading + eating

  • Recipes
    • Drinks
    • Snacks, Sides & Apps
    • Main Dishes
    • Desserts
    • 5 Ingredients or Less
  • About
    • Meet Megan
    • How I Rate
    • Review Policy
    • Contact

book club

Behind Her Eyes + Spaghetti Carbonara

October 28, 2017 by Megan 4 Comments

Every November, my Good Reads & Good Eats book club reads a spooky book. Since we meet on the first Tuesday of each month, this allows us to read it during October and our meeting usually ends up being right around Halloween. This year’s selection was Sarah Pinborough’s novel Behind Her Eyes. The thriller was released in January but it made for an excellent read this month, just creepy enough throughout with a twist at the end I didn’t see coming.
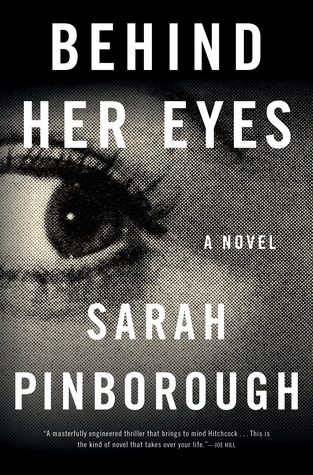
Thanks to the success of Gone Girl, the oft-called domestic thriller has become more and more popular, and generally, I try to avoid them. Gone Girl was so well-written and its twist both genuinely surprising and believable (which is harder to achieve than it may seem) that I’m usually disappointed in those that follow.

That being said, Behind Her Eyes was an intriguing read. I did get caught up in the story and it kept me wondering what exactly was going on and who to be skeptical of, but the devices it used (particularly toward the end) seemed over-the-top and unbelievable. Overall, Sarah Dickinson does a great job summing up how I feel on her blog, but beware of spoilers if you haven’t read the book and still want to.

Pinborough’s novel begins in the middle of David and Adele’s troubled marriage. After a recent move to London, David almost immediately begins an affair with Louise, who turns out to be his new receptionist. It’s not clear how Adele discovers his transgression, but she makes it a point to befriend Louise and tension begins to build. As more about Adele’s backstory is revealed, more questions arise. In the present day narrative, we’re left wondering who we can trust. I’ll stop here to avoid spoilers, but I think it achieved what it needed to for our book club in that it was mostly riveting and twisty and will certainly make for interesting discussion. I’m looking forward to hearing what everyone has to say about it.

In an attempt to create some domestic bliss (or at least throw David off her scent), Adele continues to make impressive home-cooked meals almost every evening. On one such evening, she whips up the deceptively easy Spaghetti Carbonara and serves it with a simple arugula salad. I grabbed a recipe from one of my favorite blogs, Damn Delicious, for the pasta and found one for the salad from Everyday Maven. The whole meal took about twenty minutes and only requires a minimum number of ingredients for one so impressive; it makes a perfect weeknight meal.

First, I set a large pot of water to bowl and then prepped the salad. I chopped a half cup of cherry tomatoes in half and tossed them in a large bowl with arugula and the lemon zest. I love Trader Joe’s arugula because it’s the perfect amount for a dinner salad and it’s already pre-washed. In a separate small bowl, I combined the ingredients for the dressing - olive oil, balsamic vinegar, and salt and pepper. With the salad mostly set, I turned to the pasta.
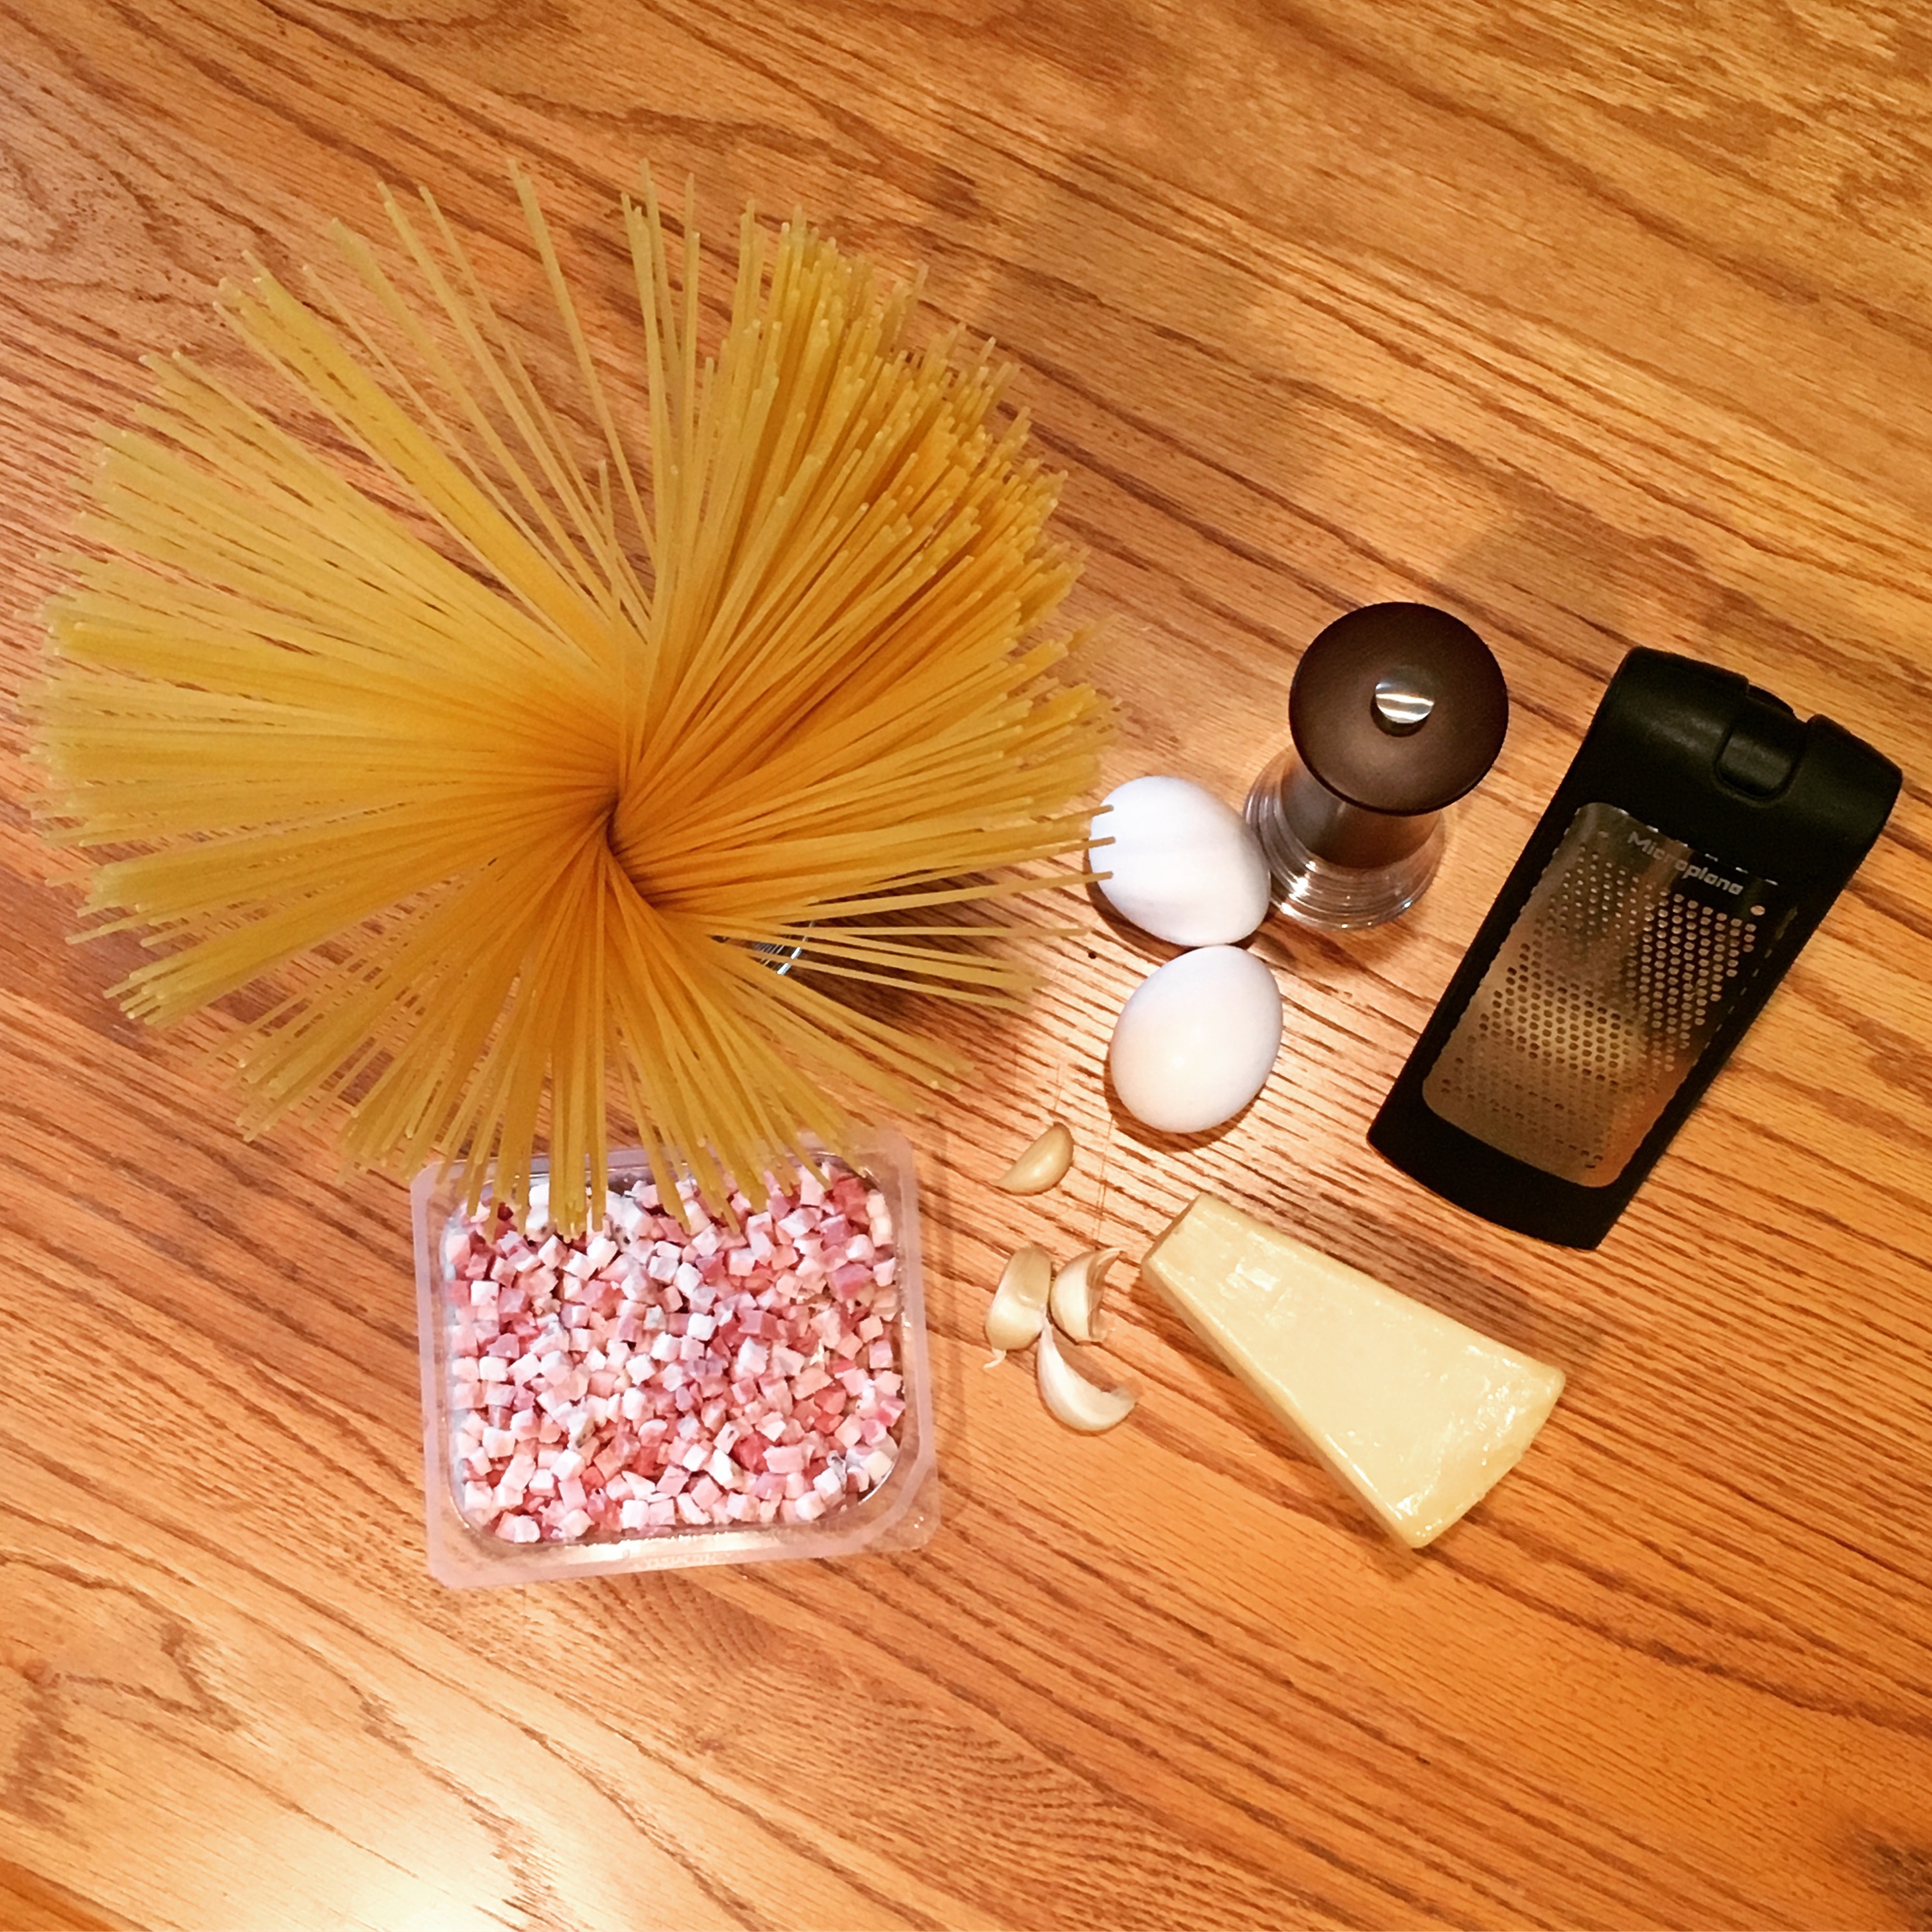
Once the water was boiling, I salted it and added the spaghetti to the pot. In a small bowl, I whisked together the eggs and Parmesan and set it aside. I added my diced pancetta (or bacon, if that’s what you’re using) to a heated skillet and allowed it to crisp up for several minutes, before adding my minced garlic.

You’re going to want to make sure your pasta is cooked and drained before you add the garlic. Here is where you need to begin working quickly. Even though this recipe is easy, the eggs leave some room for error. You don't want them to scramble; they should become a part of the creamy sauce, indistinguishable from the pasta itself. 

To my pancetta and garlic, I added my pasta and the egg-Parmesan mixture, using a pair of tongs to toss and combine everything. I seasoned with salt and pepper, before adding a bit of pasta water, tossing and checking the consistency.

With that all set, I re-whisked my dressing, poured it on the arugula and tossed my salad. Best dishes are both served immediately.
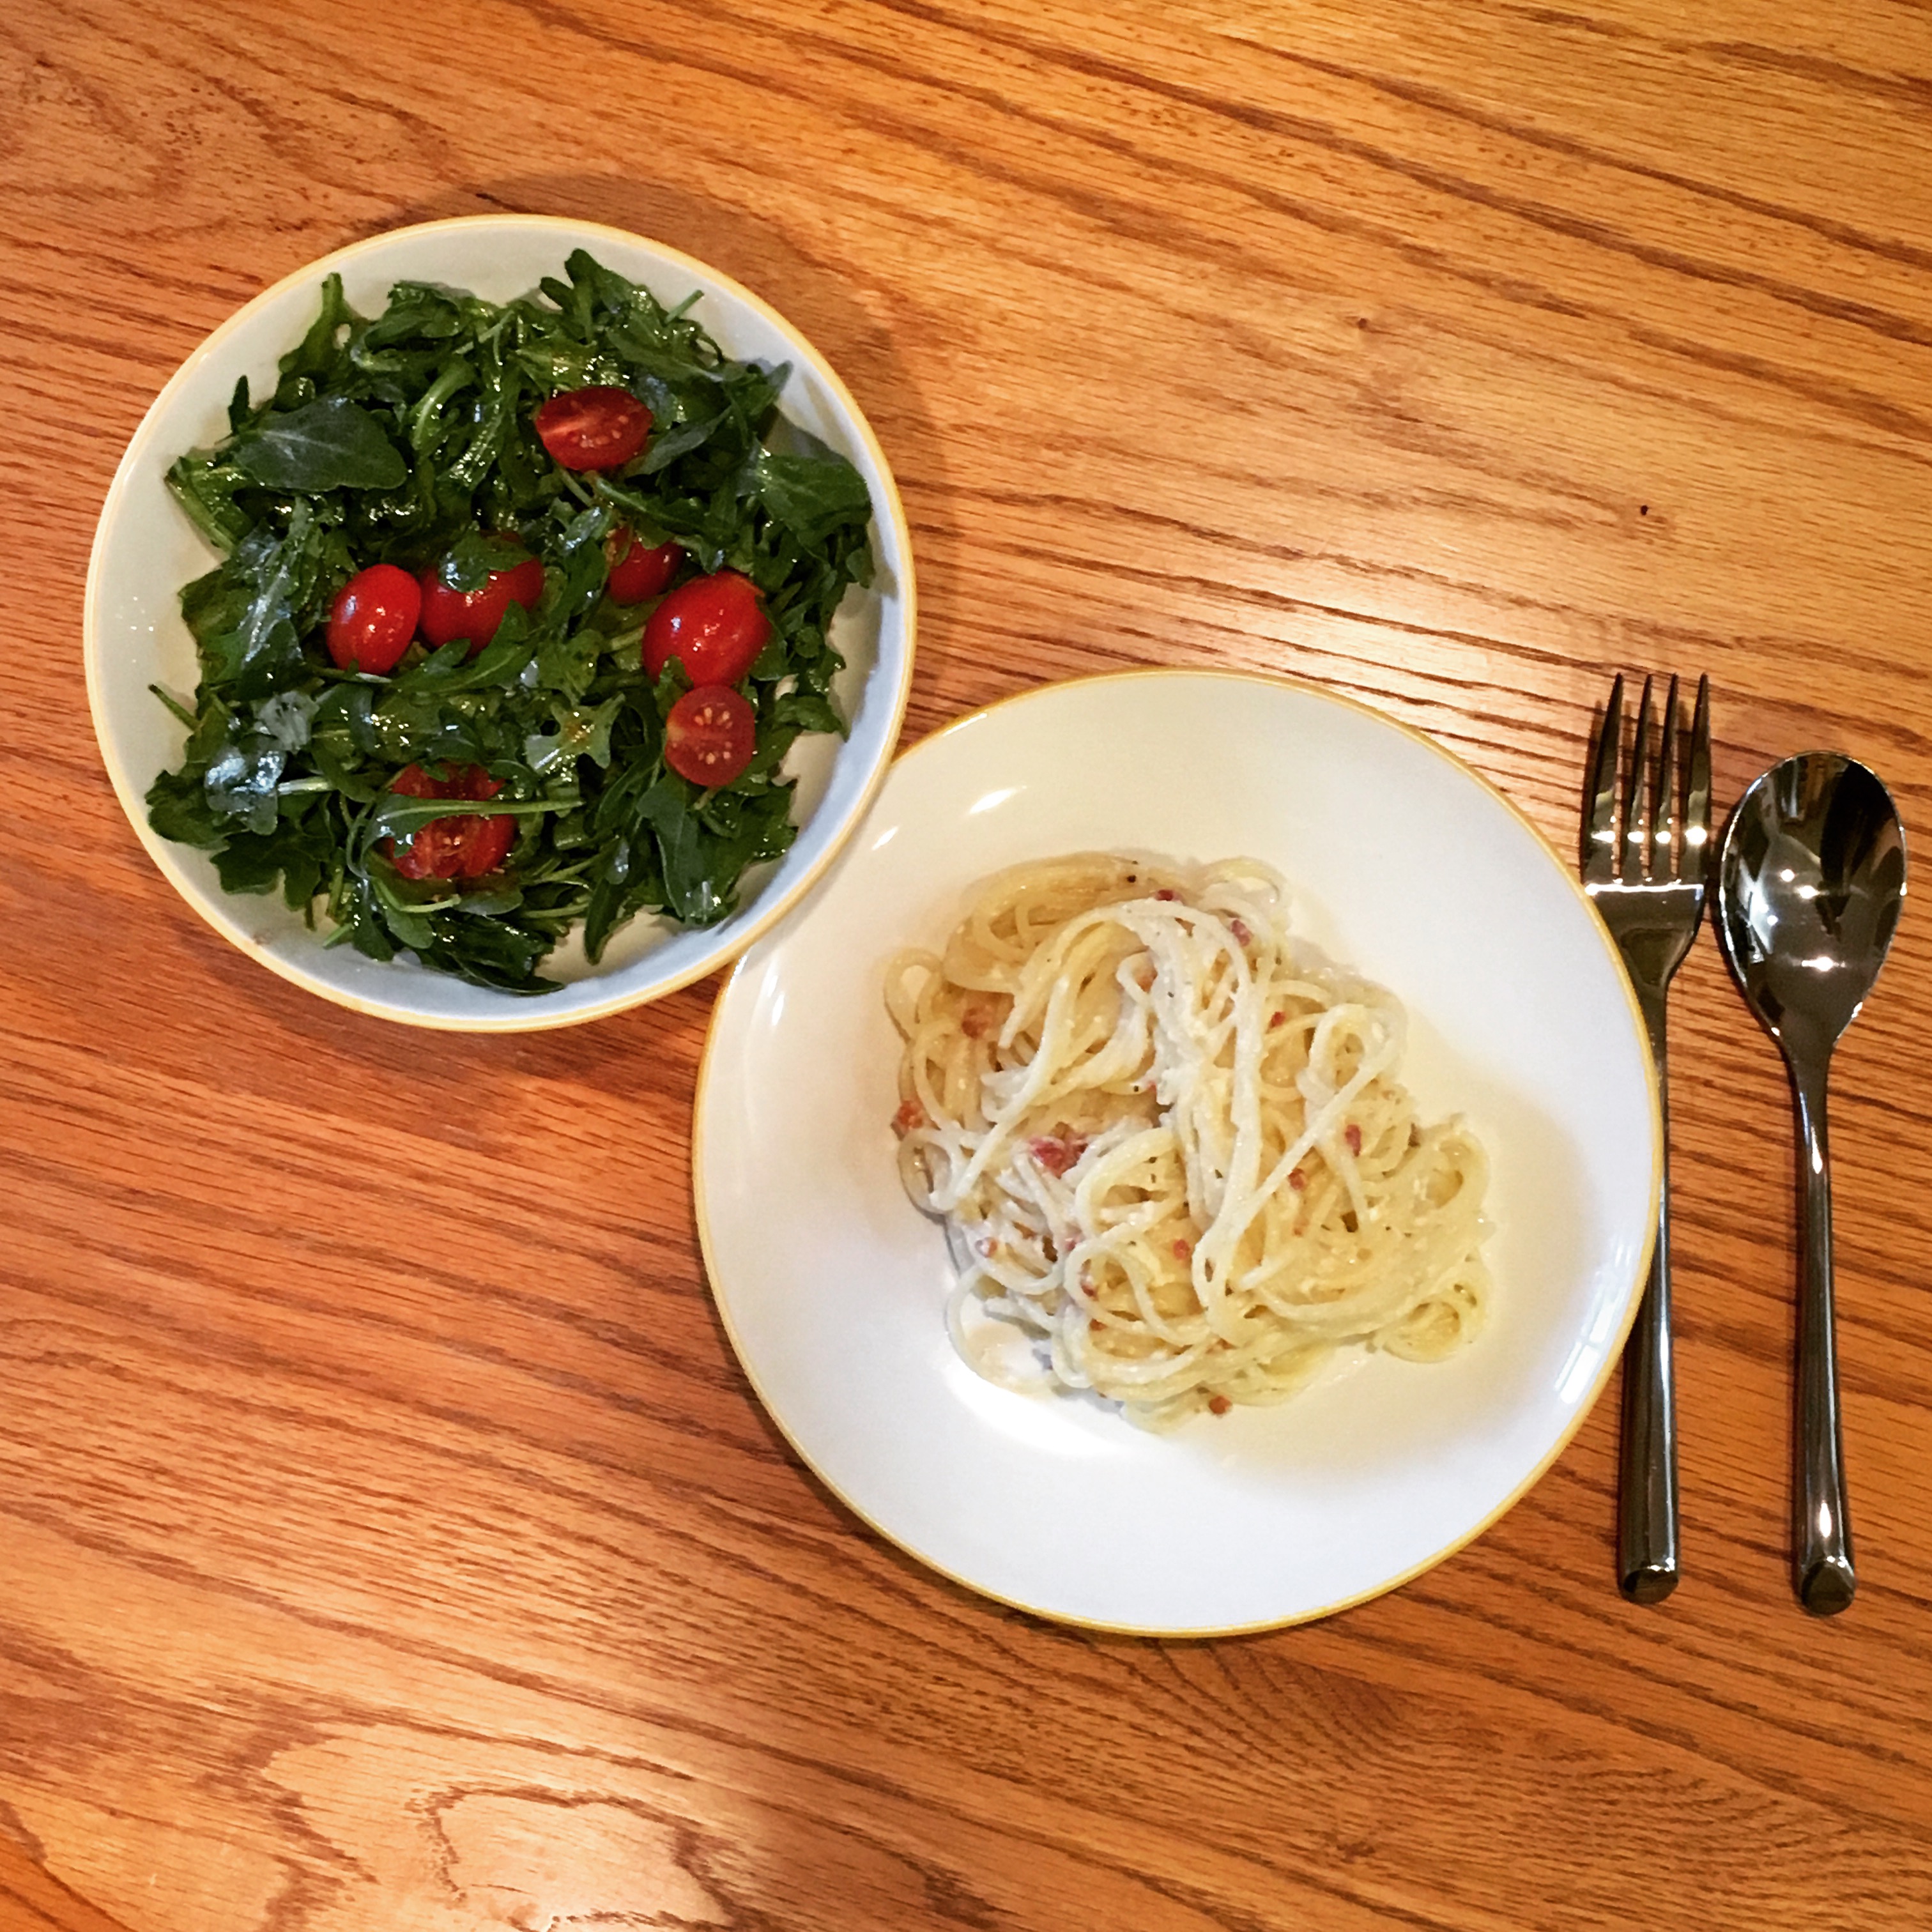
Spaghetti Carbonara

  • Servings: 4
  • Time: 20 minutes
  • Print

Ingredients

  • 8 ounces spaghetti
  • 2 large eggs
  • ½ cup freshly grated Parmesan
  • 4 slices bacon, diced [or diced pancetta, about 4 ounces]
  • 4 cloves garlic, minced
  • Kosher salt and freshly ground black pepper, to taste
  • 2 tablespoons chopped fresh parsley leaves (optional)

Directions

  1. In a large pot of boiling salted water, cook pasta according to package instructions; reserve 1/2 cup water and drain well.
  2. In a small bowl, whisk together eggs and Parmesan; set aside.
  3. Heat a large skillet over medium high heat. Add bacon and cook until brown and crispy, about 6-8 minutes; reserve excess fat.
  4. Stir in garlic until fragrant, about 1 minute. Reduce heat to low.
  5. Working quickly, stir in pasta and egg mixture, and gently toss to combine; season with salt and pepper, to taste. Add reserved pasta water, one tablespoon at a time, until desired consistency is reached.
  6. Serve immediately, garnished with parsley, if desired.


From: Damn Delicious

Arugula Salad with Lemon Balsamic Dressing

  • Servings: 4
  • Time: 5 minutes
  • Print

Ingredients

  • ½ pound arugula
  • ½ cup grape or cherry tomatoes, washed and halved
  • zest of a whole medium lemon
  • ¼ cup extra virgin olive oil
  • 2 Tablespoons balsamic vinegar
  • ¼ teaspoon kosher salt
  • 5 to 6 turns freshly ground black pepper

Directions

  1. In a large salad or mixing bowl, combine arugula, halved grape tomatoes and the zest of an entire medium lemon.
  2. In a separate bowl, whisk olive oil, balsamic vinegar, salt and pepper together until well mixed.
  3. When ready to serve, pour dressing over salad, toss until well coated. Serve and Enjoy!
From: Everyday Maven

Filed Under: book review, recipe Tagged With: book club, dinner, easy prep, fiction, five ingredients or less, pasta, salad, thriller, veggies

The Art of Racing in the Rain + Chicken Dog Treats

September 9, 2017 by Megan 1 Comment

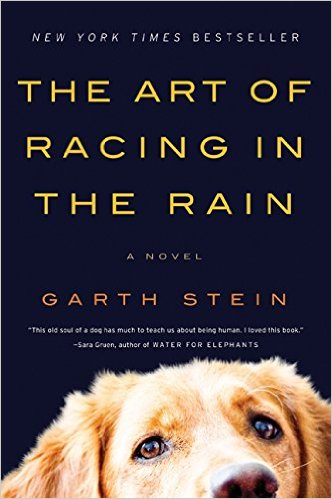
Garth Stein’s novel The Art of Racing in the Rain had a lot of promise when it was chosen as our most recent book club selection - it had a cute dog on the cover, it has over four stars on Goodreads, and oh yeah, it’s an international bestseller. Honestly, my biggest concern when I started it was that the dog would die, and after the Lily and the Octopus crying-on-a-plane debacle, I wasn’t sure I could handle that.

From the start, however, it’s quite clear that Enzo the dog (and narrator) may die. As a very old dog with what seems to be hip dysplasia, he is suffering quite a lot in the opening chapter. However, as a highly enlightened animal, Enzo doesn't seem bothered and spends much of the book talking about his ultimate goal of becoming a human through reincarnation upon his death. And, for much of the rest of the novel, he spends his time making comparisons between life and racing that were a bit of a stretch at best and boring distractions from the rest of the story at worst.

For me, honestly, the downfall of this novel was not that the dog was narrating nor that the majority of the characters were unlikeable - including Enzo, who I thought could not have been more pompous and un-doglike if he was a cat - but that it tried way too hard and missed the mark. And while all of us in book club didn’t feel exactly the same way, three of us (including the lovely lady who chose it) absolutely hated it.

It’s an interesting concept, and who doesn’t love a good dog story? But it could have been so much more. It could have felt like a dog and not a philosophy professor was leading us on this journey. It could have been packed with just slightly less drama. I guess I didn’t think the title would be so literal, but I didn’t care for the racing comparisons. Overall, though, it just didn’t feel genuine.

On the plus side, lots of dogs got to enjoy treats because of this novel, and so that brings me lots of happiness. In the novel, Enzo’s owner Denny always gives him some chicken “bedtime treats” at the end of every day, and so I set out to find a chicken treat I could make myself. I found one from Use Real Butter that is extremely homemade, fresh and delicious. I chose to make it more semi-homemade, using both canned chicken and canned sweet potato, which required less prep time.

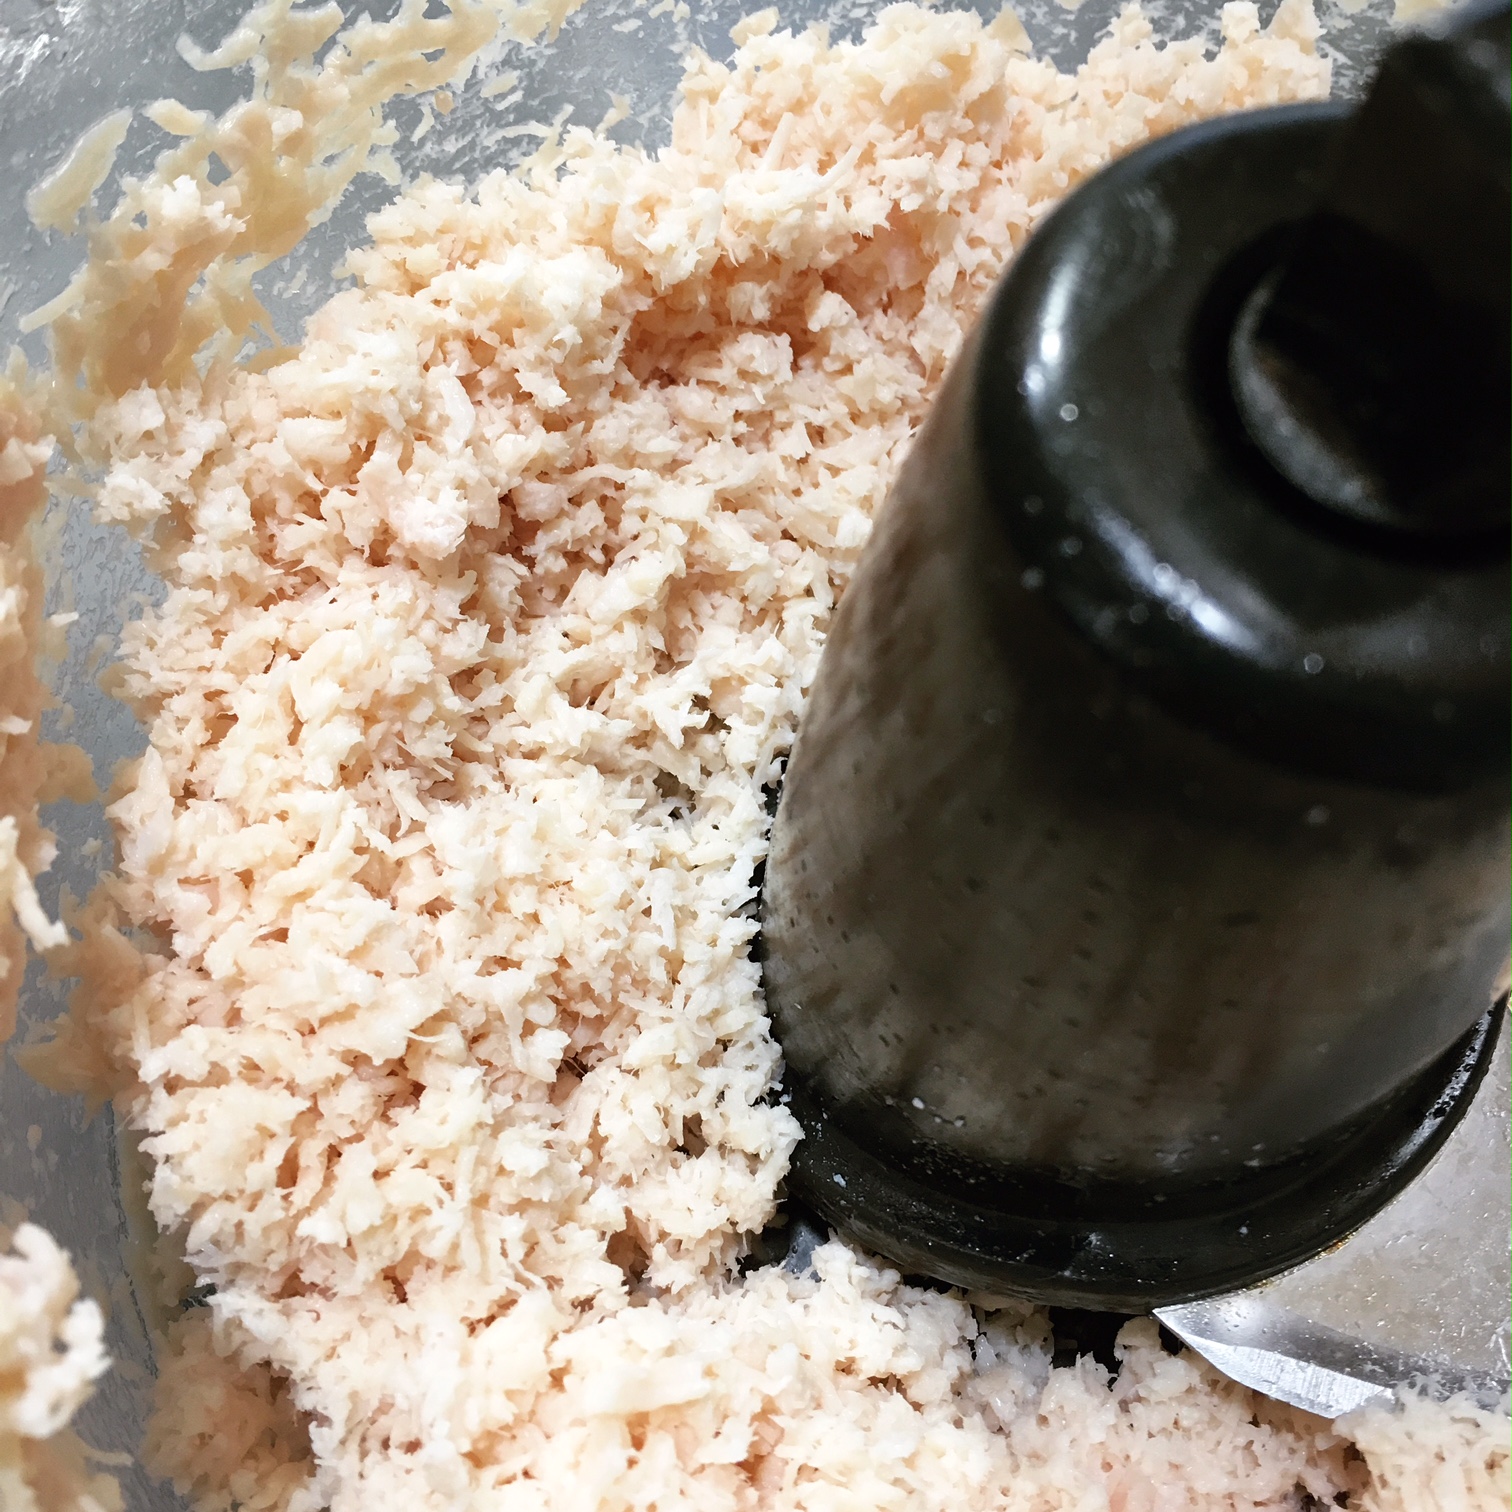
First, I drained the chicken and popped it into my food processor, pulsing it a few times to break it down into smaller pieces.

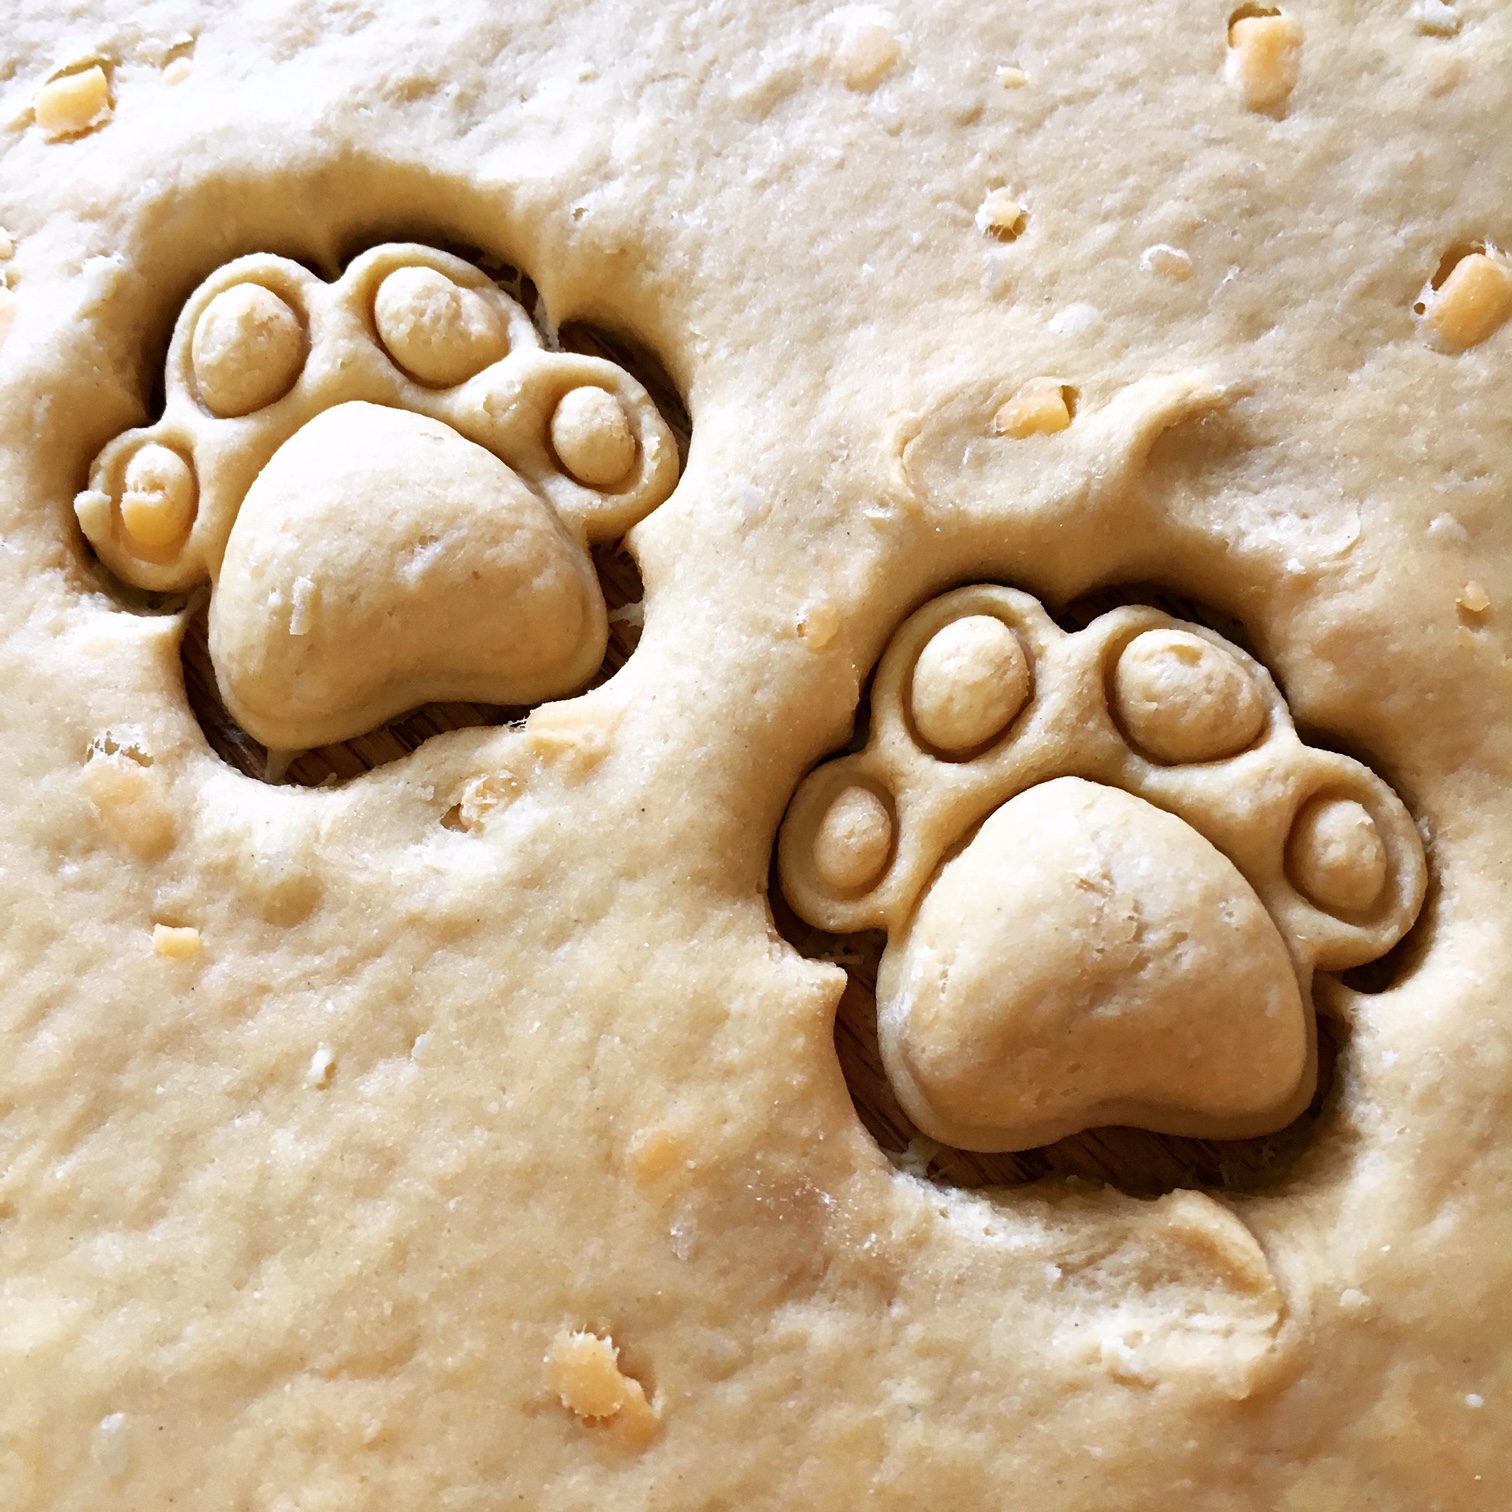
Then, I added everything to the bowl of my standing mixer - chicken, sweet potato puree, shredded cheddar cheese, an egg and half of the flour. I used the paddle attachment to combine the ingredients partially before adding the rest of the flour. This is where you’ll need to eyeball it and likely add more flour to get a less sticky consistency. Once the dough comes together, put it on a lightly floured work surface and roll it out to a thickness of about ¼”.

I found this adorable paw-shaped cookie cutter on Amazon, but you can really use any shape you have on-hand.

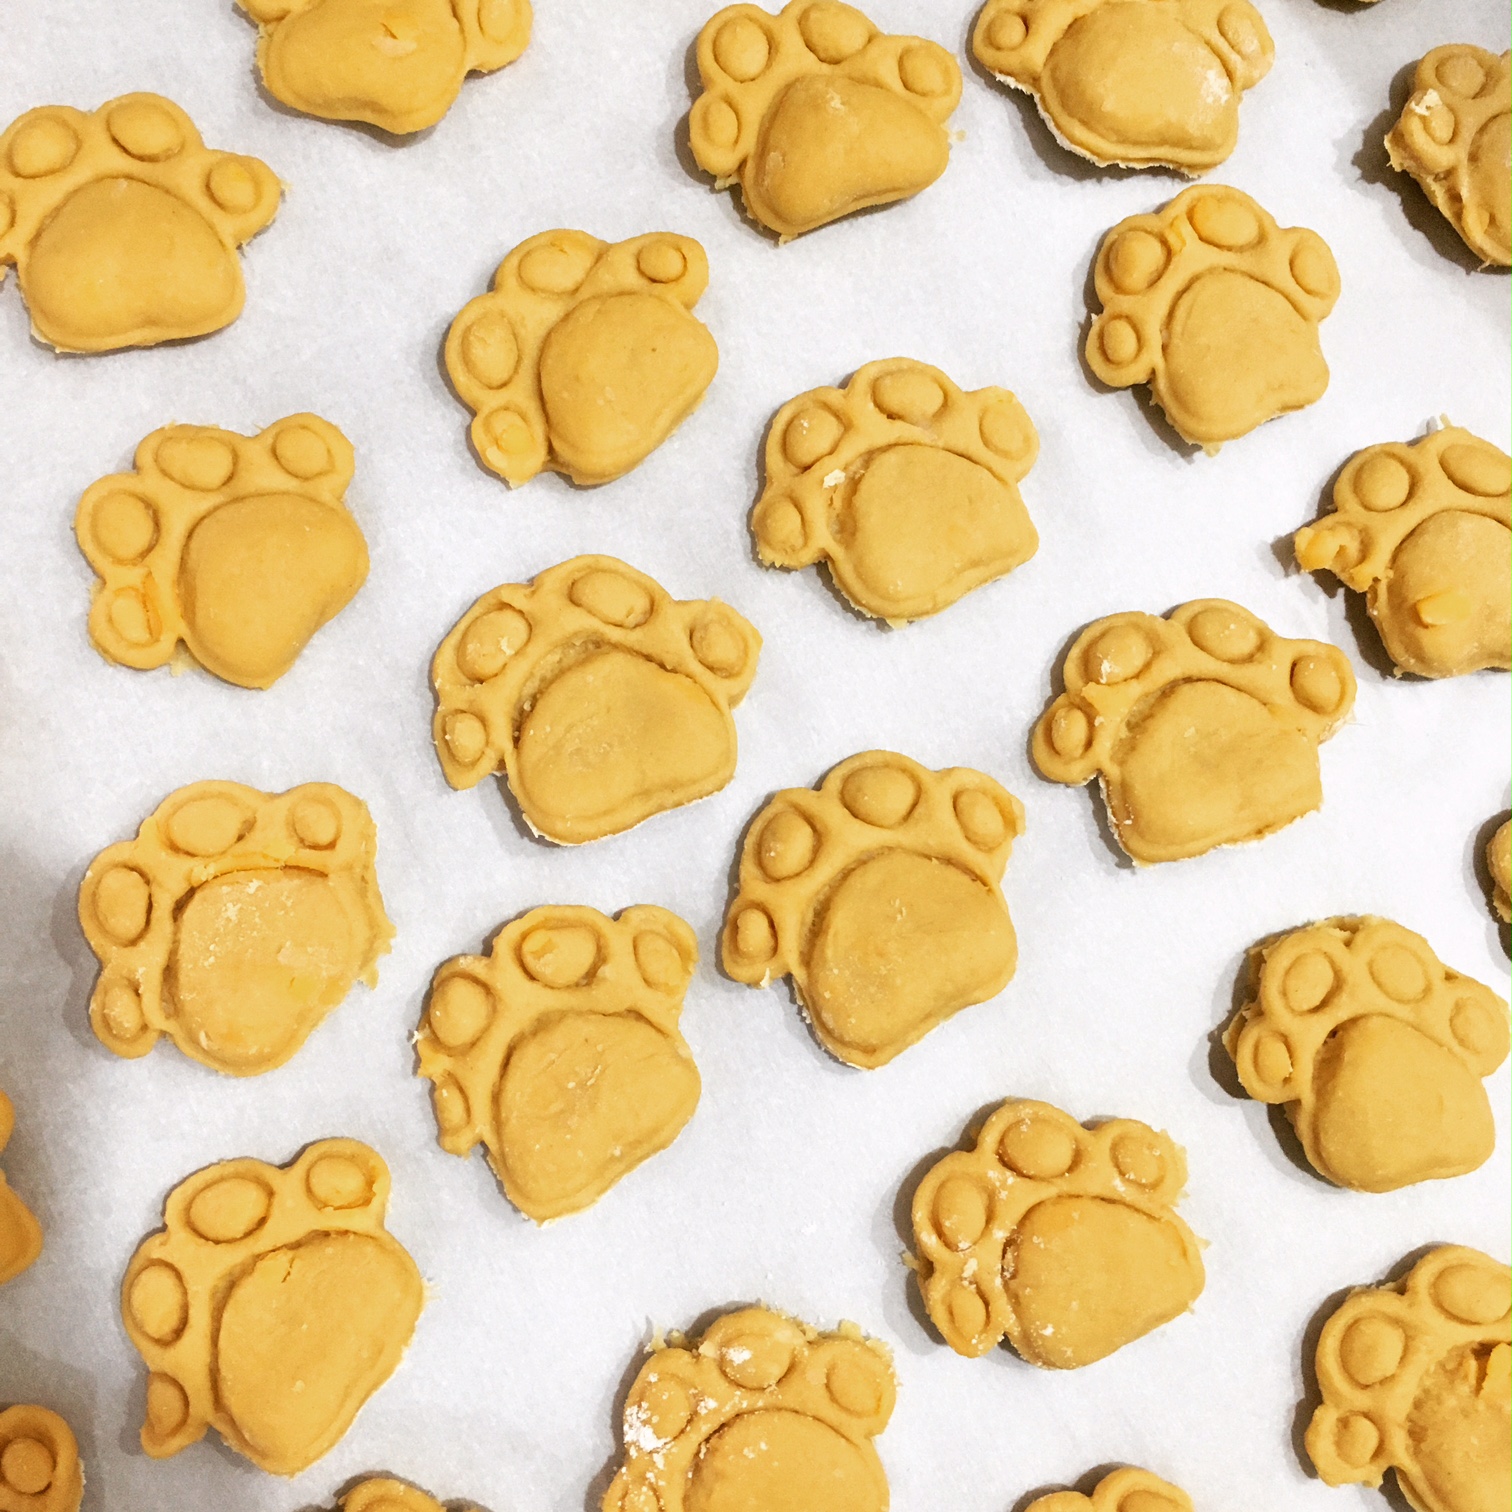
Once I had 2 cookie sheets full of treats, I put them in the oven to bake. (I ended up covering 3 cookies sheets in total and made somewhere between 175 and 200 treats.) I opted for treats on the chewy side, but I have included the directions from the original recipe below so you can make them crispier if you’d like to.

Once they were cool, I gave some to Beta to taste test. She absolutely approved! In fact, she liked the smell of them so much that she had a hard time holding back while I tried to snap some pictures.

Almost 200 treats is a lot! So I also wrapped them up in little gift bags to give to my coworkers who have dogs and asked them all to take photos of their dogs enjoying them too. Quite a good looking bunch! It seemed the treats got puppy approval all around.

Chicken

  • Servings: 150+
  • Time: 40
  • Print

Ingredients

  • 12.5 oz, or one large can, of canned chicken (Premium Chunk White Chicken Meat), pulsed in a food processor
  • 10 oz (approx.) canned sweet potato purée
  • 1 cup cheddar cheese, shredded
  • 3 cups all-purpose flour (and more as needed, plus extra for rolling out)
  • 1 large egg

Directions

  1. Preheat oven to 350°F. Mix all of the ingredients together until the dough is well blended. The dough should come together without being too sticky. Add more flour as needed (by the ¼ cup) until you achieve a consistency that holds together but isn’t wet. (Additionally, more egg or sweet potato could be added if, for some reason, the dough is too dry.)
  2. Roll the dough out on a lightly floured work surface to 1/4-inch thickness. Cut out shapes and arrange on a foil- or parchment-lined baking sheet. Bake time will depend on size of the treats. For 1-inch diameter treats, start testing doneness after 15 minutes by lightly poking the center of a treat with your finger. For larger treats, allow for more baking time (but keep an eye on it the first time around). Treats should be slightly soft in the middle at which point you can remove them for soft treats. For crunchy treats, shut off the heat and leave the oven door closed. Let the treats dry out in the residual heat, but check to see that they aren’t burning at the edges.
  3. Store soft treats in a sealed container in the refrigerator for up to a week. Store hard treats in an air-tight container for up to a week. If storing for longer, refrigerate or freeze them. Makes 150+ 1-inch treats.

Adapted from: Use Real Butter

Notes: I didn’t do an exact count, but my recipe made well more than I expected. Definitely in the 150-200 range, but probably closer to 200. This will depend most of all on the size of the cookie cutter, but also on how thickly you roll the dough. The large quantity makes this a great recipe to save money and stock up on homemade treats for your own dog, or to give as gifts to other dog owners!


This post contains affiliate links. Full disclosure here.

Filed Under: book review, recipe Tagged With: 5 ingredients or less, animals, baking, book club, chicken, dog treats, fiction, quick read

Eleanor Oliphant is Completely Fine + Pasta al Pesto

August 19, 2017 by Megan 6 Comments

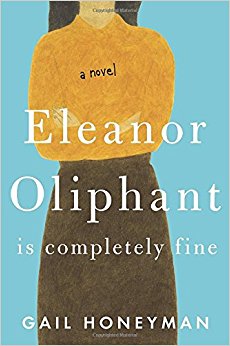
I first heard about Gail Honeyman’s novel Eleanor Oliphant is Completely Fine when someone suggested it for one of my book clubs. I jotted it down, added it to the poll for September, hopped on the library wait list (just in case), and didn’t think much more about it. I’m actually glad I came into it with no real expectations because the whole experience turned out to be a pleasant surprise.

Eleanor Oliphant has worked in finance in the same small company her entire career. She is socially awkward and a bit of a curmudgeon, who is very reliant on her routine. A routine which includes eating pasta with pesto for dinner every night and drinking vodka until she passes out most weekends. Despite all of her peculiarities, Eleanor on the page is quite charming. My heart warmed to her, and I found myself laughing out loud on several occasions.

I’m excited to see what the rest of the book club thinks of Eleanor. I hope they enjoy her as much as I did! And while we chose to visit an Irish pub for our book discussion (as close to a British pub as we could find), I opted to make Eleanor’s favorite staple for today’s post - pasta with pesto.

I very much doubt she makes her own, but I couldn’t exactly plop some store bought pesto onto some pasta and call it a day. (However, if I had to make a recommendation for store bought pesto, I quite enjoy Trader Joe’s Pesto alla Genovese.) The pesto recipe I chose was so easy and delicious though, that I’ve been thinking of taking up my herb-growing again, just so I could have an abundance of basil and make this more often.

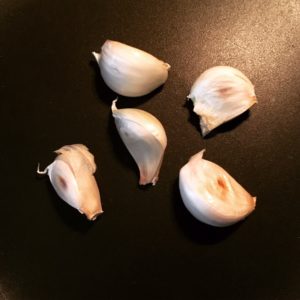
Best of all, it uses walnuts which are much more affordable than pine nuts - I think Eleanor would approve of that choice. To start, I toasted the garlic until it had some little brown spots.

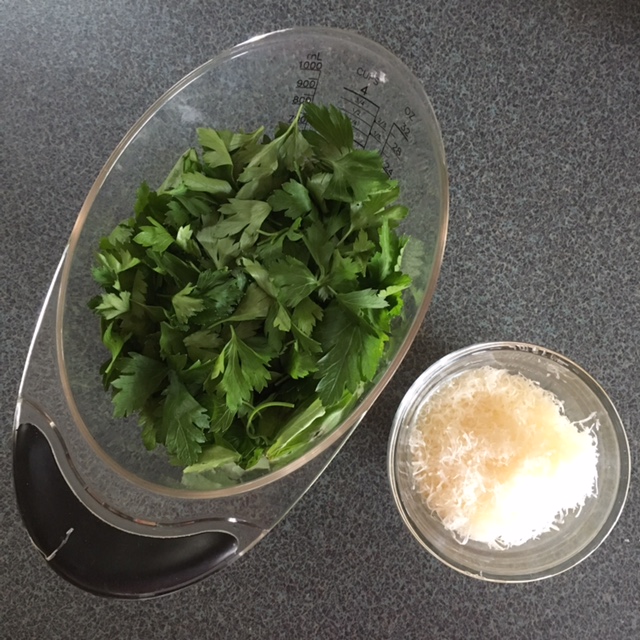
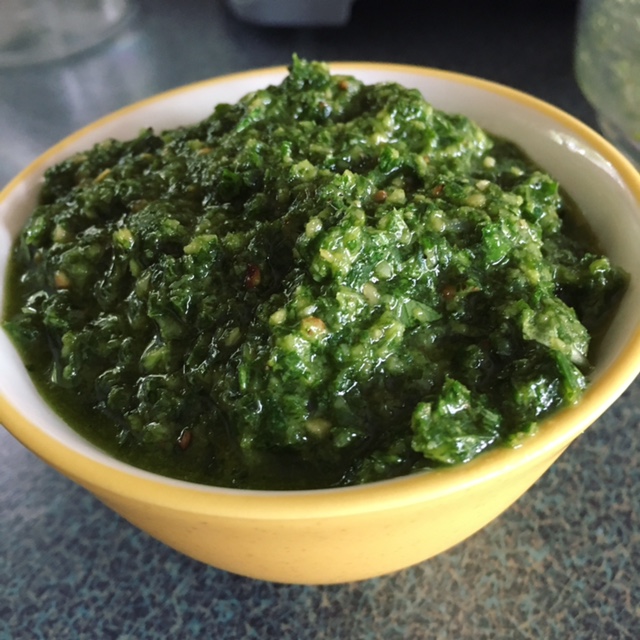
Then, I moved them out of the pan to cool and toasted the walnuts as well. While those cooled, I assembled the rest of my ingredients - basil, parsley, grated parmesan, olive oil and salt and pepper.

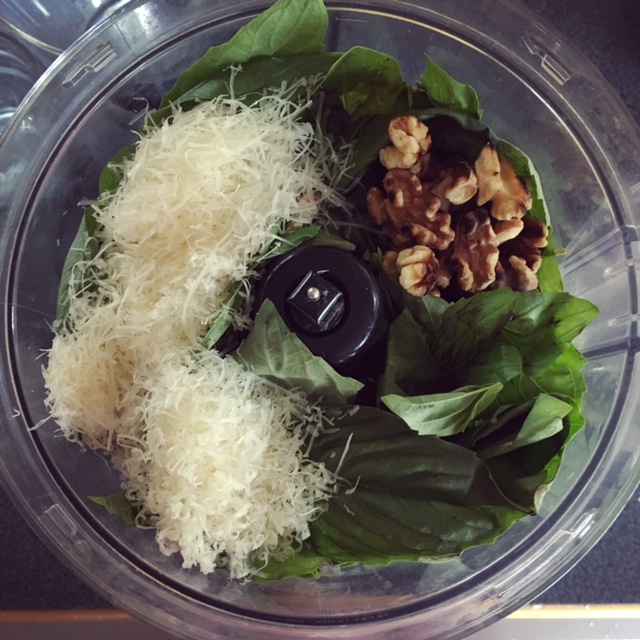
I added everything to my food processor and blended everything until smooth.

I ended up having to add just a touch more olive oil, but use your best judgment as it comes together. Taste and season with additional salt and pepper if necessary.

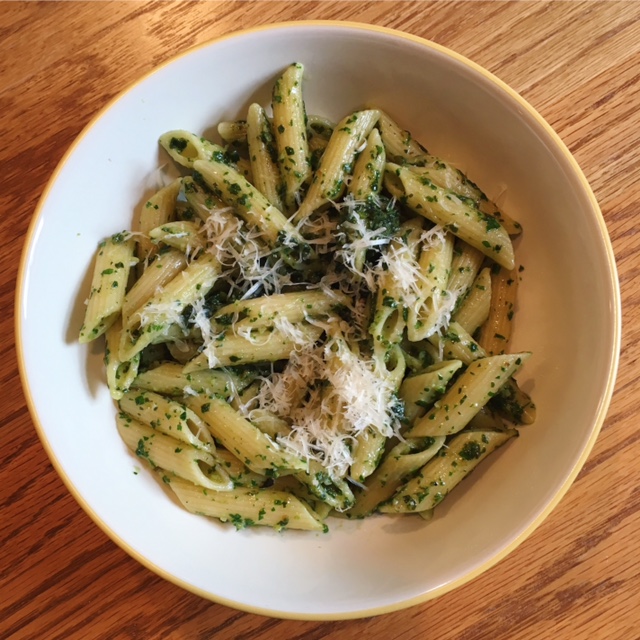
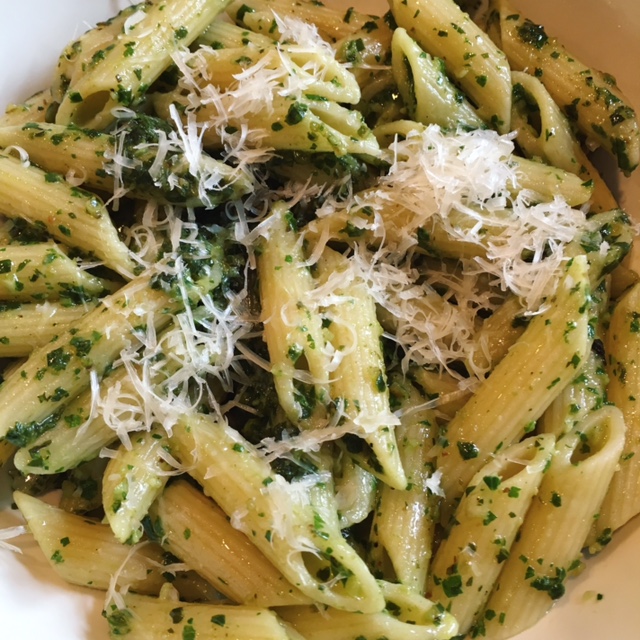
I tossed some ribbed penne pasta (great for the pesto to cling to) with my freshly made sauce, dished it up and topped with some extra parmesan cheese for good measure.

Use your pasta of choice, and if you have any leftover pesto, it will keep in the fridge for a short while, or it can be frozen. Enjoy!
Basil Walnut Pesto

  • Servings: 8
  • Time: 15 minutes
  • Print

Ingredients

  • 6 cloves garlic unpeeled
  • ½ cup walnuts
  • 4 cup packed fresh basil leaves
  • 2 cup packed fresh parsley
  • ½ cup Parmesan cheese
  • 1 cup olive oil
  • Salt and freshly ground pepper

Directions

  1. Toast the garlic cloves in their skin in a small skillet over medium heat, shaking often, until brown spots form, about 5 minutes. Remove to a small bowl to cool before peeling.
  2. Meanwhile, return the skillet to medium heat and add walnuts. Toast until fragrant, 5 to 10 minutes, shaking frequently to prevent scorching. Remove from heat.
  3. Combine peeled garlic, walnuts, basil, parsley, parmesan cheese, and olive oil in a blender or food processor; blend until smooth.
  4. Season to taste with salt and pepper.
  5. Serve as a topping on pasta (3/4 c. pesto per pound of pasta), as a spread on sandwiches, or as a garnish to soups.

From: Culinary Hill

This post contains affiliate links. Full disclosure here.

Filed Under: book review, recipe Tagged With: book club, contemporary, easy prep, fiction, quick read, sauce

Geek Love + Sharp Cheddar Popcorn and Cotton Candy Ice Cream

August 12, 2017 by Megan Leave a Comment

Before I get started on today's post, I want to announce the winner of my first ever Hungry Bookworm Giveaway, in honor of my 1 Year Anniversary (which I still can't get over!). But, without further ado...

Congratulations, Laura!

I'm so happy to have made your day with your win. Your copy of Pachinko has already shipped, and you should receive it soon! (More details emailed to you as well.) Thank you to everyone who participated, subscribers new and old! It is much appreciated, and I hope you continue to enjoy my posts week after week. 🙂 Now onto another review and recipe!

_________________________

While usually I got to my own to-be-read list when picking book club selections, sometimes I try to be a little more open-minded. In this most recent case, I stumbled upon a Buzzfeed list that sounded like a perfect fit for book clubs - Books You Won’t Be Able To Stop Thinking About usually equals good discussion. As a bonus, I’d already a handful of them and liked most of them, so I filed it away for future use.

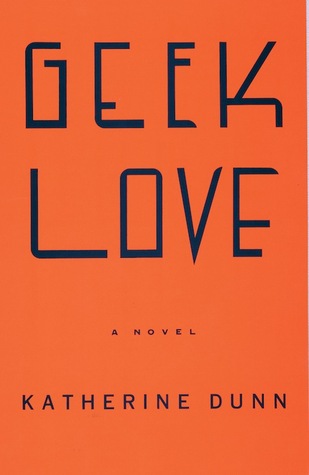
I don’t remember exactly what prompted me to choose Geek Love, but that’s how we got here. Katherine Dunn’s novel tells the story of an extremely unique family. At best, the Binewski family runs a traveling carnival and unique is probably a generous understatement. The parents, Al and Lil, despise “norms” and stop at nothing to breed their odd children, who go on to become acts in the Binewski freak show. Though many of the children died in the attempts at their creation, five remain. Arty, also known as Aquaboy, has flippers instead of hands and feet. The twins, Elly and Iphy, are conjoined. Chick, though a disappointment at first, is discovered to have telekinetic powers. And Olympia, our narrator, is a hunchbacked albino dwarf.   

Like a car accident, I often wanted to look away, but I couldn’t help myself. It was gruesome and unbelievable, and honestly, so incredibly imaginative on Dunn’s part. It’s hard to explain many of my reactions to the book without sharing plot points, though a lot of it had me going, “Wait, what?” It wasn’t perfect, and I didn’t love it, but like the list that drew me to it, I will definitely never forget this one.

Though food was only mentioned in the periphery, as Dunn described the hustle and bustle of the midway, you could almost smell the freshly-made popcorn and the sugary-sweetness of the cotton candy. I went with a Sharp Cheddar Cheese Popcorn recipe to serve at book club, alongside the rest of the snacks, and later on I made some blue-ish Cotton Candy Ice Cream to accompany the book as well.

Both recipes were really quite easy, which is always nice. To start with the popcorn, I popped a half cup of kernels on the stove top just by following directions on the container itself.


Then, I combined the butter, garlic powder and salt in a saucepan, allowing it to melt. Once it began to simmer, I poured it over the popped popcorn, as directed, and stirred until it was all well-coated.

Then, with the popcorn on a sheet pan, I covered it with freshly grated extra sharp cheddar cheese and placed it in the oven under the broiler for a few minutes until the cheese was melted. I transferred most of it to a bowl (and snacked on the rest until everyone arrived!) and served it up.

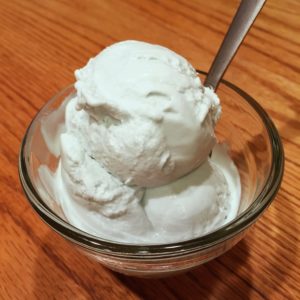
The cotton candy ice cream was significantly easier than the Earl Grey Ice Cream I had made just before trying this recipe. If you’re looking for an easy way to get into the ice cream game, I’d recommend this one - it’s basically foolproof.

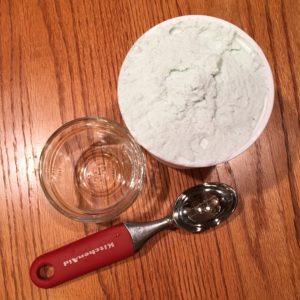
First, I combined the sugar and milk with a whisk, until the sugar was dissolved. Then, I added the vanilla, whipping cream and cotton candy syrup. (I used a pink syrup, and since I wanted it to be blue, I also added some blue food coloring in this step.) Once the mixture was well-combined, I poured it into my ready-to-go ice cream attachment and let it do its thing.


After 30 minutes, the ice cream was done...except that I prefer it to be a bit more on the hard side, so I stuck it in the freezer for a handful of hours before I actually was able to dig in. It was nothing like the ice cream I’d made before - where that was dense and rich, this was airy and light in flavor. Initially, I wasn’t sure I liked it as much, but the more I ate, the more I enjoyed it. Light and airy is exactly how cotton candy should be, regardless of if you’re eating the candy itself or an ice cream version of it. I ended up loving it 🙂

Sharp Cheddar Cheese Popcorn

  • Servings: 2-4
  • Time: 15 minutes
  • Print

Ingredients

  • ½ cup popcorn kernels, popped
  • ¼ cup butter
  • ⅛ tsp garlic powder
  • ¼ -½ tsp kosher salt
  • 3 oz sharp cheddar cheese, finely shredded

Directions

  1. In a small saucepan, combine butter, garlic powder and salt. Melt butter and heat until starting to simmer.
  2. Pour butter over popcorn. Stir until all popcorn is evenly coated.
  3. Spread popcorn on a sheet pan, sprinkle with finely shredded cheese (I used a microplane zester to shred mine). Stir it around until evenly distributed.
  4. Place rack in the center of the oven and turn broiler to low. Cook popcorn until cheese is melted (about 2-3 minutes). Watch carefully so it does not burn.
  5. Pour cheesy popcorn into bowl and mix. Enjoy!
Adapted from: Houseful of Homemade

Cotton Candy Ice Cream

  • Servings: 6
  • Time: 35 minutes
  • Print

Ingredients

  • ¾ cup granulated sugar
  • 1 cup whole milk
  • 2 cup heavy whipping cream
  • ½ cup cotton candy syrup (I used Jelly Belly Cotton Candy Syrup)
  • 1 tsp vanilla extract
  • food coloring (optional)

Directions

  1. Before mixing ingredients, be sure that your chosen ice cream maker is ready to churn ice cream (attachments frozen, ice added, etc).
  2. In a medium bowl, whisk together milk and sugar until sugar is dissolved.
  3. Pour vanilla, heavy whipping cream, and cotton candy syrup into the bowl and whisk until combined.
  4. If using food coloring: Depending on the brand of cotton candy syrup you used, the mixture might already have a pink hue. If you'd like the ice cream to be pink, keep this in mind - you won't need to add much pink food coloring to get your desired color. If you'd like the ice cream to be another color than pink, don't worry - as pictured, I used blue food coloring, and only had to add a few drops to achieve a nice light blue color. No matter what color you're using, add the food coloring slowly (one drop at a time) and whisk thoroughly between each until the desired color is reached. Also, the hue of the cream should be a few shades darker than the color you'd like the final ice cream to be, as the whipped and frozen cream will appear lighter. TIP: If you're still worried how your chosen color will look, add a little bit of the cotton candy syrup and milk to a separate glass or bowl and test your food coloring with it.

  5. Pour the mixed ice cream mixture into the chilled bowl/attachment of your ice cream maker.
  6. Churn ice cream for 25-30 minutes or until desired consistency is reached. If you'd like soft ice cream, serve cotton candy ice cream immediately. If you'd like firmer ice cream, transfer the ice cream to your chosen storage container and let it freeze for another 4-6 hours.
From: Homemade Hooplah

This post contains affiliate links. Full disclosure here.

Filed Under: book review, of interest, recipe Tagged With: book club, dessert, easy prep, fiction, ice cream, snack

The Royal We + Tea Sandwiches

June 24, 2017 by Megan 2 Comments

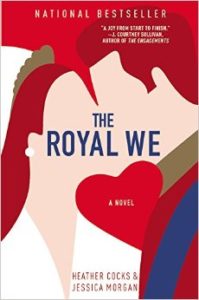
Happy Summer, everyone! It’s been awhile since I’ve read a rom-com-type book, and I forgot what a breath of fresh air they can be. I was unable to resist the cover of The Royal We, which is clearly depicting a couple so like William and Kate that it’s surprising that it’s not them, and the novel ended up being an excellent way to kick off what promises to be a busy summer of reading.

This is totally fan fiction about everyone’s favorite British royal couple, with the major exception being that Rebecca Porter isn’t British at all - she’s American. She also has a twin sister who keeps things much more interesting than Pippa ever did. I wasn’t expecting an American girlfriend - expecting William and Kate as I was - but it was a nice surprise. Sort of like The Prince & Me, it gives American girls hope that they too can have a prince one day. There’s no denying it, I probably liked this book so much because the hope of a royal meeting was part of the my decision to study abroad in London too. 😛 No such luck, but lots of fun adventures, nonetheless! It brought back memories…

Overall, the book was a tad drawn out, maybe a little bit longer than it needed to be, but the struggles Bex and Nick went through during their long courtship seemed pretty realistic. The story was really dramatic and entertaining, an (almost) endless will-they-or-won’t-they propelling it forward. I’m not sure I’d read a sequel (princess movies sequels are never that good…), but I certainly enjoyed this one.

When choosing a recipe for this book, it was a hard decision between Pimm’s Cup, which was not only a favorite of Nick and crew but also my favorite British drink while abroad, and tea sandwiches, which of course were ever-present throughout the story. Because England. In the end, I had to go with the tea sandwiches because while cocktails are a pretty big part of American life, high tea is something that comes along less often, and I love high tea.

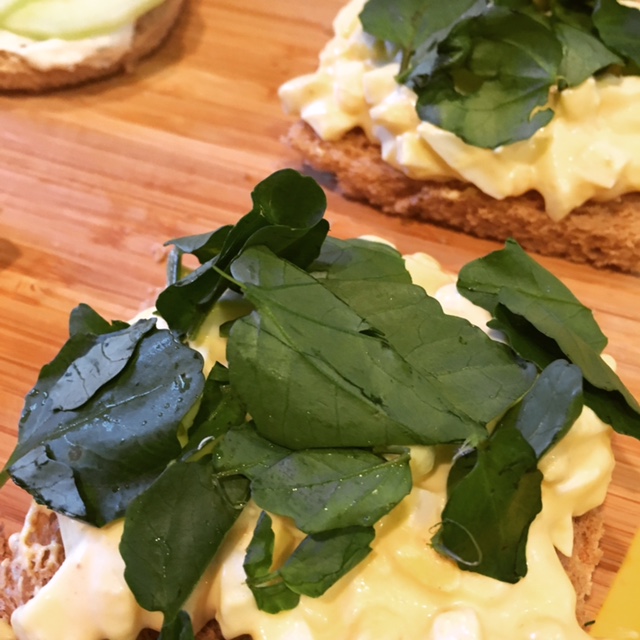
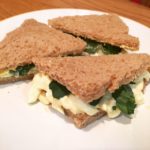
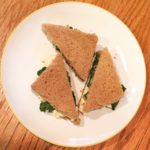
I decided to make three different kinds - the classic cucumber, an egg salad with watercress (one of my favorite sandwiches while in London), and the tasty combo of ham, brie and apple.

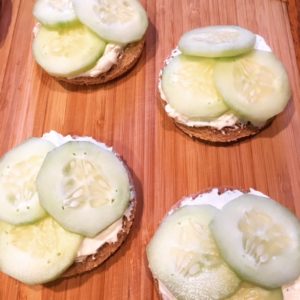
I started by prepping the eggs, and while they were hard-boiling, I whipped up the cream cheese mixture for the cucumber sandwiches. The majority of tea sandwich-making is the actual assembly and, of course, the removing of the bread crusts.

To make the cream cheese mixture, I combined 1 package of cream cheese and ⅓ cup of mayonnaise in my food processor until smooth. To that, I added garlic salt and fresh dill. I don’t think you should be shy with the dill - I used around a tablespoon, while the original recipe called for 1 teaspoon.  

When eggs were finished boiling, I let them cool in an ice bath, peeled them, and used my egg slicer tool to chop them into small pieces. I combined the egg with mayonnaise, white wine vinegar, dijon mustard and Lawry’s seasoned salt.

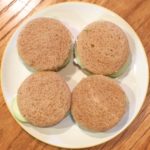
With the two main spreads done, I began prepping the rest of my sandwich ingredients. I sliced the cucumbers into thin slices, I rinsed the watercress and removed the leaves from the stems, and I sliced the green apple and brie for the last sandwich. Last but not least, I removed the crusts from my bread. For the cucumber sandwiches, I made the bread into rounds using a large cutter (no need to remove the crusts first if you’re doing this).

When it was time for the assembly, I set out the bottoms on a large cutting board and got to work. First, I spread the cream cheese mixture on the rounds and topped them with sliced cucumber.

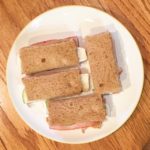
Next, I spread a thin layer of dijon and butter on half of the remaining squares, topping it with ham, sliced brie, and thinly sliced apple halves.

Finally, I carefully put the egg salad atop the rest of the bread and placed some watercress on top.

Then, each sandwich got a lid and we were ready to go!

It’s really too bad I didn’t read this for book club. An afternoon tea theme would’ve been perfect for the meeting. Instead, Scott and I got to enjoy them ourselves, which wasn’t bad either.  

Cucumber Tea Sandwiches

  • Servings: 20 rounds
  • Time: 15 minutes
  • Print

Ingredients

  • 1 (8-ounce) package cream cheese, softened
  • ⅓ cup mayonnaise
  • 1 medium cucumber, peeled and sliced thinly
  • ¼ teaspoon garlic salt
  • 1 Tablespoon chopped fresh dill, or to taste
  • 40 slices of thin sandwich bread

Directions

  1. Process cream cheese and mayonnaise in a blender or food processor until smooth, stopping once to scrape down sides.
  2. Combine cream cheese mixture, garlic salt, and dill.
  3. If creating rounds, use a 2- to 3-inch round cutter to cut bread, discarding the edges. Or, if you prefer triangles or squares (which makes 80 sandwiches), cut the crusts from the bread and discard and cut into quarters.
  4. Spread cream cheese mixture evenly onto half of the bread slices. Place 3-4 cucumber slices per round on top of the mixture. Lightly coat the top slice of bread, just enough to keep the bread in place over the cucumbers and place on top.
  5. Serve immediately, or you may store cucumber sandwiches in an airtight container for up to 1 hour before serving.

Adapted from: Southern Living, by way of MyRecipes.com

You may use whichever type of bread you prefer. Traditional tea sandwiches are usually made with white bread. I used wheat bread, and the original recipe calls for one slice of each per sandwich.


Egg Salad Tea Sandwiches with Watercress

  • Servings: 12 halves
  • Time: 15 minutes
  • Print

Ingredients

  • 6 eggs, hard-boiled and peeled
  • ⅛ teaspoon Lawry’s seasoned salt, or salt and pepper to taste
  • ⅓ cup mayonnaise
  • 2 teaspoons white wine vinegar
  • 2 teaspoons dijon mustard
  • 12 slices of thin sandwich bread
  • Small bunch watercress

Directions

  1. Roughly chop your hard-boiled eggs, or use an egg slicer if you have one. First, slice the egg horizontally, carefully flip the egg to the vertical position and slice again. (If you don’t have your own preferred method for hard-boiling eggs, please see notes below.)
  2. In a large bowl, combine the eggs, mayonnaise, vinegar, mustard and seasoned salt. Gently fold together.
  3. To construct the sandwich, remove the crusts from the bread and cut in halves, forming triangles (or your preferred shape).
  4. On half of the bread, add the egg salad and top with watercress leaves. Add a slice on top of each to complete the sandwich.

Adapted from: Serious Eats

To make hard-boiled eggs: Bring a pot of water to a boil, make sure there is enough water to completely cover the eggs. Once boiling rapidly, carefully add each egg using tongs. The eggs should be still cold from the fridge. Allow to boil for 12 minutes. Remove from the boiling water and allow to cool in an ice bath for 5 minutes, or until cool to the touch. Peel.

A note on sandwich size: I specifically used a loaf of “sandwich bread” from my grocery store, which were smaller and more square than a usual loaf of bread. These formed small halves, as you can see from my photos. If your bread is larger, or you want smaller sandwiches, feel free to cut into quarters.


Ham, Brie and Apple Tea Sandwich

  • Servings: 12 halves
  • Time: 10 minutes
  • Print

Ingredients

  • ½ lb deli ham of your choice (I used Virginia Ham)
  • 6 large slices of brie
  • 1 large Granny Smith apple, thinly sliced
  • dijon mustard
  • softened butter
  • 12 slices of thin sandwich bread

Directions

  1. Remove the crust from the bread.
  2. To assemble the sandwiches, spread half of the slices lightly with softened butter and dijon mustard. Place 1-2 pieces of ham on top of each, followed by 2 slices brie side-by-side lengthwise, and finally place 3-4 slices of apple on top. Finish with an additional piece of bread.
  3. Cut each sandwich into halves lengthwise to form rectangles.

Inspired by: The Food Network

A note on sandwich size: I specifically used a loaf of “sandwich bread” from my grocery store, which were smaller and more square than a usual loaf of bread. These formed small halves, as you can see from my photos. If your bread is larger, or you want smaller sandwiches, feel free to cut into quarters.


Filed Under: book review, recipe Tagged With: book club, fiction, lunch, party, sandwich

All Grown Up + Grown-Up Ramen

June 6, 2017 by Megan 1 Comment

There was a time before my blog, and before I became obsessed with Goodreads, that I kept track of what I read with a Google spreadsheet. It was pretty simple - title, author, notes, date finished and a Y/N column for whether or not I’d recommend it. That spreadsheet is my only memory of the last time I read a Jami Attenberg novel and my succinct reaction was “the ending was predictable; I cared about exactly zero of the characters.” Four years later, with her novel All Grown Up, I found myself having deja vu.

9780544824249_custom-378e8da65f06b2846e6b6c01b27adf75e2edb10f-s400-c85

Andrea is a thirty-nine-year-old single woman without children. She wanted to be an artist, but instead finds herself in an unfulfilling career so she can pay the rent. In New York City, that’s not remarkably unusual. What is remarkably unusual about Andrea is that she refuses to grow up, and the people around her think that’s perfectly alright.  

I didn’t find it predictable, though perhaps I should have - a 40-year-old woman who still acts like someone fresh out of college can’t be expected to grow up at that late stage - but I didn’t care about any of the characters. In the end, I found Andrea’s life and the novel on the whole quite sad, but on the plus side, Attenberg’s writing was lovely and made the less than 200 pages easy to get through.

In a transformation like the one I hoped Andrea would have, I turned a college classic into something a bit more put-together, a posh NYC favorite - Grown-up Ramen Noodles. I found a recipe from Fork Knife Swoon to go off of and set to work.  

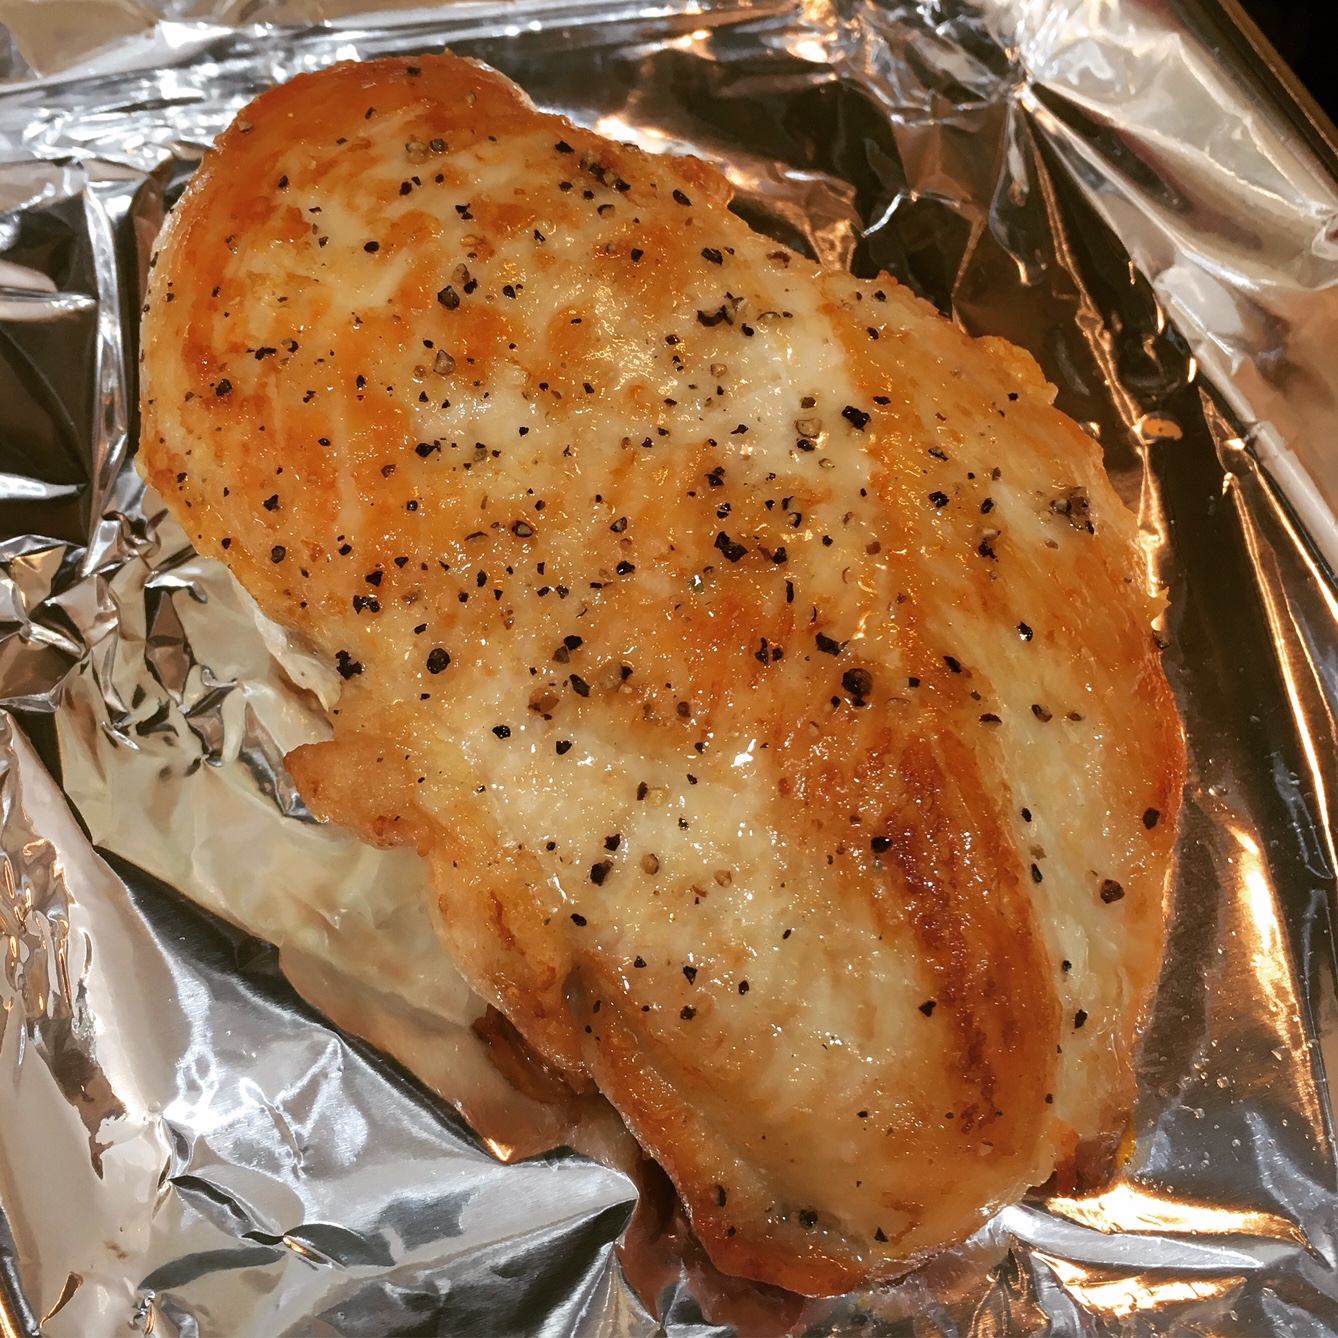
To start, I began cooking a chicken breast seasoned with salt and pepper in a skillet with olive oil. Once the rounded side was browned - about 7 minutes - I flipped it over and cooked the other side for another 5 minutes or so. I transferred it to a small foil-lined baking sheet and placed it in my preheated 375-degree oven to finish cooking.

IMG_3231

While the chicken was cooking, I began my broth and set the water for my eggs to boil. In a medium saucepan, I heated some toasted sesame oil before adding minced garlic and ginger. I allowed those to cook for a few minutes until fragrant. Then, I added the soy sauce and rice cooking wine, stirring to combine. After another minute, I added the chicken broth, covered the pan and brought it all to a boil.

Once boiling, I turned down the heat and allowed it to simmer for 5 minutes. I added the dried mushrooms and let the broth continue to simmer. Meanwhile, I removed the chicken from the oven and set it aside. I also added the two eggs to the separate pan of boiling water and set a timer for 7 minutes.

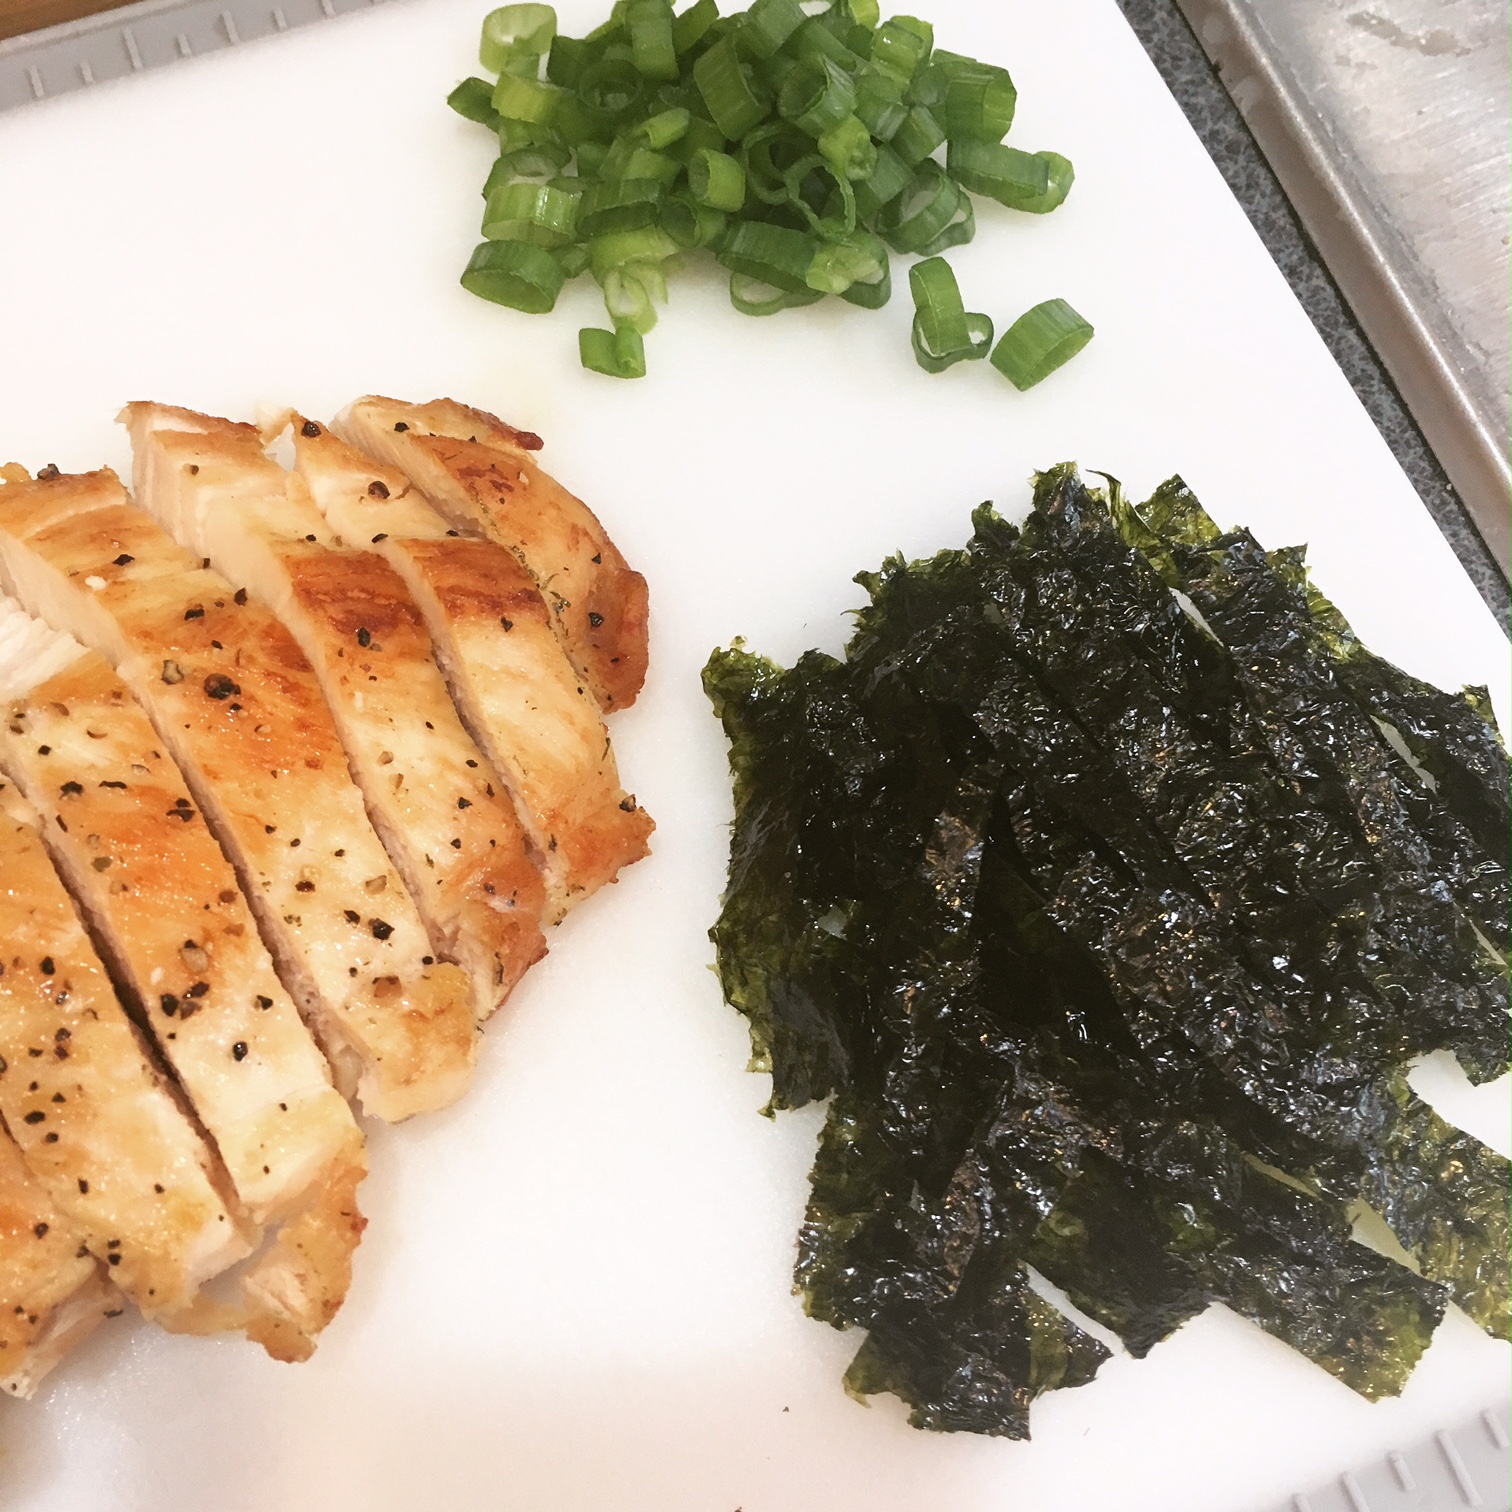
I used this time to prep my scallions and seaweed, and once the chicken had rested, I cut it into slices.

IMG_3232

After 10 minutes, I removed the mushrooms and placed them in the waiting bowls. (If I had sliced them, I would’ve done so here. If I was making this again, I would slice the mushrooms into more bite-size pieces, as noted in the recipe below.) I also placed the eggs into an ice bath so they could cool before peeling.

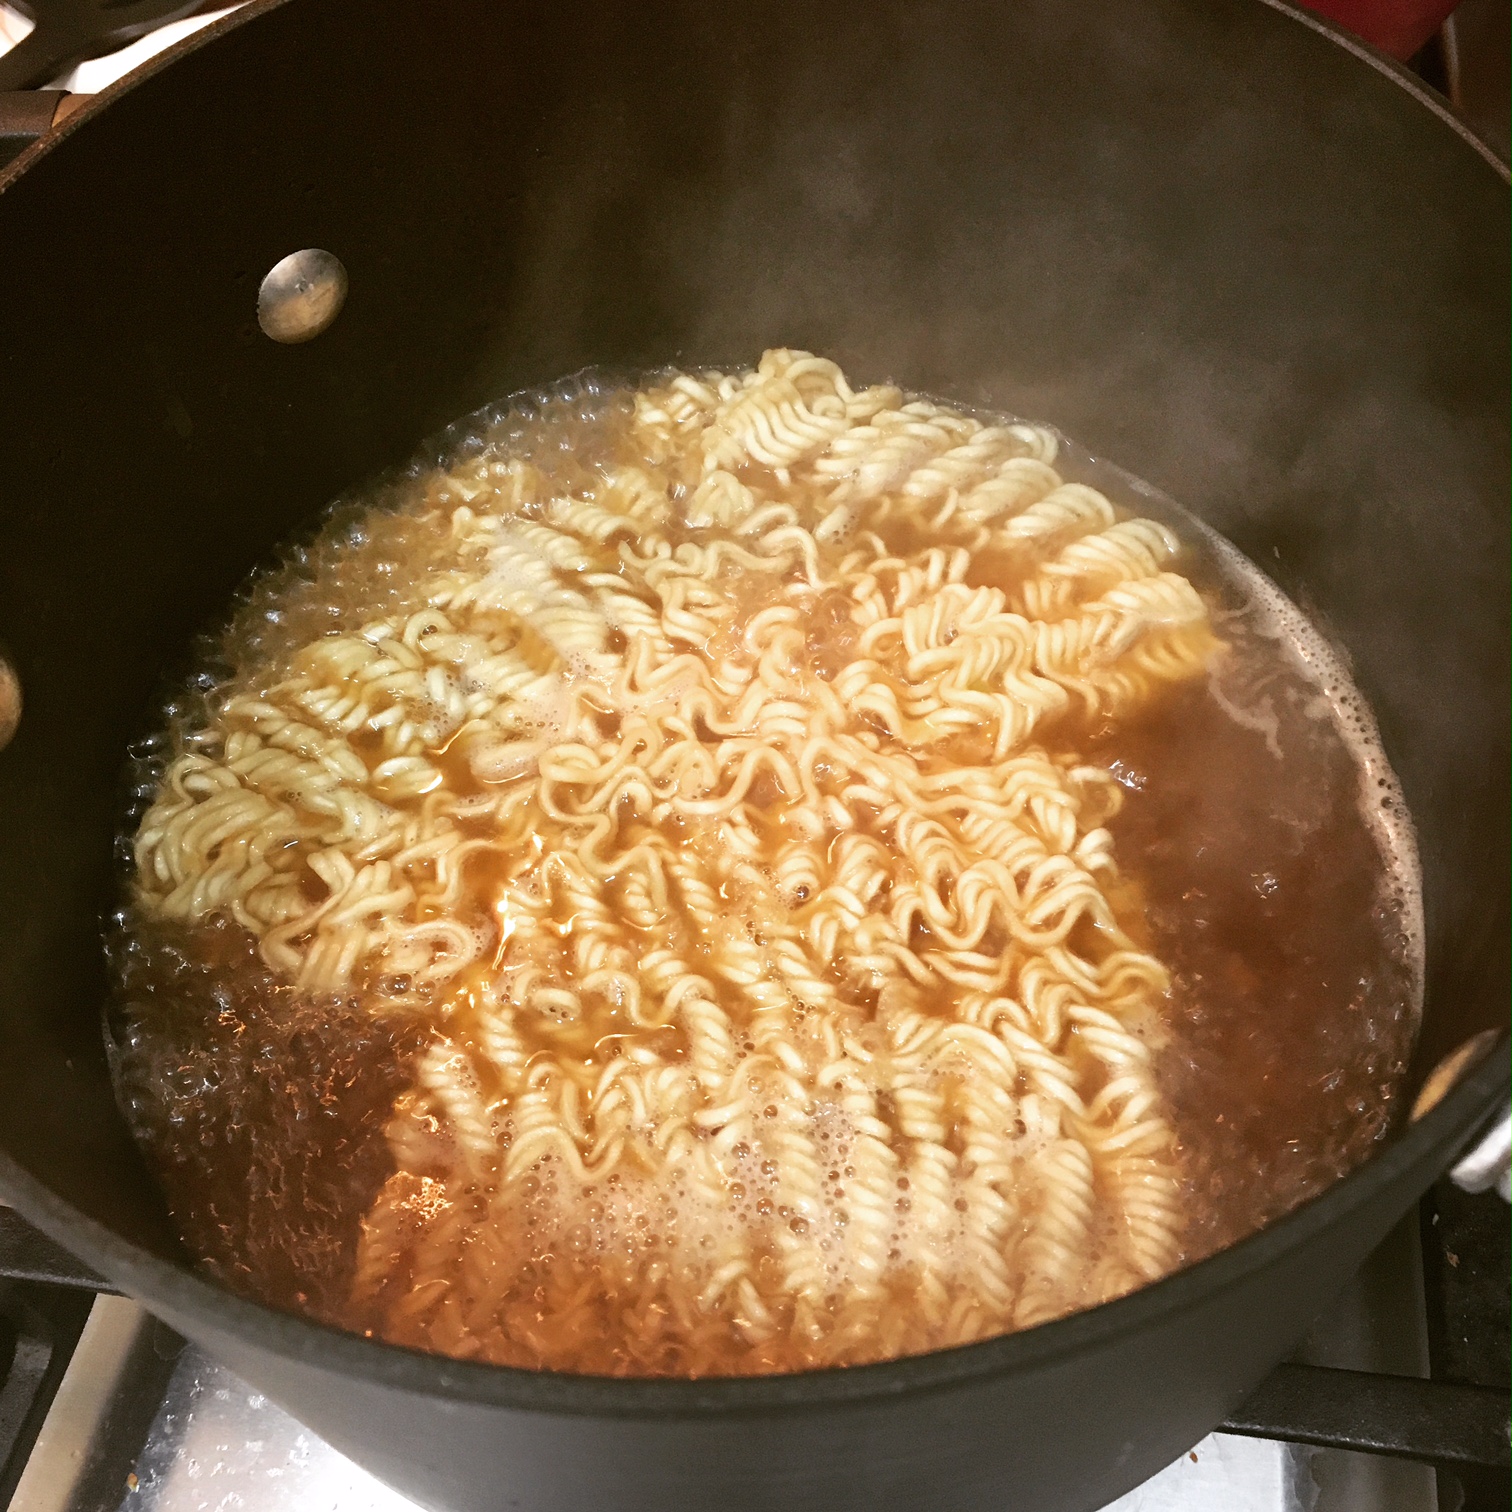
I added the dried ramen noodles into the prepared ramen broth, discarding the flavoring packets that come with the noodles. (College memories!) You could cook the noodles in plain boiling water instead, but I have always preferred to make them in the broth/flavoring to impart some of that flavor on the noodles.

IMG_3233

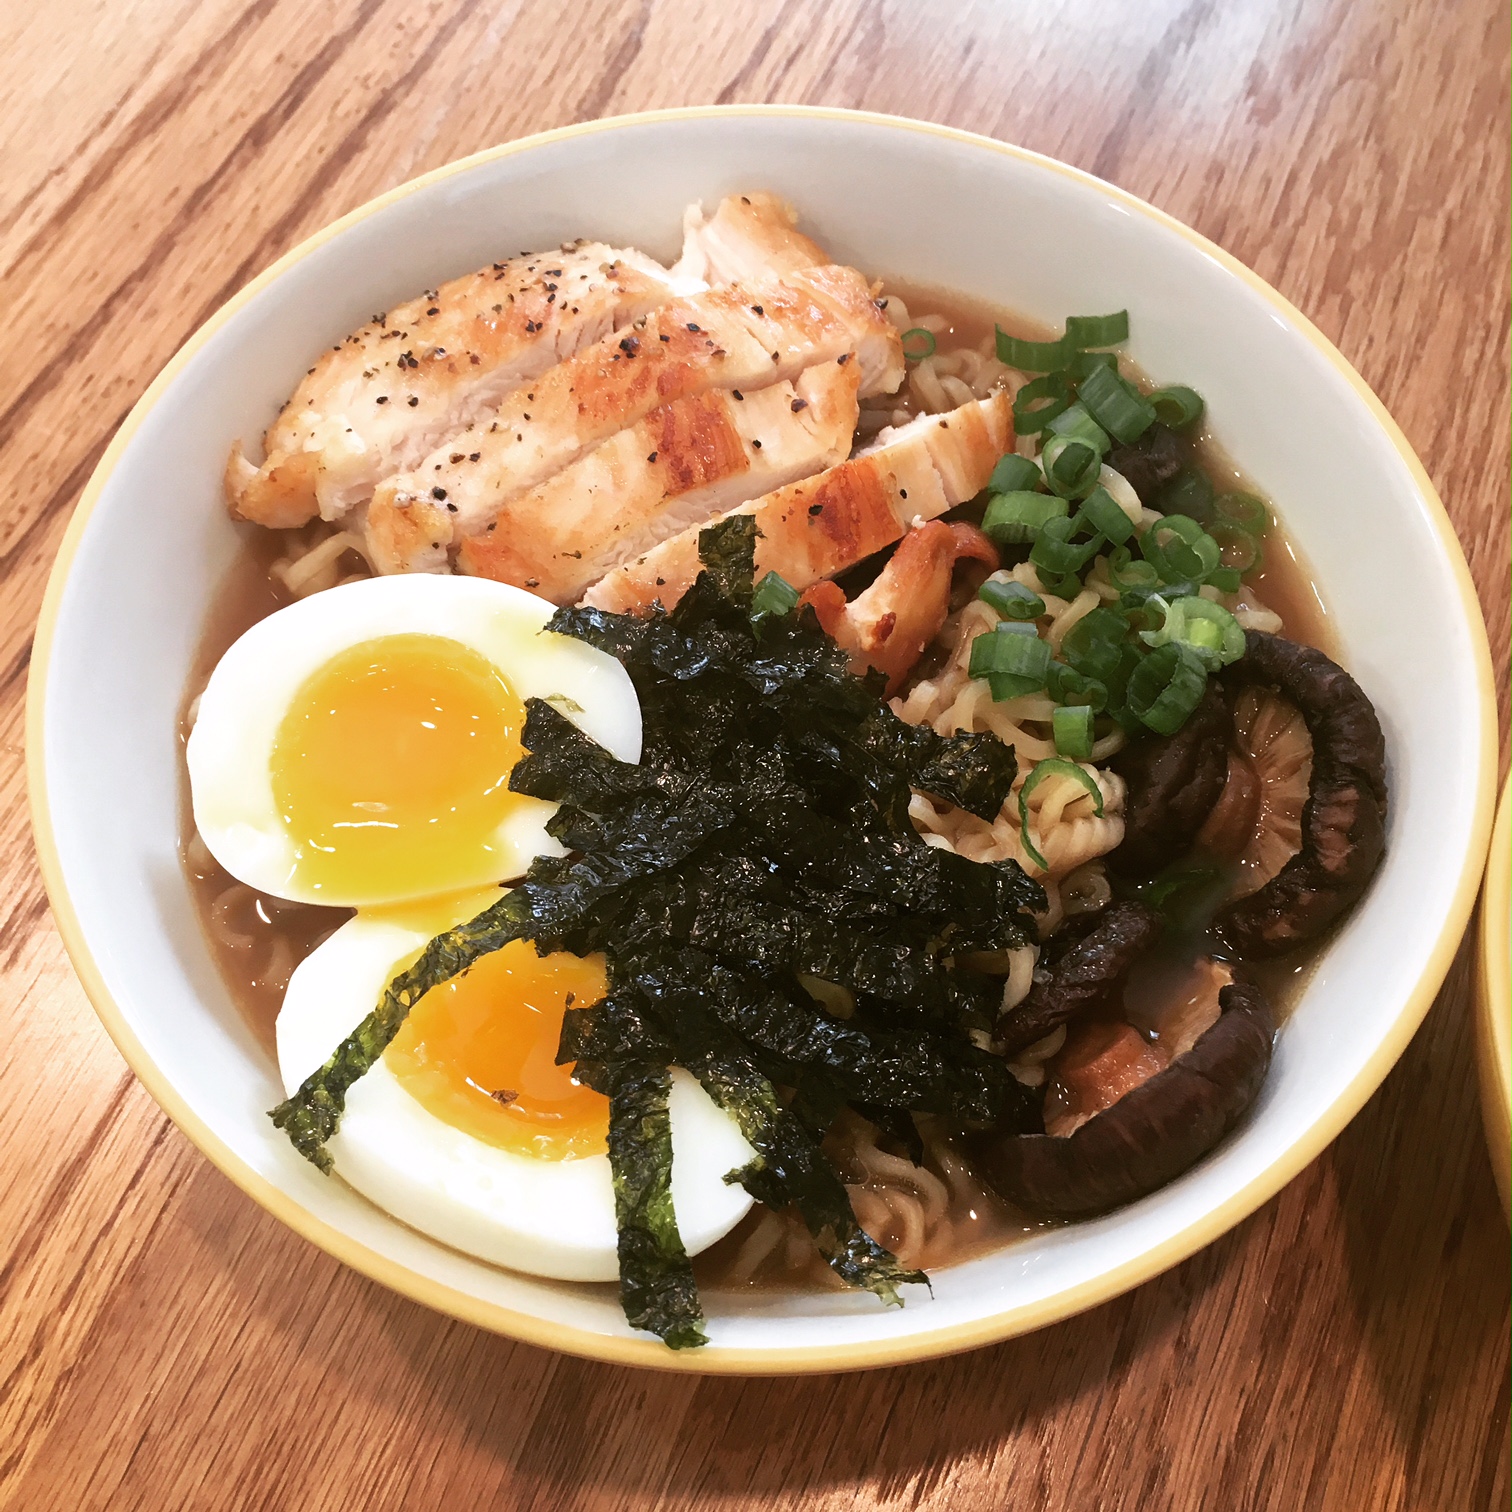
Once the noodles are ready, carefully place them in each bowl and top with the broth. Carefully peel each egg, slice in half and place in the bowls on top of the noodles and mushrooms. Add the sliced chicken, scallions and seaweed. Serve and enjoy!
IMG_3234

Grown-Up Chicken Ramen

  • Servings: 2
  • Time: 1 hour
  • Print

Ingredients

  • 1 large boneless, skinless chicken breast
  • kosher salt and freshly-ground black pepper, to season
  • 1 TBS unsalted butter, or olive oil
  • 2 tsp sesame oil
  • 2 tsp fresh ginger, minced
  • 3 tsp fresh garlic, minced
  • 3 TBS low-sodium soy sauce
  • 2 TBS rice cooking wine
  • 4 cups chicken stock or broth
  • ½ - 1 oz dried shitake mushrooms
  • 1-2 tsp sea salt, to taste
  • 2 large eggs
  • 1/2 cup scallions, sliced
  • 2 (3 oz) packs dried ramen noodles
  • optional: roasted seaweed snacks, in ribbons, for serving

Directions

  1. Cook the chicken: Preheat the oven to 375 degrees F. Season the chicken generously with salt and pepper. Melt the butter (or heat olive oil) in an oven-safe skillet over medium heat. Add the chicken breast, round side down, and cook until golden brown and it releases easily from the pan, about 5-7 minutes. Flip the chicken over and cook for another 4-5 minutes, until golden.
  2. Transfer the skillet to the oven and roast for 15-20 minutes, until the chicken is cooked through. (If you don’t have an oven-safe skillet, you may transfer the chicken to a small baking sheet lined with foil.) Remove from the oven, transfer the chicken to a plate and cover with foil until ready to serve.

  3. Make the ramen broth: Heat the sesame oil in a large pot over medium heat, until shimmering. Add the garlic and ginger, and cook for a few minutes until softened. Add the soy sauce and rice wine, and stir to combine. Cook for another minute. Add the stock, cover, and bring to boil. Remove the lid, and let simmer uncovered for 5 minutes, then add the dried mushrooms. Simmer gently for another 10 minutes, and season with salt, to taste.
  4. Otherwise, take the mushrooms out of the broth using tongs, and carefully, slice them into thick bite-size slices on a cutting board. (For particularly large mushrooms, you may cut them in half before slicing.) Place in bowls for serving.

  5. Make the soft-boiled eggs: Fill a pot with enough water to cover the eggs, and bring to a boil. Gently lower the eggs (still cold from the fridge) into the boiling water, and let simmer for 7 minutes (for a slightly-runny yoke) or 8 minutes (for a soft, but set-up yoke).
  6. Meanwhile, fill a large bowl with ice water. When the timer finishes, transfer the eggs to the ice bath to stop the cooking process. Wait at least 5 minutes, or until cool enough to handle, then carefully peel away the shell and slice in half, lengthwise. Set aside until ready to serve.

  7. Assemble the ramen bowls: Meanwhile, chop the scallions and slice the seaweed snacks into ribbons (if using). Slice the chicken into thin pieces. Set aside. When the eggs are in the ice bath, add the ramen noodles to the broth. Cook for approximately 3 minutes, until soft, then divide the noodles into two large bowls, next to the mushrooms. Add the ramen broth, dividing evenly. Top each bowl with half of the sliced chicken breast, a soft boiled egg each, fresh scallions and the seaweed. Serve immediately.

Adapted from: Fork Knife Swoon

To save some time, or if you’re making this on a warm day like I was, substitute pre-made rotisserie chicken.


This post contains affiliate links. Full disclosure here. 

Filed Under: book review, recipe Tagged With: book club, chicken, contemporary, dinner, fiction, lunch, quick read, soup

  • « Go to Previous Page
  • Go to page 1
  • Interim pages omitted …
  • Go to page 5
  • Go to page 6
  • Go to page 7
  • Go to page 8
  • Go to page 9
  • Go to Next Page »

Primary Sidebar

About

The Hungry Bookworm brings together literature and food. Megan has an insatiable appetite for both.

As C.S. Lewis said, “Eating and reading are two pleasures that combine admirably.” Enjoy!

  • Bloglovin
  • Facebook
  • Instagram
  • Pinterest

Subscribe

Don't miss out on bookish content, exclusive giveaways, and of course, book club-friendly recipes. Get notified of new posts via email.

Join 2879 subscribers.

Search for Ingredients, Recipes, or Books

Recent Posts

  • Subscriber Box Review: Literati Book Club - Roxane Gay's Audacious Book Club
  • Arsenic and Adobo + Ensaymada
  • Review of The Kindred Spirits Supper Club
  • Kids Edition: Sometimes I Like to Curl Up in a Ball + "Dirt" Pudding Cups
  • The Midnight Library + Broccoli and Ricotta Toast

Goodreads

Tags

5 ingredients or less appetizer baking book club book list book of the month books about food bread breakfast brunch chicken contemporary cookies cultural dessert dinner dinner party dystopia easy prep favorites fiction fruit historical fiction holiday ice cream linkup lunch meat memoir mini review nonfiction pasta quick read reading challenge science fiction seafood show us your books side dish snack soup TBR list thriller top ten tuesday vegetarian veggies

Archives

Other Great Book Blogs

Literary Quicksand
Never Enough Novels
Death by Tsundoku
Professional Reader 25 Book Reviews
Privacy & Cookies: This site uses cookies. By continuing to use this website, you agree to their use.
To find out more, including how to control cookies, see here: Cookie Policy

Footer Widget Header

Megan’s Instagram

Copyright © 2025 · Hungry Bookworm