• Skip to primary navigation
  • Skip to main content
  • Skip to primary sidebar
  • Home
  • Reviews
    • Book Index
    • Fiction
    • Non-Fiction
    • Top Ten Tuesdays
The Hungry Bookworm

The Hungry Bookworm

reading + eating

  • Recipes
    • Drinks
    • Snacks, Sides & Apps
    • Main Dishes
    • Desserts
    • 5 Ingredients or Less
  • About
    • Meet Megan
    • How I Rate
    • Review Policy
    • Contact

contemporary

Lily and the Octopus + Dog Treats

December 1, 2016 by Megan Leave a Comment

I hope you all had a Happy (and food-filled) Thanksgiving! I’m pretty sure it marked my first Thanksgiving ever without turkey and all of the fixings, which I definitely missed more than I expected. As it was, Scott and I were spending our last day in Cambodia (and shortly before that, Thailand).

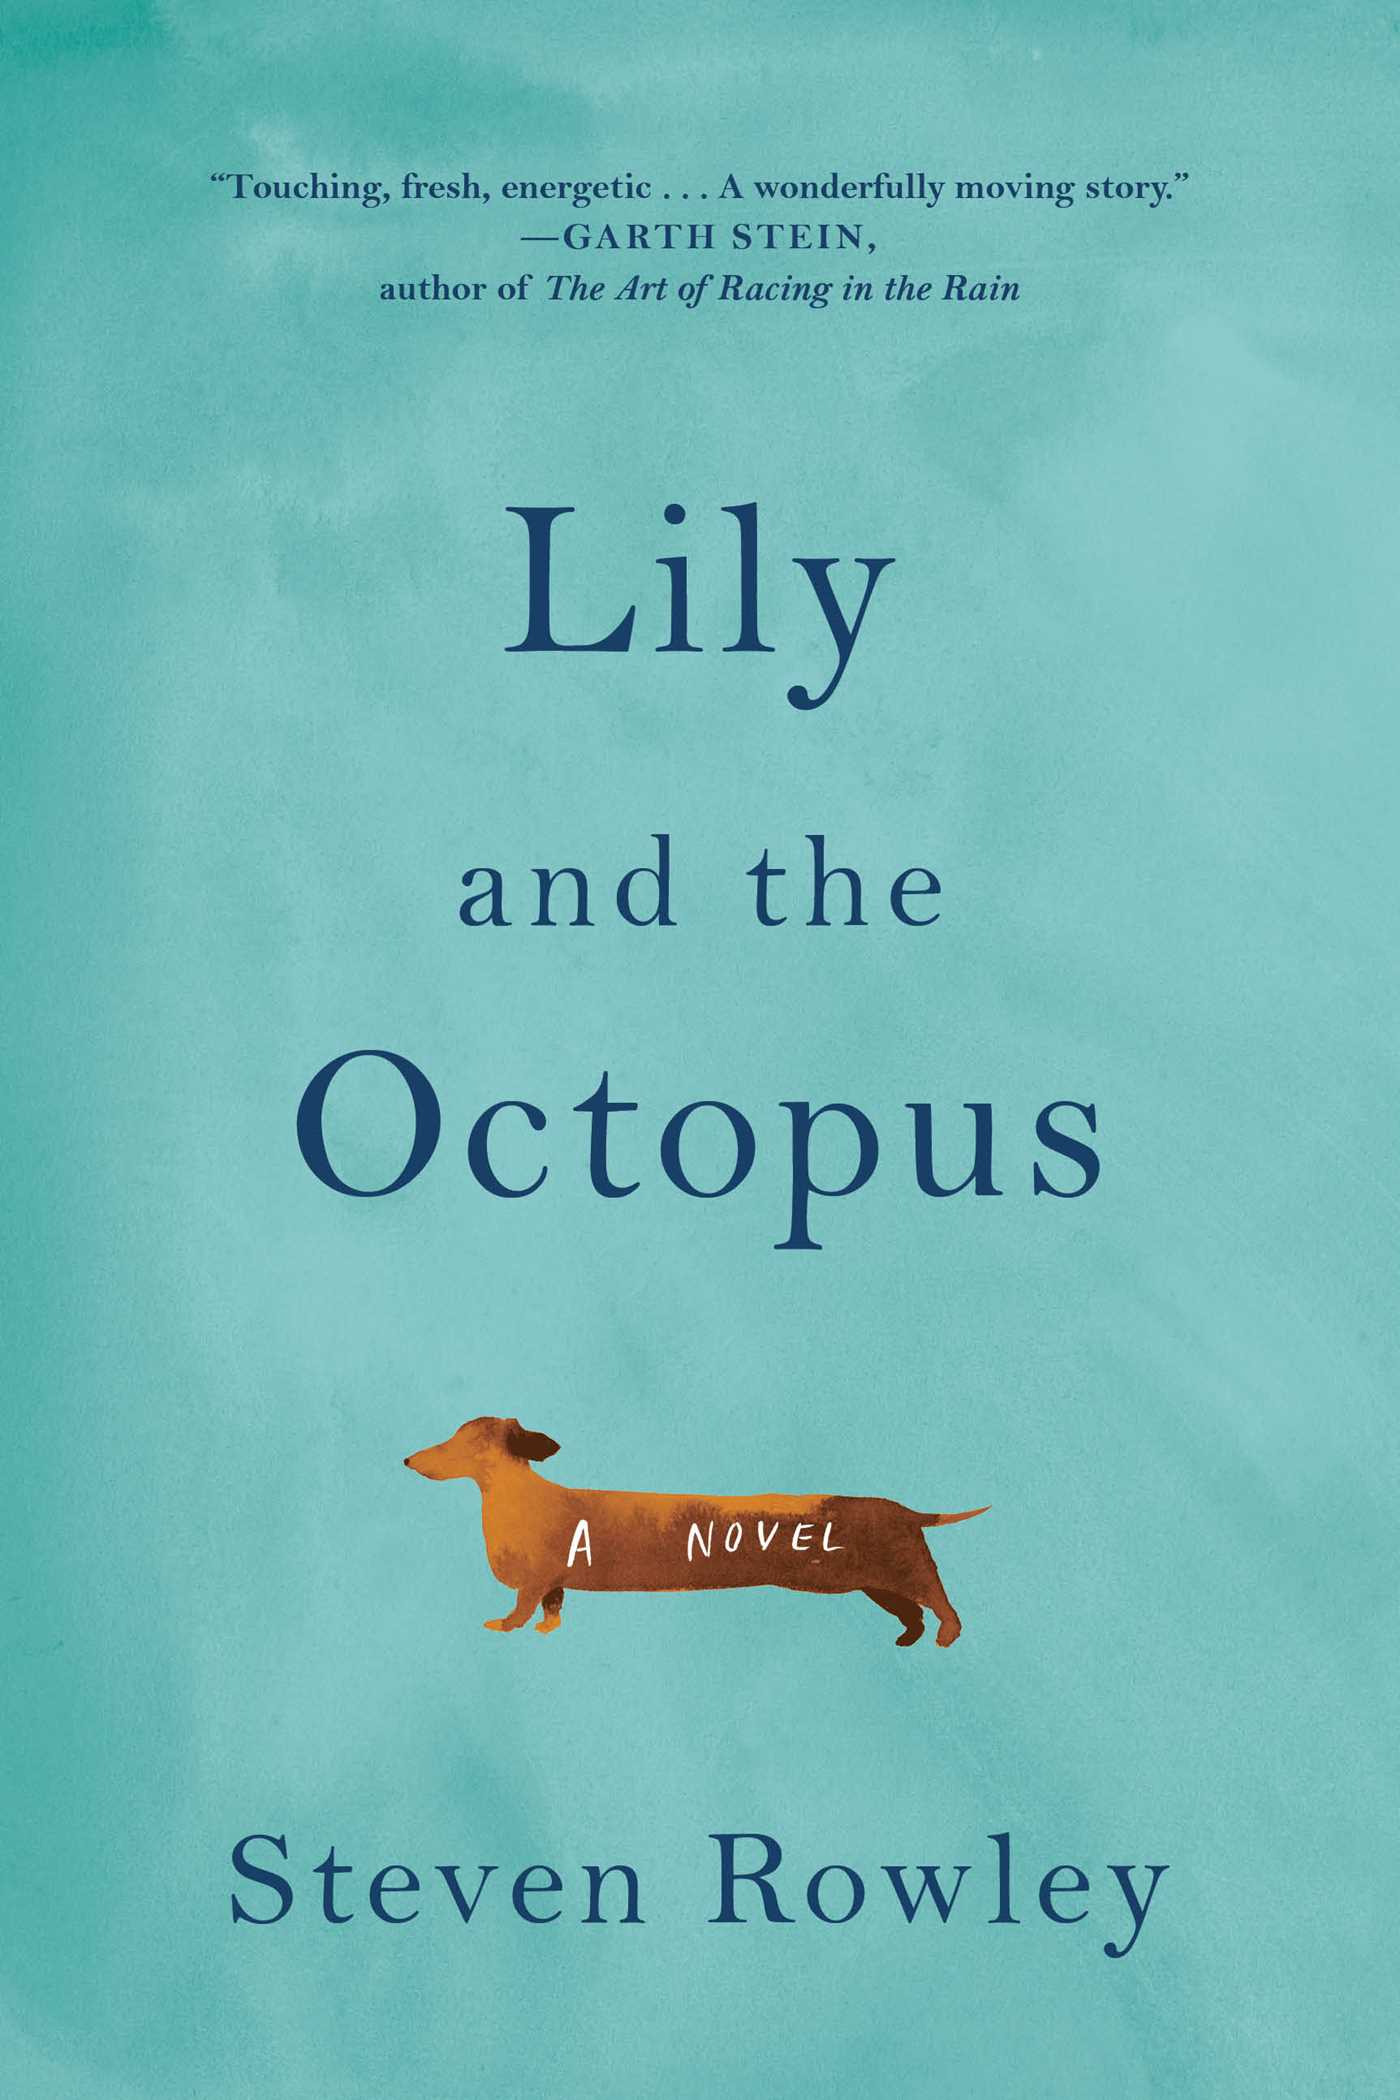
Obviously the trip was amazing - worth missing one Thanksgiving for - and thanks to the long plane rides, an overnight train trip and a few days on the beach, I had plenty of time for reading! I finished nearly five books, including what I thought would be a light and whimsical read about a man and his dog: Lily and the Octopus.
lily-and-the-octopus-9781501126222_hr

Perhaps I should’ve paid more attention to the description of Lily as an “aging companion.” Not exactly what I bargained for - particularly when this trip was separating us from our own dog for two weeks, or what basically felt like forever. Sad book + missing my dog = Yes, I cried on the plane.

It’s not a spoiler to say that Lily dies. It’s very obvious from the beginning that the octopus is coming for her. The octopus, in fact, is a tumor that has Lily’s friend and owner Ted in denial before he is able to get down to the business of defeating it. This cleverly-written story is a journey of acceptance more than anything else. Every dog owner will relate (I especially loved the chapter of Lily’s nicknames, many of which Beta shares), but everyone will be touched.

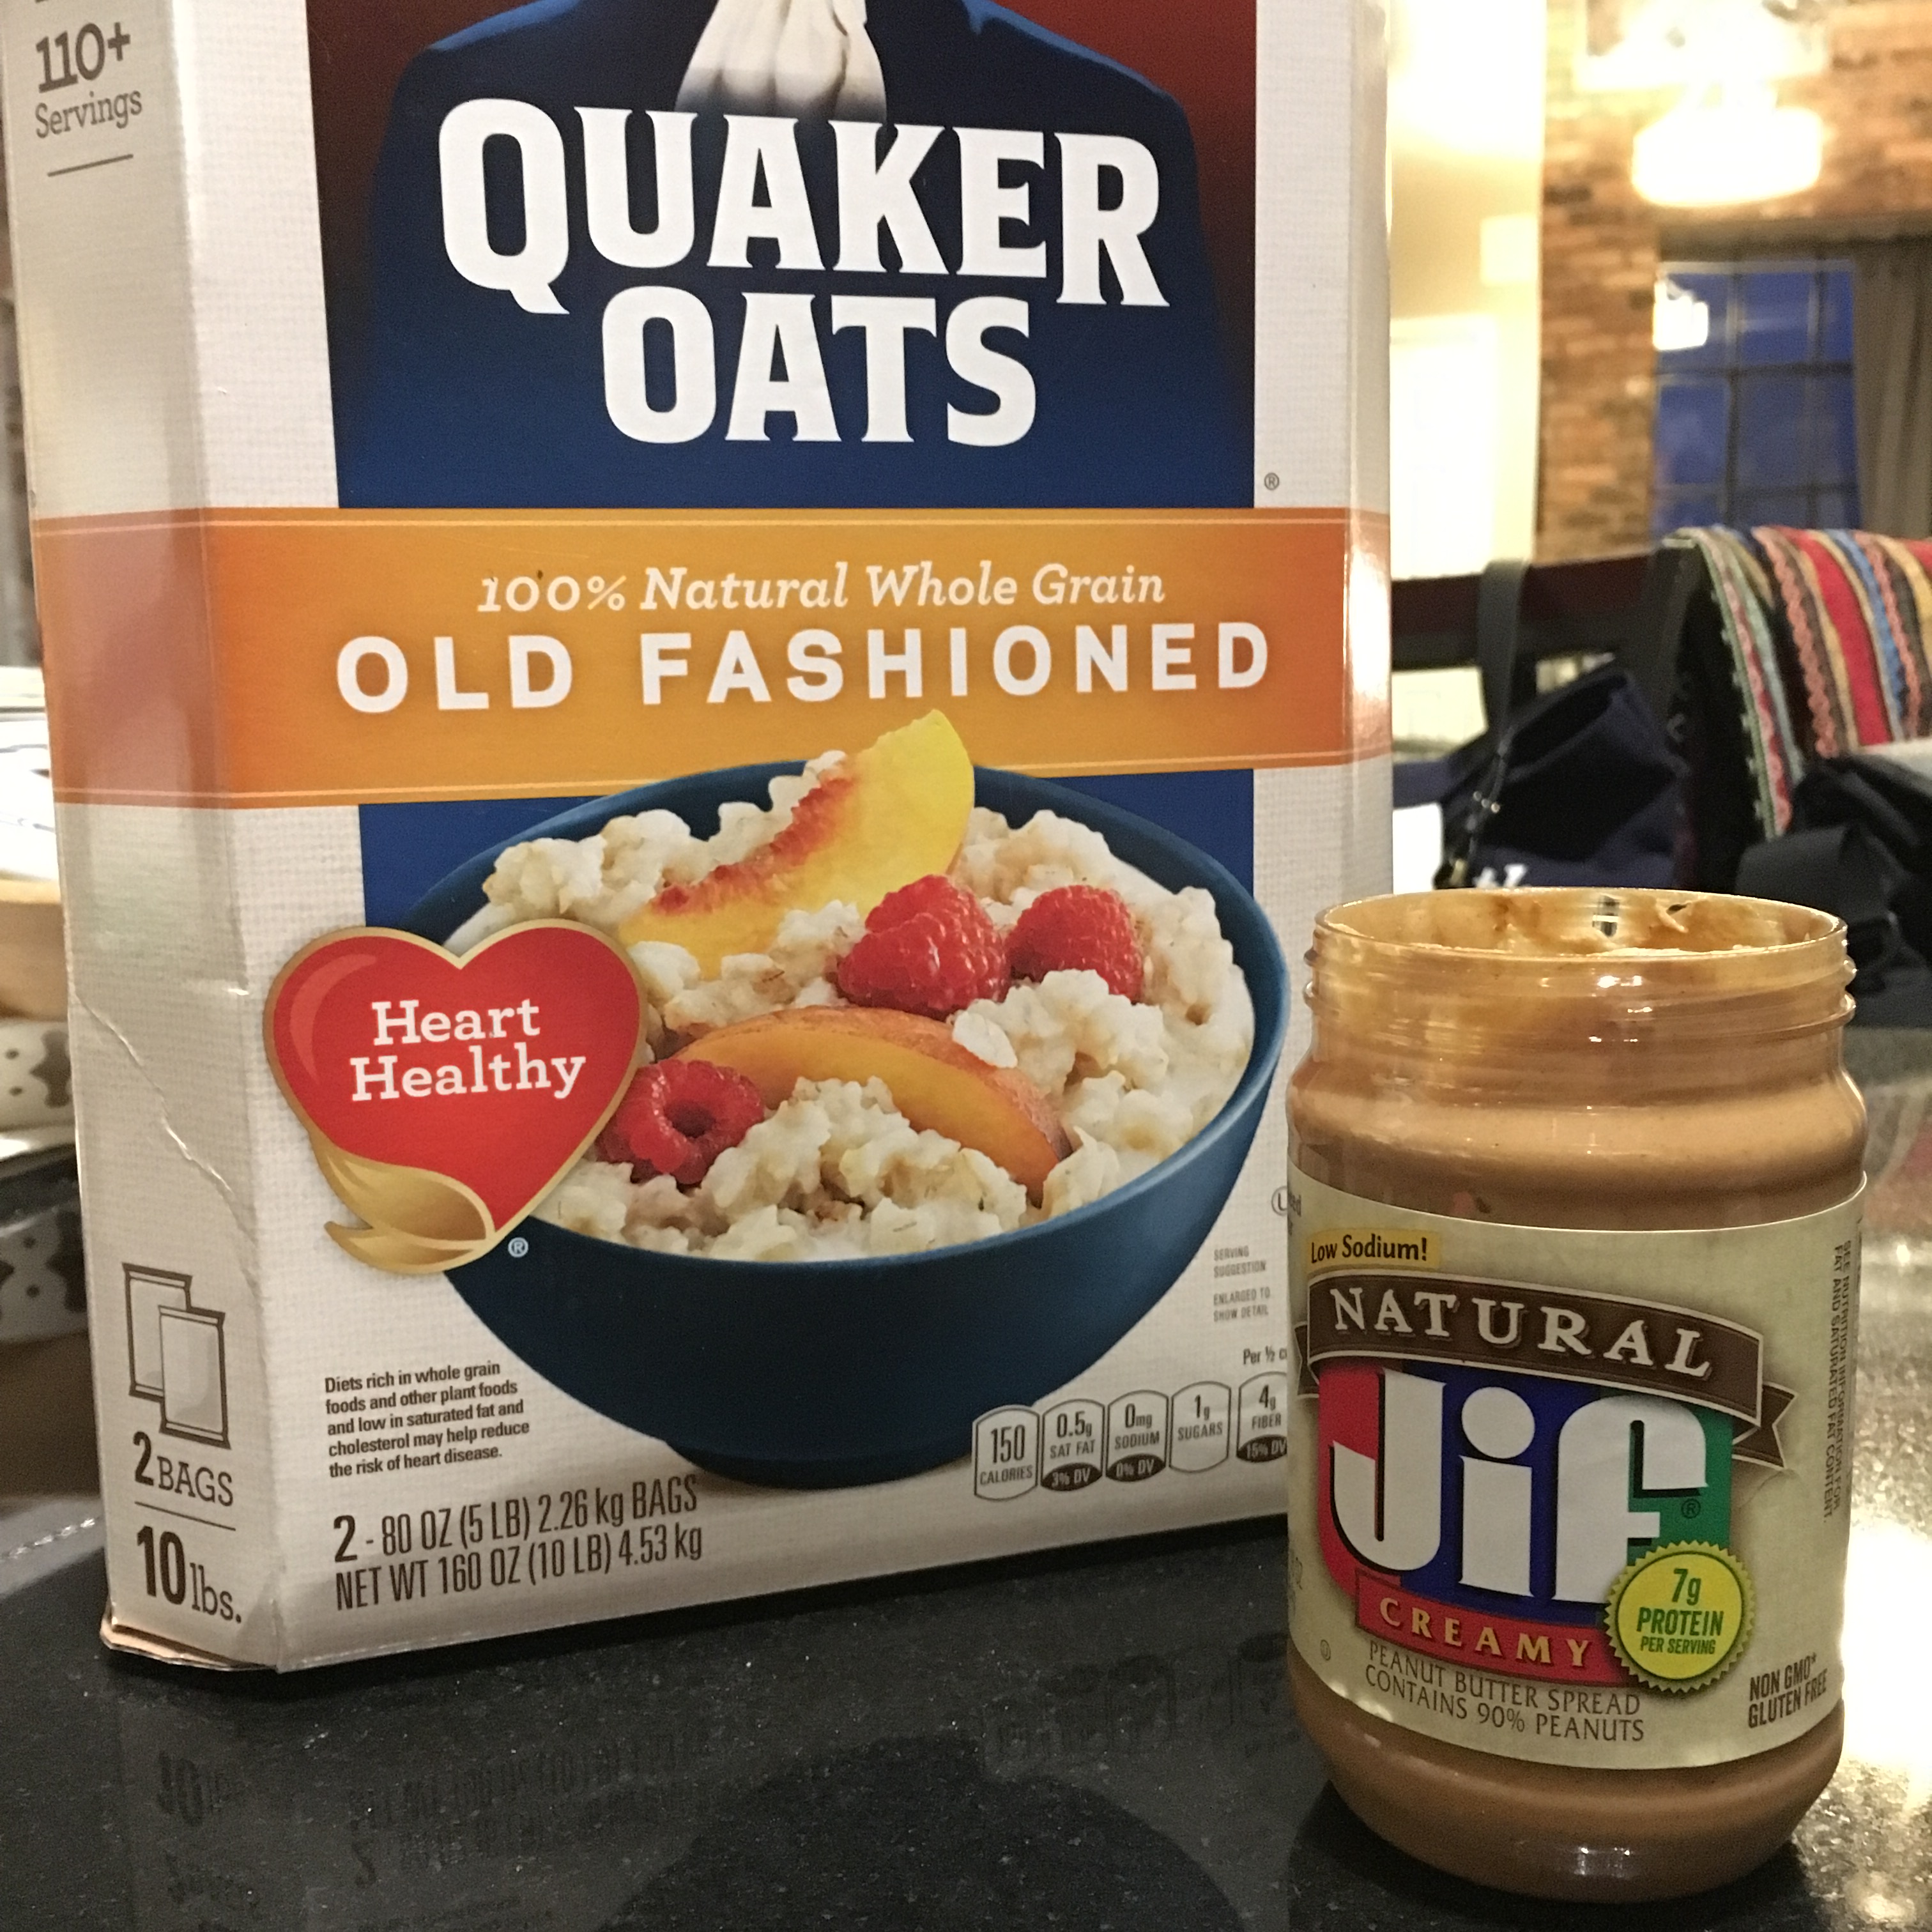
To go with this book, and to make up our extended absence to Beta, I whipped up some homemade dog treats shortly after we got back home. Since the cupboard was bare, I found an easy recipe with only three ingredients - oats, peanut butter and (previously frozen ripe) bananas.
img_2120

First, I preheated the oven to 350 degrees while I processed the oats into a powder. I did not grind them up as finely as she did in the original recipe, resulting in a less smooth final treat. (Beta didn’t seem to mind.)

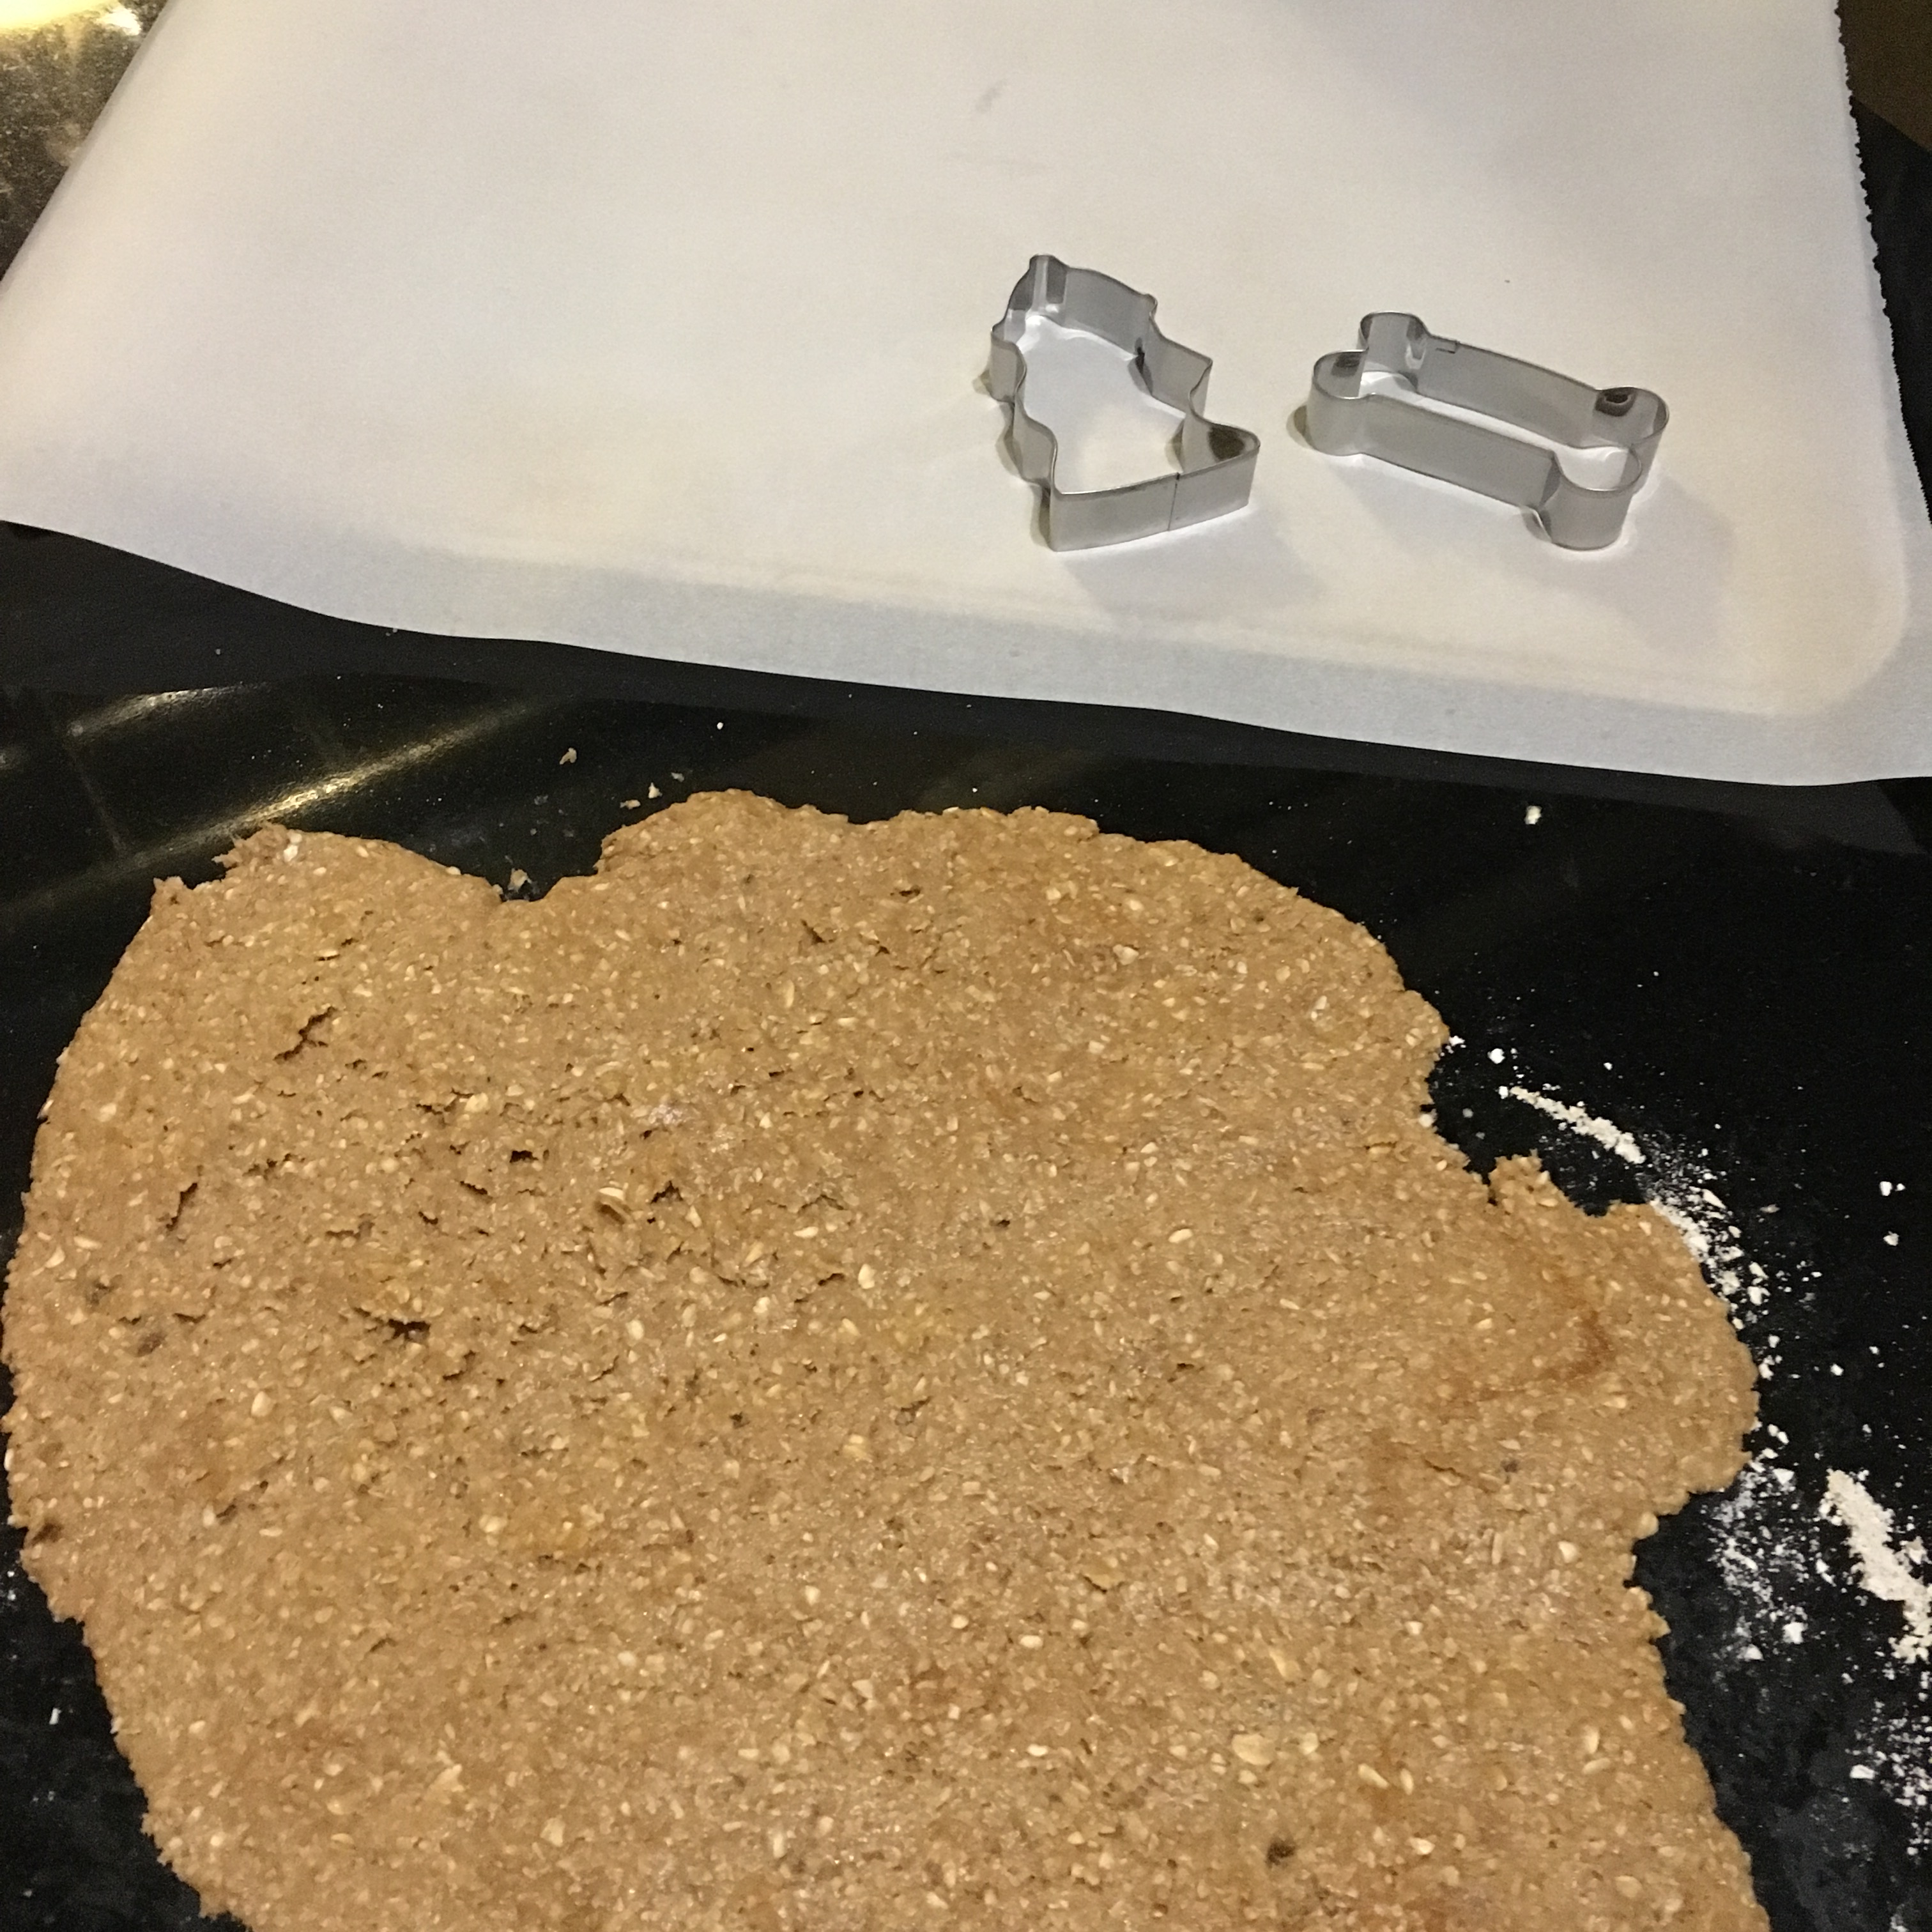
I mashed up the banana, mixed it in with the peanut butter and then added in the oat powder. I rolled it out onto the powdered counter top and used my bone-shaped cookie cutter to make the treats. Feel free to use any shapes you have handy.
img_2122

I ended up with 22 total treats and, with the little bit of “dough” that was left, I stuffed an empty Kong for a snack later.

img_2125

Bake for about 15 minutes, or until the edges start to brown. Mine ended up a little soft, but they end up being less crumbly and messy that way. And, of course, I had to let Beta taste-test right away!

img_2128

img_2130

Homemade Peanut Butter Banana Dog Treats

  • Servings: makes approx. 24 treats
  • Time: 20 minutes
  • Print


From: Munchkins and the Military Blog

Ingredients

  • 1½ cups uncooked old-fashioned oats
  • 1 large banana
  • ½ cup peanut butter

Directions

  1. Preheat your oven to 350 degrees.
  2. Using a food processor or blender, grind your oats until they're powder.
  3. In a bowl, beat together the banana and peanut butter until smooth. A few small chunks of banana here and there is ok. The dough should stick together, but shouldn't be sticky.
  4. Reserve about a tablespoon of ground oatmeal and pour the rest into the banana peanut butter mixture and mix until combined.
  5. Dust your surface with the reserved ground oatmeal and roll your dough to about a 1/4 inch thickness.
  6. Cut into desired shapes and place on a parchment paper lined cookie sheet.
  7. Bake treats for approximately 15 minutes, or until the edges start to brown.
  8. Cool completely before storing in an airtight container for up to a week.

This post contains affiliate links. Full disclosure here.

Filed Under: book review, recipe Tagged With: animals, contemporary, dog treats, fiction, quick read, tear jerker

The Nix + Norwegian Fish Stew

November 17, 2016 by Megan Leave a Comment

With my ambitious yearly goal to read between 48 and 52 books (depending on the year), I don’t usually take the time to read books that are longer than 500 pages. Too many times I have found myself slogging through a book I didn’t particularly enjoy just to get through it and move on to the next. I thought The Nix would be one of those books, but I’m glad I was wrong.

The Nix Book Cover

Nathan Hill’s lengthy debut novel - coming in at 628 pages - was suggested as the latest selection for one of my book clubs. We even gave ourselves extra time to read it, meeting again after 2 months instead of the usual 1-ish, which really just gave me more time to stall. Luckily, a well-placed work trip to California gave me ample time to catch up and fully dive in to a book I really enjoyed.

The Nix is all over the place - but in a good way. Hill takes you from 2011 to 1988 to 1968 and back again. You’ll see the world from the eyes of both minor and major characters, and while the reasons aren’t always clear, it definitely comes together at the end.

In 2011, Faye finds herself in a bit of a predicament - one that lands her all over the news and opens up a long-lost connection to her son Samuel, who she abandoned decades earlier. For reasons even he is still trying to figure out, Samuel begins to explore his mother’s past to uncover the truth. On her own journey, Faye sets out to face the haunting folktales of her youth.

What Samuel finds is not only surprising, but life-changing, too. Later, on a trip to her family’s native Norway, Faye also learns about her father’s past, which she confronts over a hot bowl of fish stew and some crusty bread.

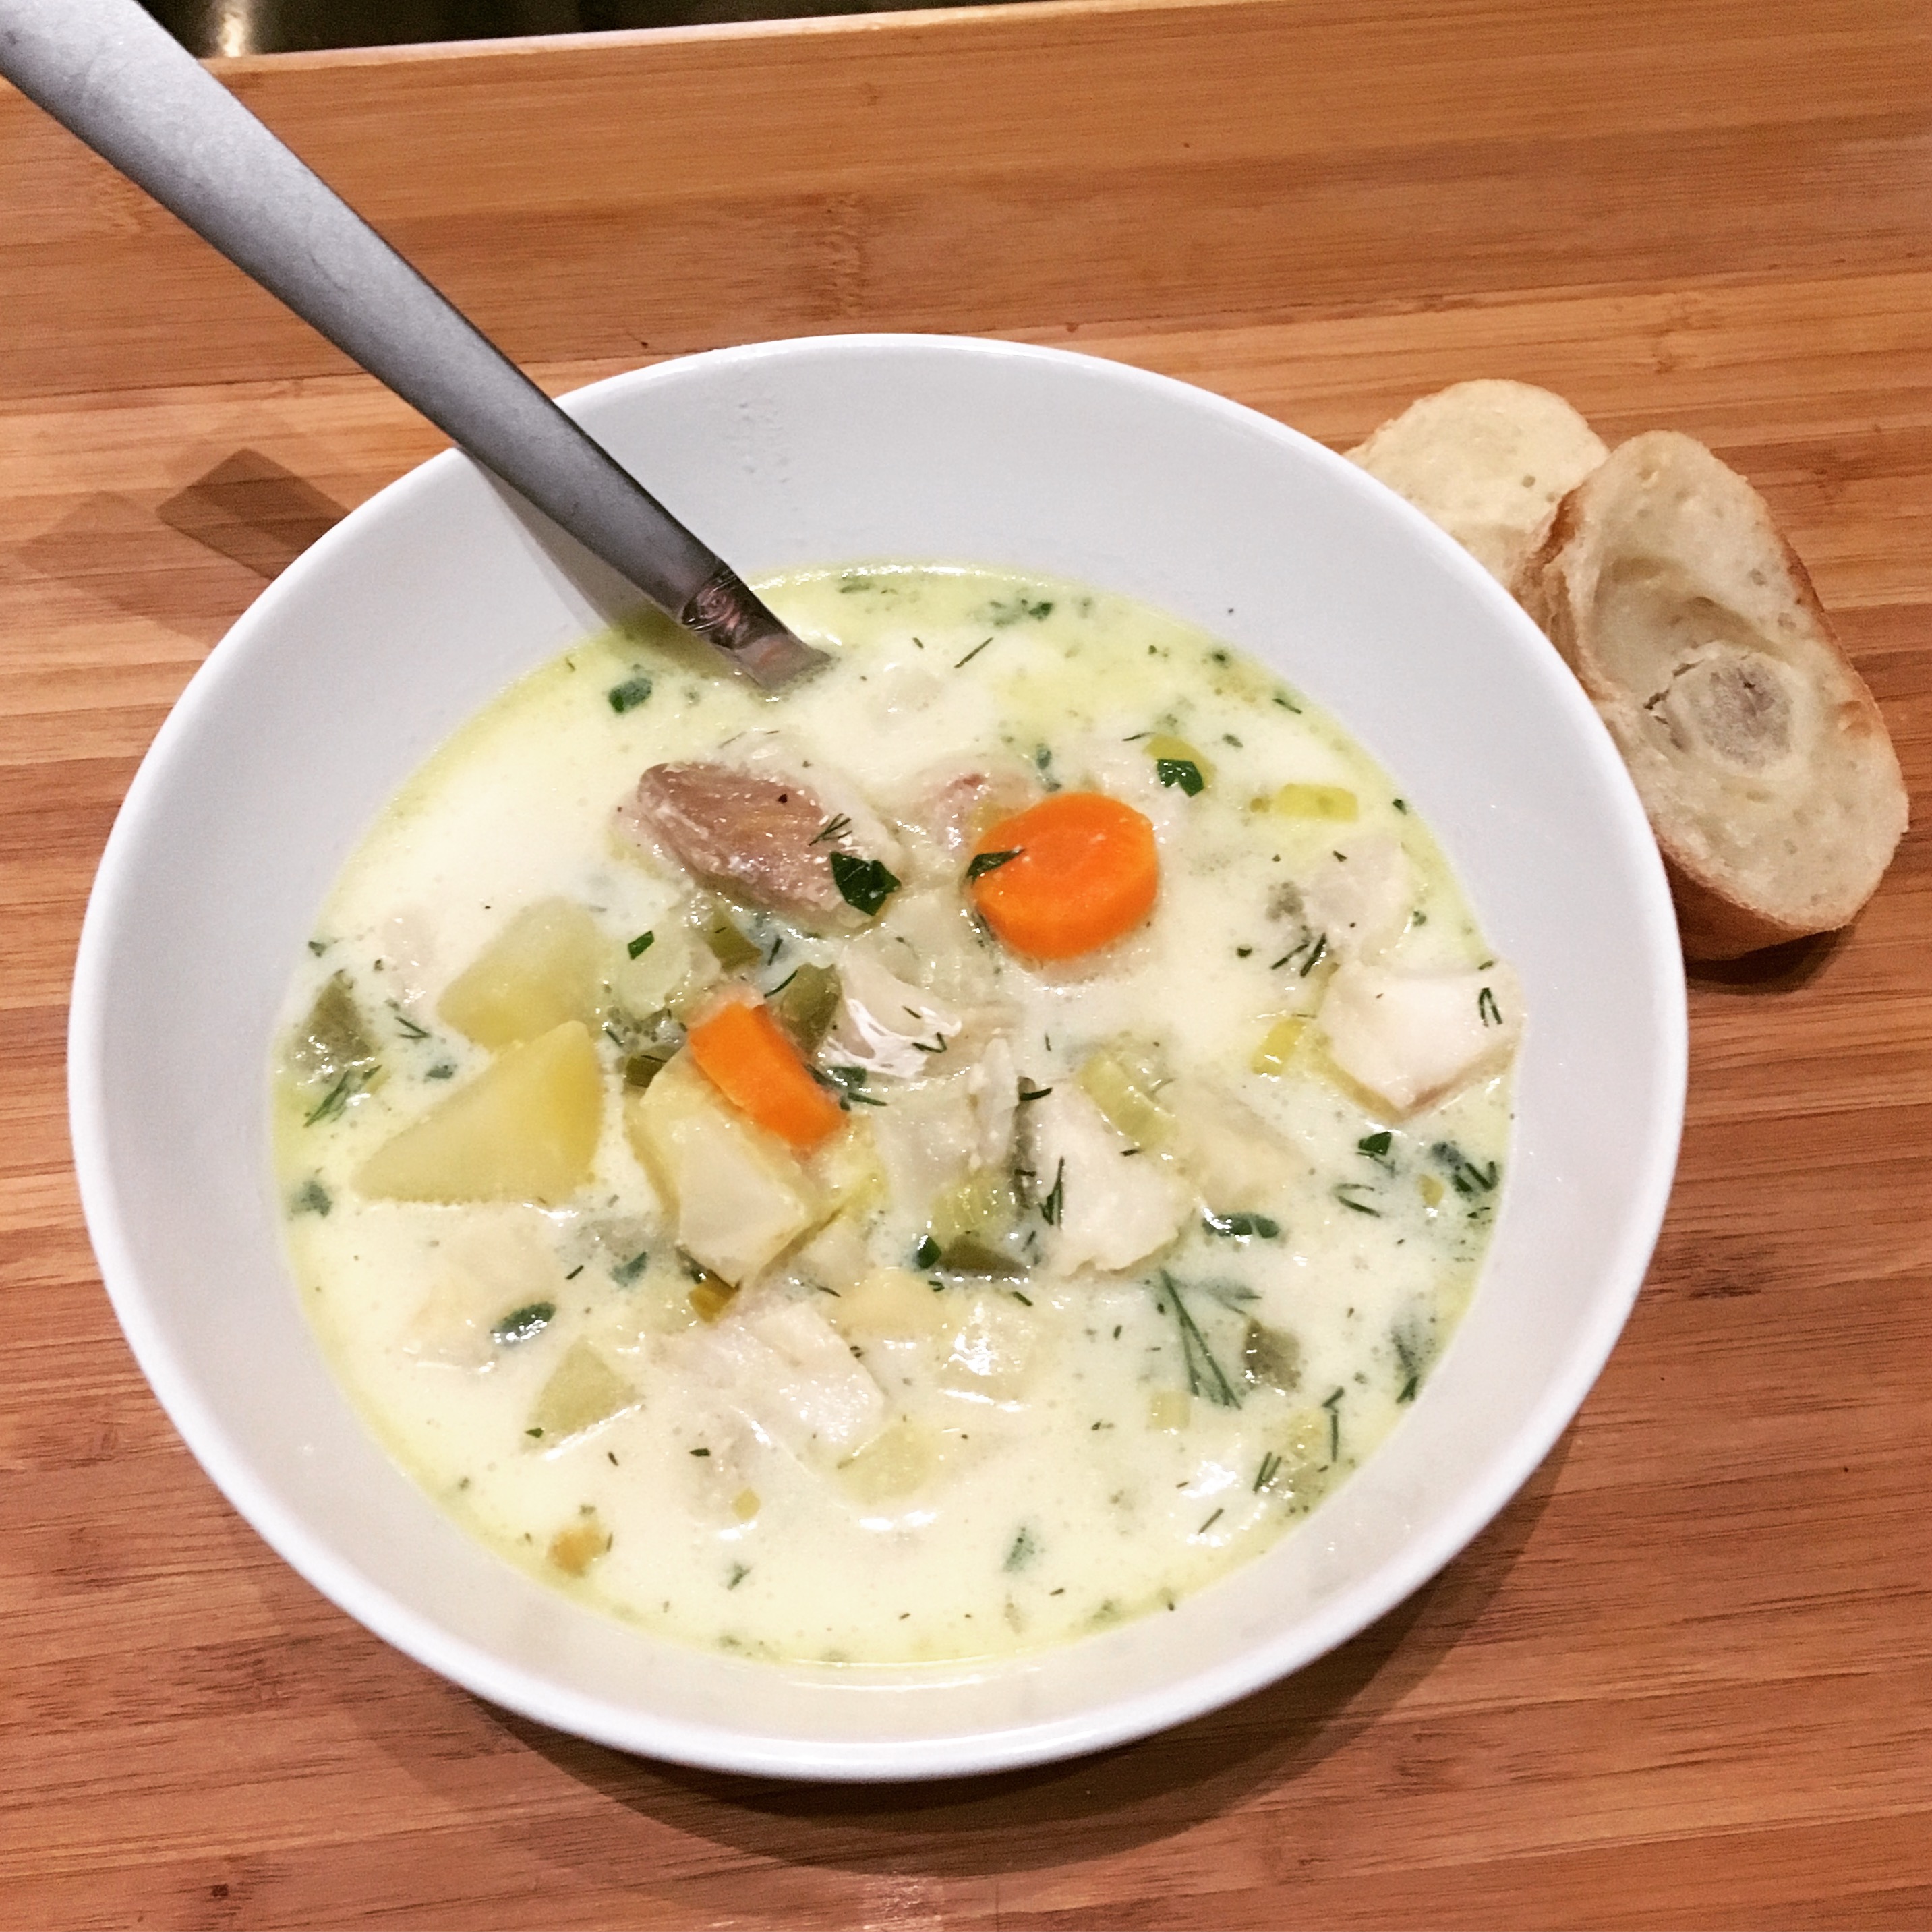
I found a recipe on Saveur’s website for Fiskesuppe, or a Norwegian Cod Vegetable Chowder, similar to the one Faye eats during her illuminating trip. It made the perfect meal for a cold fall evening, hearty and delicious. But, full disclosure, my apartment smelled like fish stew for days!

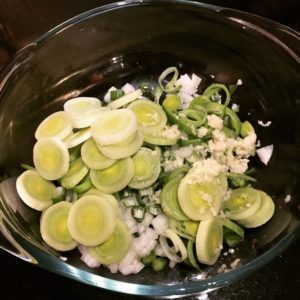
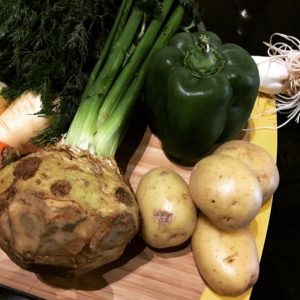
There are a lot of vegetables in this stew, so I suggest you start by prepping them all. I sorted them into two bowls so that they would be easy to add to the pot at the right time.

Heat the butter over medium-high heat until melted. The recipe calls for 6 tablespoons, but I would recommend 4 (or half of a stick). When cooking down the vegetables, the amount of butter was just a bit more than you needed, and trust me, it will make for more appetizing-looking leftovers. Add your first bowl of vegetables (garlic, celery, onions, peppers and leeks) and season with salt and pepper.

After those cook for about 8-10 minutes, or until soft, add your second bowl of vegetables (carrots, parsnips, celery root and potatoes) along with the milk, cream and fish stock - I was only able to find seafood stock at the grocery store - and Worcestershire sauce. Stir and bring to a boil.

Once boiling, reduce heat to medium and cook for about 25 minutes, or until the vegetables are tender, stirring occasionally. While the stew was cooking here, I prepped my cod, cutting it into bite-size pieces (mine were probably closer to an inch, rather than the recommended 2-inches). I also used this time to chop my fresh herbs.

After 25 minutes, add the cod and cook for an additional 6-8 minutes or until it’s cooked through. Remove from the heat and stir in lemon juice (I used a half lemon, but check the flavor and add more to taste), dill and parsley. Season with salt and pepper.

As in The Nix, I served it with some crusty bread.

img_1756

Norwegian Cod and Root Vegetable Chowder (Fiskesuppe)

  • Servings: 6-8
  • Time: 1½ hours
  • Print


From: Saveur.com

Ingredients

  • 6 TBS unsalted butter [I recommend 4 TBS]
  • 4 cloves garlic, chopped [I minced mine]
  • 2 stalks celery, chopped
  • 1 small onion, chopped
  • 1 green bell pepper, seeded and chopped
  • 1 small leek, sliced ¼" thick
  • 2 medium carrots, sliced ¼" thick
  • 1 large parsnip, peeled and chopped
  • 1 small celeriac, peeled and chopped
  • 4 medium new potatoes, peeled and cut into 1" pieces
  • 3 cups fish stock
  • 2 cups milk
  • 1 cup heavy cream
  • 1½ TBS Worcestershire sauce
  • 2 lb. boneless, skinless cod fillet, cut into 2" pieces [or bite-size]
  • ⅓ cup dill, chopped, plus more for garnish
  • ¼ cup parsley leaves, chopped
  • Kosher salt and black pepper, to taste
  • Juice of ½ - 1 lemon
  • Crusty bread, for serving

Directions

Heat butter in a 6-qt. saucepan over medium-high heat. Add garlic, celery, onions, peppers, and leeks, and season with salt and pepper. Cook, stirring, until soft, 8-10 minutes. Add carrots, parsnips, celeriac, potatoes, stock, milk, cream, and Worcestershire; bring to a boil. Reduce heat to medium, and cook, stirring occasionally, until vegetables are tender, about 25 minutes. Add cod, and continue to cook, stirring gently, until fish is cooked through, 6-8 minutes. Stir in dill, parsley, lemon juice, and salt and pepper. Serve with bread.

This post contains affiliate links. Full disclosure here.

Filed Under: book review, recipe Tagged With: contemporary, dinner, fiction, historical fiction, long read, lunch, seafood, soup

Behold the Dreamers + Chicken Suya

September 29, 2016 by Megan 6 Comments

Jende and Neni Jonga have come to New York City (Harlem) from Cameroon to achieve the American Dream. After struggling to make ends meet for a few years in the States, Jende secures a meeting with Clark Edwards, a high-level executive at Lehman Brothers. In 2007, this seems like another step closer to Jende’s dream.

26025588

In Behold the Dreamers, Imbolo Mbue examines the American Dream from both sides - the Jengas’ desperate pursuit of it serves as a stark contrast to the Edwards’ comfortable lifestyle and achievements. Jende is overjoyed at the opportunity to chauffeur the entire Edwards family around the city so that Neni can complete pharmacy school and take care of their son.

In the driver’s seat, Jende is privy to many of Clark’s important conversations in the car but never lets the sensitive information slip. Even when tensions arise between the Jongas and the Edwards, Jende remains ever-loyal, not wanting to upset the careful balance that is keeping him in America. Mbue’s novel is a reminder that even those comfortably at the top should never get too comfortable, and sometimes it’s important to take a step back to determine what will truly make you happy.

Even though Jende and Neni are all too happy to be in the U.S., their kitchen table is filled with foods that remind them of home. One of the first meals we see Jende eat in the novel is African pepper chicken. I found a recipe online for Chicken Suya, commonly found in Cameroon, served with an African Pepper Sauce. Neni also serves fried ripe plantains throughout the novel, so I added those to the menu. Together, I thought it would make the perfect meal to accompany their story.

I started with the sauce and tried to remain unintimidated by the number of hot peppers it required. After cleaning and chopping them, I also roughly chopped the onions and tomatoes. Everything went into the food processor.

It came together pretty easily (as most blended sauces do), and while it simmered on the stovetop, I began prepping the chicken. I trimmed and cut the chicken thighs, dividing the pieces onto the skewers.

For the rub, I combined all of the spices, peanut butter and bouillon, working it into a paste of sorts. It ended up being extremely thick - to the point that it was nearly impossible to “brush” on the chicken as directed. I thinned it out a bit with water and ended up forcefully painting it onto the chicken with a rubber scraper.

It’s up to you, but it might be worthwhile to thin it out a bit more (either with oil or water) so that you can cover your chicken more thoroughly - mine ended up rather blotchy.

While the chicken baked, I let my oil get up to temperature for the plantains. The sauce was done by this time, so I removed it from the heat, allowing it to cool off a bit before we ate.

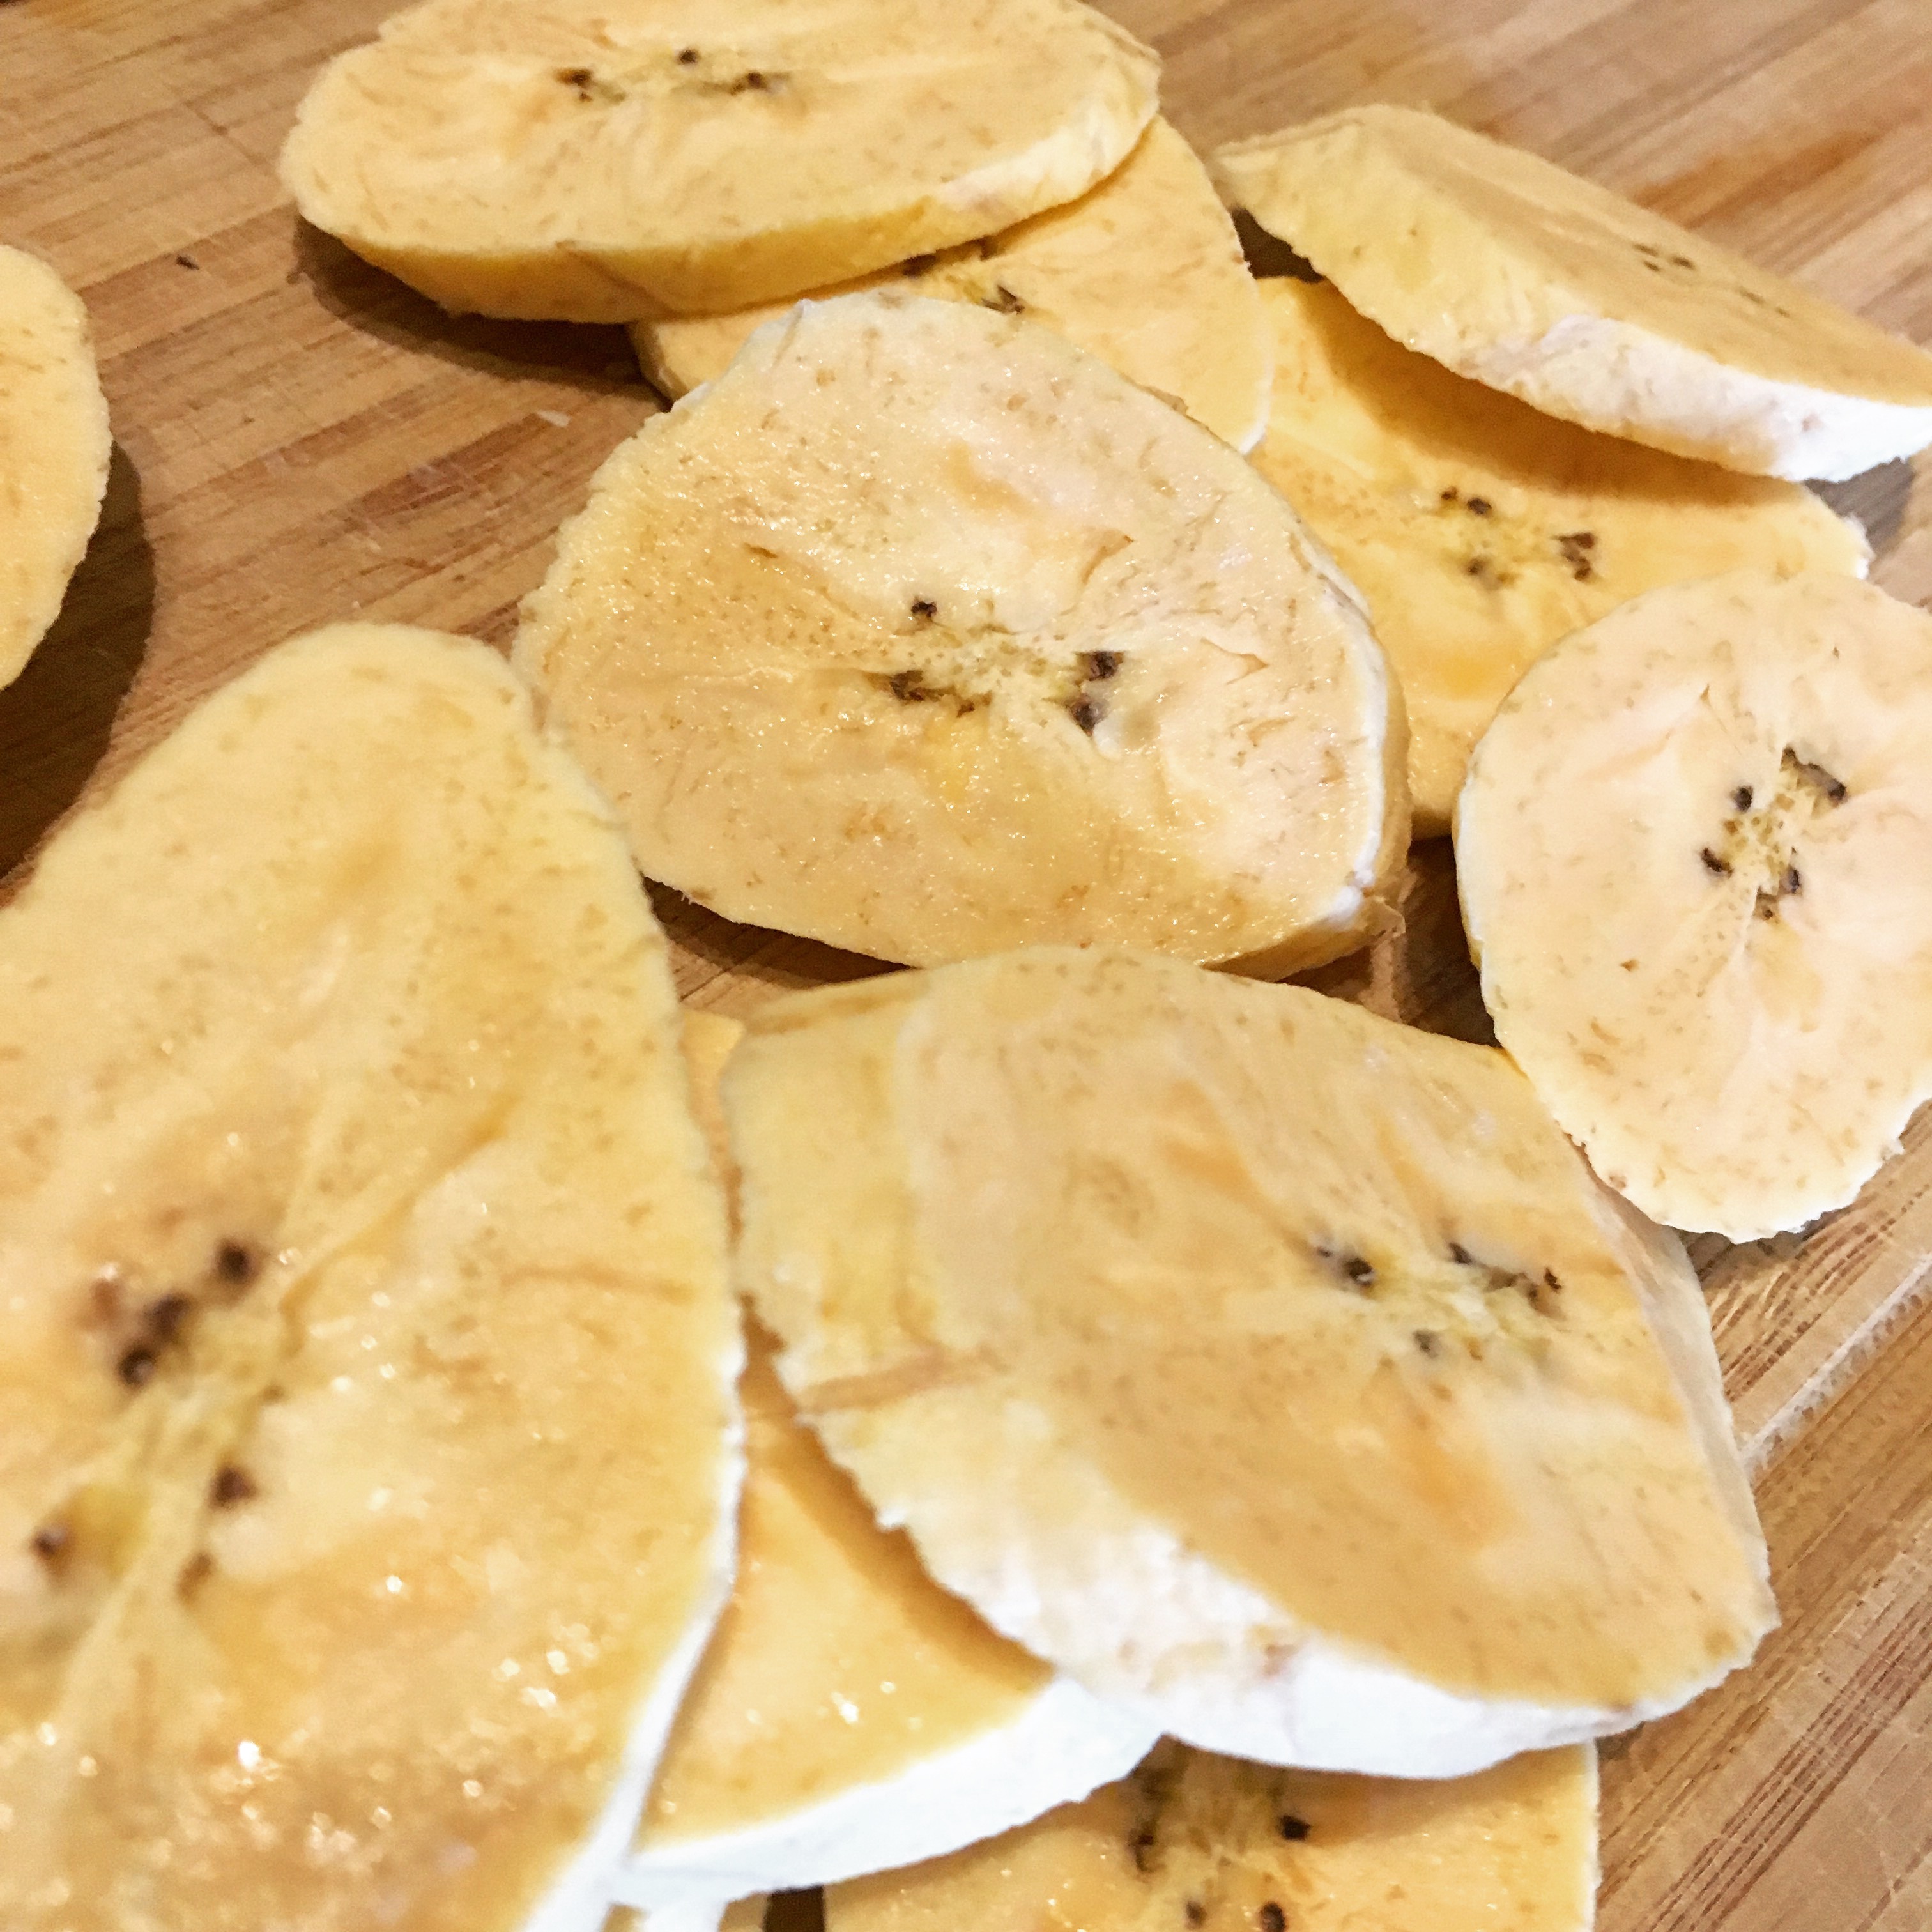
For the fried ripe plantains, I tried to find as a ripe a plantain as I could at the store. Thinking it would be similar to peeling a banana, I ended up having a difficult time. I would’ve benefitted from a handy guide, like this one. (Hopefully your peeling experience will be much easier than mine!) Once the pesky peel was off, I sliced it on the diagonal into large oblong coins.

img_1373

Frying them proved to be much easier than peeling them, thanks in part to my adventures in frying the johnnycakes the week before.

After a few minutes, they were a nice golden brown. I scooped them out onto a paper towel and sprinkled with salt. They proved to be not only a nice complement to the seasoning of the chicken and the spiciness of the sauce but a break from the heat as well!

I was happy to be able to make a dish that paired so well with such an enjoyable book, but truth be told, this wasn’t something I would make again. Not one for super spicy foods anyway, I could only use about a tablespoon of the pepper sauce over two skewers of chicken. My boyfriend (who loves spicy food) thought the sauce went well alongside the chicken but probably not something he’d eat without it. And, heads up, the recipe makes a decent amount of sauce - at least 4 cups.      

Chicken Suya with African Pepper Sauce

  • Servings: 4-6
  • Time: 1 hour
  • Print


From: African Bites [Annotations from me]

Ingredients

    Suya Chicken

  • 3 pounds skinless chicken thigh
  • 4 tablespoons peanut butter or groundnut paste
  • ½ - 1 tablespoon cayenne (depending on heat preference)
  • 1 tablespoon smoked paprika
  • 1 tablespoon garlic powder
  • 1 tablespoon onion powder
  • 1 tablespoon white pepper
  • 1 tablespoon Bouillon
  • 1 teaspoon salt
  • 2 - 3 tablespoons vegetable oil
  • 6 - 8 wooden skewers
  • African Pepper Sauce

  • 10 peppers (habenero or scotch bonnet)
  • 1 medium onion
  • 4 garlic cloves
  • 2 tablespoon bouillon powder [I used chicken]
  • 2 basil leaves [I used 1 teaspoon dried basil]
  • 2 tablespoon parsley [I used 2 teaspoons dried parsley]
  • 1 - 3 roma tomatoes (adjust for spiciness)
  • ½ - 1 cup vegetable oil
  • salt

Directions

  1. Coarsely chop the tomatoes, onions, and discard stems of the peppers. Put the tomatoes, onions, peppers, garlic, parsley, basil, bouillon in the food processor along with as much oil as desired. [I used ½ cup, which seemed to be enough for my sauce.]
  2. Pour the pepper mixture into a small sauce pan bring to a boil and slowly simmer for about 15 minutes, stirring frequently to prevent burns. Add salt and adjust as needed.
  3. While the sauce is simmering, preheat the oven to 450 degrees F. Soak the skewers for at least 20 minutes totally submerged in water before using it to prevent burns.
  4. In a medium bowl, mix garlic powder, onion powder, smoked paprika, white pepper, cayenne pepper, peanut butter and bouillon. [Mine formed a pretty thick paste, making it difficult to brush/spread on the chicken. I would suggest adding some water or oil as needed to thin it out a bit.]
  5. Pat the chicken thighs dry with a paper towel. You want to have a completely dry chicken before cooking. Trim and slice the chicken into thin slices or bite size cuts (suggest cutting on a diagonal).
  6. Lightly spray or oil baking sheet or roasting pan to prevent the suya from sticking to the pan. [I covered mine with foil to make cleanup easier.]
  7. Thread the chicken onto the skewers (about 4 per skewer), making sure the skewer is fully covered with slices of chicken.
  8. Brush the chicken skewer with spice mixture on both sides. Place skewers on the sprayed/oiled roasting pan or baking sheet.
  9. Drizzle with oil and bake for about 20-25 minutes, flipping halfway through baking until chicken is fully cooked through. Towards the last 3 minutes of baking, switch to broil to get a nice crisp brown on the outside.
  10. When the pepper sauce is finished, let it cool. Pour in a mason jar or a container with a lid and store in a fridge for about a week. In order for your pepper sauce to last longer, make sure it is fully covered in oil.
  11. Serve chicken suya warm with a side of African pepper sauce [and fried plantains, if desired].

Filed Under: book review, recipe Tagged With: appetizer, chicken, contemporary, cultural, fiction, sauce, snack

My Grandmother Asked Me to Tell You She's Sorry + Swedish Dream Cookies

September 1, 2016 by Megan 2 Comments

Almost-eight-year-old Elsa’s best friend is her eccentric grandmother. Like her granny, Elsa is different. Different in a way that makes her good at running, because “that’s what happens when you get chased all the time.” Different in a way that allows to her to relate to adults with wisdom beyond her years.

My Grandmother Asked Me To Tell You She's Sorry Book Cover

As in Fredrick Backman’s first novel, the successful A Man Called Ove (which I also loved), My Grandmother Asked Me to Tell You She’s Sorry revolves around a cast of Swedish neighbors, whom we meet as Elsa embarks on a so-called treasure hunt to find and deliver apologetic letters from her grandmother.  

When the story begins, Elsa seems to know some of the neighbors well enough. Maud and her husband Lennart, for example, are the nicest and second nicest persons in the world, respectively. Elsa likes them because they “always have dreams and hugs - dreams are a kind of cookie; hugs are just normal hugs.” On the other hand, there are The Monster and Our Friend. The idea of either of them emerging into the hallway terrifies Elsa.

The letter deliveries help Elsa to conquer her fears and bring the entire house of neighbors together. Sad yet uplifting, Backman’s charmingly written novel carries you to the Land of Almost-Awake and back again, as you uncover the unexpected truths behind Granny’s fairy tales with Elsa.

Since I recently made cinnamon buns (Granny’s favorite food), I was so happy when I found out that dreams are an actual cookie! Apparently a staple in Sweden, they are beloved by both Elsa and Our Friend.

I found the recipe searching around online and immediately set about to obtain some baker’s ammonia - the only ingredient not readily available in American grocery stores. After 48 hours I had it (thank you, Amazon Prime!), and cookie baking could begin.

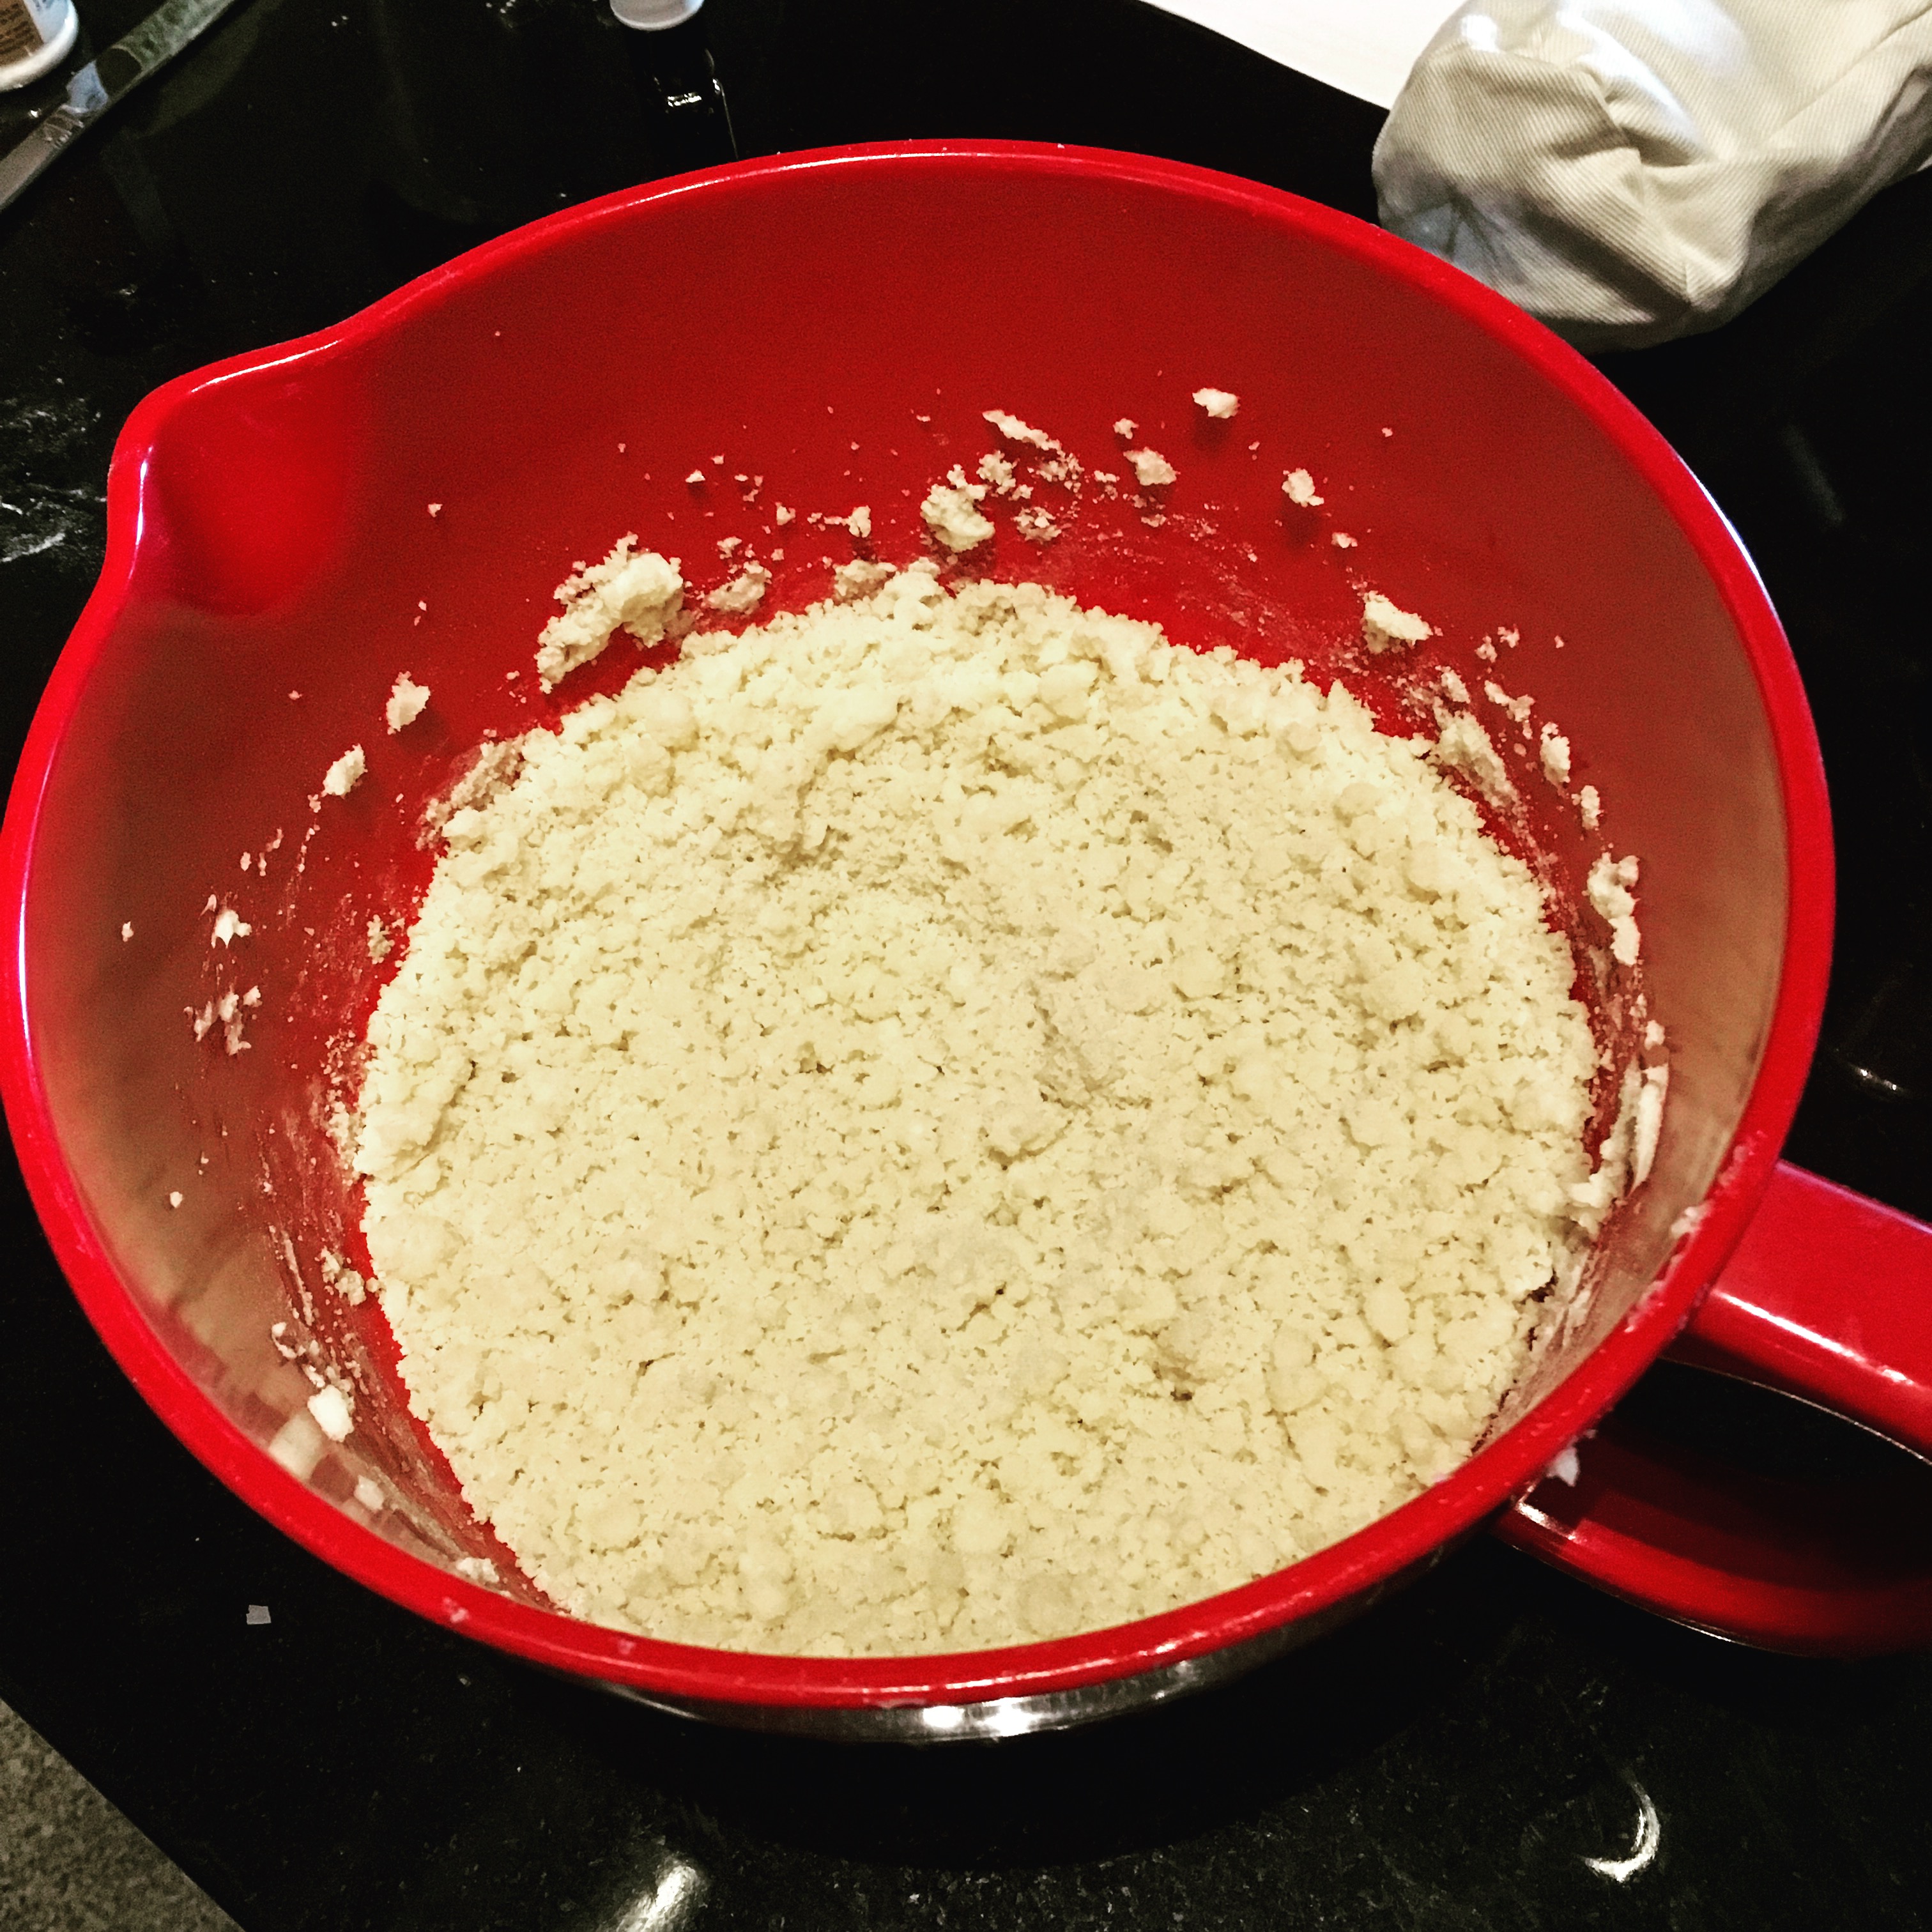
After creaming the butter and sugar, adding the ammonium carbonate, almond extract and flour, I ended with a sort of crumbly mixture that looked like this:

IMG_1103

It looked unlike any cookie dough I’d made in the past but I kept on and added the flaked coconut. I was convinced the chilling process would bring it all together, so I formed my disk and popped the dough into the refrigerator.

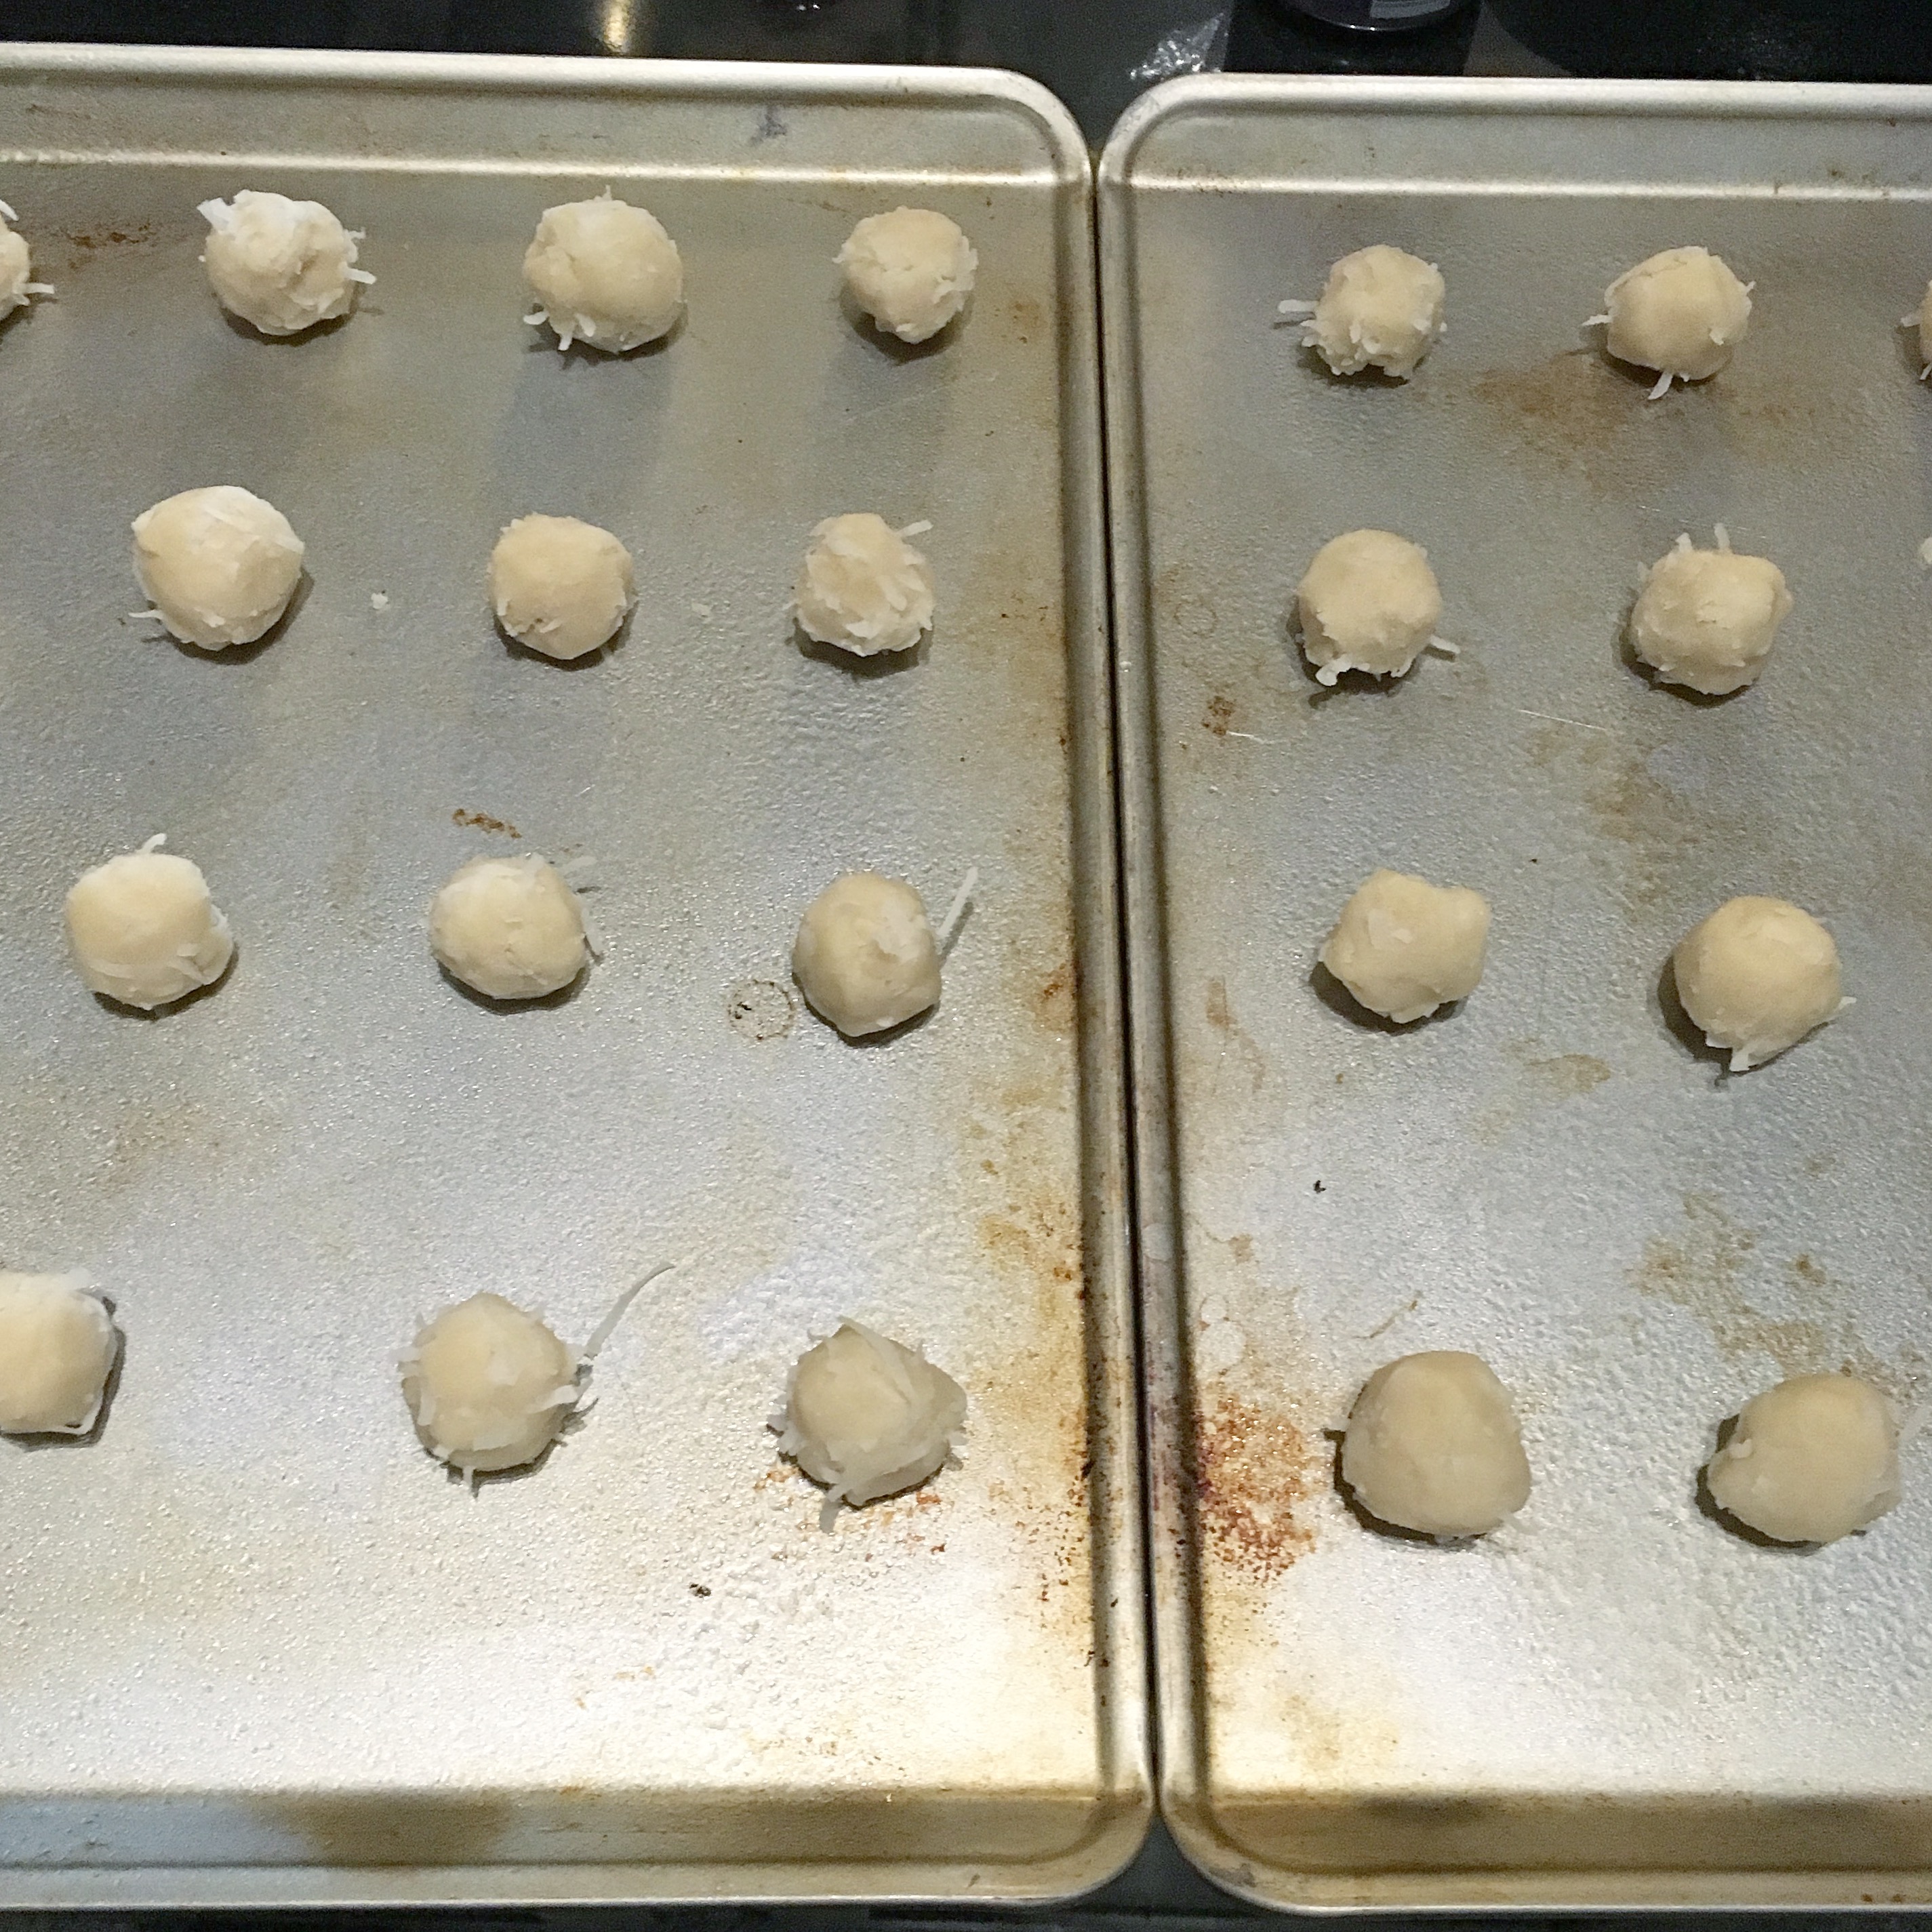
Even after a long chill, the dough remained crumbly as I tried forming it into 1-inch balls. I recommend doing this with your hands, as opposed to a scooper, which I tried first to encourage uniformity. It ended up being much easier. I think the heat of the hands helped them keep their shape a bit better.

IMG_1104

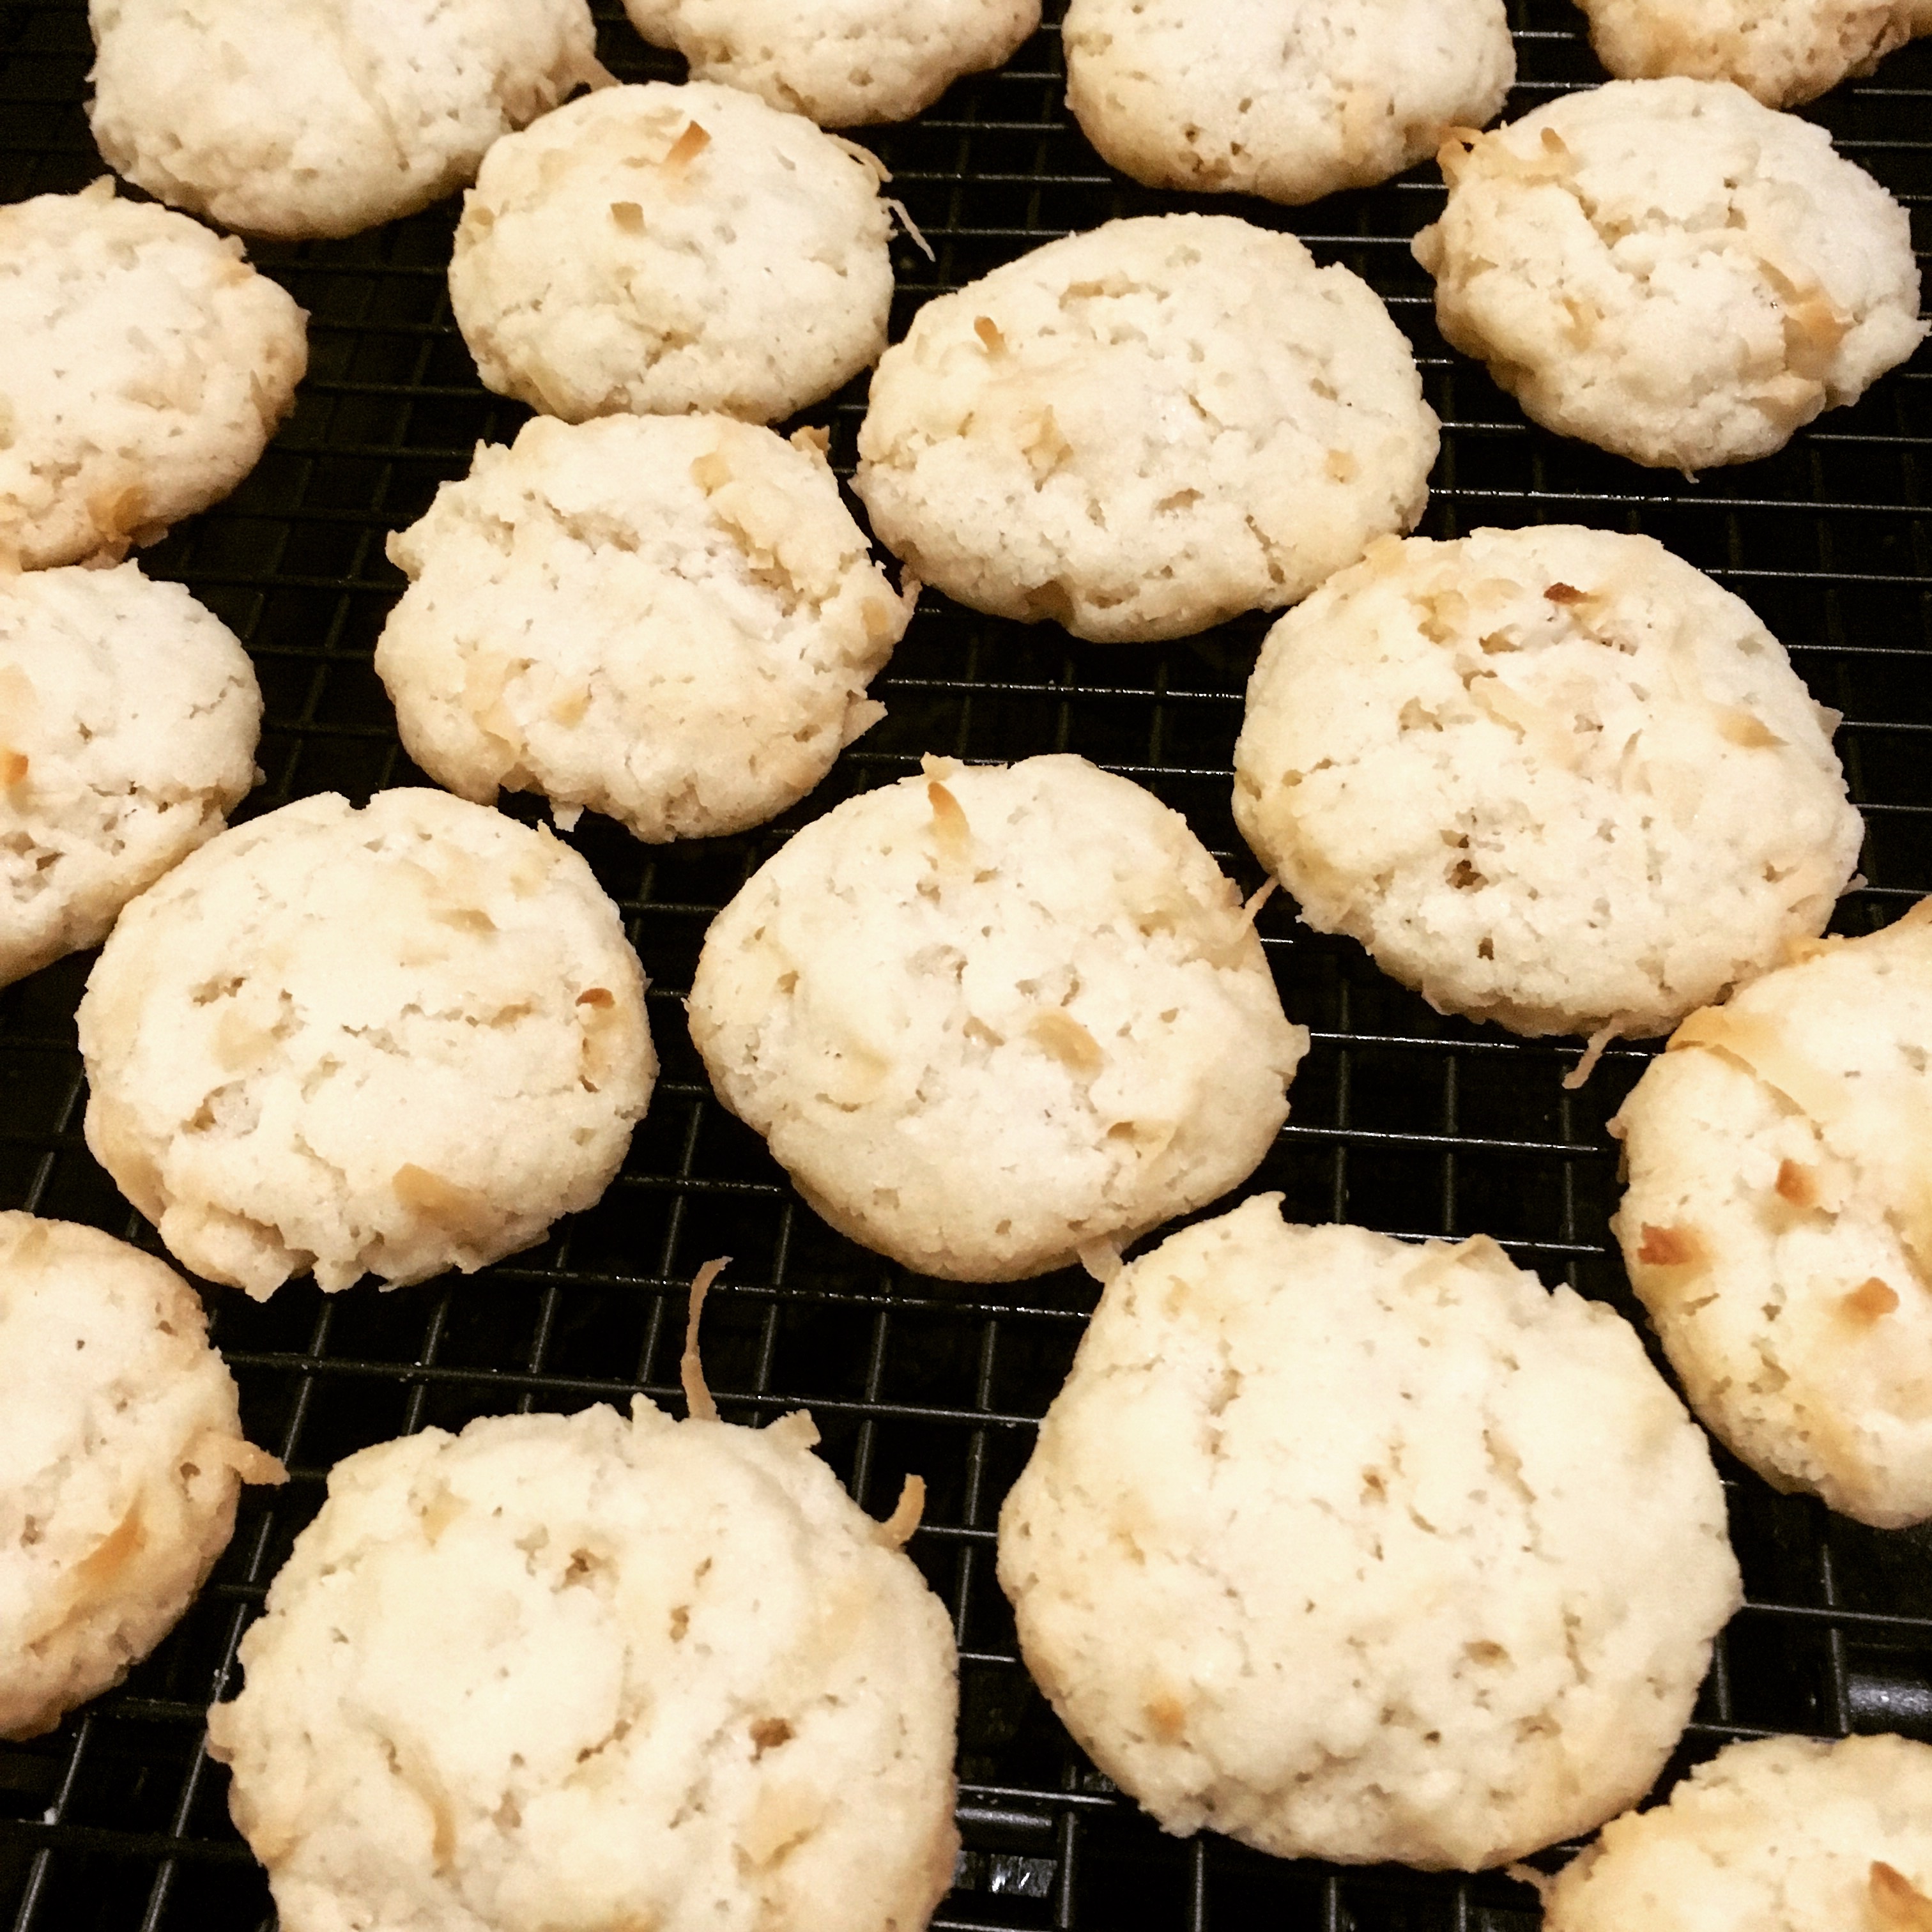
I baked three batches of one cookie sheet each (16 cookies), closely following the recipe’s recommendation of using the top-third of the oven only. I was a bit disappointed that the recipe only made 52 cookies, well short of the 72 it was supposed to - even after carefully making sure they were as close to an inch as possible. Still, they turned out beautifully!

IMG_1008

I’m usually not one for coconut, but to me, they were more like an amazing sugar cookie. These dreams may have required tracking down an obscure ingredient online, but they were worth it. I hope you enjoy them as much as I did!

Swedish Dream Cookies
Print Recipe

Swedish Dream Cookies

Prep Time30 minutes mins
Cook Time1 hour hr
Inactive (Chill) Time1 hour hr
Total Time2 hours hrs 30 minutes mins
Course: Dessert
Cuisine: Swedish
Keyword: cookie
Servings: 4 dozen

Ingredients

  • 2 cups all-purpose flour
  • 1/2 teaspoon salt
  • 2 sticks (1 cup) unsalted butter softened
  • 1 1/4 cups sugar
  • 1 teaspoon crushed ammonium carbonate also called baker’s ammonium
  • 1/2 teaspoon almond extract
  • 1 1/2 cups sweetened flaked coconut

Instructions

  • Sift together flour and salt.
  • Beat together butter and sugar with an electric mixer until pale and fluffy. Beat in ammonium carbonate and almond extract until combined well. Mix in flour mixture at low speed just until blended, then stir in coconut.
  • Form dough into a disk and chill, wrapped in plastic wrap, until firm, about 1 hour. [You could probably skip the chilling, if you’re short on time. A few comments said they didn’t chill it and it made no difference. I chilled mine, but the dough was essentially the same consistency after an hour as it was before.]
  • Preheat oven to 300°F.
  • Roll dough into 1-inch balls and arrange 1 inch apart on greased baking sheets.
  • Bake cookies in batches in upper third of oven until pale golden around edges, 18 to 22 minutes. [Mine baked for 21 minutes.] Transfer cookies to a rack to cool.

Notes

From: Epicurious

This post contains affiliate links. Full disclosure here.

Filed Under: book review, recipe Tagged With: baking, contemporary, cookies, dessert, fiction, snack

Once Upon a River + Cinnamon Bread

August 4, 2016 by Megan 1 Comment

Confession: I’m probably in too many book clubs. My last post was about a novel I read for my book club, and this one is too. At this particular book club, we try our best to choose a restaurant we haven’t been to before that also reflects the culture or location of our latest selection. For August, we opted to vote on all Michigan-based books and ultimately went with Once Upon a River by Michigan author Bonnie Jo Campbell as our pick. (Our restaurant choice was a local brewery.)

cover

When I received this book as a gift about two years ago, I was initially excited. It’s a novel by someone from Michigan about characters in Michigan, and as anyone who knows me will tell you, I am nothing if not ridiculously proud of being a Michigander. That being said, I started it and couldn’t get past the first few chapters. So I set it aside, only to suggest it as a part of this vote. I don’t like giving up on books, and I wanted to give it another try (with some motivation to help me along).

Once Upon a River follows the journey of Margo Crane, a beautiful sixteen-year-old with a penchant for target shooting, a skill that ultimately changes the course of her life. As Margo sets off along the river in search of her mother, she does what she must to survive, both taking advantage of others and being taken advantage of by them. For me, Margo was a hard character to connect with - she wasn’t particularly personable and I questioned many of her decisions - but I warmed to her towards the end. She stumbles along the way, but she also grows stronger and more sure of herself.

Because of her ability to shoot a rabbit in the eye and her extensive knowledge of the world around her, Margo rarely goes hungry. She is able to hunt (and gut and skin) various game and to find edible plant-life along the way. Still, nothing beats the comforts of home, specifically her Aunt Joanna’s cinnamon bread.

Twelve times throughout the course of the story, Campbell mentions and describes this delicious bread. At one point, she writes, “Margo awoke dreaming of cinnamon bread and apple butter so vividly she could taste it.” I, too, found myself hankering for this delicious homemade bread.

So, despite it being 80+ degrees all week long, I decided to make some myself. (Thank goodness for central air!) I found a recipe for Amish Cinnamon Bread from Farm Girl Tails and got to work.

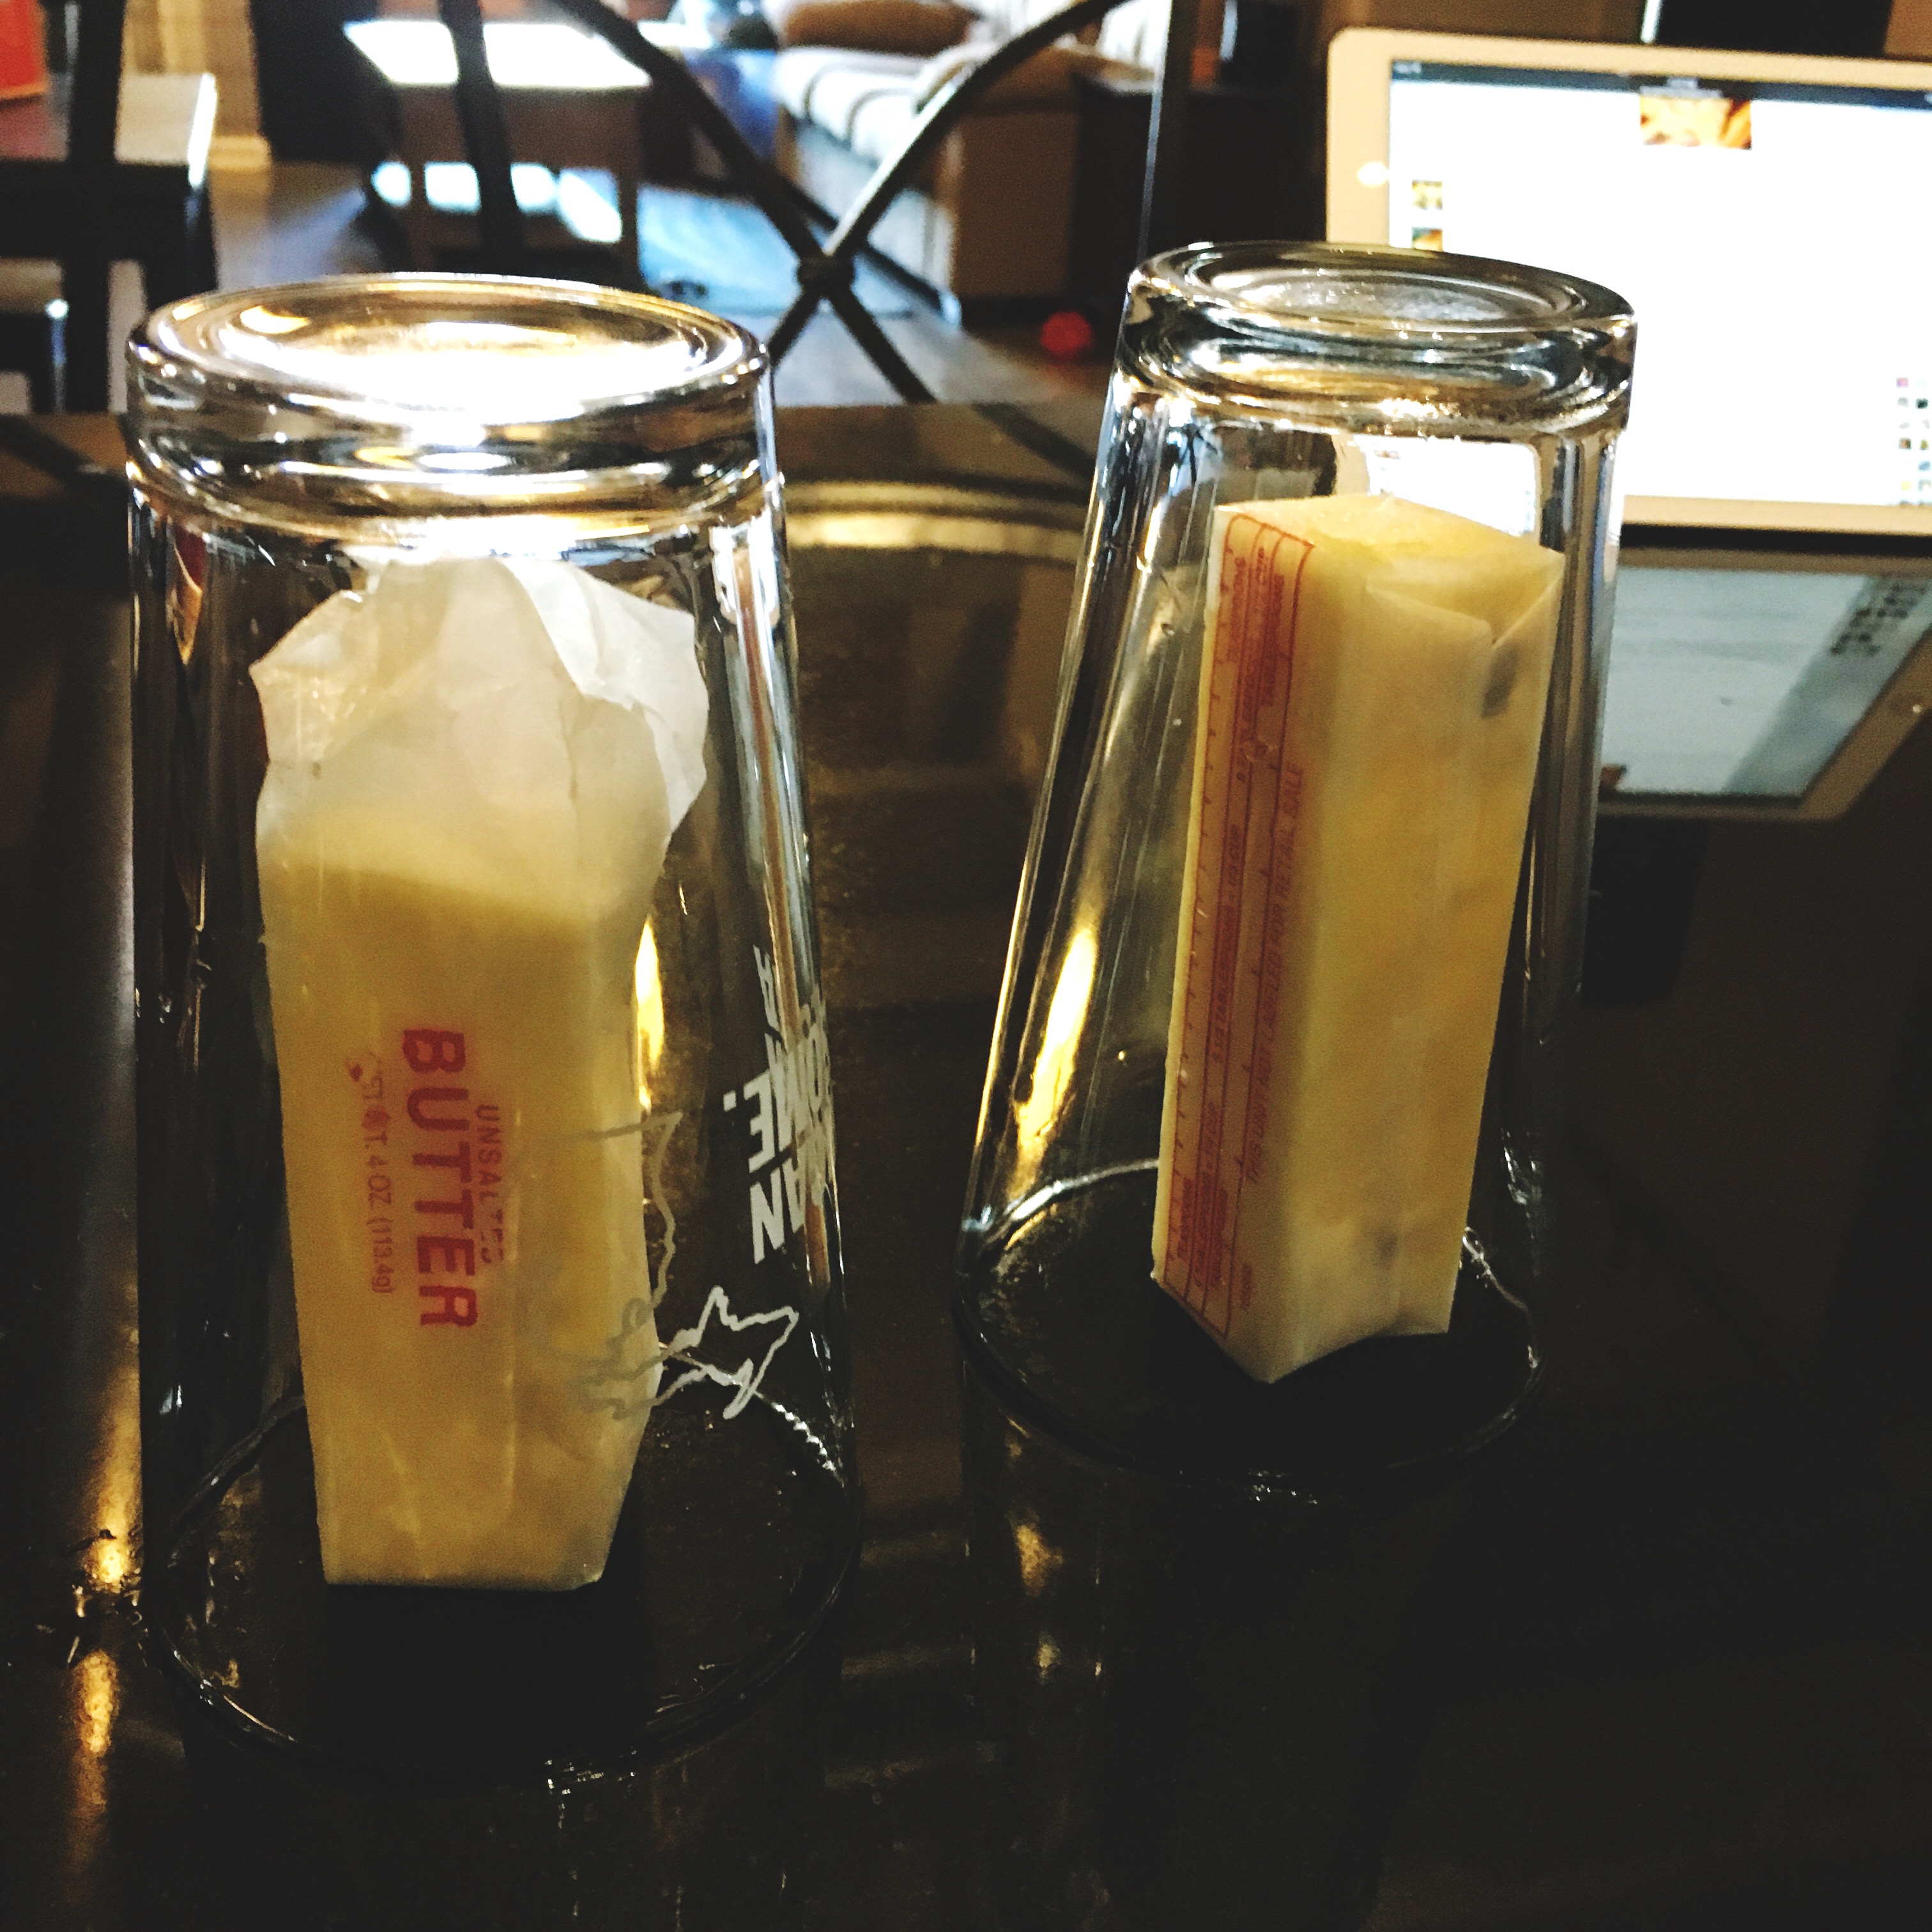
As I was assembling the ingredients, I realized my butter wasn’t softened, which is always the case when I am preparing to bake. Instead of making the mistake I usually make and softening (er, melting) it in the microwave, I remembered to use this handy Pinterest trick. I hadn’t tried it before, so I was a bit skeptical, but it worked like a charm! I left the butter sticks under the glasses for about 5 minutes, but 10 minutes would probably have been better.  

IMG_0888

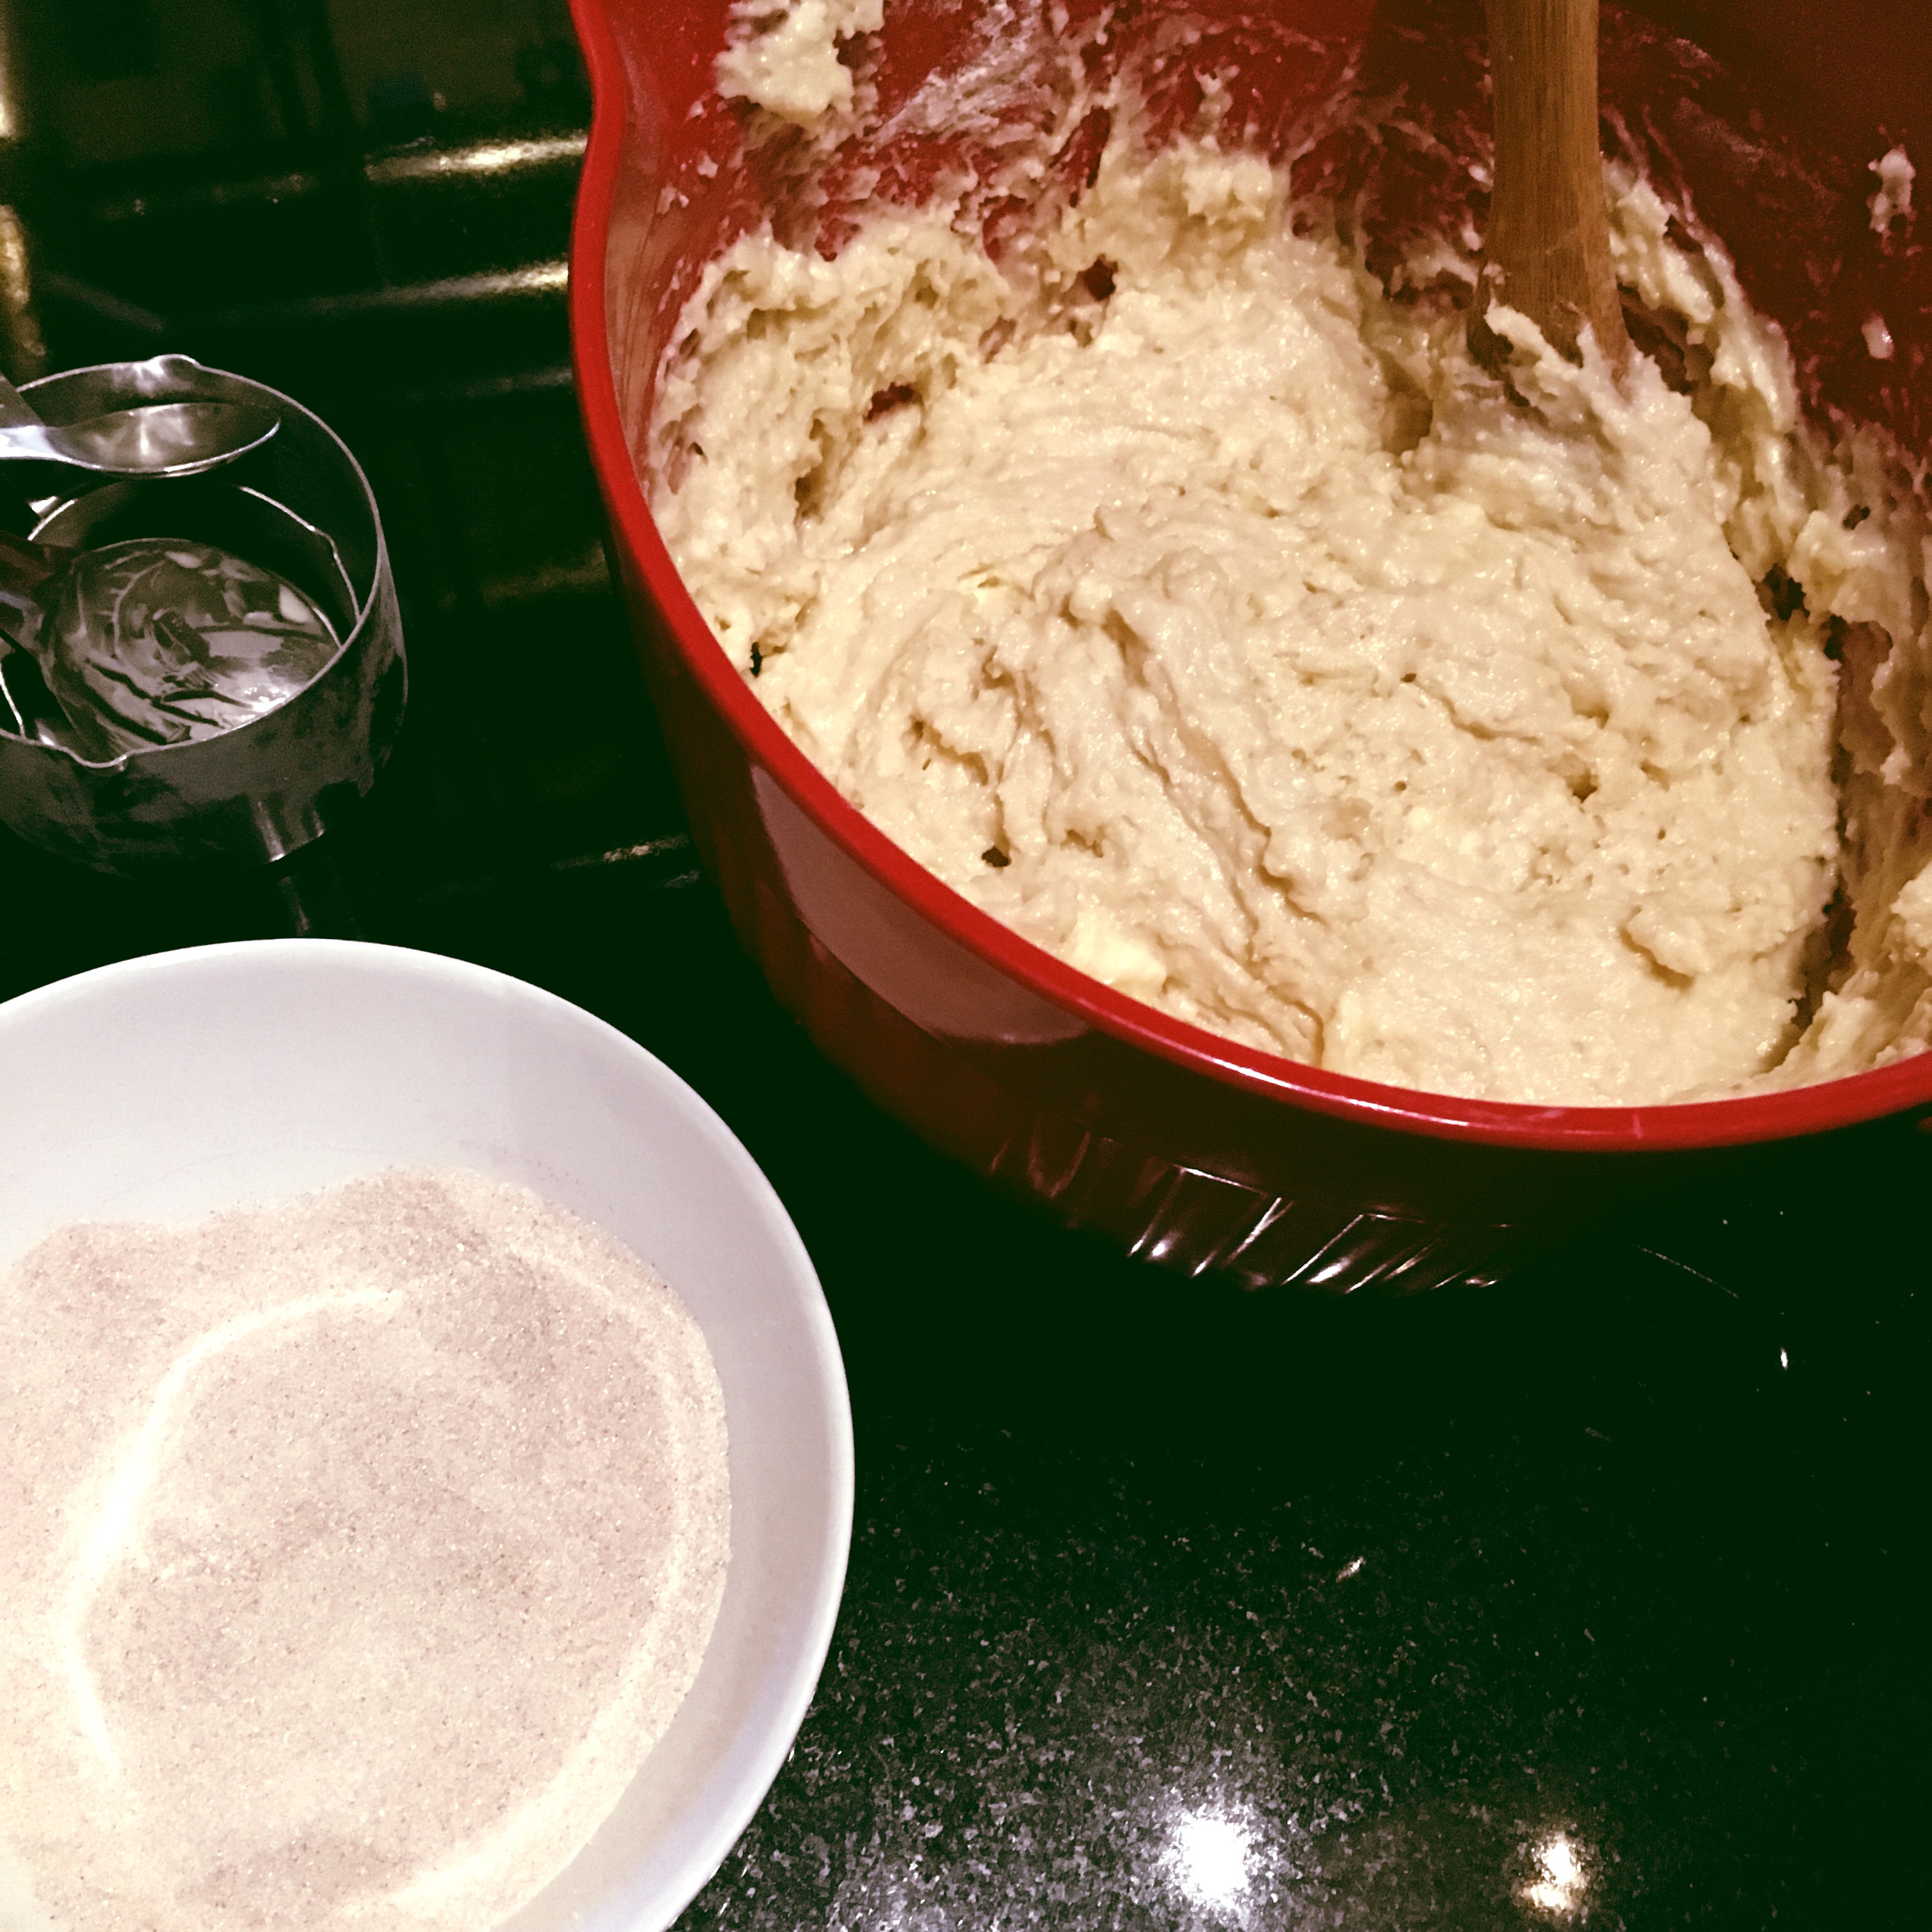
After I was done creaming the (mostly) softened butter with the eggs and sugar, which I decided to do by hand rather than with a mixer, I added the remaining ingredients. The final mixing process was a bit slow-going, but I managed to work up the strength to get through it. Ta-da!

IMG_0887

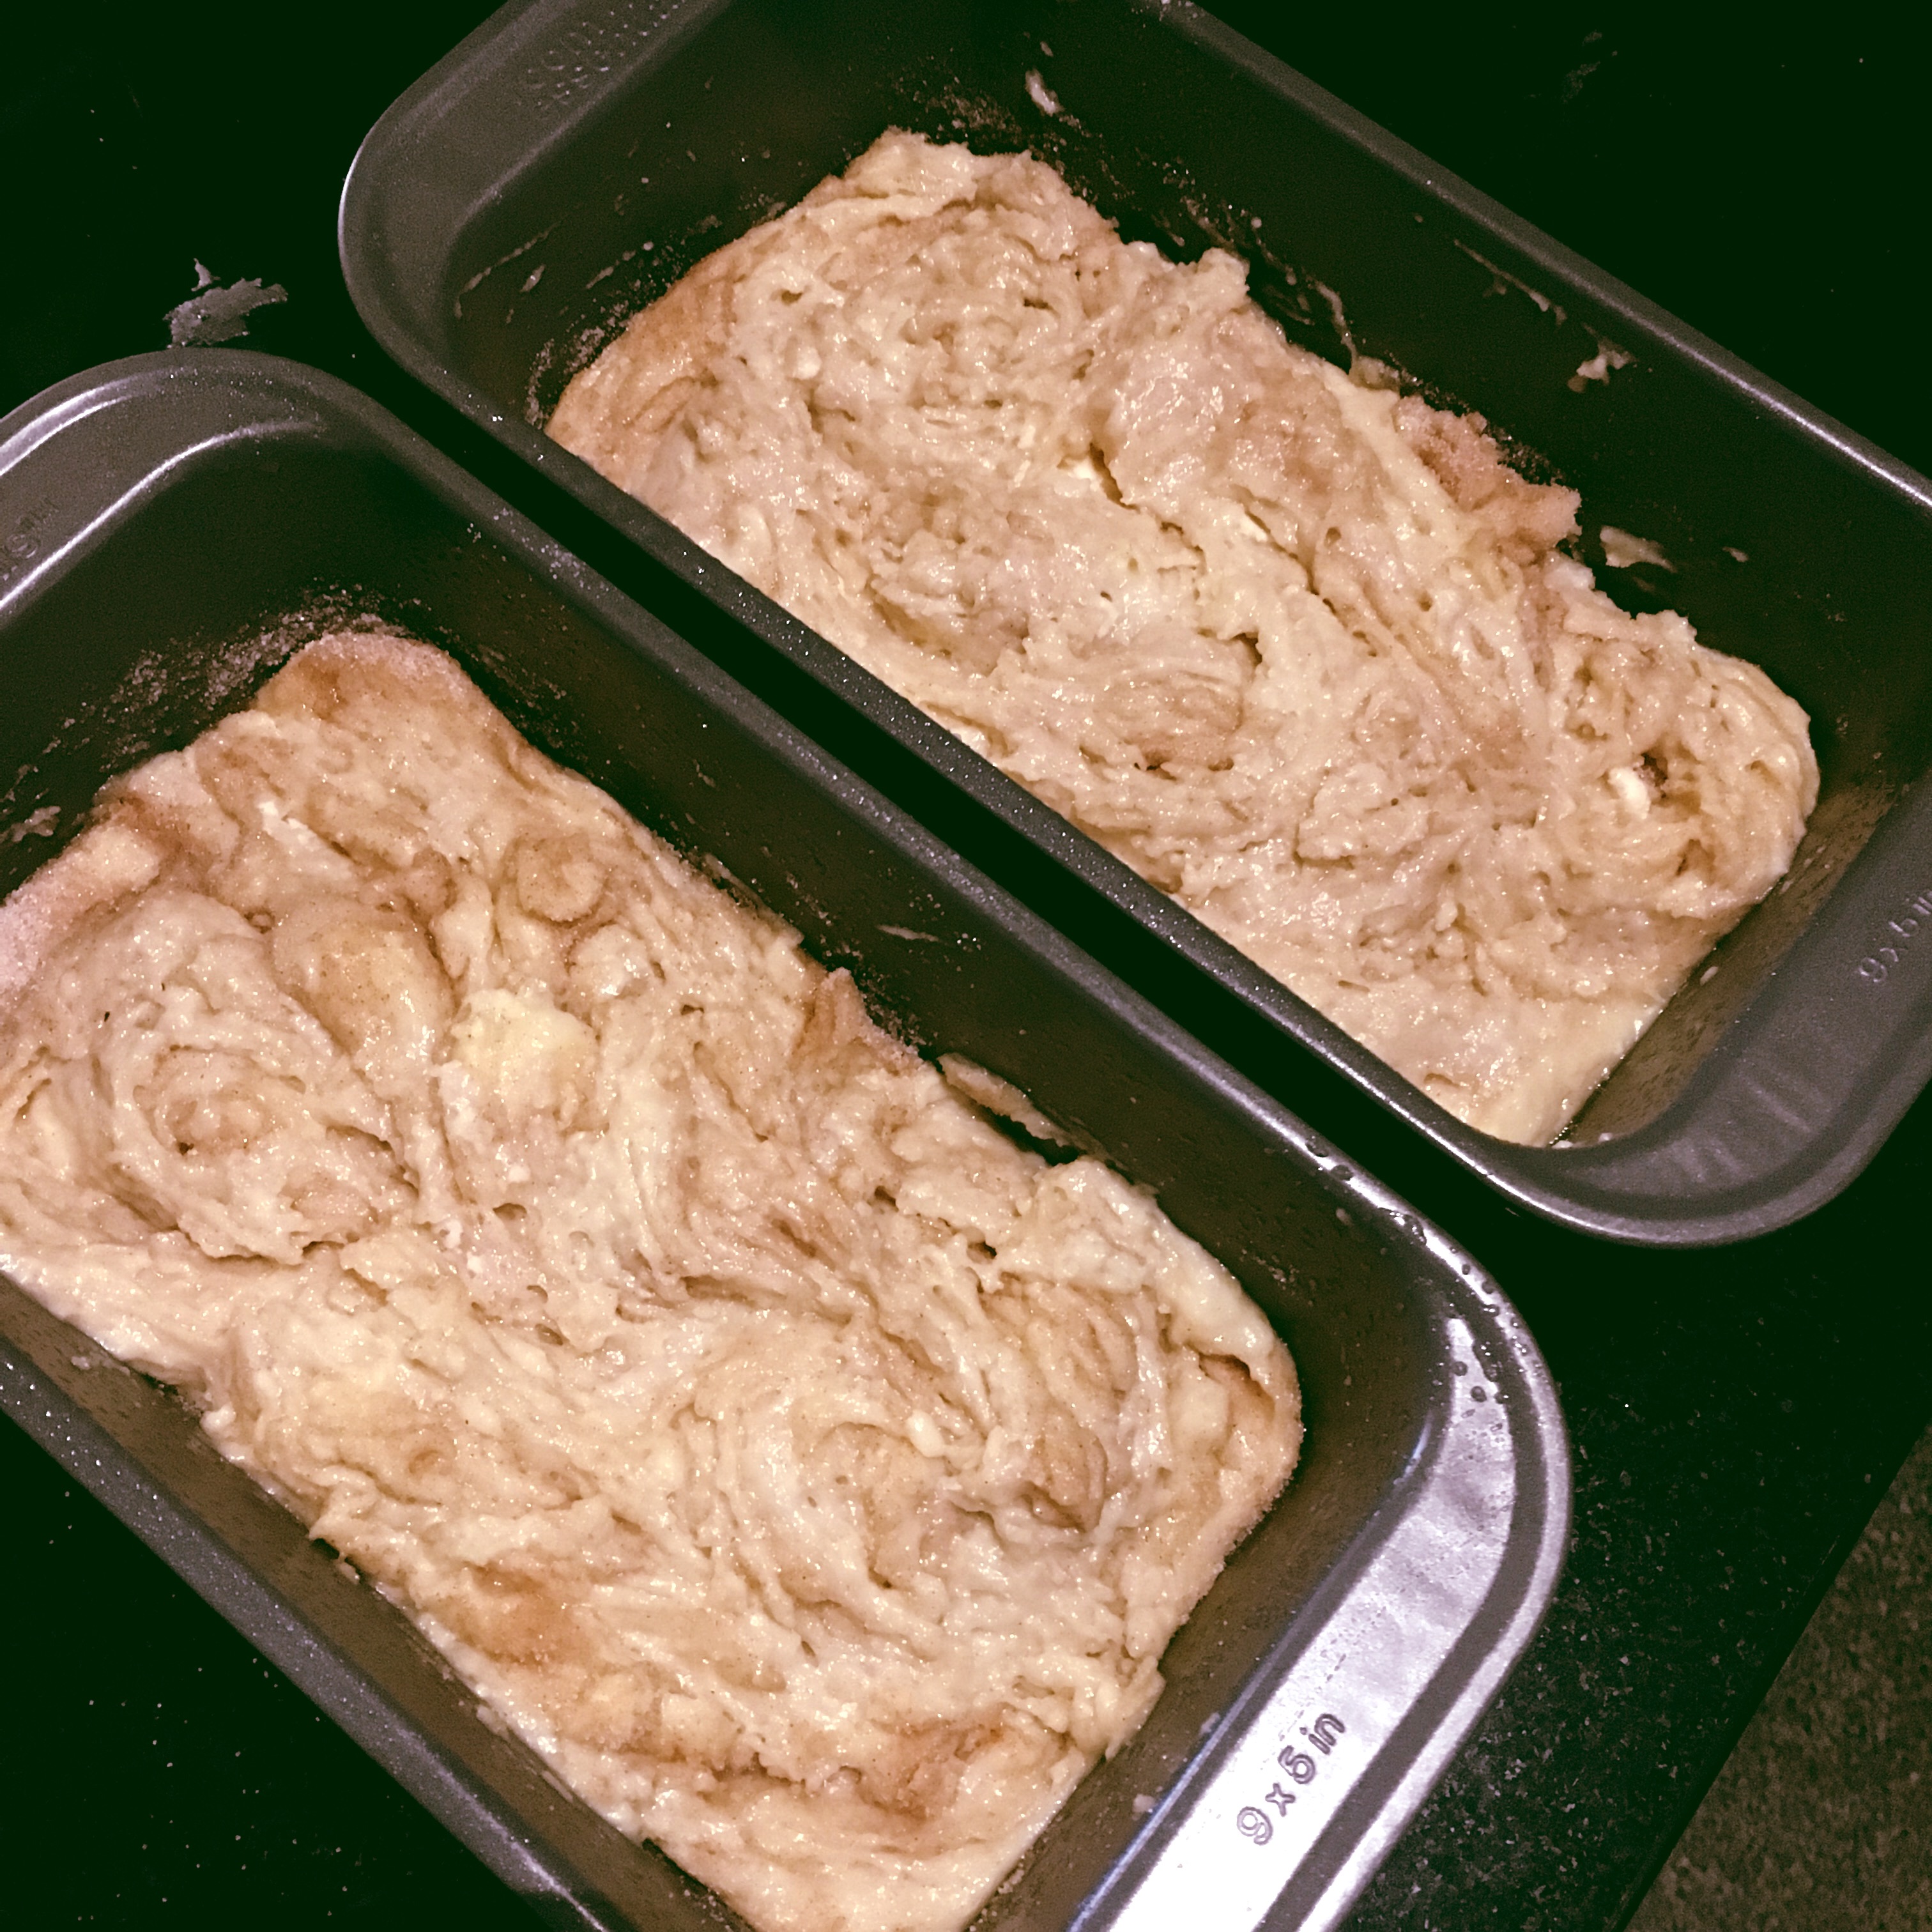
I filled each loaf pan with 1/4 of the batter and sprinkled with 3/4 of the cinnamon-sugar mixture. It felt like a LOT of cinnamon and sugar. I covered it with the rest of the batter and cinnamon-sugar, swirled, and tossed it into the oven. Here’s the before:

IMG_0886

And, following 65 minutes of baking and 20 minutes of cooling, here’s the after:

IMG_0885

It was definitely best served warm from the oven. I personally wanted it to be more cinnamon-y, but everyone else who ate it didn’t seem to have the same complaint, so that was probably just me.   

Amish Cinnamon Bread
Print Recipe

Amish Cinnamon Bread

Total Time1 hour hr 30 minutes mins
Keyword: quick bread
Servings: 2 loaves

Ingredients

Batter Ingredients

  • 1 cup butter softened
  • 2 cups sugar
  • 2 eggs
  • 2 cups buttermilk
  • 4 cups flour
  • 2 tsp baking soda

Cinnamon Sugar Mixture

  • 2/3 cups sugar
  • 2 tsp cinnamon

Instructions

  • Grease two 9x5 loaf pans. Set aside until needed.
  • Cream together butter, 2 cups sugar, and eggs. Add milk, flour, and baking soda. Mix well.
  • Put 1/4 of batter in each greased loaf pan.
  • Mix the 2/3 cup sugar and cinnamon in separate bowl.
  • Sprinkle 3/4 of the cinnamon mixture on top of the batter in each pan. Add remaining batter to pans; sprinkle the remaining cinnamon topping. Swirl with a knife.
  • Bake at 350 degrees in a preheated oven for 45-50 minutes or until tester comes clean. [I had to bake them for 65 minutes before they were finished.]
  • Cool in pan for 20 minutes before removing from pan.

Notes

From: Farm Girl Tails [Annotations from me]
Excellent if eaten warm out of the oven [yes!] but great toasted with a little butter or cinnamon butter. [Margo would recommend it with apple butter.]

This post contains affiliate links. Full disclosure here.
Filed Under: book review, recipe Tagged With: adventure, baking, book club, breakfast, brunch, coming of age, contemporary, fiction, snack

  • « Go to Previous Page
  • Go to page 1
  • Interim pages omitted …
  • Go to page 9
  • Go to page 10
  • Go to page 11

Primary Sidebar

About

The Hungry Bookworm brings together literature and food. Megan has an insatiable appetite for both.

As C.S. Lewis said, “Eating and reading are two pleasures that combine admirably.” Enjoy!

  • Bloglovin
  • Facebook
  • Instagram
  • Pinterest

Subscribe

Don't miss out on bookish content, exclusive giveaways, and of course, book club-friendly recipes. Get notified of new posts via email.

Join 2879 subscribers.

Search for Ingredients, Recipes, or Books

Recent Posts

  • Subscriber Box Review: Literati Book Club - Roxane Gay's Audacious Book Club
  • Arsenic and Adobo + Ensaymada
  • Review of The Kindred Spirits Supper Club
  • Kids Edition: Sometimes I Like to Curl Up in a Ball + "Dirt" Pudding Cups
  • The Midnight Library + Broccoli and Ricotta Toast

Goodreads

Tags

5 ingredients or less appetizer baking book club book list book of the month books about food bread breakfast brunch chicken contemporary cookies cultural dessert dinner dinner party dystopia easy prep favorites fiction fruit historical fiction holiday ice cream linkup lunch meat memoir mini review nonfiction pasta quick read reading challenge science fiction seafood show us your books side dish snack soup TBR list thriller top ten tuesday vegetarian veggies

Archives

Other Great Book Blogs

Literary Quicksand
Never Enough Novels
Death by Tsundoku
Professional Reader 25 Book Reviews
Privacy & Cookies: This site uses cookies. By continuing to use this website, you agree to their use.
To find out more, including how to control cookies, see here: Cookie Policy

Footer Widget Header

Megan’s Instagram

Copyright © 2025 · Hungry Bookworm