• Skip to primary navigation
  • Skip to main content
  • Skip to primary sidebar
  • Home
  • Reviews
    • Book Index
    • Fiction
    • Non-Fiction
    • Top Ten Tuesdays
The Hungry Bookworm

The Hungry Bookworm

reading + eating

  • Recipes
    • Drinks
    • Snacks, Sides & Apps
    • Main Dishes
    • Desserts
    • 5 Ingredients or Less
  • About
    • Meet Megan
    • How I Rate
    • Review Policy
    • Contact

recipe

Jane of Austin + Earl Grey Ice Cream

July 25, 2017 by Megan 2 Comments

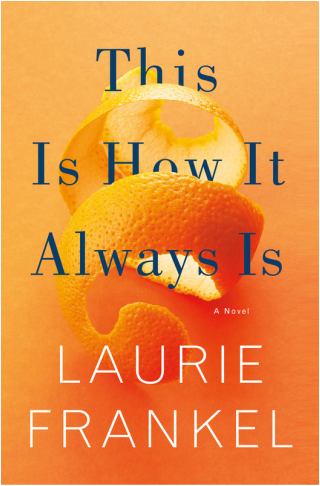
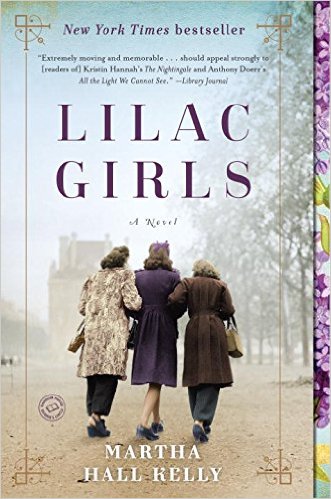
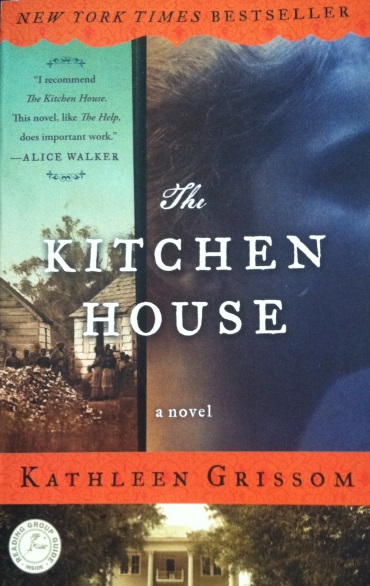
Though I read Pride and Prejudice in high school and loved it, I haven’t explored Jane Austen beyond that. I own copies of both Persuasion and Sense and Sensibility, but have yet to crack them open! (I know, I know…) So, when I was given the opportunity to read Jane of Austin: A Novel of Sweet Tea and Sensibility through Blogging for Books, I didn’t want to pass it up. After all, it’s about tea, which I love, and it seemed like it would be a nice modern dip into another Austen classic.

Jane and her sister Celia own a successful, adorable tea shop in San Francisco. But after being forced out, they head to their cousins in Texas with their younger sister Margot in tow, hoping to start afresh and recreate their tea shop magic there. Of course, Texas brings new men and intrigue, triumphs and defeats. I can’t compare it to the original, but I recognized a lot of Austen-style plot points, and of course, the sisterly bond can’t be missed. It was a breezy, enjoyable read, perfect for summer.

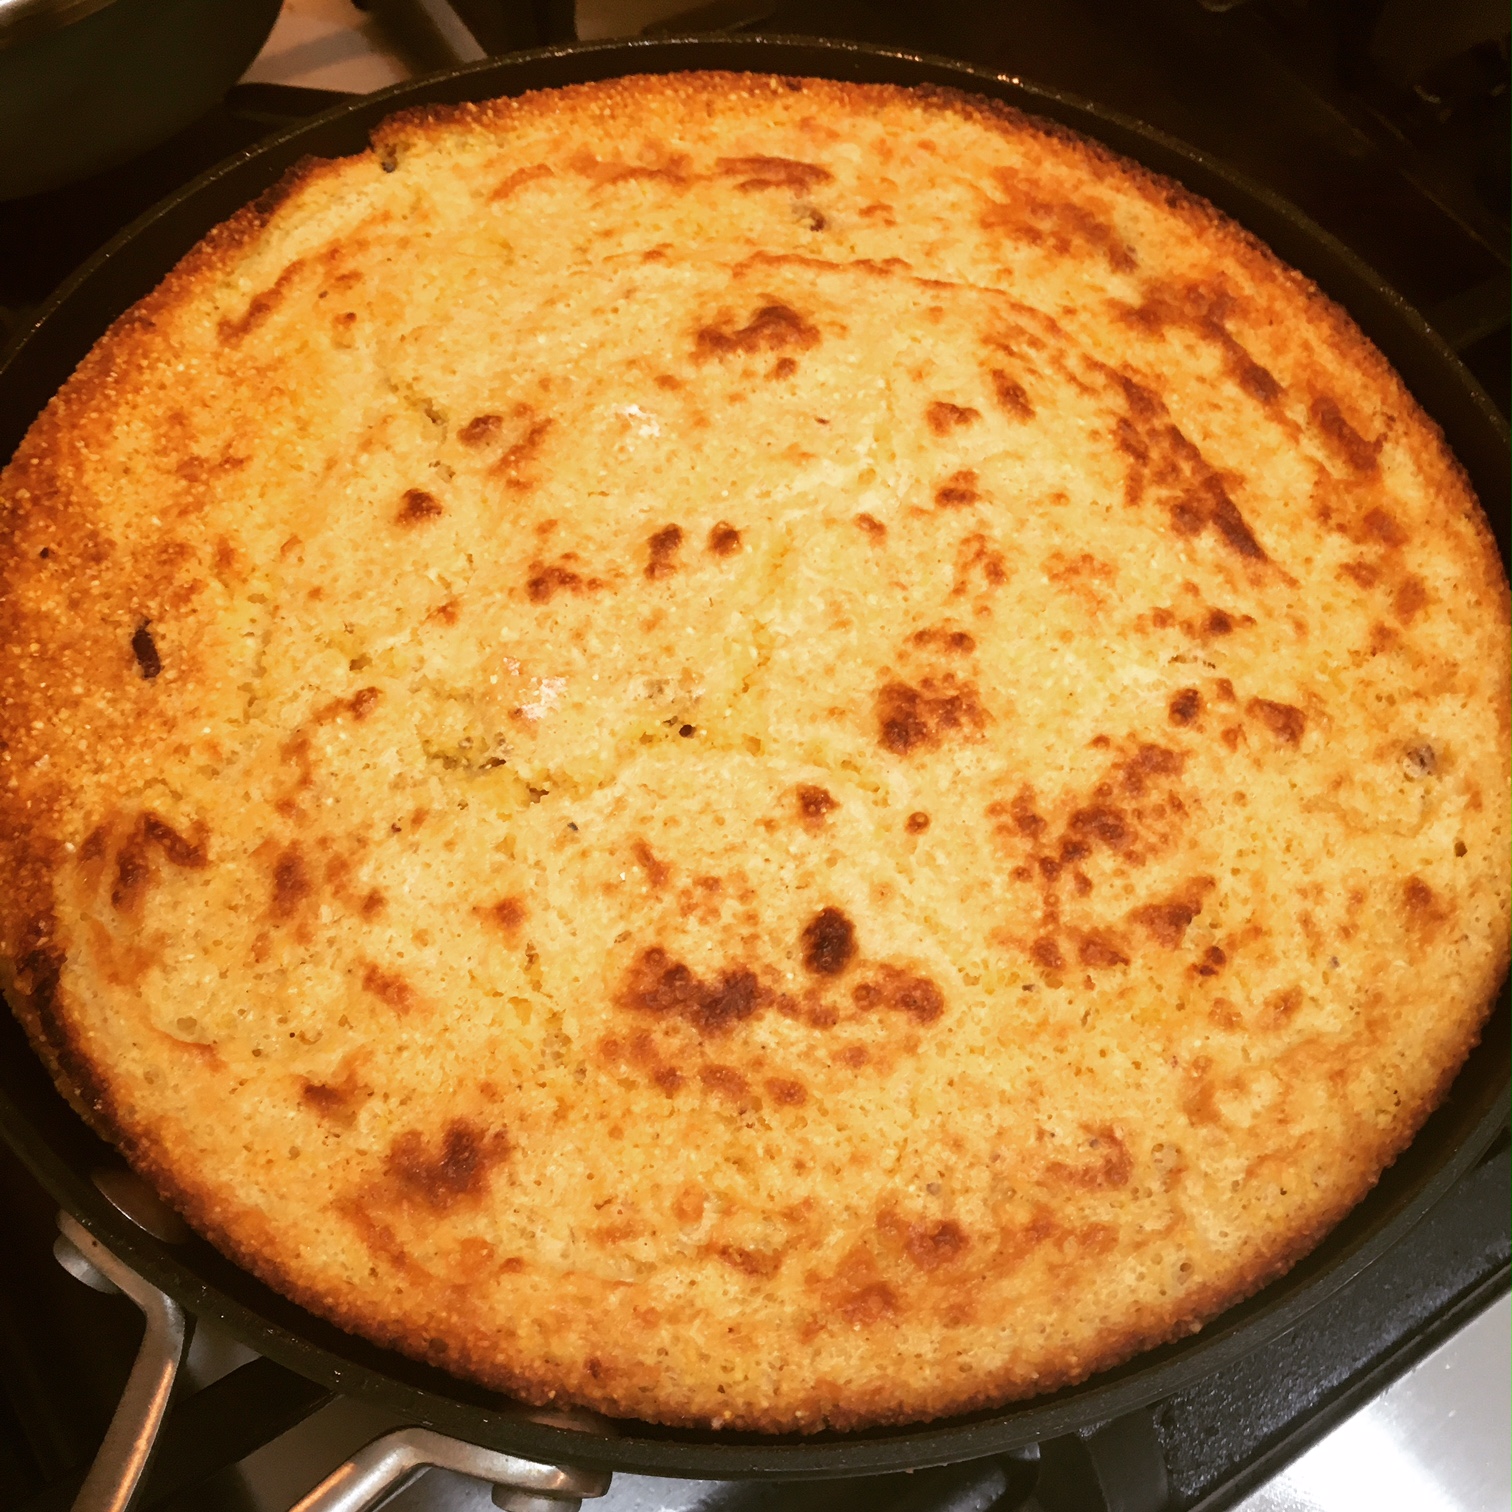
Probably the best of all was that this is the novel that finally led me to ice cream, completely unexpectedly. It was sheer inspiration! Definitive proof I shouldn’t try to force it, and excellent news that I can officially-officially forever be done with The Country of Ice Cream Star.  Though the book included several recipes throughout, none of them were exactly what I was looking for. I really thought a tea-based dessert would be lovely, and given the heat of the summer, I settled on Earl Grey Ice Cream.

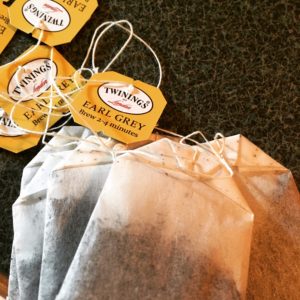
First, I combined the whole milk, half and half and sugar in a medium saucepan. Once that seemed heated through - but wasn’t boiling, I added my 6 Earl Grey tea bags and allowed them to steep for 20 minutes with the cover on. I stirred it approximately every 7 minutes, though you may not need to be that precise.

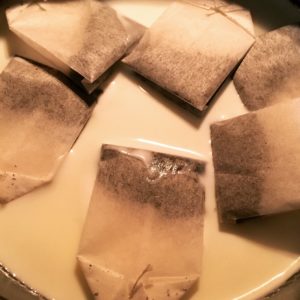
I removed the tea bags and turned the heat up again. In a small bowl, I whisked together 5 egg yolks and vanilla extract. When the milk mixture was warmed, I took 2 Tablespoons and added it to the eggs, whisking constantly. After about 10 seconds, I added another 2 Tablespoons, whisked and repeated. After the ratios were roughly equal (or four times), I added the milk mixture into the eggs and whisked until it was all combined.

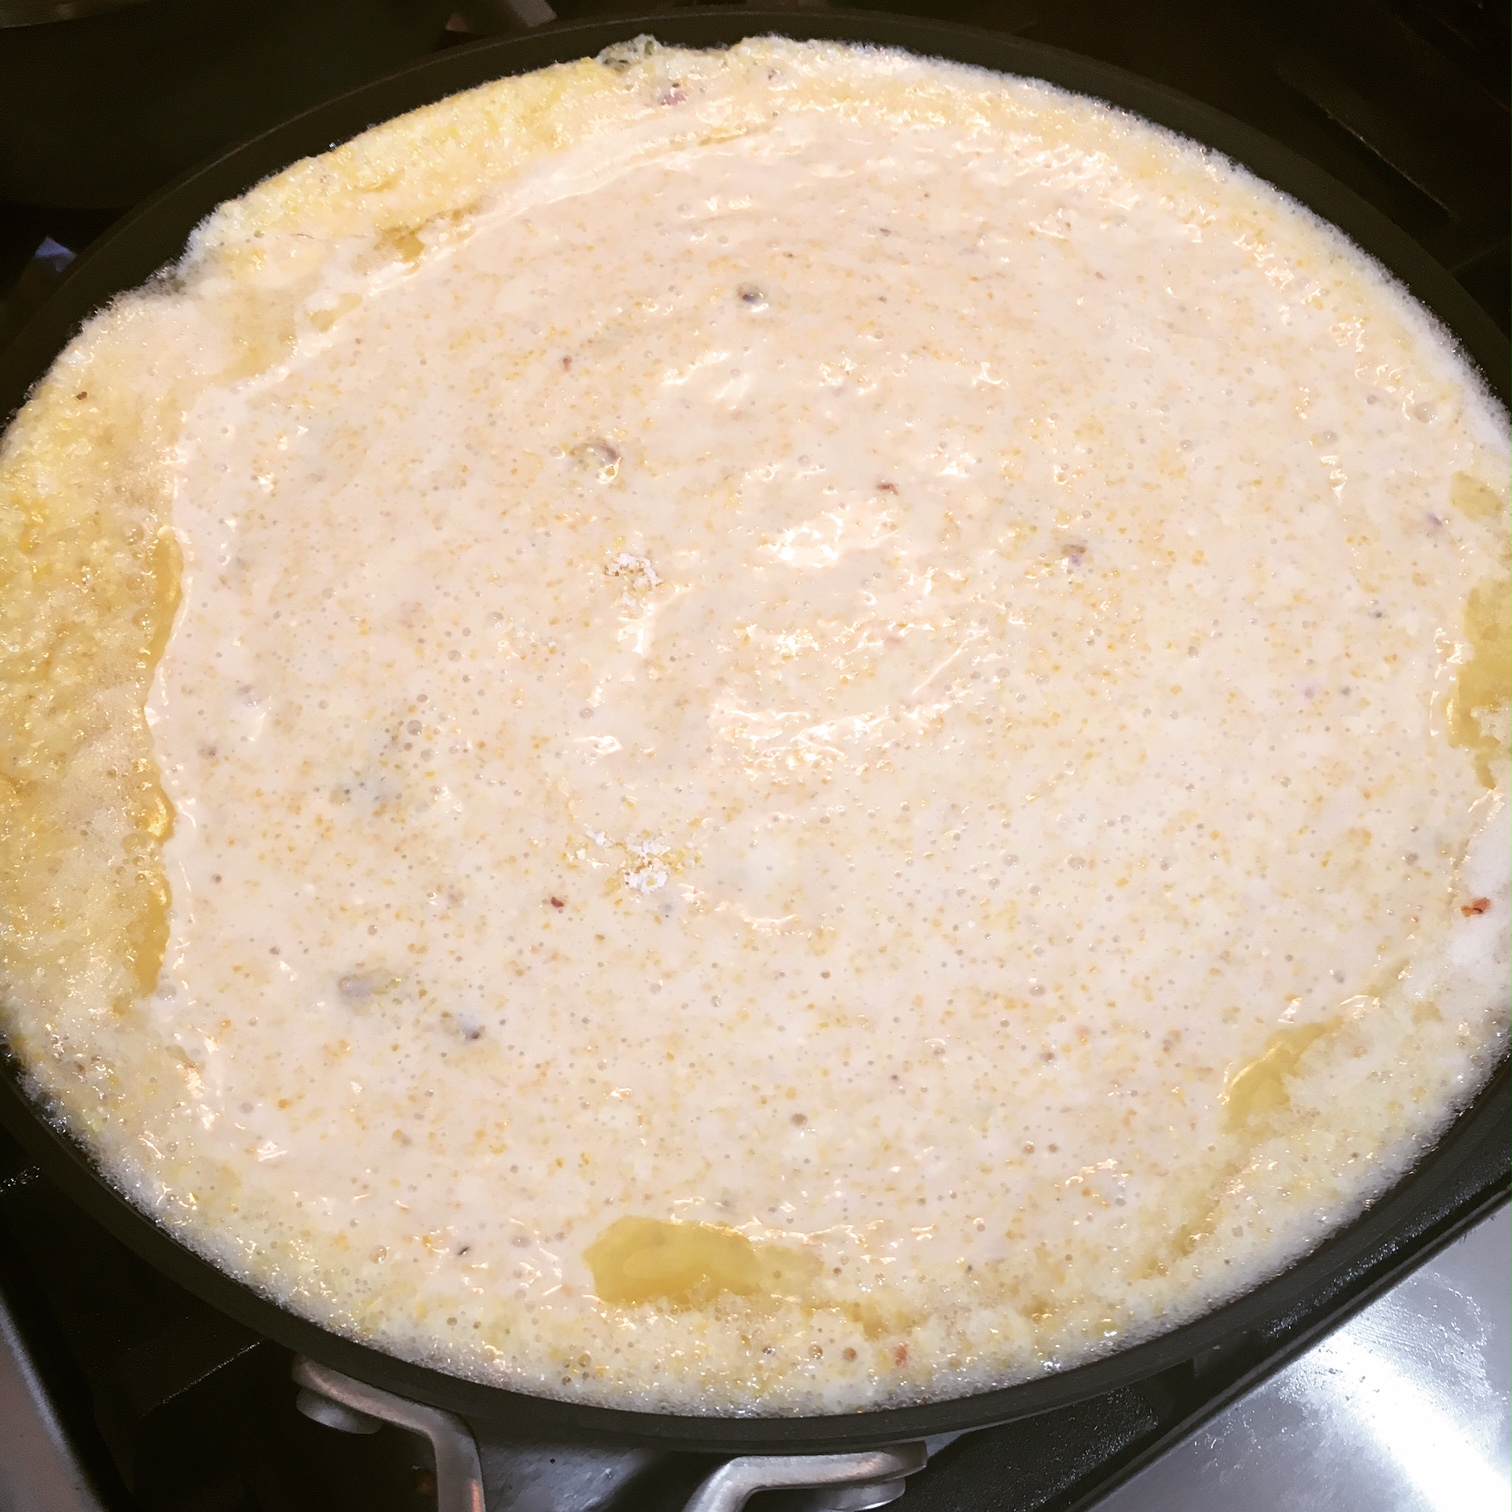
Then, I returned the mixture to the saucepan, cooking it over medium heat, while stirring constantly. I was slightly terrified it would burn, but with constant vigilance (and scraping the bottom and the sides), it all worked out. Once it thickened somewhat - and could coat the back of a wooden spoon - I poured it into a large, wide bowl through a fine strainer. I set the bowl in the fridge to cool, uncovered.

After it had sat for a little while and was no longer steaming, I added plastic wrap. It might not be necessary, but I didn’t want to create condensation.

This was the first time I got to use the ice cream maker attachment for my KitchenAid mixer - woo hoo! The directions require you to have it freeze for at least 15 hours beforehand, which I maybe should have read prior to letting my custard mixture chill for 8 hours. Good to know for next time!

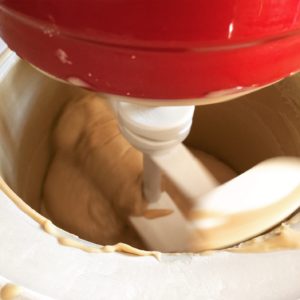
Once the ice cream bowl was frozen enough, I set to work. (You should follow your own ice cream maker’s instructions from this point forward.) I turned the mixer to Stir and began adding the custard-y liquid to the bowl, which was a little more complicated than I would’ve liked, but luckily, spilling was minimal.

The whole process after that was very easy. I let it Stir and work itself into ice cream over the next 30 minutes, only checking in on it out of curiosity and for pictures.

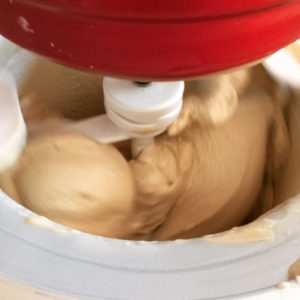
Once it was finished, I scraped the ice cream into my insulated ice cream container and allowed it to freeze for another 2 hours. (Seriously, ice cream making is not for the impatient… If you want ice cream in a hurry, run to the store instead.)

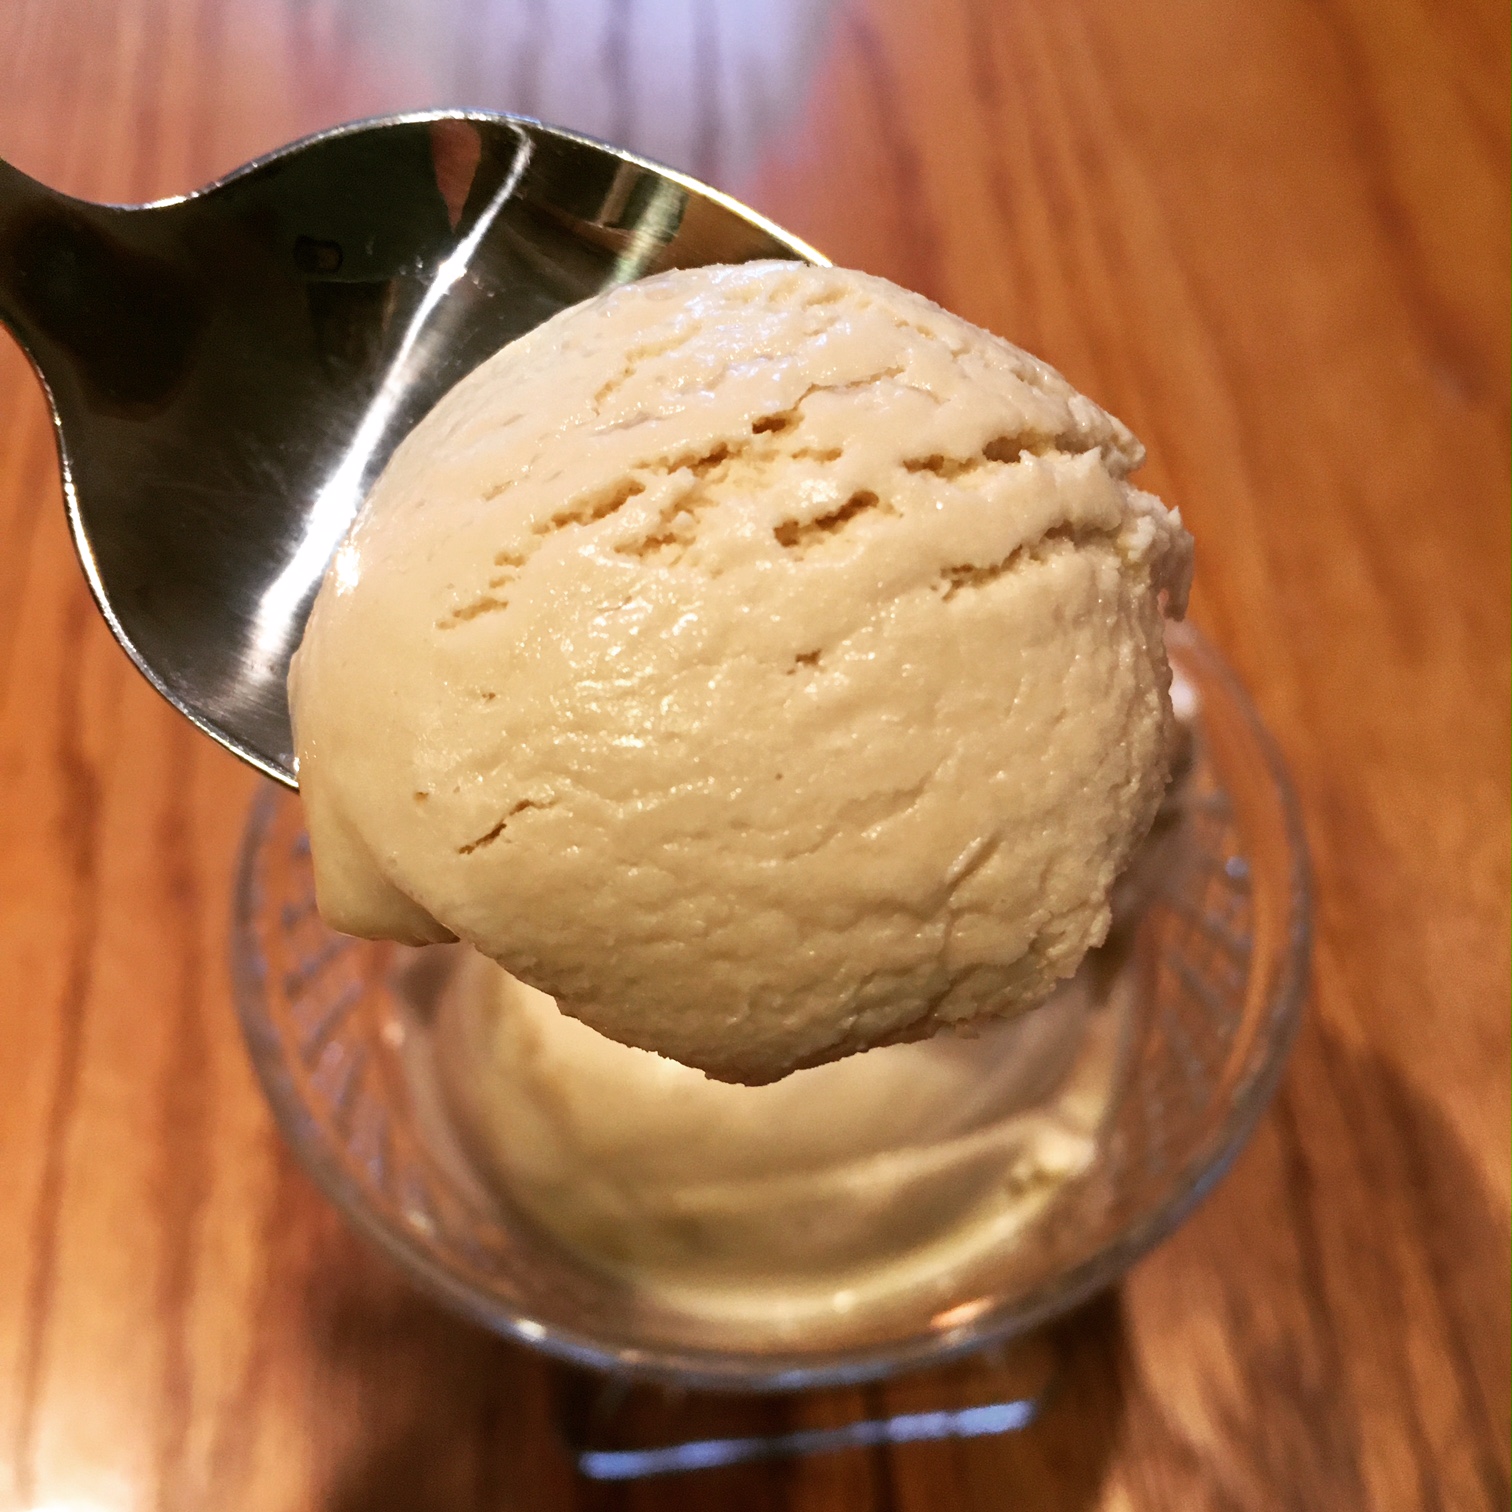
It looked pretty good coming out of the freezer after (almost) two hours (if I’m being honest), but my patience was undergoing a major test, and after two days in the making, I was ready to dig in!

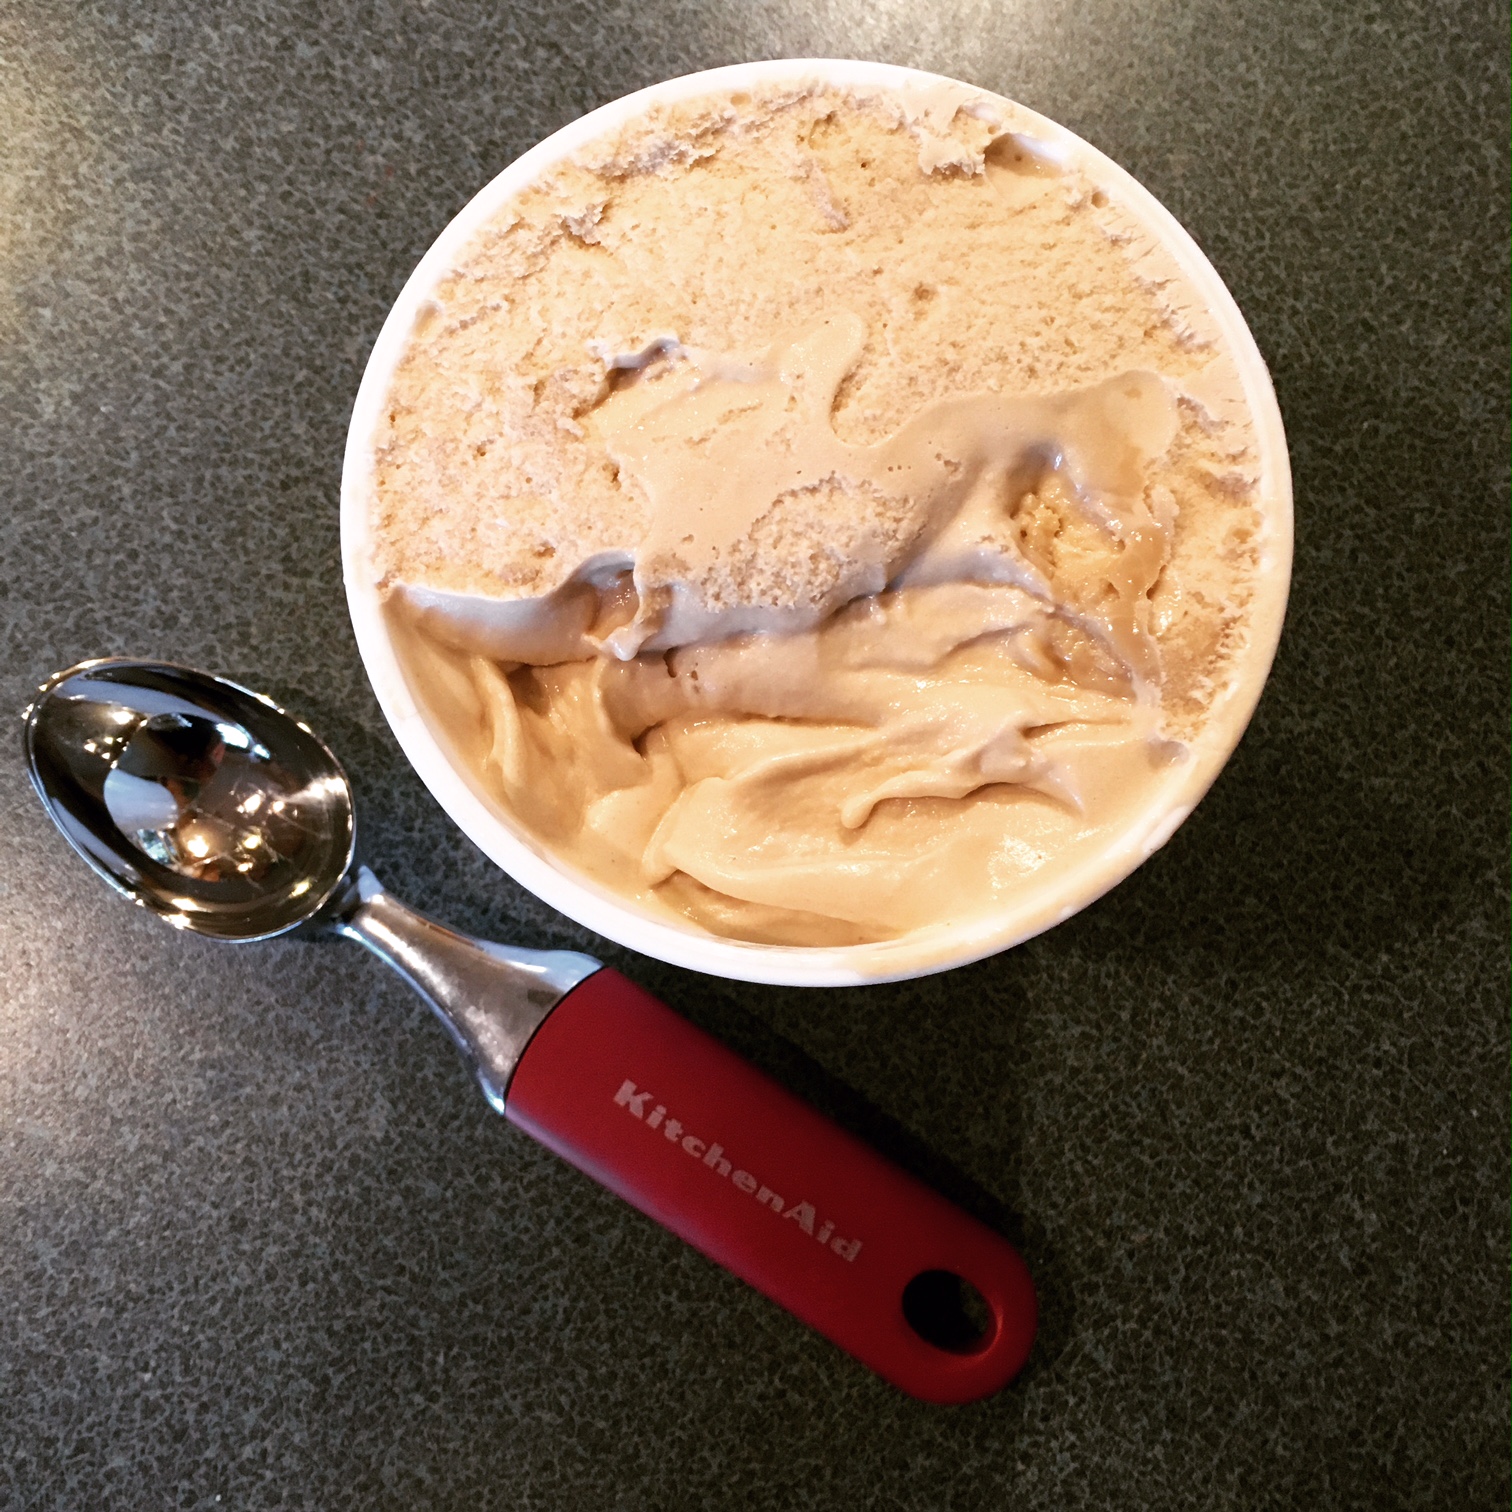
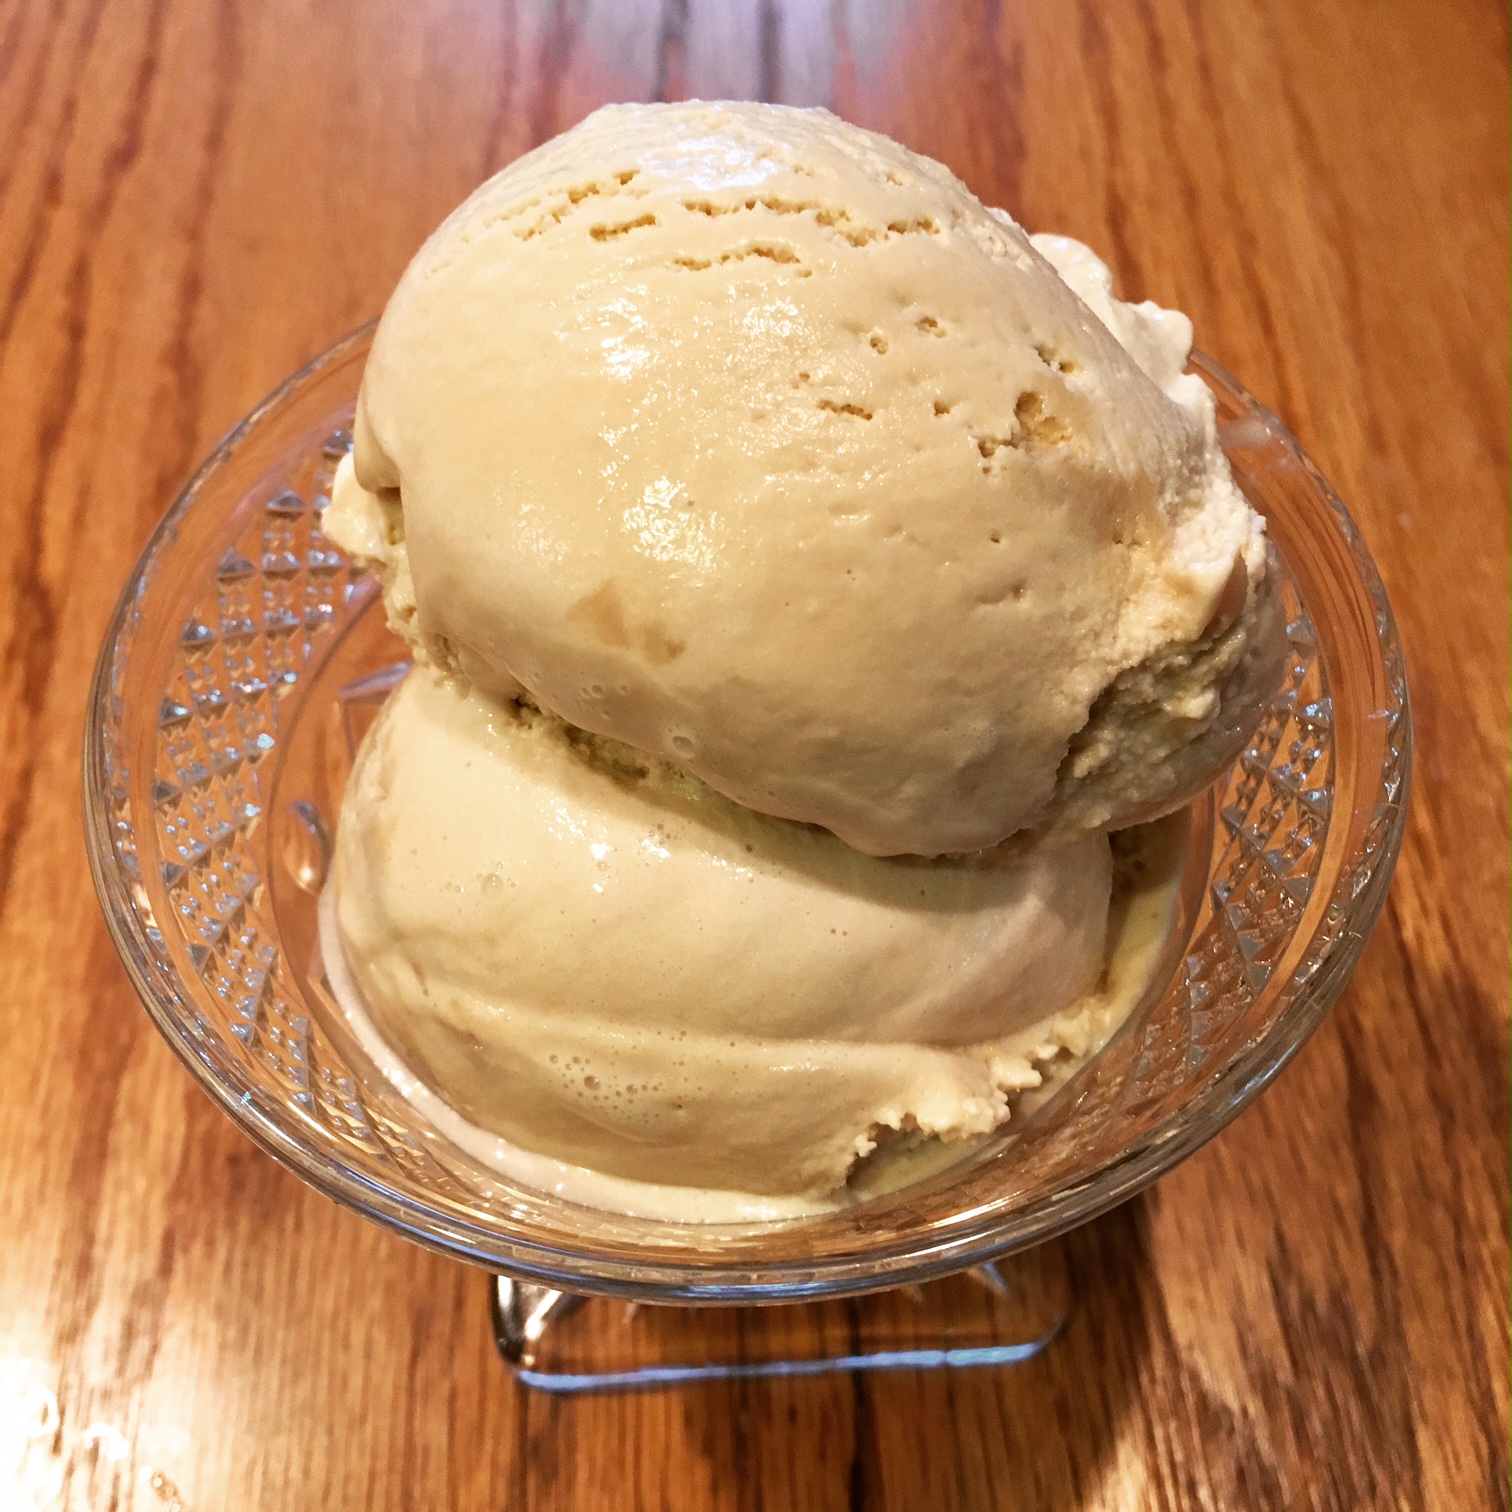
I took two scoops and couldn’t be more excited to give it a taste. It’s definitely tea-flavored, so if you’re not a fan, this probably isn’t for you. But I loved it! The ice cream did my favorite tea justice, and I think Jane Woodward would be proud.

Earl Grey Ice Cream

  • Servings: 3-5
  • Time: 6 hours, 20 minutes (mostly inactive)
  • Print

Ingredients

  • 1 cup whole milk
  • 2 cups half and half
  • ¾ cup sugar
  • 6 Earl Grey tea bags
  • 5 egg yolks
  • 1 tsp. vanilla extract

Directions

  1. In a small saucepan, warm the milk, half and half, and sugar over medium-heat, stirring occasionally. Once the milk is steaming (but not boiling), remove pan from heat. Place the tea bags into the pan, cover and steep at room temperature for 15-20 minutes, stirring occasionally. Remove tea bags, then return to medium heat.
  2. Meanwhile, in a separate bowl, whisk together the egg yolks and vanilla until frothy. Once the milk mixture is rewarmed, add 2 TBSP of the hot milk mixture to the eggs, and quickly whisk in until combined. Repeat 2-3 more times with more of the milk mixture, then gradually pour in the remainder of the milk mixture into the egg yolks and whisk quickly until combined.
  3. Return the new milk/egg mixture to the saucepan, and cook over medium heat, stirring and scraping the bottom of the pan constantly until the mixture thickens to a custard and coats the back of a wooden spoon.
  4. Immediately strain through a fine-mesh strainer, and then refrigerate until completely cooled (at least 6-8 hours).
  5. Freeze with an ice cream maker according to manufacturer’s instructions.

From: Gimme Some Oven

I prefer Twinings Earl Grey flavor, but feel free to use whichever brand of tea you like best. If you’re unable to make the ice cream within 6-8 hours of refrigerating the custard, it will last for up to 2 days. Be sure to keep it tightly covered.

I received this book from the Blogging for Books program in exchange for this review. This post contains affiliate links. Full disclosure here.

Filed Under: book review, recipe Tagged With: chick lit, contemporary, dessert, fiction, ice cream, quick read

This Is How It Always Is + Simple Orange Salmon

July 22, 2017 by Megan 4 Comments

Often, I read a book that has been the talk of the town (so to speak), a book that everyone loves, a must-read, and I’m so excited to dig into it, convinced I will feel the same way, and then I’m disappointed. I’m sure I’ve written in the past about tempering my own expectations, though I know I’m guilty of it too - if I love a book, I can’t recommend it enough. I’ll talk about it constantly and push it on unsuspecting friends. I don’t think Laurie Frankel’s novel This Is How It Always Is falls into the disappointing category, but I think I might have liked it more had I stumbled upon it on my own - and not read it so closely behind the real life saga of a similar family in Becoming Nicole.

That being said, it’s an important novel - tackling controversial issues head on, causing you to examine how you feel and why you feel that way, but doing so in a relatable, enjoyable story - and I liked it for those reasons. The story centers around Claude, the youngest brother in an accepting, open-minded family of five boys. He wants to be a girl when he grows up - inside he feels more like Poppy than like Claude. Though Poppy’s family is fully supportive, the sacrifices they must make to keep this secret affects each of them in unique ways.

After four boys, Poppy’s mom desperately wanted a girl. On the day Claude was conceived, Rosie went through a complicated ritual concocted of random wives’ tales and legends, doing everything in her power to have a baby girl. Claude was born. I’m not entirely sure the result was what she had in mind, but ultimately, Poppy was also born, and their family was complete.

As part of her ritual, Rosie made salmon for her and her husband’s lunch, served alongside chocolate chip cookies. I decided to make the salmon as well, though without the cookies for dessert, and in honor of the orange peel on the cover, incorporate the fruit into the recipe as well.

To start, I patted my two salmon fillets dry on both sides and seasoned them with fresh ground black pepper and salt.

I heated some olive oil in a medium skillet and laid the fillets skin side down to begin cooking. After about 5-7 minutes, I flipped the fillets and added half an orange to the pan to grill alongside the fish.

The salmon cooked for another 4 or so minutes, until it was opaque throughout. I plated it with some sautéed zucchini and a wedge (or two) of orange. We squeezed the orange over the salmon just before eating.

Simple Orange Salmon

  • Servings: 2
  • Time: 15 minutes
  • Print

Ingredients

- 2 salmon fillets with skin, 4 to 6 oz each - 1 orange, halved - salt and freshly ground black pepper - olive oil

Directions

  1. Pat salmon fillets dry with a paper towel. Season each side generously with salt and freshly ground black pepper.
  2. Add 2-3 turns of olive oil to a medium or large skillet (depending on size of salmon fillets) and allow to heat through. Add salmon, skin side down. Cook for 5-7 minutes, until skin is a nice golden brown.
  3. Flip fillets and add orange half to skillet. Allow salmon to cook for an additional 3-5 minutes, until fish is opaque throughout. Watch orange and remove when it begins to char.
  4. Serve salmon immediately with orange wedges. Squeeze orange over fish before eating.


This post contains affiliate links. Full disclosure here.


Filed Under: book review, recipe Tagged With: contemporary, dinner, easy prep, fiction, quick read, seafood, tough topics

The Sisters Chase + Powdered Donuts

July 15, 2017 by Megan 2 Comments

I’m a sucker for stories about sisters. I love the relationship between Elizabeth and Jane in Pride and Prejudice. Little Women is, of course, sister-centric and wonderful. I’ve never read the book, but whenever I watch In Her Shoes, I cry. So, it will come as no surprise that for my June BOTM I chose The Sisters Chase by Sarah Healy. I probably would’ve chosen it on the name alone, but it had the added benefit of coming highly recommended in my online book group as well.

Mary and Hannah Chase grow up in a small beach motel owned by their mother, Diane. When a car accident leaves the sisters on their own, eighteen-year-old Mary becomes Hannah’s guardian and takes it upon herself to do anything in her power to protect her. While Mary is at ease living a life in flux as they travel the country, Hannah aches for a real home where she can attend school and make friends. All Mary wants is for Hannah to be happy, but giving in may mean exposing a long-kept secret and risking an unbearable loss.

As an older sister, I definitely related to Mary and her willingness to do anything for her little sister, even if it seemed to be to her own detriment. Healy’s pacing and familiarity with the characters - they felt so real - resulted in a well-crafted story that wasn’t at all what I predicted. When I finished, it had me wanting to go back for a re-read.

Instead, I made some powdered donuts, like those the sisters’ mother piled high on a plate each morning for the motel’s guests. I wanted to bake them, since it’s less messy and somewhat healthier, so it gave me the perfect opportunity to use the donut pans I’ve had since two Christmases ago (thanks to my new sister-in-law, Kelly!).

The last time I made donuts was in middle school home ec class, and I remember being freaked out by splattering oil and the cleanup being such a process. This was MUCH easier. So much so that I may start making donuts more often.

First, I mixed the dry ingredients together - flour, sugar, baking powder and salt. In a separate bowl, a combined the egg, milk, vanilla extract and melted butter. I added these to the dry ingredients and mixed together.

Then, using a spoon, I added the batter into my greased donut pans, filling them about halfway.

I popped them into a 425-degree F oven and let them bake for 12 minutes. I let them cool in the pan for about 10 minutes.

Then, I dropped them into a paper grocery bag two at a time with some powdered sugar and shook and shook until they were well coated. Honestly, this happened really quickly (a few shakes at most). It was the most fun part of donut-making by far.

Everyone at work loved them, and I can’t wait to try new and different flavors. I always love when a book leads me a recipe I can use over and over again 🙂 Hope you enjoy!

Baked Powdered Sugar Donuts

  • Servings: 10
  • Time: 25 minutes
  • Print

Ingredients

  • 1¼ cups cake flour (see notes)
  • ¾ cup granulated sugar
  • 1¼ tsp baking powder
  • ¼ tsp salt
  • 1 large egg
  • ¼ cup milk
  • 1 tsp vanilla extract
  • 3 Tbsp unsalted butter, melted
  • 3 Tbsp heavy cream
  • 1 cup powdered sugar, for coating baked doughnuts

Directions

  1. Preheat oven to 425°F. Lightly grease doughnut pan; set aside.
  2. In a medium bowl, add all of the dry ingredients (cake flour, granulated sugar, baking powder and salt). Stir until well mixed.
  3. In a separate bowl, whisk together the egg, milk, vanilla extract, melted butter and heavy cream.
  4. Add the liquid ingredients to the dry ingredients; stir until just mixed.
  5. Spoon or pipe the batter into the greased doughnut pan. (Tip: Fill each doughnut circle about half full of batter.)
  6. Bake at 425°F for 12-14 minutes, or until doughnuts begin to turn golden brown on the edges.
  7. Let doughnuts cool in the pan.
  8. Place powdered sugar in paper bag. Once doughnuts have cooled, shake doughnuts (one at a time) in the bag with the powdered sugar until well coated. Tap off any excess powdered sugar. Repeat with remaining doughnuts. Serve immediately. (Note: If you plan on serving these doughnuts later, store them uncoated in an airtight container. Shake them in powdered sugar just before serving.)

From: Spiced Blog

If you don’t have cake flour, which I didn’t, and don’t want to buy some just for this recipe, it’s easy to make your own with all-purpose flour. For each cup of flour you need, take 1 cup of all-purpose flour, remove 2 TBSP and replace with 2 TBSP of cornstarch. Mix well to ensure it’s combined. I used 1½ cups flour with 3 TBSP for this recipe (and discarded the remaining ¼ cup).


This post contains affiliate links. Full disclosure here.

Filed Under: book review, recipe Tagged With: baking, book of the month, breakfast, contemporary, fiction, quick read

Lilac Girls + Poppy Seed Cake

July 8, 2017 by Megan 1 Comment

No matter how many WWII novels I read or stories I hear, I’m still astonished at the atrocities that took place and how many people were able to overcome and survive such horrifying ordeals. Though I usually devour these books, which are often natural page-turners, I find them hard to get through mentally. Martha Hall Kelly’s Lilac Girls was no exception.

Inspired by the real Caroline Farriday and a group of Polish prisoners called “the Rabbits,” this novel tells the story of three women whose lives intersect at the Ravensbruck, the only Nazi concentration camp for women. In alternating chapters, we follow Kasia, a Polish teenager who becomes one of the Rabbits; Herta Oberhauser, a German doctor stationed at Ravensbruck; and Caroline, a New York City socialite, who does her best to assist in the war effort from abroad.

Though I’d be interested in finding out more about the real Caroline, I found her chapters to be the least compelling. Honestly, her storyline was the reason I couldn’t give this book a full 4 stars on Goodreads. (I would’ve given it 3.5 if Goodreads allowed it, but they don’t - one of my pet peeves.) Kasia’s and Herta’s chapters, on the other hand, had me turning the page constantly. I liked that Kelly told the story from such different points of view.

In one of the bright spots at Ravensbruck, Kasia and her sister receive a package from their father and unwrapped it to find not only chocolate and a sign of hope, but some poppy-seed cake as well. As she put it, “Polish cake would be good medicine.” I hadn’t heard of poppy seed cake before, but I knew it was the recipe to make this time around. I found one from Jenny Can Cook and set to work.

Upon starting the recipe, I realized I only had half as many poppy seeds as I needed. I’d bought one 2.6 oz bottle of poppy seeds at the grocery store, because the pickings were slim. If you find yourself in the same situation, you may want to pick up two containers, or if you’re trying this for the first time, you may want to make a smaller loaf instead, like I did. When I made it, I adjusted the recipe and made a half-sized loaf instead of the full recipe (I included the full recipe below).

First, I ground the poppy seeds 2 Tablespoons at a time, until they were moist and looked a lot like wet coffee grounds. I added boiling water to a small bowl and stirred in the poppy seeds until they were all moistened, letting them stand uncovered. Then, using the same grinder, I ground up my toasted almonds.

In a large bowl, I combined the flour, yeast, sugar and salt. To that I added, the warmed milk (slightly less than 120 degrees F since I was using active dry yeast), followed by the oil and the egg. Using an electric mixer, I beat it on high for about 2 minutes, and then added in the extra flour, beating it until it formed a mass. Mine was slightly sticky when I transferred it to the board, so I ended up adding about a Tablespoon more of flour (to my halved recipe). I should’ve taken a picture of my messy dough fingers, but it wouldn’t have been safe to grab my phone to do so. Dough everywhere!

I kneaded it and let it rest for 10 minutes while I combined the filling. To the poppy seeds, I added the ground almonds, lemon and orange zests, sugar and vanilla extract.

I rolled the dough out to about 5” x 6” (again with the halved recipe) and spread the filling on the top, almost to the edges.

Then, I carefully rolled it, placed it seam-side down, and tucked the ends under, placing it on a parchment-lined baking sheet. I covered it with a cloth and left it untouched in a warm place (aka my upstairs on an 80-degree July day) for about an hour and a half.

I opted to top it with an egg wash and poppy seeds before baking, thinking the glaze might make it too sweet. It also didn’t seem like Papa’s bread for his girls would’ve included a glaze, but I could be wrong. If you prefer a glaze, see the recipe notes.

I baked it for slightly less than the recipe called for due to size, but even with halving the recipe, I think it could’ve used maybe 5 minutes longer (or 30 minutes total) in the oven. It was hard to let it cool for a long time once it came out of the oven, but trust me, it’s much better when it’s fully cooled. I also personally like the outside thirds of the bread better than the middle third.

I hope you enjoy! Have you read the Lilac Girls? What did you think?

Poppy Seed Cake

  • Servings: 1 loaf
  • Time: 2 hours, 45 minutes
  • Print

Dough Ingredients

  • 1½ cups bread (or all purpose) flour
  • 1 packet (2 tsp/7 gms/1/4 oz) yeast - instant or active dry yeast
  • ¼ cup sugar
  • ½ teaspoon salt
  • ⅔ cup 1% milk heated to 120-130° F for instant yeast (or 110-120°F for active dry)
  • 2 Tablespoons oil
  • 1 egg
  • about ¾ cup extra flour

Filling Ingredients

  • 1 cup poppy seeds
  • ⅓ cup boiling water
  • ¼ cup ground toasted almonds (20 count)
  • ½ cup sugar
  • ½ teaspoon vanilla extract
  • zest of ½ a lemon and ½ an orange

Directions

  1. Grind poppy seeds (see note below). Place in a small bowl, stir in boiling water & let stand uncovered.
  2. Grind almonds and set aside.
  3. Place flour, yeast, sugar, and salt in large mixing bowl.
  4. Stir in milk followed by oil and egg.
  5. Beat on high for 2 minutes. Stir in extra flour until dough forms a mass.
  6. Place dough on floured board and knead 100 turns (about 2 minutes). Cover and let rest 10 minutes.
  7. Meantime, add ground almonds, sugar, vanilla and zests to poppy seeds.
  8. Roll dough into a 10 x 12 shape. Spread filling almost to edges, roll starting at 10-inch end and place on parchment-lined baking sheet, seam side down. Pinch and tuck ends under.
  9. Cover with a towel and rise in a warm spot for 1½ hours or until double in size.
  10. Before making, brush with egg wash and sprinkle with additional poppy seeds.
  11. Preheat oven to 350° F and bake for 35 minutes. Allow to cool fully before slicing and serving.

From: Jenny Can Cook

Instead of coating the top with poppy seeds, if you prefer a sweeter bread you can add a glaze. Allow baked cake to cool for 10 minutes and drizzle with glaze, made using 1 cup powdered sugar and about 2 Tablespoons milk, added slowly.

If using a spice grinder, grind seeds slowly, about 2 Tablespoons at a time, until they feel moist – about 10 seconds per each portion. Scoop out any that stick to the bottom of the grinder as you go. Once they are all ground, use the same grinder to grind the almonds.


This post contains affiliate links. Full disclosure here.

Filed Under: book review, recipe Tagged With: baking, bread, drama, historical fiction, tough topics

The Royal We + Tea Sandwiches

June 24, 2017 by Megan 2 Comments

Happy Summer, everyone! It’s been awhile since I’ve read a rom-com-type book, and I forgot what a breath of fresh air they can be. I was unable to resist the cover of The Royal We, which is clearly depicting a couple so like William and Kate that it’s surprising that it’s not them, and the novel ended up being an excellent way to kick off what promises to be a busy summer of reading.

This is totally fan fiction about everyone’s favorite British royal couple, with the major exception being that Rebecca Porter isn’t British at all - she’s American. She also has a twin sister who keeps things much more interesting than Pippa ever did. I wasn’t expecting an American girlfriend - expecting William and Kate as I was - but it was a nice surprise. Sort of like The Prince & Me, it gives American girls hope that they too can have a prince one day. There’s no denying it, I probably liked this book so much because the hope of a royal meeting was part of the my decision to study abroad in London too. 😛 No such luck, but lots of fun adventures, nonetheless! It brought back memories…

Overall, the book was a tad drawn out, maybe a little bit longer than it needed to be, but the struggles Bex and Nick went through during their long courtship seemed pretty realistic. The story was really dramatic and entertaining, an (almost) endless will-they-or-won’t-they propelling it forward. I’m not sure I’d read a sequel (princess movies sequels are never that good…), but I certainly enjoyed this one.

When choosing a recipe for this book, it was a hard decision between Pimm’s Cup, which was not only a favorite of Nick and crew but also my favorite British drink while abroad, and tea sandwiches, which of course were ever-present throughout the story. Because England. In the end, I had to go with the tea sandwiches because while cocktails are a pretty big part of American life, high tea is something that comes along less often, and I love high tea.

I decided to make three different kinds - the classic cucumber, an egg salad with watercress (one of my favorite sandwiches while in London), and the tasty combo of ham, brie and apple.

I started by prepping the eggs, and while they were hard-boiling, I whipped up the cream cheese mixture for the cucumber sandwiches. The majority of tea sandwich-making is the actual assembly and, of course, the removing of the bread crusts.

To make the cream cheese mixture, I combined 1 package of cream cheese and ⅓ cup of mayonnaise in my food processor until smooth. To that, I added garlic salt and fresh dill. I don’t think you should be shy with the dill - I used around a tablespoon, while the original recipe called for 1 teaspoon.  

When eggs were finished boiling, I let them cool in an ice bath, peeled them, and used my egg slicer tool to chop them into small pieces. I combined the egg with mayonnaise, white wine vinegar, dijon mustard and Lawry’s seasoned salt.

With the two main spreads done, I began prepping the rest of my sandwich ingredients. I sliced the cucumbers into thin slices, I rinsed the watercress and removed the leaves from the stems, and I sliced the green apple and brie for the last sandwich. Last but not least, I removed the crusts from my bread. For the cucumber sandwiches, I made the bread into rounds using a large cutter (no need to remove the crusts first if you’re doing this).

When it was time for the assembly, I set out the bottoms on a large cutting board and got to work. First, I spread the cream cheese mixture on the rounds and topped them with sliced cucumber.

Next, I spread a thin layer of dijon and butter on half of the remaining squares, topping it with ham, sliced brie, and thinly sliced apple halves.

Finally, I carefully put the egg salad atop the rest of the bread and placed some watercress on top.

Then, each sandwich got a lid and we were ready to go!

It’s really too bad I didn’t read this for book club. An afternoon tea theme would’ve been perfect for the meeting. Instead, Scott and I got to enjoy them ourselves, which wasn’t bad either.  

Cucumber Tea Sandwiches

  • Servings: 20 rounds
  • Time: 15 minutes
  • Print

Ingredients

  • 1 (8-ounce) package cream cheese, softened
  • ⅓ cup mayonnaise
  • 1 medium cucumber, peeled and sliced thinly
  • ¼ teaspoon garlic salt
  • 1 Tablespoon chopped fresh dill, or to taste
  • 40 slices of thin sandwich bread

Directions

  1. Process cream cheese and mayonnaise in a blender or food processor until smooth, stopping once to scrape down sides.
  2. Combine cream cheese mixture, garlic salt, and dill.
  3. If creating rounds, use a 2- to 3-inch round cutter to cut bread, discarding the edges. Or, if you prefer triangles or squares (which makes 80 sandwiches), cut the crusts from the bread and discard and cut into quarters.
  4. Spread cream cheese mixture evenly onto half of the bread slices. Place 3-4 cucumber slices per round on top of the mixture. Lightly coat the top slice of bread, just enough to keep the bread in place over the cucumbers and place on top.
  5. Serve immediately, or you may store cucumber sandwiches in an airtight container for up to 1 hour before serving.

Adapted from: Southern Living, by way of MyRecipes.com

You may use whichever type of bread you prefer. Traditional tea sandwiches are usually made with white bread. I used wheat bread, and the original recipe calls for one slice of each per sandwich.


Egg Salad Tea Sandwiches with Watercress

  • Servings: 12 halves
  • Time: 15 minutes
  • Print

Ingredients

  • 6 eggs, hard-boiled and peeled
  • ⅛ teaspoon Lawry’s seasoned salt, or salt and pepper to taste
  • ⅓ cup mayonnaise
  • 2 teaspoons white wine vinegar
  • 2 teaspoons dijon mustard
  • 12 slices of thin sandwich bread
  • Small bunch watercress

Directions

  1. Roughly chop your hard-boiled eggs, or use an egg slicer if you have one. First, slice the egg horizontally, carefully flip the egg to the vertical position and slice again. (If you don’t have your own preferred method for hard-boiling eggs, please see notes below.)
  2. In a large bowl, combine the eggs, mayonnaise, vinegar, mustard and seasoned salt. Gently fold together.
  3. To construct the sandwich, remove the crusts from the bread and cut in halves, forming triangles (or your preferred shape).
  4. On half of the bread, add the egg salad and top with watercress leaves. Add a slice on top of each to complete the sandwich.

Adapted from: Serious Eats

To make hard-boiled eggs: Bring a pot of water to a boil, make sure there is enough water to completely cover the eggs. Once boiling rapidly, carefully add each egg using tongs. The eggs should be still cold from the fridge. Allow to boil for 12 minutes. Remove from the boiling water and allow to cool in an ice bath for 5 minutes, or until cool to the touch. Peel.

A note on sandwich size: I specifically used a loaf of “sandwich bread” from my grocery store, which were smaller and more square than a usual loaf of bread. These formed small halves, as you can see from my photos. If your bread is larger, or you want smaller sandwiches, feel free to cut into quarters.


Ham, Brie and Apple Tea Sandwich

  • Servings: 12 halves
  • Time: 10 minutes
  • Print

Ingredients

  • ½ lb deli ham of your choice (I used Virginia Ham)
  • 6 large slices of brie
  • 1 large Granny Smith apple, thinly sliced
  • dijon mustard
  • softened butter
  • 12 slices of thin sandwich bread

Directions

  1. Remove the crust from the bread.
  2. To assemble the sandwiches, spread half of the slices lightly with softened butter and dijon mustard. Place 1-2 pieces of ham on top of each, followed by 2 slices brie side-by-side lengthwise, and finally place 3-4 slices of apple on top. Finish with an additional piece of bread.
  3. Cut each sandwich into halves lengthwise to form rectangles.

Inspired by: The Food Network

A note on sandwich size: I specifically used a loaf of “sandwich bread” from my grocery store, which were smaller and more square than a usual loaf of bread. These formed small halves, as you can see from my photos. If your bread is larger, or you want smaller sandwiches, feel free to cut into quarters.


Filed Under: book review, recipe Tagged With: book club, fiction, lunch, party, sandwich

The Kitchen House + Cracklin' Bread

June 17, 2017 by Megan 4 Comments

As you may know from my latest life update, Scott and I recently moved into our first house. The following Monday, I ventured out to find the local library and become a member. I also found out about an upcoming semi-annual used book sale hosted by the Friends of the Library - it was just a few weeks away, and I was so excited I hadn’t missed it! I ended up buying 13 books that day and The Kitchen House was one of them.

the-kitchen-house.jpg

I’d read about half of the books I bought and took a gamble on the other half. Not sure of where to start, I posted the haul on my online book club’s page and was overwhelmed with suggestions to start with Kathleen Grissom’s novel; so I did. It’s not exactly the expected tale of Southern plantation life, and I loved it all the more for that.

After her parents die on the journey from Ireland to the States, newly-orphaned Lavinia is taken in by the master of a tobacco plantation and placed under the care of Belle, a slave in the kitchen house. Though she lives and works with them, the difference between Lavinia and her adopted family becomes more and more clear as she grows up. She is given opportunities that are intended to improve her life, including whisking her off the plantation and providing her with an education.  

Eventually, the bond Lavinia shares with her adopted family puts them all in a precarious situation and tough choices must be made. I found myself rooting for Lavinia, Belle and every one of their family members.

Early on, Belle makes cracklin’ bread, cornbread with “crunchy bits of pork fat” mixed in. Lavinia and Fanny ate the cracklin’ “with zeal” and, from that point on, all I could think about was making my own cracklin’ bread. I couldn’t get my hands on any cracklin’, nor was I exactly sure of how to go about finding the pork bits to make it, so I unfortunately had to substitute with bacon crumbles. Don’t worry, the recipe I found from Southern Living said it’s okay, but maybe it’s just trying to make northerners like me feel better.

It was very easy to make, and I started by rendering down my bacon. Once it cooled a bit, I chopped it into small crumbly bits. I preheated the oven to 425 and melted the butter in my skillet.

In a bowl, I used a whisk to mix the cornmeal, baking powder and salt (making my own self-rising cornmeal) with the flour.

IMG_3276

In a separate bowl, I mixed together the buttermilk and eggs before adding to the well in the middle of my dry ingredients. I added the crumbled bacon as well and stirred until just wet. I poured the whole mixture into the hot skillet.

IMG_3277

After baking for about 25 minutes, the cracklin’ bread was a beautiful golden brown.

IMG_3278

Grannie’s Cracklin’ Bread

  • Servings: 8-10
  • Time: 40 minutes
  • Print

Ingredients

  • ¼ cup butter or margarine
  • 2 cups self-rising cornmeal*
  • ½ cup all-purpose flour
  • 2½ cups buttermilk
  • 2 large eggs, lightly beaten
  • 1 cup cracklings**

Directions

  1. Place butter in a 9-inch cast-iron skillet (or other oven-safe skillet), and heat in a 425° oven for 4 minutes.
  2. Combine cornmeal and flour in a large bowl; make a well in center of mixture.
  3. Stir together buttermilk, eggs, and cracklings; add to dry ingredients, stirring just until moistened. Pour over melted butter in hot skillet.
  4. Bake at 425° for 25 to 30 minutes or until golden brown.

From: Southern Living, by way of MyRecipes.com

*If you don’t have self-rising cornmeal, you can make your own by adding 1 TBS of baking powder and 1 tsp of salt to 2 cups of regular cornmeal.

**1 cup cooked, crumbled bacon (12 to 15 slices) may be substituted for cracklings.


Here is the rest of my book haul. What should I dive into next?

IMG_3057.JPG

This post contains affiliate links. Full disclosure here.

Filed Under: book review, recipe Tagged With: bread, historical fiction, meat, side dish

  • « Go to Previous Page
  • Go to page 1
  • Interim pages omitted …
  • Go to page 27
  • Go to page 28
  • Go to page 29
  • Go to page 30
  • Go to page 31
  • Interim pages omitted …
  • Go to page 37
  • Go to Next Page »

Primary Sidebar

About

The Hungry Bookworm brings together literature and food. Megan has an insatiable appetite for both.

As C.S. Lewis said, “Eating and reading are two pleasures that combine admirably.” Enjoy!

  • Bloglovin
  • Facebook
  • Instagram
  • Pinterest

Subscribe

Don't miss out on bookish content, exclusive giveaways, and of course, book club-friendly recipes. Get notified of new posts via email.

Join 2879 subscribers.

Search for Ingredients, Recipes, or Books

Recent Posts

  • Subscriber Box Review: Literati Book Club - Roxane Gay's Audacious Book Club
  • Arsenic and Adobo + Ensaymada
  • Review of The Kindred Spirits Supper Club
  • Kids Edition: Sometimes I Like to Curl Up in a Ball + "Dirt" Pudding Cups
  • The Midnight Library + Broccoli and Ricotta Toast

Goodreads

Tags

5 ingredients or less appetizer baking book club book list book of the month books about food bread breakfast brunch chicken contemporary cookies cultural dessert dinner dinner party dystopia easy prep favorites fiction fruit historical fiction holiday ice cream linkup lunch meat memoir mini review nonfiction pasta quick read reading challenge science fiction seafood show us your books side dish snack soup TBR list thriller top ten tuesday vegetarian veggies

Archives

Other Great Book Blogs

Literary Quicksand
Never Enough Novels
Death by Tsundoku
Professional Reader 25 Book Reviews
Privacy & Cookies: This site uses cookies. By continuing to use this website, you agree to their use.
To find out more, including how to control cookies, see here: Cookie Policy

Footer Widget Header

Megan’s Instagram

Copyright © 2025 · Hungry Bookworm