If you’re looking for a powerful coming-of-age story about a fiercely resilient girl, look no further than Tiffany McDaniel’s Betty. Based on the life of her mother and crafted out of a series of Q&A sessions with her family members, it is a gritty read that doesn’t shy away from abuse or violence. It’s also inspiring and hopeful.
Betty was born in 1954 to a Cherokee father, Landon, and a white mother, Alka. Though many of her siblings favored their mother, Betty had the dark skin of her father. Growing up, she was witness to terrible acts of racism toward her father and experienced the same prejudices herself. Rather than turning inward, Betty continues to be curious about the world and takes pen to paper to record real-life stories alongside her imaginings.
To build her (and her sisters) up, Betty’s father tells them stories of the Cherokee, a nation in which women are powerful and respected. He reminds them of this at every opportunity. (For this, among other reasons, Landon has easily become one of my favorite literary fathers.) These ideals take root in Betty’s heart, and she becomes a fervent protector of her sisters and little brothers.
I will admit I wasn’t immediately grabbed by the story, but once I was, I was completely taken in. McDaniel crafted the story elegantly. Every single character came to life for me, and I found myself re-reading several beautiful passages. This doesn’t make Betty any less heartbreaking, especially knowing that so much of it was based on reality. This story will make you feel a lot of emotion, but if you’re ready to be so affected, I recommend it wholeheartedly.
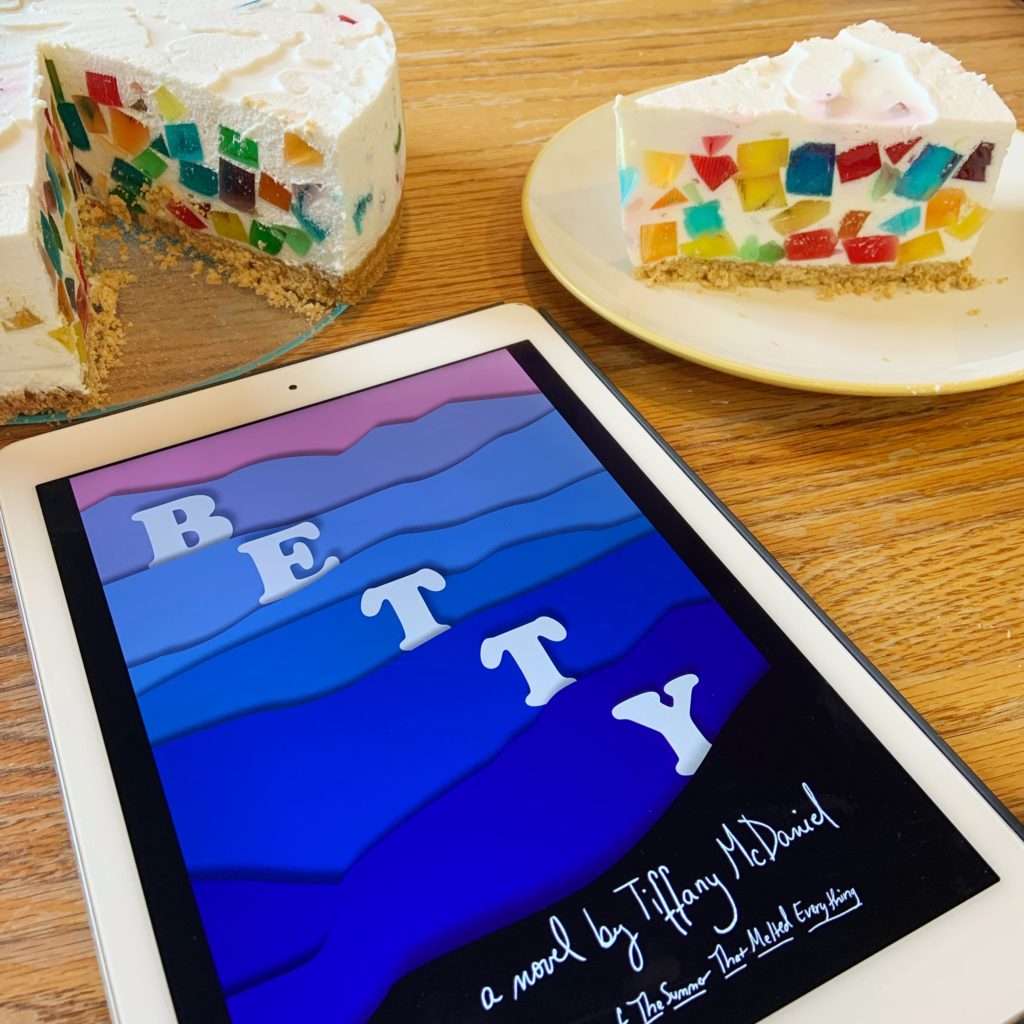
I want to say a huge thank you to Tiffany McDaniel herself, who invited me to read her novel and even worked with me to put together the recipe I’m featuring here today, Landon’s famous jewel pudding pie. Having made it myself, I know now that the description in the book actually nails the look of the pie exactly. But when I was reading it, I couldn’t quite picture it, even though I was awed:
When cut, the pie exposed multicolored gelatin cubes suspended in pink gelatin. The dessert was Fraya’s favorite. She always ate around the cubes, then lined them up on her plate.
"What beautiful jewels," she would say before popping them into her mouth, swallowing them whole as if her body was a vault guarding sapphires, emeralds, and rubies.
With Tiffany’s directions at the ready — a base recipe from America’s Test Kitchen plus her tips and tricks from decades of her family making the pie — I set to work. First, I made the Jell-O, since it has to set for several hours before being able to be incorporated into the filling.
I opted for 6 colors, which left me with some extra unused in the end, but made for a beautiful mosaic of "jewels" when cut open. You can use as little as 3 colors, if you want.
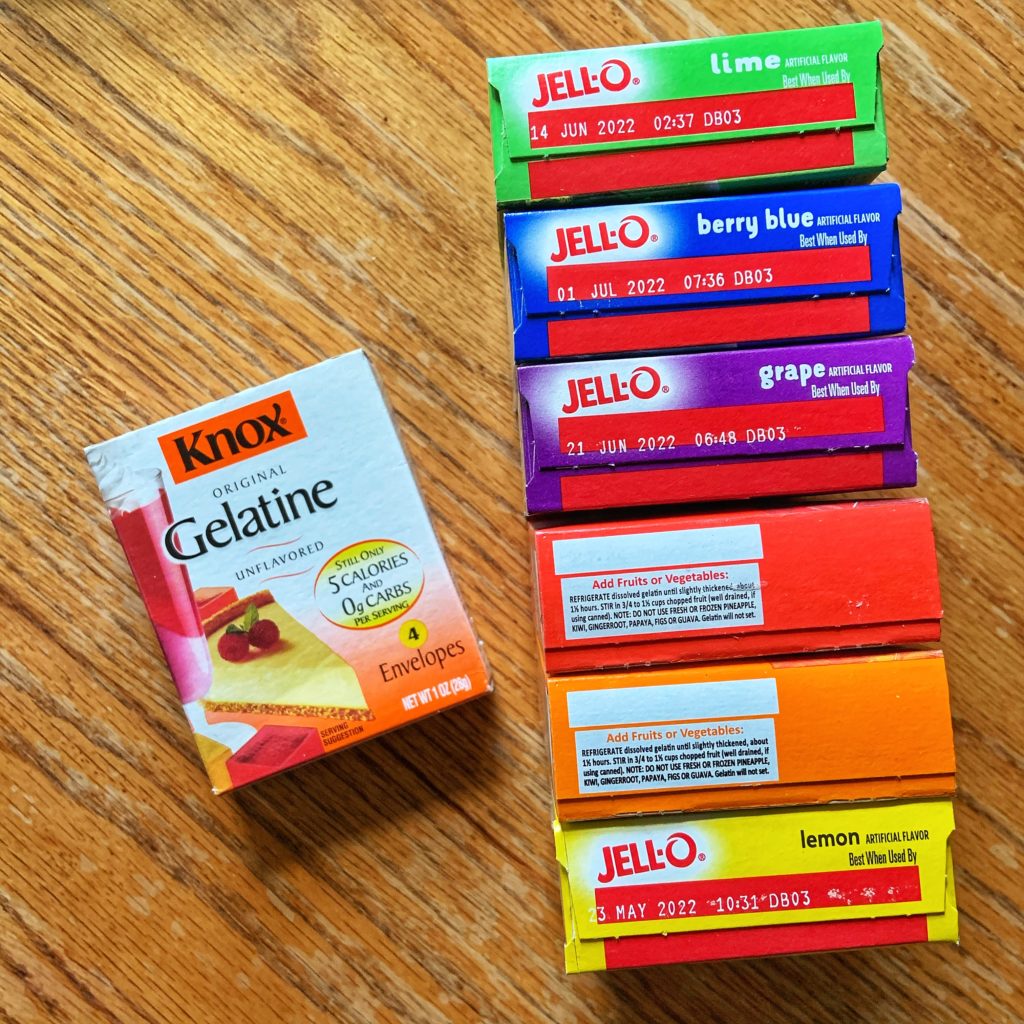
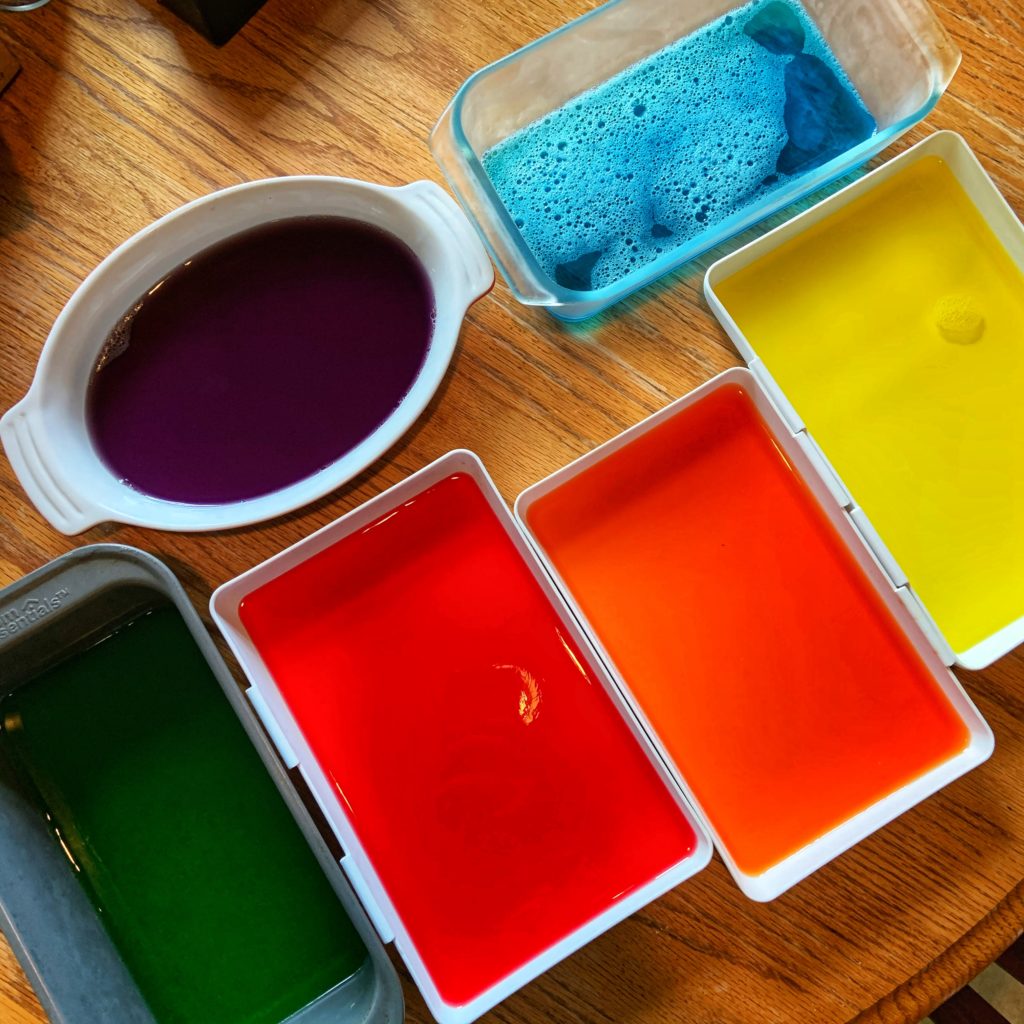
I mixed each packet of Jell-O with boiling water in a bowl and stirred until dissolved. Then I poured each color into its own container, shallow and flat is best. Of all that I used, I preferred the breading trays, but I had to make due with what I had. I left the Jell-O in the fridge to set for about 4 hours.
While the Jell-O was chilling, I made the crust because I also wanted to make sure it was fully cooled before adding the filling later. The crust is just a simple graham cracker crust. I mixed crushed graham crackers, melted butter and a bit of sugar and pressed it into the bottom of a 9-inch springform pan. I baked that in the oven for 15 minutes, until the edges were golden brown and then let it cool.
Once the Jell-O was ready, I cut it into half-inch squares (give or take). I found this was easiest to do with just a butter knife. I first made a series of vertical lines and then horizontal lines in each flavor.
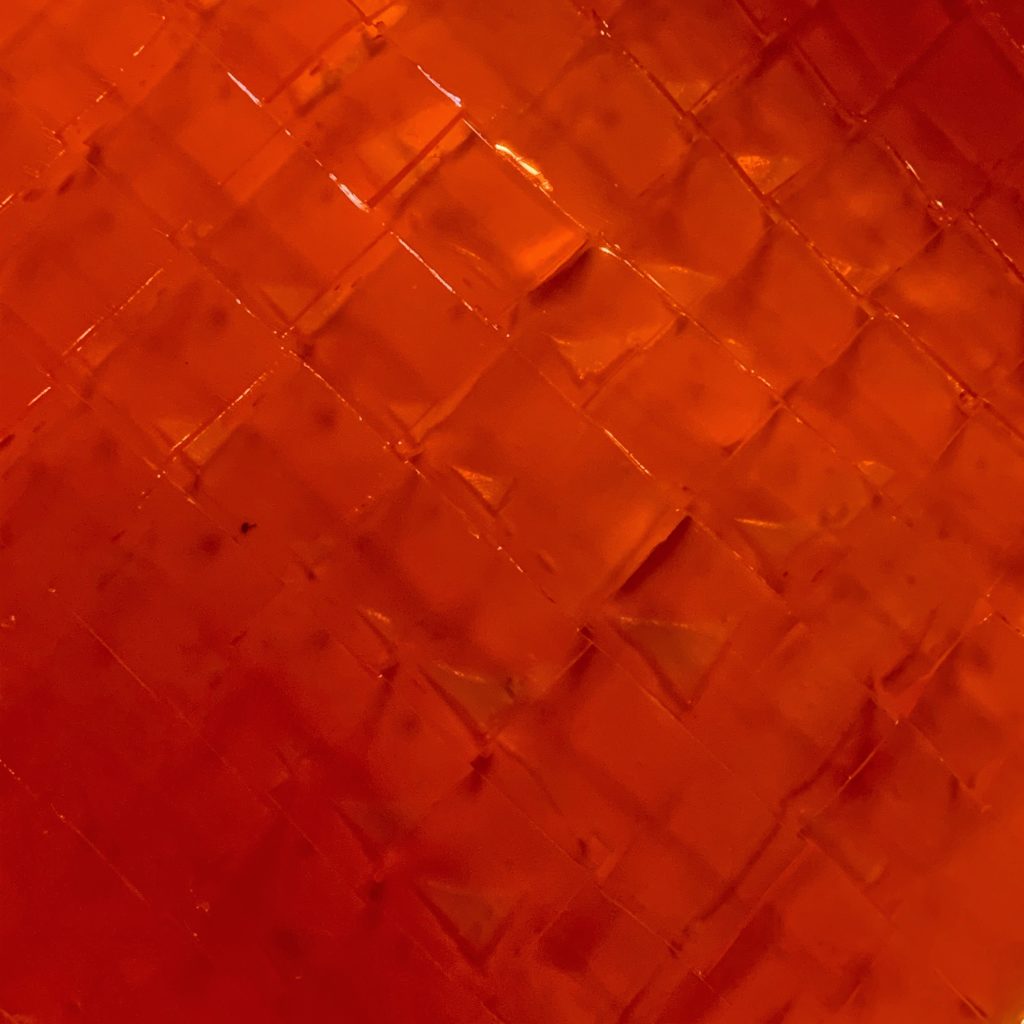
To pop the squares out, I used a flat plastic turner which worked well; no broken Jell-O squares. I put that back into the fridge to keep chilling while I made the filling.
First, I combined some pineapple juice and a packet of unflavored gelatin in a small saucepan and heated/mixed until it was dissolved. Then, I added the remained of the pineapple juice and removed it from the heat. (I bought a can of sliced pineapples in 100% juice and used that. I was unable to find the juice elsewhere in the store. It amounted to almost exactly 1 cup of juice, and I just added a bit of water to make up the difference.)
In a large bowl, I whipped together cream, sugar, vanilla extract and a touch of salt until it formed stiff peaks.
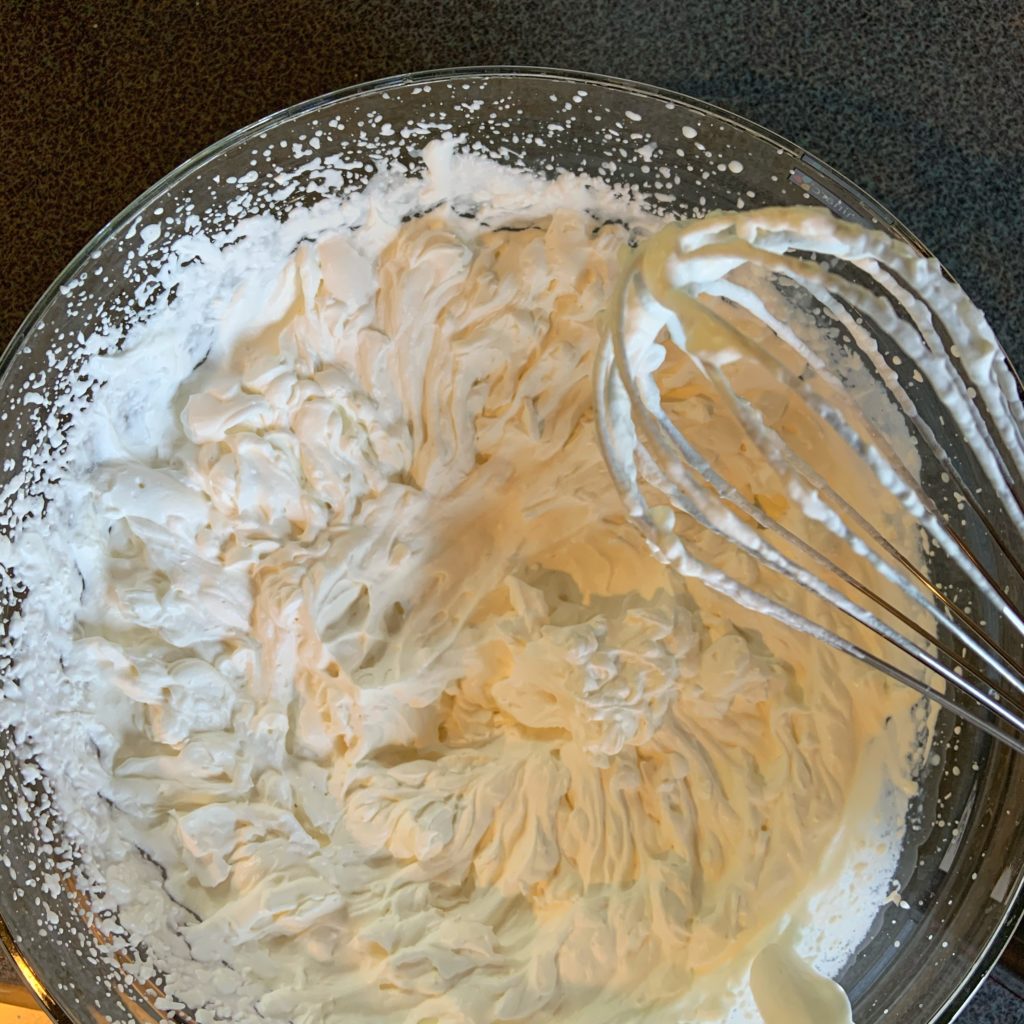
To that, I added the pineapple juice gelatin mixture I’d set aside before, using the mixer on low speed to combine.
Then, I began to add the Jell-O squares, using a spatula to gently fold them in.
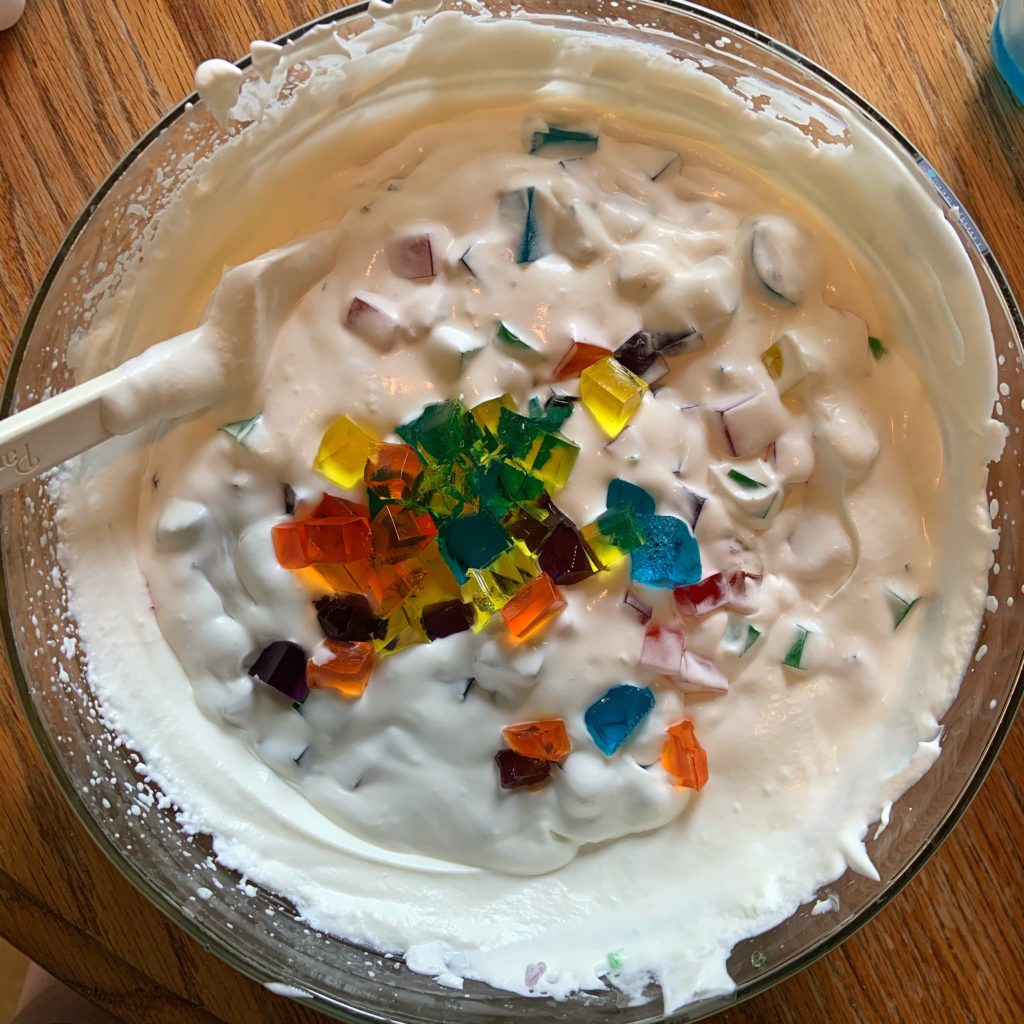
Once the Jell-O was well incorporated, I poured the completed filling into the prepared pan on top of the crust, and set the whole thing in the fridge to set.
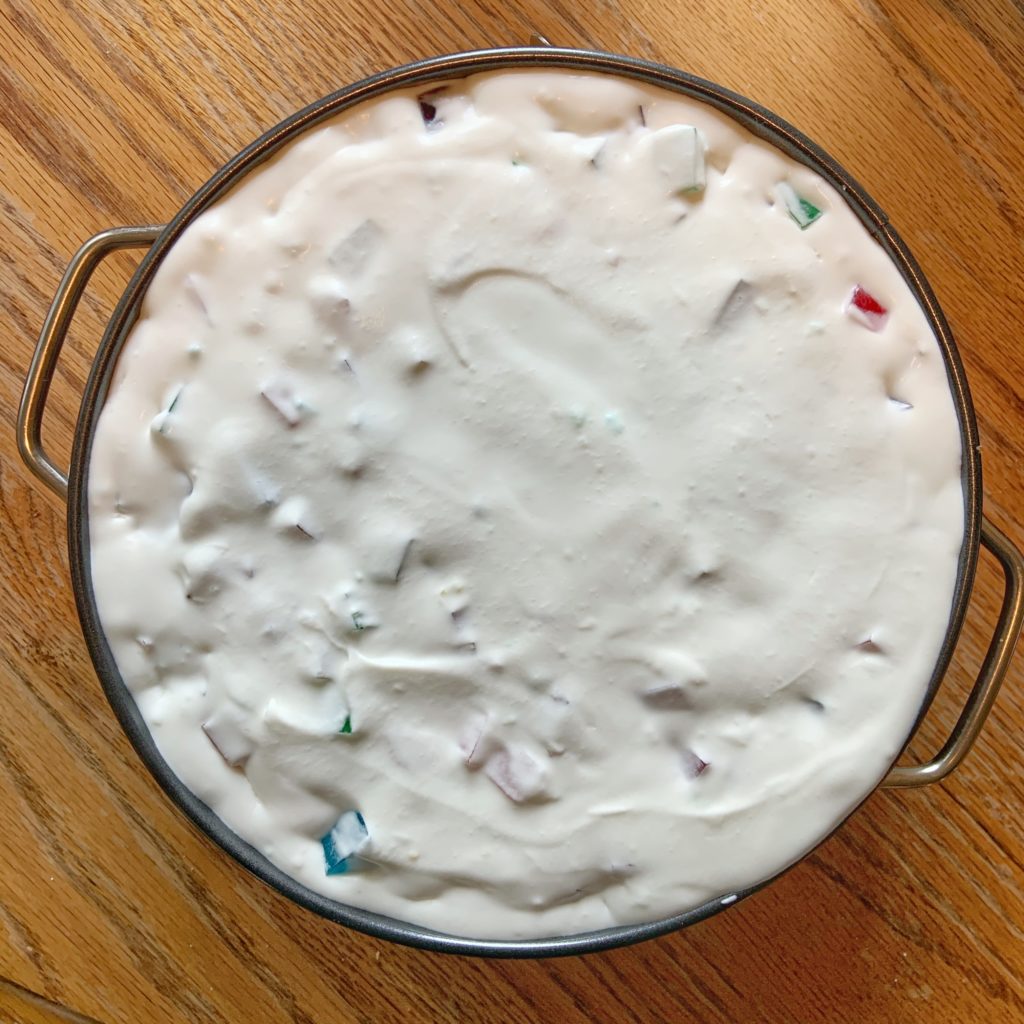
You’ll want to let it set at least 4 hours, but I let it set overnight just to be on the safe side. I ran a butter knife around the edge so it would release cleanly, and it came out looking perfect. I couldn’t wait to see what was inside!
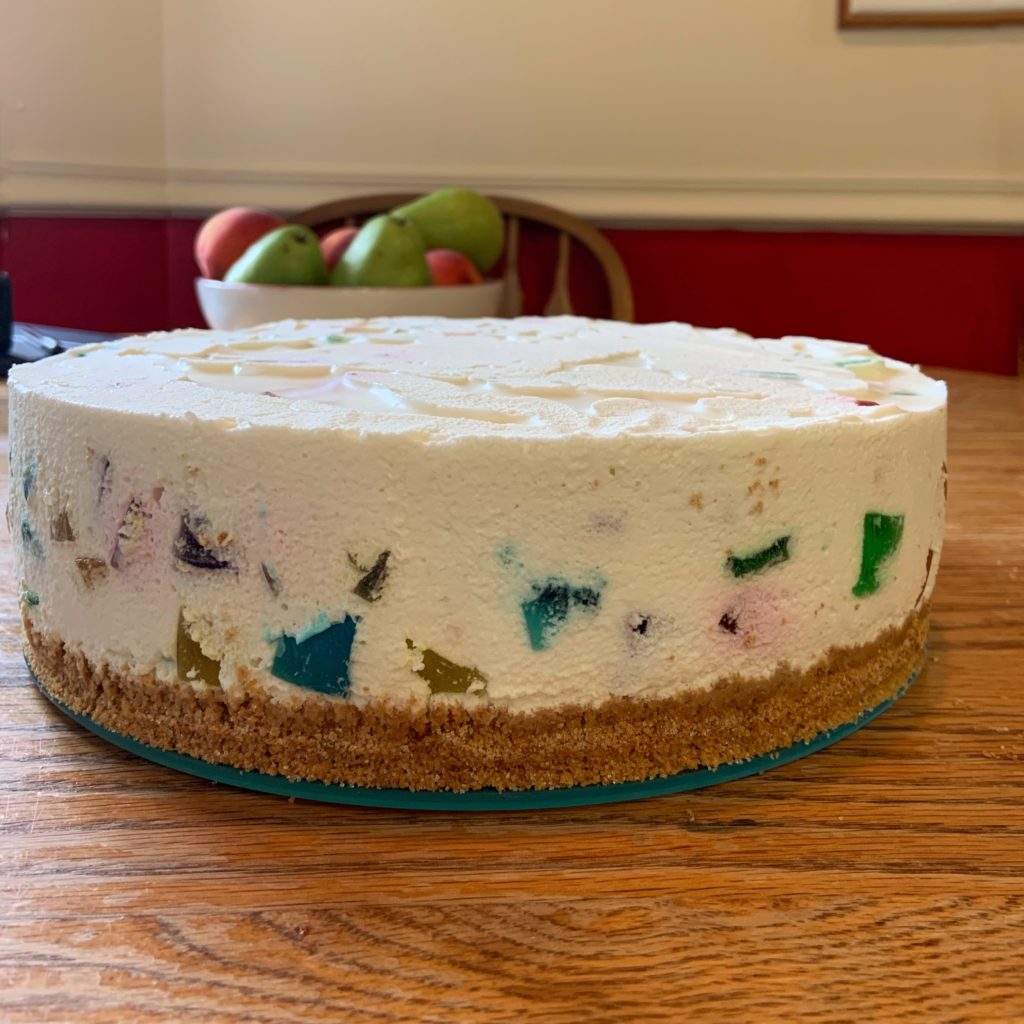
I cut a generous piece, and wow, what a beautiful slice of pie!
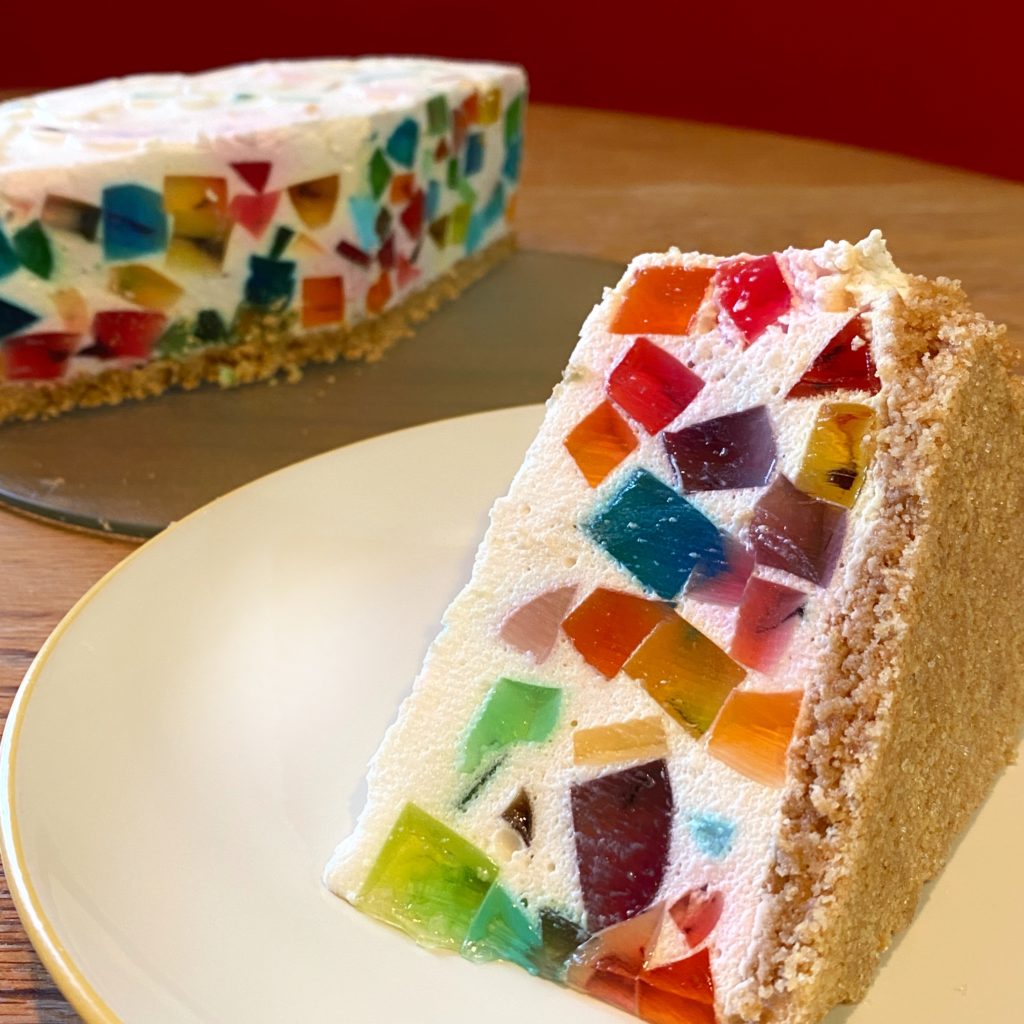
Despite the pink base in the novel, Tiffany confessed to me that she doesn’t find the pink color appetizing, so we went with an unflavored gelatin. I personally loved how the colors of the Jell-O inside popped against the white backdrop, so I’m glad I listened to her on that and didn’t try to 100% re-create the pie as described in the novel. The colors really do shine like jewels.
As far as flavor, it basically tastes like a fruity whipped cream, obviously with a little bite because of the gelatin squares. It’s not overly sweet and makes for a light, refreshing summer dessert. I see why it has long been a favorite of Tiffany’s family.
Again, a huge thank you to Tiffany for collaborating with me on today’s recipe pairing!
Jewel Pudding Pie
Ingredients
For the crust:
- 9 graham crackers crushed to fine crumbs
- 4 TBS unsalted butter melted and cooled slightly
- ¼ cup sugar
For the pie filling:
- 5-6 3-ounce boxes Jell-O in a rainbow of colors, such as yellow, orange, red, purple, blue and/or green
- 9 cups boiling water 1½ cups per Jell-O flavor
- ¾ cup pineapple juice
- 1 envelope unflavored gelatin
- 2 cups heavy cream
- 1 tsp vanilla extract
- ⅛ tsp salt
- ½ cup sugar
Instructions
- First, make the Jell-O. In large bowls (1 per flavor), whisk each box of Jell-O with 1½ cups boiling water until dissolved. Pour each flavor into its own shallow dish/pan and refrigerate until set, about 4 hours. (Breading trays/pans work best, but I also used loaf pans and a shallow baking dish. Keep in mind that different types of pans will create different thicknesses, so if you’re going for uniformity, you will want to try to use the same exact pan type for all flavors.)
- While Jell-O sets, make the crust. Heat oven to 325 degrees F. Stir cracker crumbs, ¼ cup sugar, and melted butter in a bowl until crumbs resemble wet sand. Press into the bottom of a 9-inch springform pan and bake until hedges are golden brown, 12 to 15 minutes. Allow to cool on a wire rack.
- Once the Jell-O has solidified, cut into ½-inch cubes using a butter knife. You will need approximately ½ - ⅔ of each flavor, depending on how many flavors/colors you choose to include. Use a plastic turner and/or your fingers to loosen the Jell-O out of its pan. Keep Jell-O chilling in the fridge while you make the filling.
- To make the filling, combine ¼ cup pineapple juice and unflavored gelatin in a small saucepan over medium heat. Stir until gelatin is dissolved, a few minutes or so. Slowly whisk in the remaining pineapple juice and remove from heat.
- In a large bowl with a hand mixer, or in a stand mixer, whip cream, vanilla, salt and remaining sugar at a medium-high speed until stiff peaks form, about 3 minutes. Reduce speed to low and add juice mixture until combined.
- Gently fold the Jell-O cubes into the cream mixture. This is best done in small batches, about a quarter of the Jell-O at a time.
- Scrape the filling into the prepared springform pan with crust and refrigerate until set, at least 4 hours or up to 2 days. To remove from the pan, run a butter knife around the edge before releasing. This should allow the pie to release cleanly. Slice and serve.
Notes
I received a free digital copy of this book from the publisher and NetGalley in exchange for an honest review.
This post contains affiliate links. This does not increase the price you pay, but I may receive a small commission for any products you choose to buy. Purchases made through affiliate links help to cover my blogging costs. Thank you for helping to support The Hungry Bookworm! Full disclosure here.


How beautiful!