
I remember being excited about Shoba Narayan’s memoir when I first heard about it because I added it to my list of most anticipated books for the year. I got re-excited when Liberty Hardy recommended The Milk Lady of Bangalore on the All the Books podcast, and at that point, I was already on the library waiting list. Funnily enough, I hate milk, so I’m not sure where all the excitement came from.
In her memoir, Shoba shares her experience moving back to India with her husband and two daughters after twenty years in the United States. Upon moving into their new apartment building, they encounter a cow in the elevator. It’s destined for a neighbor’s housewarming ceremony, and thus begins Shoba’s cow-centric journey in modern-day India. She befriends the local milk lady, visiting her every morning for fresh milk and learning more and more about cows as the days go on.
We learn about cows along with Shoba, admittedly more than a casual reader will ever need to know about cows and their byproducts. I would say the memoir is split about 50/50 between Shoba’s experiences and lessons on the revered cow, but it was woven together well and was always entertaining.
Lucky for me, milk can be made into other foods - like cheese. I decided to make paneer, a fresh pressed cheese common in India. I had made cheese once before, when Scott bought me a cheese-making kit for my birthday. That time, I ended up with a nice round ball of mozzarella. I found a recipe/tutorial from The Kitchn, and though I would be kit-less this time, it gave me confidence.
For this recipe, I needed a half gallon of milk. If you want to try your hand at cheese-making, make sure the whole milk you’re purchasing isn’t ultra-pasteurized (UHT). To start, I poured 8 cups, or half of my gallon, into a 4-quart saucepan. I brought it to a simmer over medium heat, stirring occasionally - especially along the bottom, until it came up to 200 degrees F. (This took almost 20 minutes.)
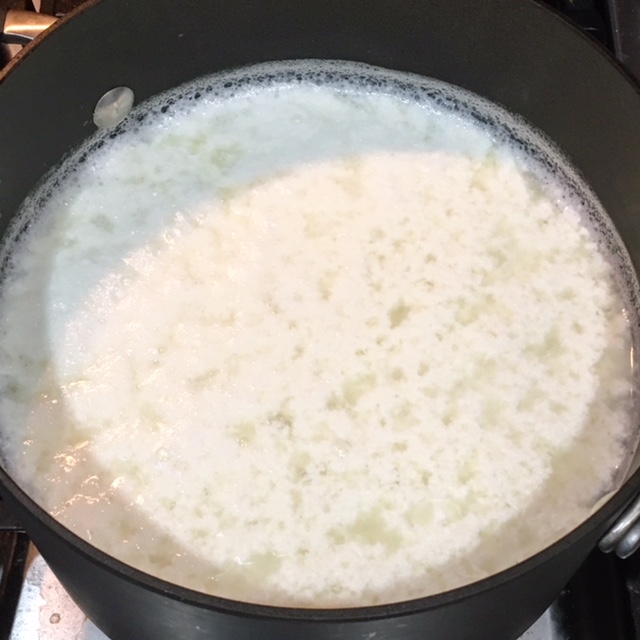
Then, I removed it from the heat and added ¼ cup of lemon juice, covered it and allowed it to sit for 10 minutes. It had started curdling right away, but after the 10 minutes, it looked well-separated. It was easy to see the difference between the curds and the whey (yellowish liquid).
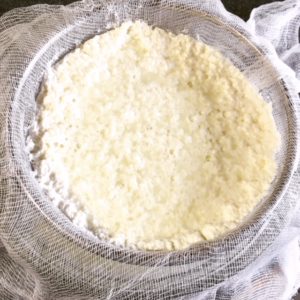
Next, I strained the curds. I placed a strainer in a large bowl and lined the strainer with a cheesecloth. I carefully poured the contents of the saucepan into the strainer, allowing the whey to separate from the curds.
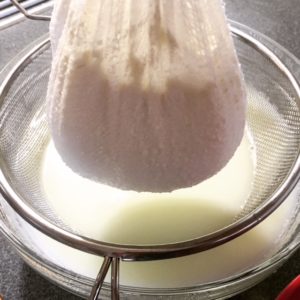
I squeezed the cheesecloth a bit to remove any excess whey, but be careful to not squeeze to hard or the curds will also start to squish through the cheesecloth. Then, I poured the whey out of the bowl. (Note: The whey can be saved and used separately if desired. It can be used in place of water in baking recipes, added to smoothies, or drunk on its own.)
I opened the cheesecloth and was greeted with some beautiful little cheese curds. I added a ¼ teaspoon of salt, stirred it as gently as I could and tasted it. I added just a bit more salt and then it was good to go.

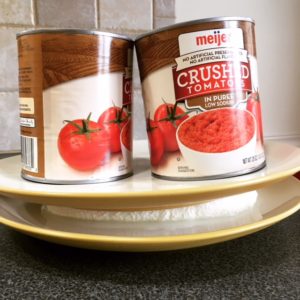
If you were making ricotta, I believe this is where you could stop. But, since paneer is a pressed cheese, the process had a few more steps. I transferred the curds, still in the cheesecloth, to a plate and shaped it into a rectangle as best I could. Then, I placed another plate on top and added two 32-ounce cans of tomatoes as weights to help press it down.

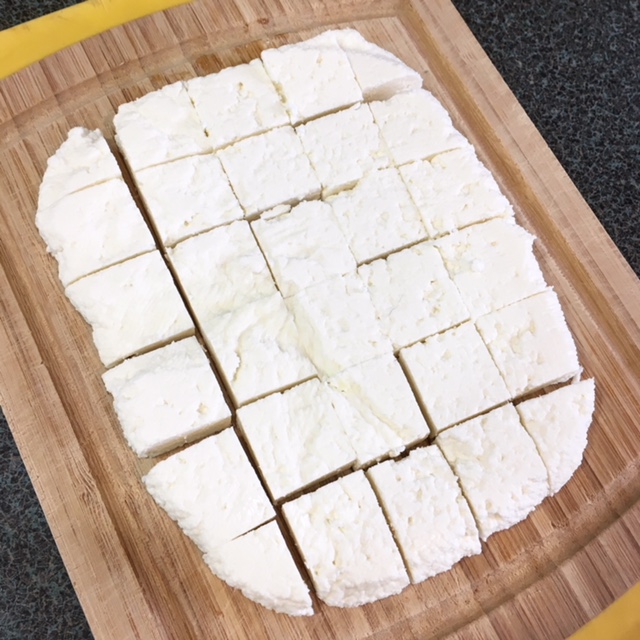
Though you can press it for as little as 15 minutes, I opted for an hour (the max recommended in my recipe) since I would be adding it to a warm dish and wanted to make sure it wouldn’t fall apart. I put it in the fridge until I was ready to use it, at which point, I cut it into squares.
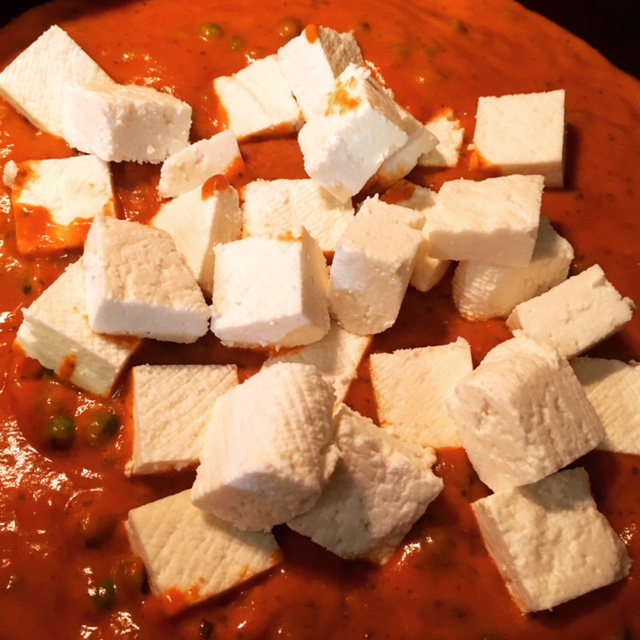
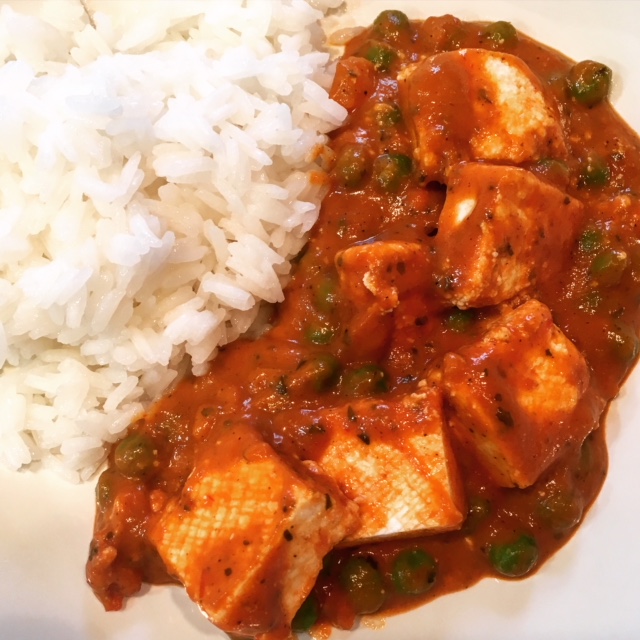
With it, I made mattar paneer, which is an Indian dish with peas and paneer into a tomato-based sauce. It was absolutely delicious.
If you haven’t made your own cheese, I’d recommend trying it at least once. It’s not that difficult (as you can see), and it’s oh-so-satisfying to eat.
Paneer Cheese
Ingredients
- 1/2 gallon whole milk not UHT pasteurized
- 1/4 cup lemon juice or vinegar
- 1/4 to 1/2 teaspoon salt
Equipment
- 4-quart saucepan
- Slotted spoon
- Strainer or colander
- Mixing bowl
- Cheesecloth, nut bag, or other cloths for straining
- Dinner plates
- Weights, like a 32-ounce can of tomatoes
Instructions
- Heat the milk: Pour the milk into the saucepan and set over medium heat. Bring the milk to a bare simmer — just below the boil at around 200°F. Stir the milk occasionally, scraping the bottom of the pot to make sure the milk doesn't scald. When ready, the milk will look foamy and steamy.
- Add the lemon juice: Remove the milk from heat and stir in the lemon juice. The milk should begin to curdle immediately, but it's ok if it doesn't.
- Let the milk stand for 10 minutes: Cover the milk and let stand for 10 minutes to give the acid time to completely separate the curds and whey. At the end of 10 minutes, the curds should be completely separated and the liquid should look yellow and watery. If the milk hasn't separated, try adding another tablespoon of acid. If it still won't separate, check your milk and be sure you are using non-UHT milk; this kind of milk won't separate.
- Strain the curds: Set a strainer or colander over a mixing bowl and line it with cheesecloth, a nut bag, or other straining cloth. Carefully scoop or pour the curds into the strainer, letting the whey collect in the bowl beneath.
- Squeeze the curds: Gather the cheesecloth in your hand and gently squeeze to remove the excess whey.
- Salt the curds: Open the cheesecloth and sprinkle 1/4 teaspoon of salt over the curds. Stir gently and taste. Add more salt if desired.
- Press the curds: Transfer the curds (still in the cheesecloth) to a large dinner plate. Shape them into a rough square and then fold the cheesecloth tightly around the curds to form a neat rectangular package. Set a second plate on top of the package and weigh it down. Press for at least 15 minutes or up to 1 hour.
- Use or refrigerate the paneer: Once pressed, your paneer is finished and ready to use. You can use it immediately or refrigerate for up to two days. Refrigerated paneer will be firmer and less likely to crumble than fresh paneer.
Notes
This post contains affiliate links. Full disclosure here.
Leave a Reply