• Skip to primary navigation
  • Skip to main content
  • Skip to primary sidebar
  • Home
  • Reviews
    • Book Index
    • Fiction
    • Non-Fiction
    • Top Ten Tuesdays
The Hungry Bookworm

The Hungry Bookworm

reading + eating

  • Recipes
    • Drinks
    • Snacks, Sides & Apps
    • Main Dishes
    • Desserts
    • 5 Ingredients or Less
  • About
    • Meet Megan
    • How I Rate
    • Review Policy
    • Contact

long read

Pachinko + Kimchi

August 26, 2017 by Megan Leave a Comment

Pachinko, for those of you who don’t know (and I didn’t until I read Min Jin Lee’s novel of the same name), is a Japanese game of chance, a combination of pinball and a slot machine. Like the game it’s named for, Lee spins an epic tale that goes up and down, away and back again, all as the Korean family we follow move to Japan and either suffer or thrive there. The novel starts with the parents of our strong central female character Sunja and spans over seventy years and several generations.
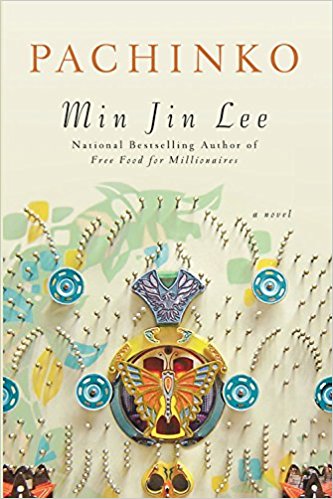
I liked Pachinko, but despite being well-written, it wasn’t a particularly enjoyable read. Lee really put her characters through the ringer, and the suffering they experienced left me feeling very defeated. It was an interesting perspective on an immigration story - one we aren’t often exposed to here in the United States but one that didn’t leave me with much hope either.

It was a book we chose for our August book club, and I’ll admit I put it on the list because I already owned it (checking off that TBR!) and because I wanted to make and eat sushi. It turned out that while sushi did show up a couple of times in the novel, kimchi is what really made an impression. Sunja and her sister-in-law used their skills in the kitchen to make kimchi when times were tough, supporting their family the only way they could.

Kimchi, which is made of fermented vegetables - usually cabbage, requires about a minimum of a week to make. So, it was about two weeks ago that I set to work. I found a recipe that didn’t seem too intimidating and stopped by the trusty 168 Asian Mart (you may remember from my dumpling-making adventures) to gather all of the Korean-specific ingredients, such as salted shrimp and red pepper powder.

I chopped my cabbage into roughly 2-inch pieces, put them in a large bowl and sprinkled them with a generous amount of salt (half a cup), tossing the leaves to make sure they were well-coated. Then, I covered the cabbage with water - I ended up using about 15 cups - and covered the entire bowl with plastic wrap. I let it sit for about a day.

Then, I placed the cabbage in a colander, rinsed it and squeezed it out. While that sat, I combined all of the other ingredients in a large bowl - radish cut into matchsticks, scallions cut into 1-inch pieces, what seemed like a ton of Korean red pepper powder, fish sauce, minced ginger and garlic, Korean salted shrimp and a little bit of sugar.
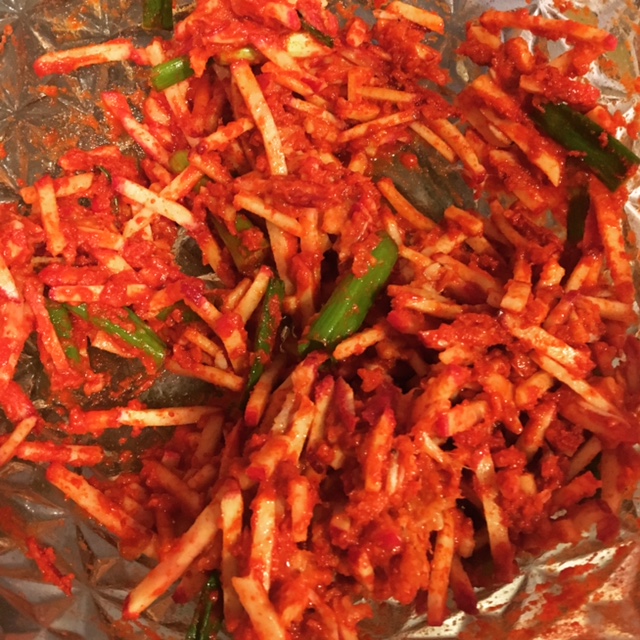
Once it was well-combined, I added the cabbage and tossed it until it was well-coated and pretty red too. Then, I stuffed everything into my large glass jar and sealed it. I snapped a quick picture before I left it in the dark, cool basement for another full day.
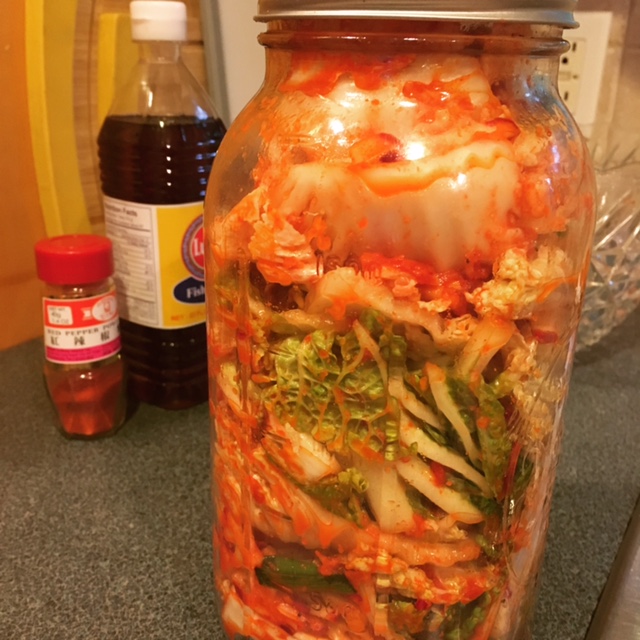
Then, I opened the lid and allowed the gases to escape - the product of our fermentation process was quite pungent. I’d recommend doing this with the windows open, or in a very well-ventilated room. After about a half an hour, I sealed it back up and placed it in the fridge. The jar hung out in the fridge for about 10 days, until yesterday, when I opened it up to attempt to make kimchi fried rice.
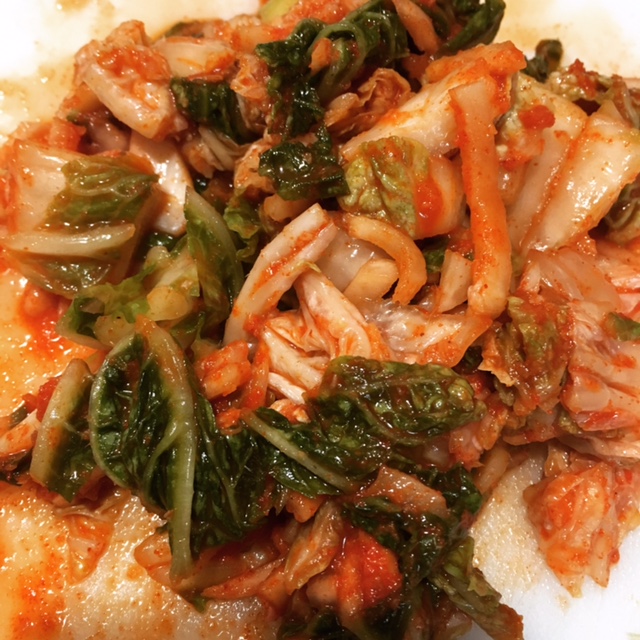
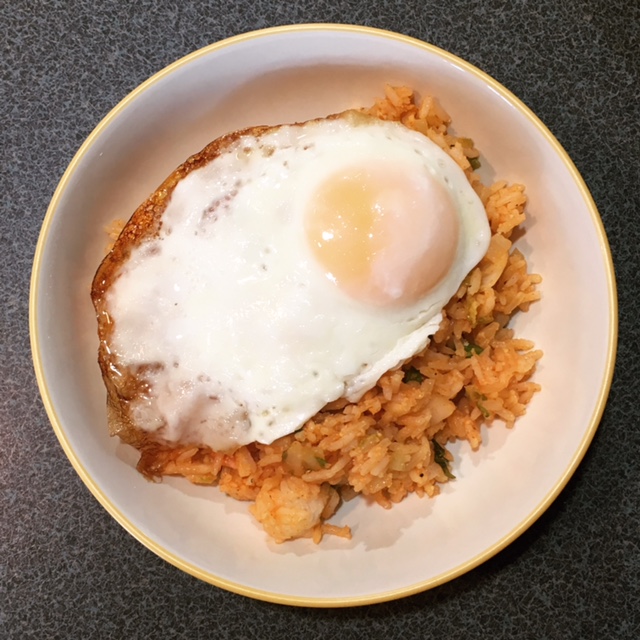
You can use kimchi for a lot of different things, but the one I thought I might enjoy the most was kimchi fried rice. (Disclaimer: I’m not a huge kimchi fan to begin with.) Luckily, I was already familiar with fried rice from my Boston Girl blog entry earlier this year.

I ended up tweaking the recipe I found a little bit, but I loved the idea of serving it with an egg on top, so I had Scott fry some up while I put the finishing touches on the rice. The whole meal turned out really well - the kimchi added a little bit of an extra kick to the fried rice, and I liked it much more than I expected to! Now, we just have to figure out how to use the rest of the kimchi 🙂 Any suggestions, fellow foodies?
Basic Napa Cabbage Kimchi

  • Servings: 1½ quarts
  • Time: 25 minutes, plus about 4 days inactive soaking/fermenting time (up to one week)
  • Print

Ingredients

  • 1 (2-pound) napa cabbage
  • ½ cup kosher salt
  • about 12 cups cold water, plus more as needed
  • 8 ounces daikon radish, peeled and cut into 2-inch matchsticks
  • 4 medium scallions, ends trimmed, cut into 1-inch pieces (use all parts)
  • ⅓ cup Korean red pepper powder
  • ¼ cup fish sauce
  • ¼ cup peeled and minced fresh ginger (from about a 2-ounce piece)
  • 1 Tablespoon minced garlic cloves (from 6 to 8 medium cloves)
  • 2 teaspoons Korean salted shrimp, minced
  • 1½ teaspoons granulated sugar

Directions

  1. Cut the cabbage in half lengthwise, then crosswise into 2-inch pieces, discarding the root end. Place in a large bowl, sprinkle with the salt, and toss with your hands until the cabbage is coated. Add enough cold water to just cover (about 12 cups), making sure the cabbage is submerged (it’s OK if a few leaves break the surface). Cover with plastic wrap or a baking sheet and let sit at room temperature at least 12 hours and up to 24 hours.
  2. Place a colander in the sink, drain the cabbage, and rinse with cold water. Gently squeeze out the excess liquid and transfer to a medium bowl; set aside.
  3. Place the remaining ingredients in a large bowl and stir to combine. Add the cabbage and toss with your hands until evenly combined and the cabbage is thoroughly coated with the mixture.
  4. Pack the mixture tightly into a clean 2-quart or 2-liter glass jar with a tight-fitting lid and seal the jar. Let sit in a cool, dark place for 24 hours (the mixture may bubble). Open the jar to let the gases escape, then reseal and refrigerate at least 48 hours before eating. (Kimchi is best after fermenting about 1 week). Refrigerate for up to 1 month.

From: Chowhound

I used the kimchi to make Kimchi Fried Rice (from Rasa Malaysia), though it can be served as a side or in a variety of dishes.


This post contains affiliate links. Full disclosure here.

Filed Under: book review, recipe Tagged With: contemporary, cultural, drama, fiction, long read, side dish, spicy, veggies

Cloud Atlas + Cloud Eggs

August 3, 2017 by Megan 1 Comment

My friend Deanna, who you may know recognize from my short series of Gilmore posts, absolutely loves David Mitchell’s Cloud Atlas. I had read one of his other novels a while back and wasn’t a fan, so when she actually let me borrow it (an embarrassingly long time) ago, I was reluctant to read it and find it underwhelming. But, I finally decided I should rip off the bandaid, so to speak, and recently gave it a try. It was definitely not underwhelming.

Cloud Atlas David Mitchell Book Cover

Cloud Atlas is a complicated story five spanning centuries, going from the 1800s to the distant future and back again. Each character has only two chapters, one where they’re introduced as we move through the future and one as we head back in time to the beginning. (Excepting one, of course, who is there only in the middle of the story.) It’s a very interesting concept, and I probably wouldn’t have chosen to start it on a boat in the middle of the 1800s, but it is what it is. Thankfully, Deanna had warned me about the first chapter, and though it took quite a while to get into, I persevered.

As with all books, there were characters I liked better than others and some i disliked altogether. The problem with the structure, however, was that I was stuck with the ones I didn’t really like for a long time in a row and then I had to “look forward to” seeing them again on the boomerang back. The novel was also a little too self-aware for my taste. Mitchell wrote a lot of commentary on the structure and the characters and the meaning of it all into his own characters’ mouths and thoughts, which I typically don’t enjoy.

I know my review isn’t exactly glowing, but I didn’t hate it. I’m actually glad I read it, and I can see why Deanna (and others) like it so much. The story it tells is very intriguing. Weirdly, it made me want to see the movie for a different and visual perspective. It also made me want to make some cloud eggs. A book that fit perfectly with the latest hipster trend - what luck! (Kidding, but only a little bit.)

In my research, I found a recipe that wasn’t too intimidating (though most of them seemed mostly doable). I also found an interesting article from NPR that made me feel a lot better about the whole cloud egg trend. Wouldn’t you know it, what’s old is new again - in food as in everything else.

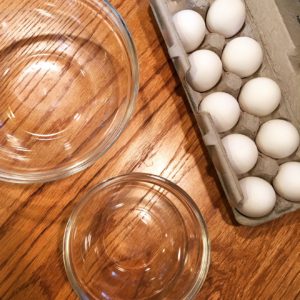
To start, I preheated my oven to 450 degrees and assembled my ingredients and bowls. I separate the old-fashioned way (hands only), so I just had a couple of bowls to divide the whites and yolks into.

Eggs, Cheese, Breakfast

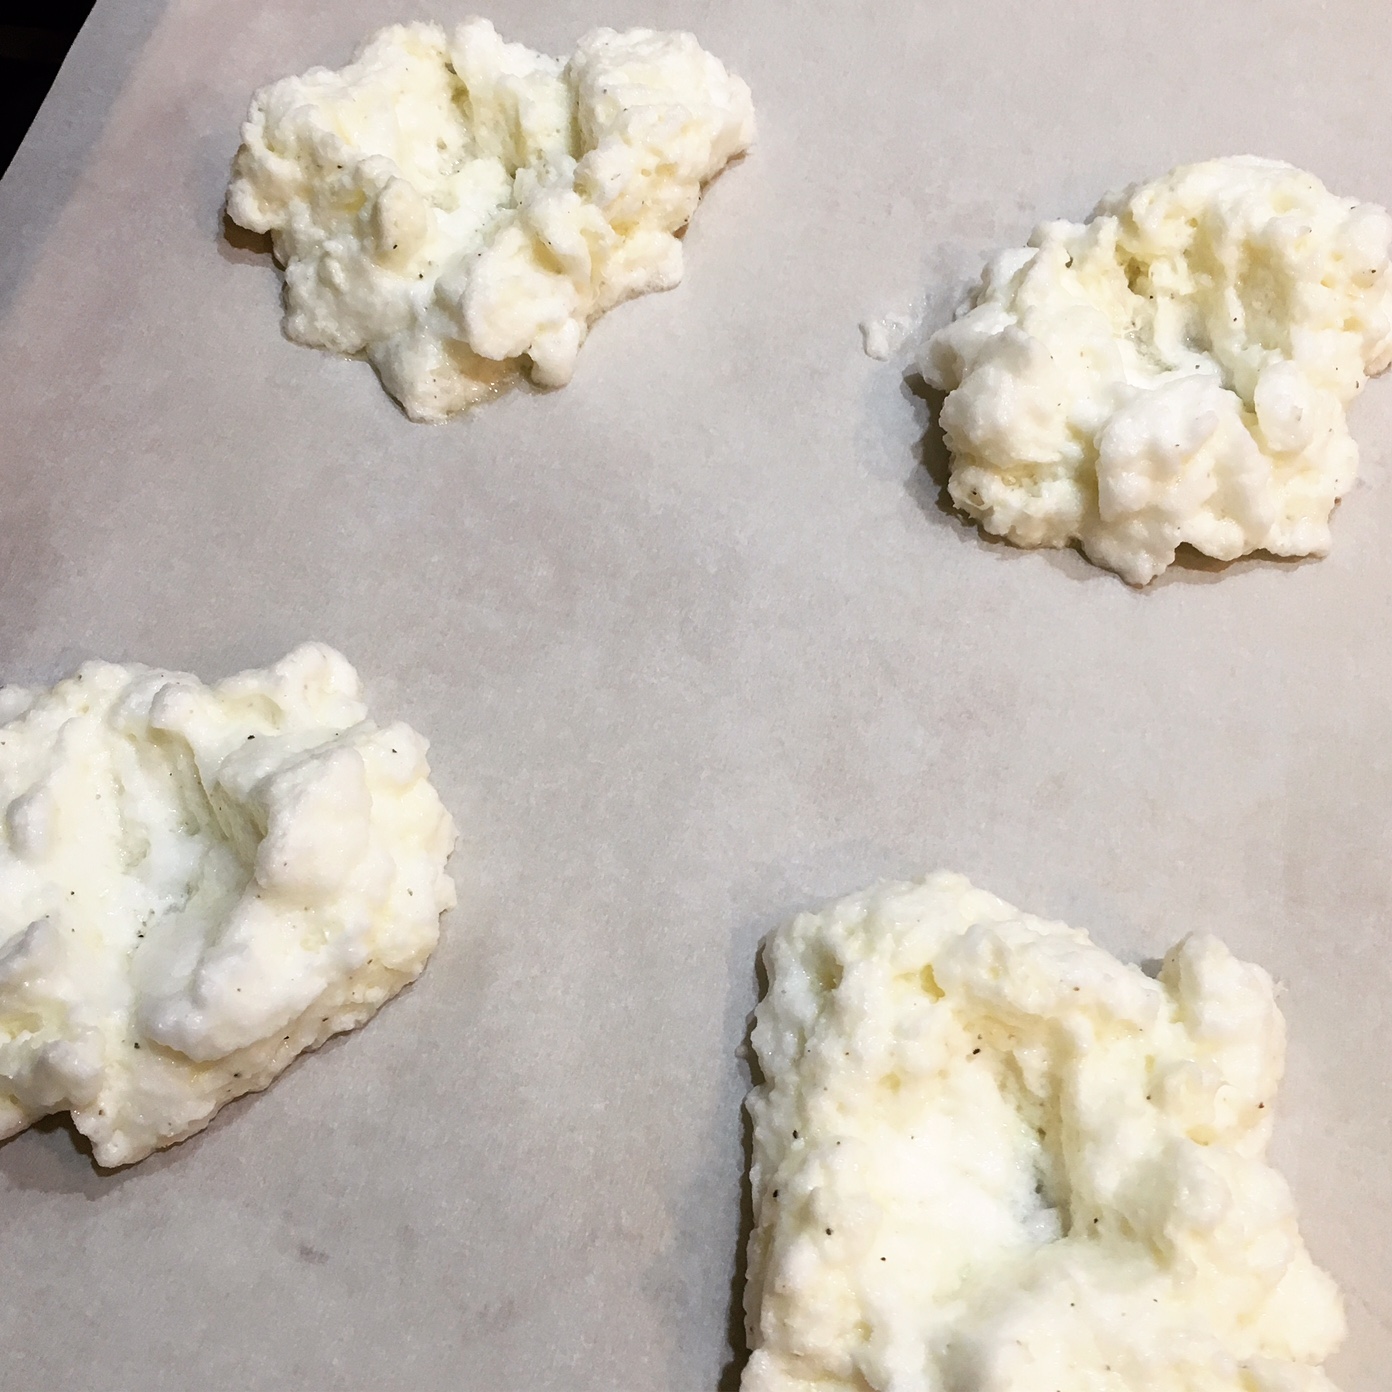
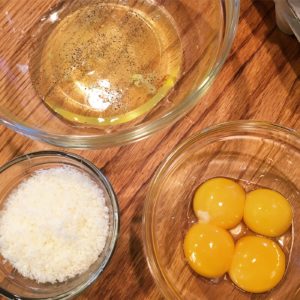
With the whites separated, I seasoned them with salt and pepper and used a hand mixer to whip them into stiff peaks. I carefully folded in the Parmesan cheese. On the baking sheet, I made 4 separate mounds of the whipped whites and indented them so my yolks would have somewhere to lie later.

Egg Whites, Cloud Eggs, Baking

After they baked for 3 minutes, I took the sheet out of the oven and added one egg yolk to each egg white cloud. It went back into the oven for 3 more minutes, until the yolks were set. I served with toast, perfect to mop up the runny yolks.

Eggs, Breakfast, Brunch, Cloud Eggs
Eggs, Breakfast, Brunch, Cloud Eggs, Toast, Jam, Jelly

Cloud Eggs

  • Servings: 2
  • Time: 20 minutes
  • Print

Ingredients

  • 4 large eggs
  • salt and freshly ground black pepper
  • ½ cup freshly grated Parmesan
  • 3 TBS finely chopped fresh chives, for garnish (optional)

Directions

  1. Preheat oven to 450 degrees F and line a large baking sheet with parchment paper. Spray lightly with baking spray.
  2. Separate egg whites and egg yolks, placing the egg whites in a large bowl and each yolk in its own small bowl.
  3. Season the egg whites with salt and pepper. Using a whisk or a hand mixer, beat the egg whites until stiff peaks form. Gently fold in Parmesan.
  4. On the prepared baking sheet, create 4 mounds of egg whites and indent the centers of each to look like nests. Bake until slightly golden, about 3 minutes.
  5. Carefully add an egg yolk to the center of each egg white cloud. Season yolk with salt and pepper. Bake until the yolks are just set, about 3 minutes more. Garnish with chives, if using, and serve immediately.

Adapted from: Delish

The original recipe doesn’t call for spray the parchment paper, but I found that my finished eggs were a bit difficult to get off after baking. Additionally, the original recipe has you add all egg yolks to one bowl - obviously this creates less dish cleaning afterward, but it’s much trickier to get them out later without breaking them. (I broke two, despite being extremely careful.) The call is ultimately yours, but be careful!


PLUS: If you haven't entered for your chance to win a free book yet, there's still time! Enter my 1 Year Anniversary Giveaway through Friday, 8/11. More details in Sunday's post.

This post contains affiliate links. Full disclosure here.

Filed Under: book review, recipe Tagged With: baking, breakfast, brunch, easy prep, fiction, long read

The Thorn Birds + Shepherd's Pie

December 22, 2016 by Megan Leave a Comment

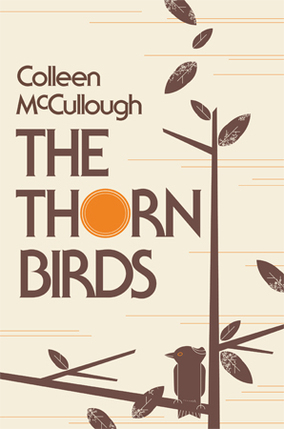
My parents watched The Thorn Birds miniseries in 1983. My name is Megan, the same as the main character - it also happened to be the 10th most popular name in 1985, just before I was born. Not a coincidence. Thankfully, they watched the show and didn’t read the book, in which her name is spelled Meghann. Anyway, I’ve been meaning to get around to reading this book, my namesake, for years. I finally did.

thornbirds_pb.jpg

For anyone who has seen the miniseries, The Thorn Birds book (written by Colleen McCullough six years prior in 1977) is pretty similar. It tells the story of the Cleary family as they move to Drogheda, a sheep station in Australia, and live there through the years. Meghann, usually called Meggie, is the only daughter in a family of 8 brothers.

Already a regular Drogheda visitor when the family first arrives, the local priest Ralph befriends them but takes a special interest in Meggie. Her mother pays her little notice, preferring her sons, so he makes it a point to see that she doesn’t lack for attention and is given the opportunity for a good education and taught to ride a horse. As Meggie grows older, their familiarity breeds stronger feelings.

In a cruel turn of events, Ralph must make a choice that is really no choice at all for the devout priest. The family’s future is forever changed, but Drogheda remains a part of all of their lives no matter what. To honor their massive homestead, I decided to make shepherd’s pie. I found a recipe from Alton Brown and went to work.  

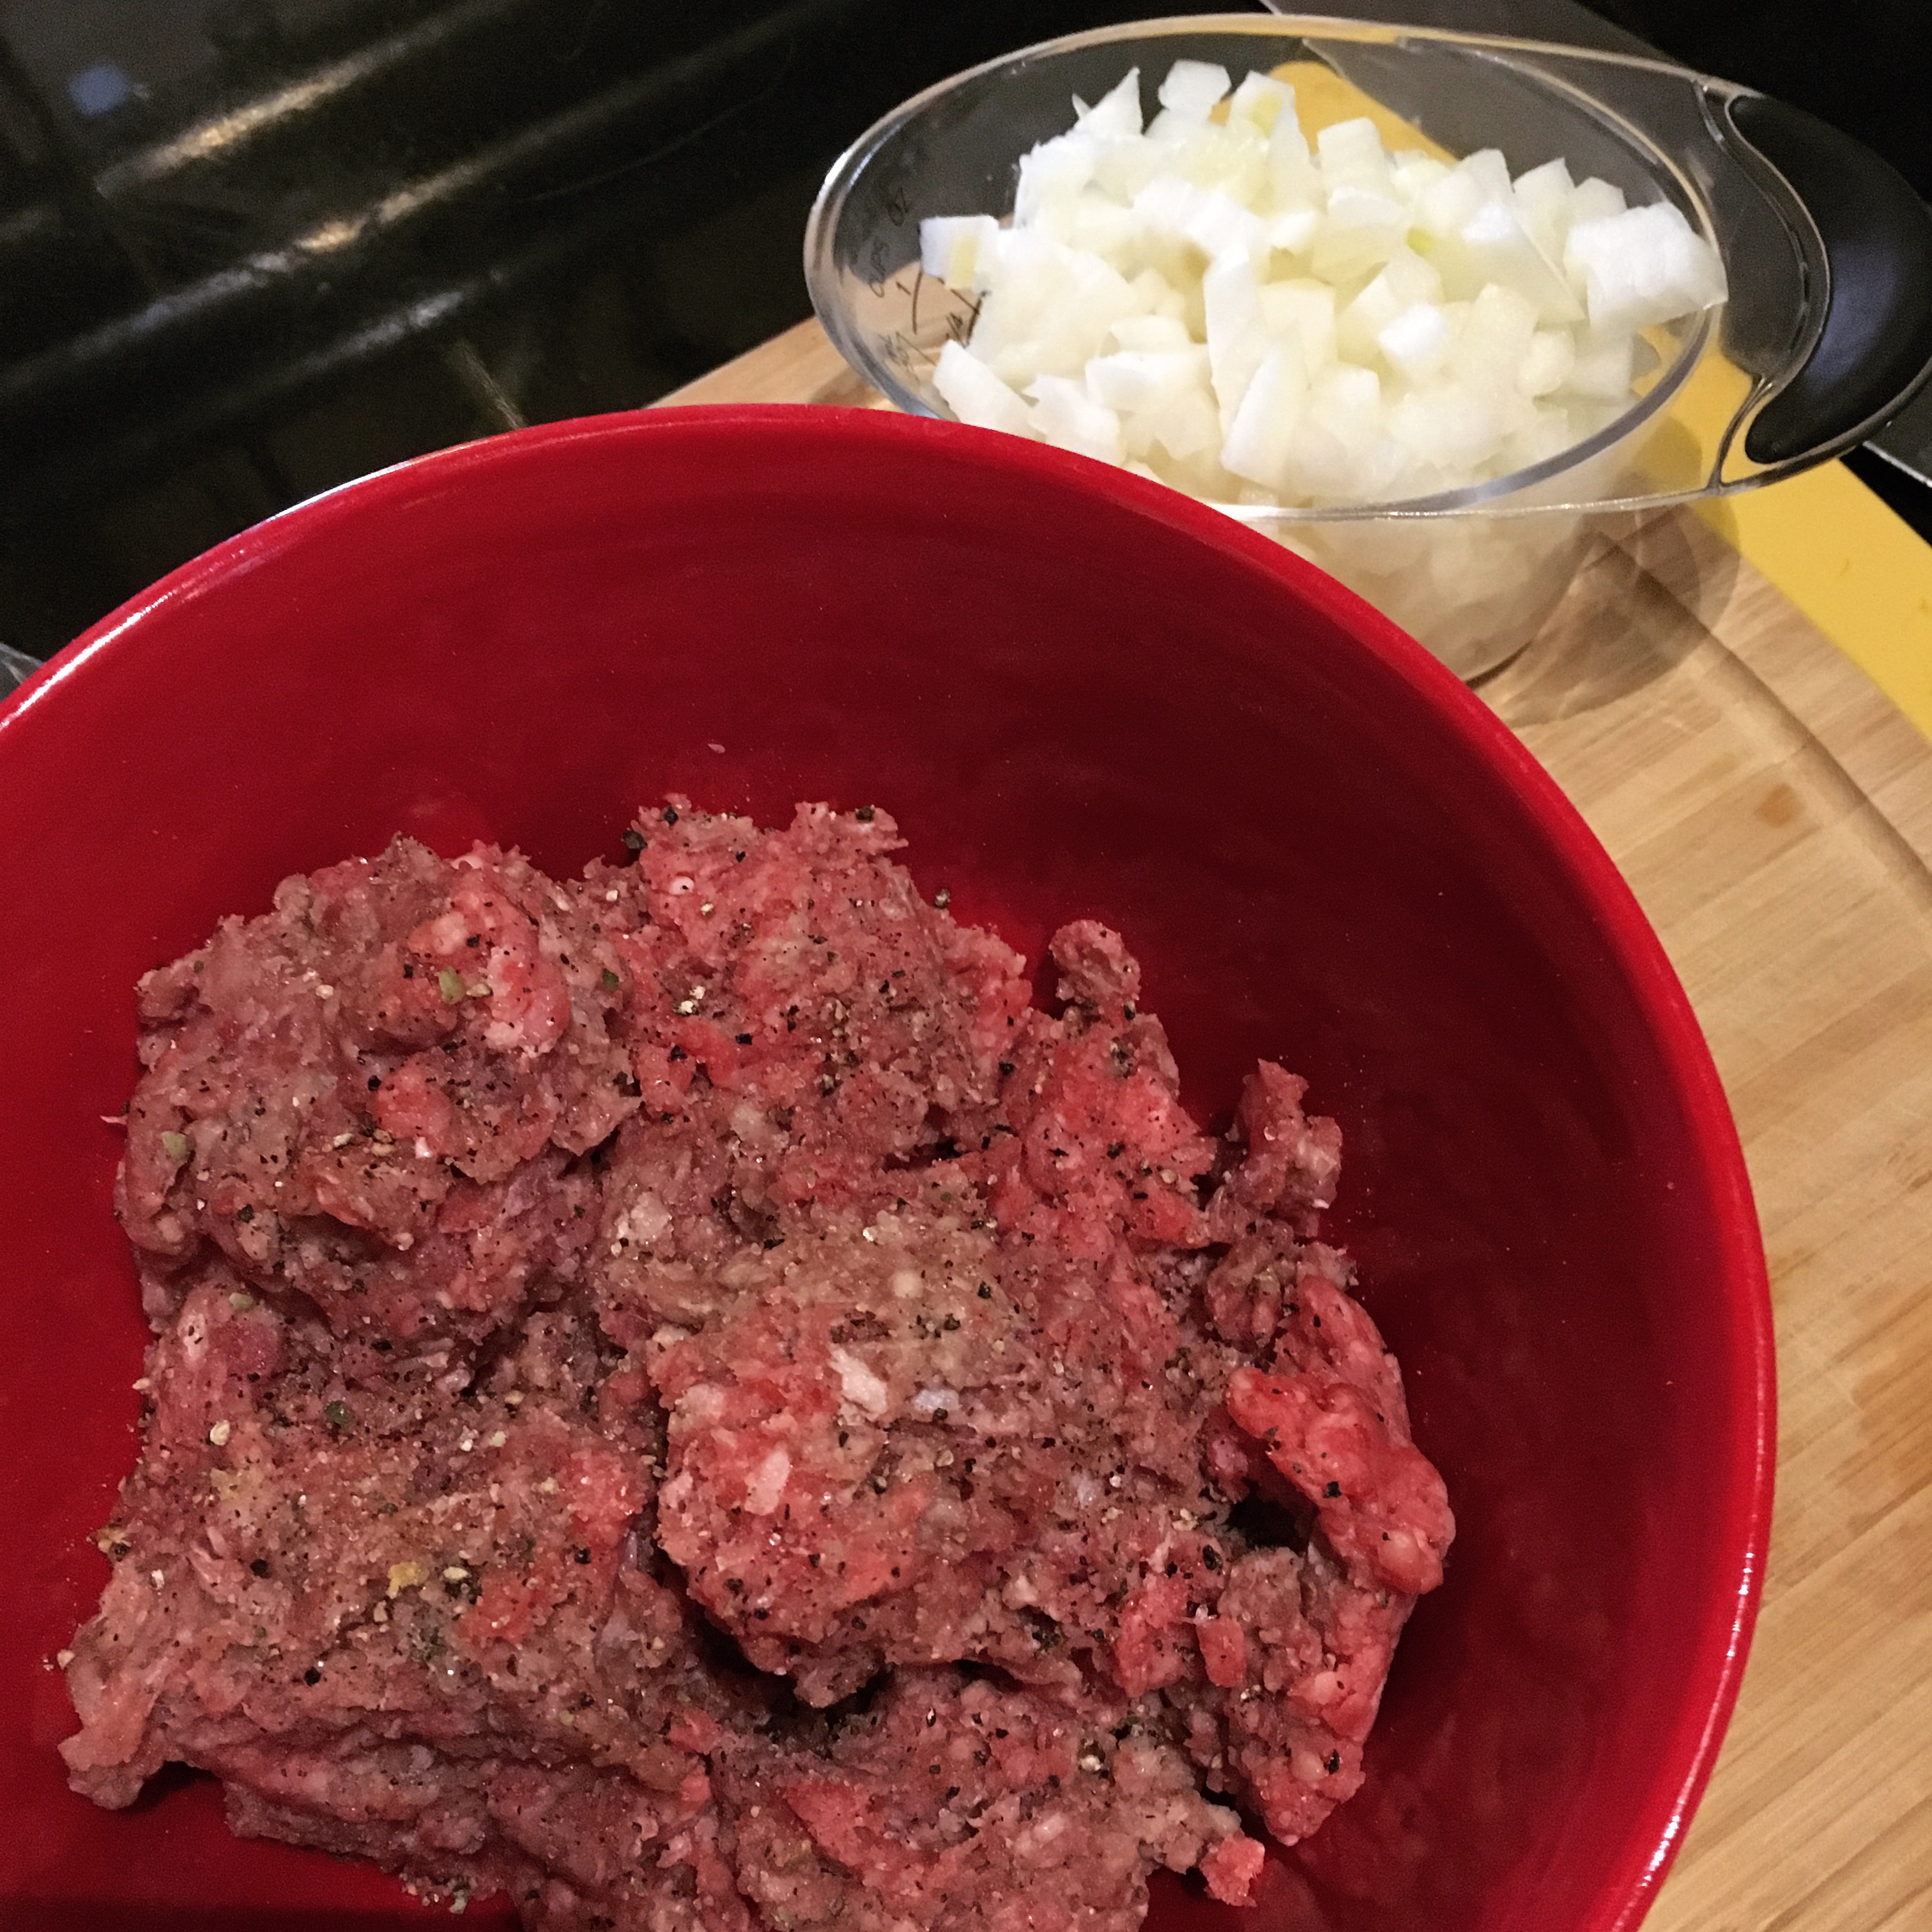
First, I chopped my onion and carrots, taking care to make them roughly equal in size. Then, I peeled and cut up my potatoes, putting them into a saucepan of water as I did so. I put them on stove, covered to bring to a boil.

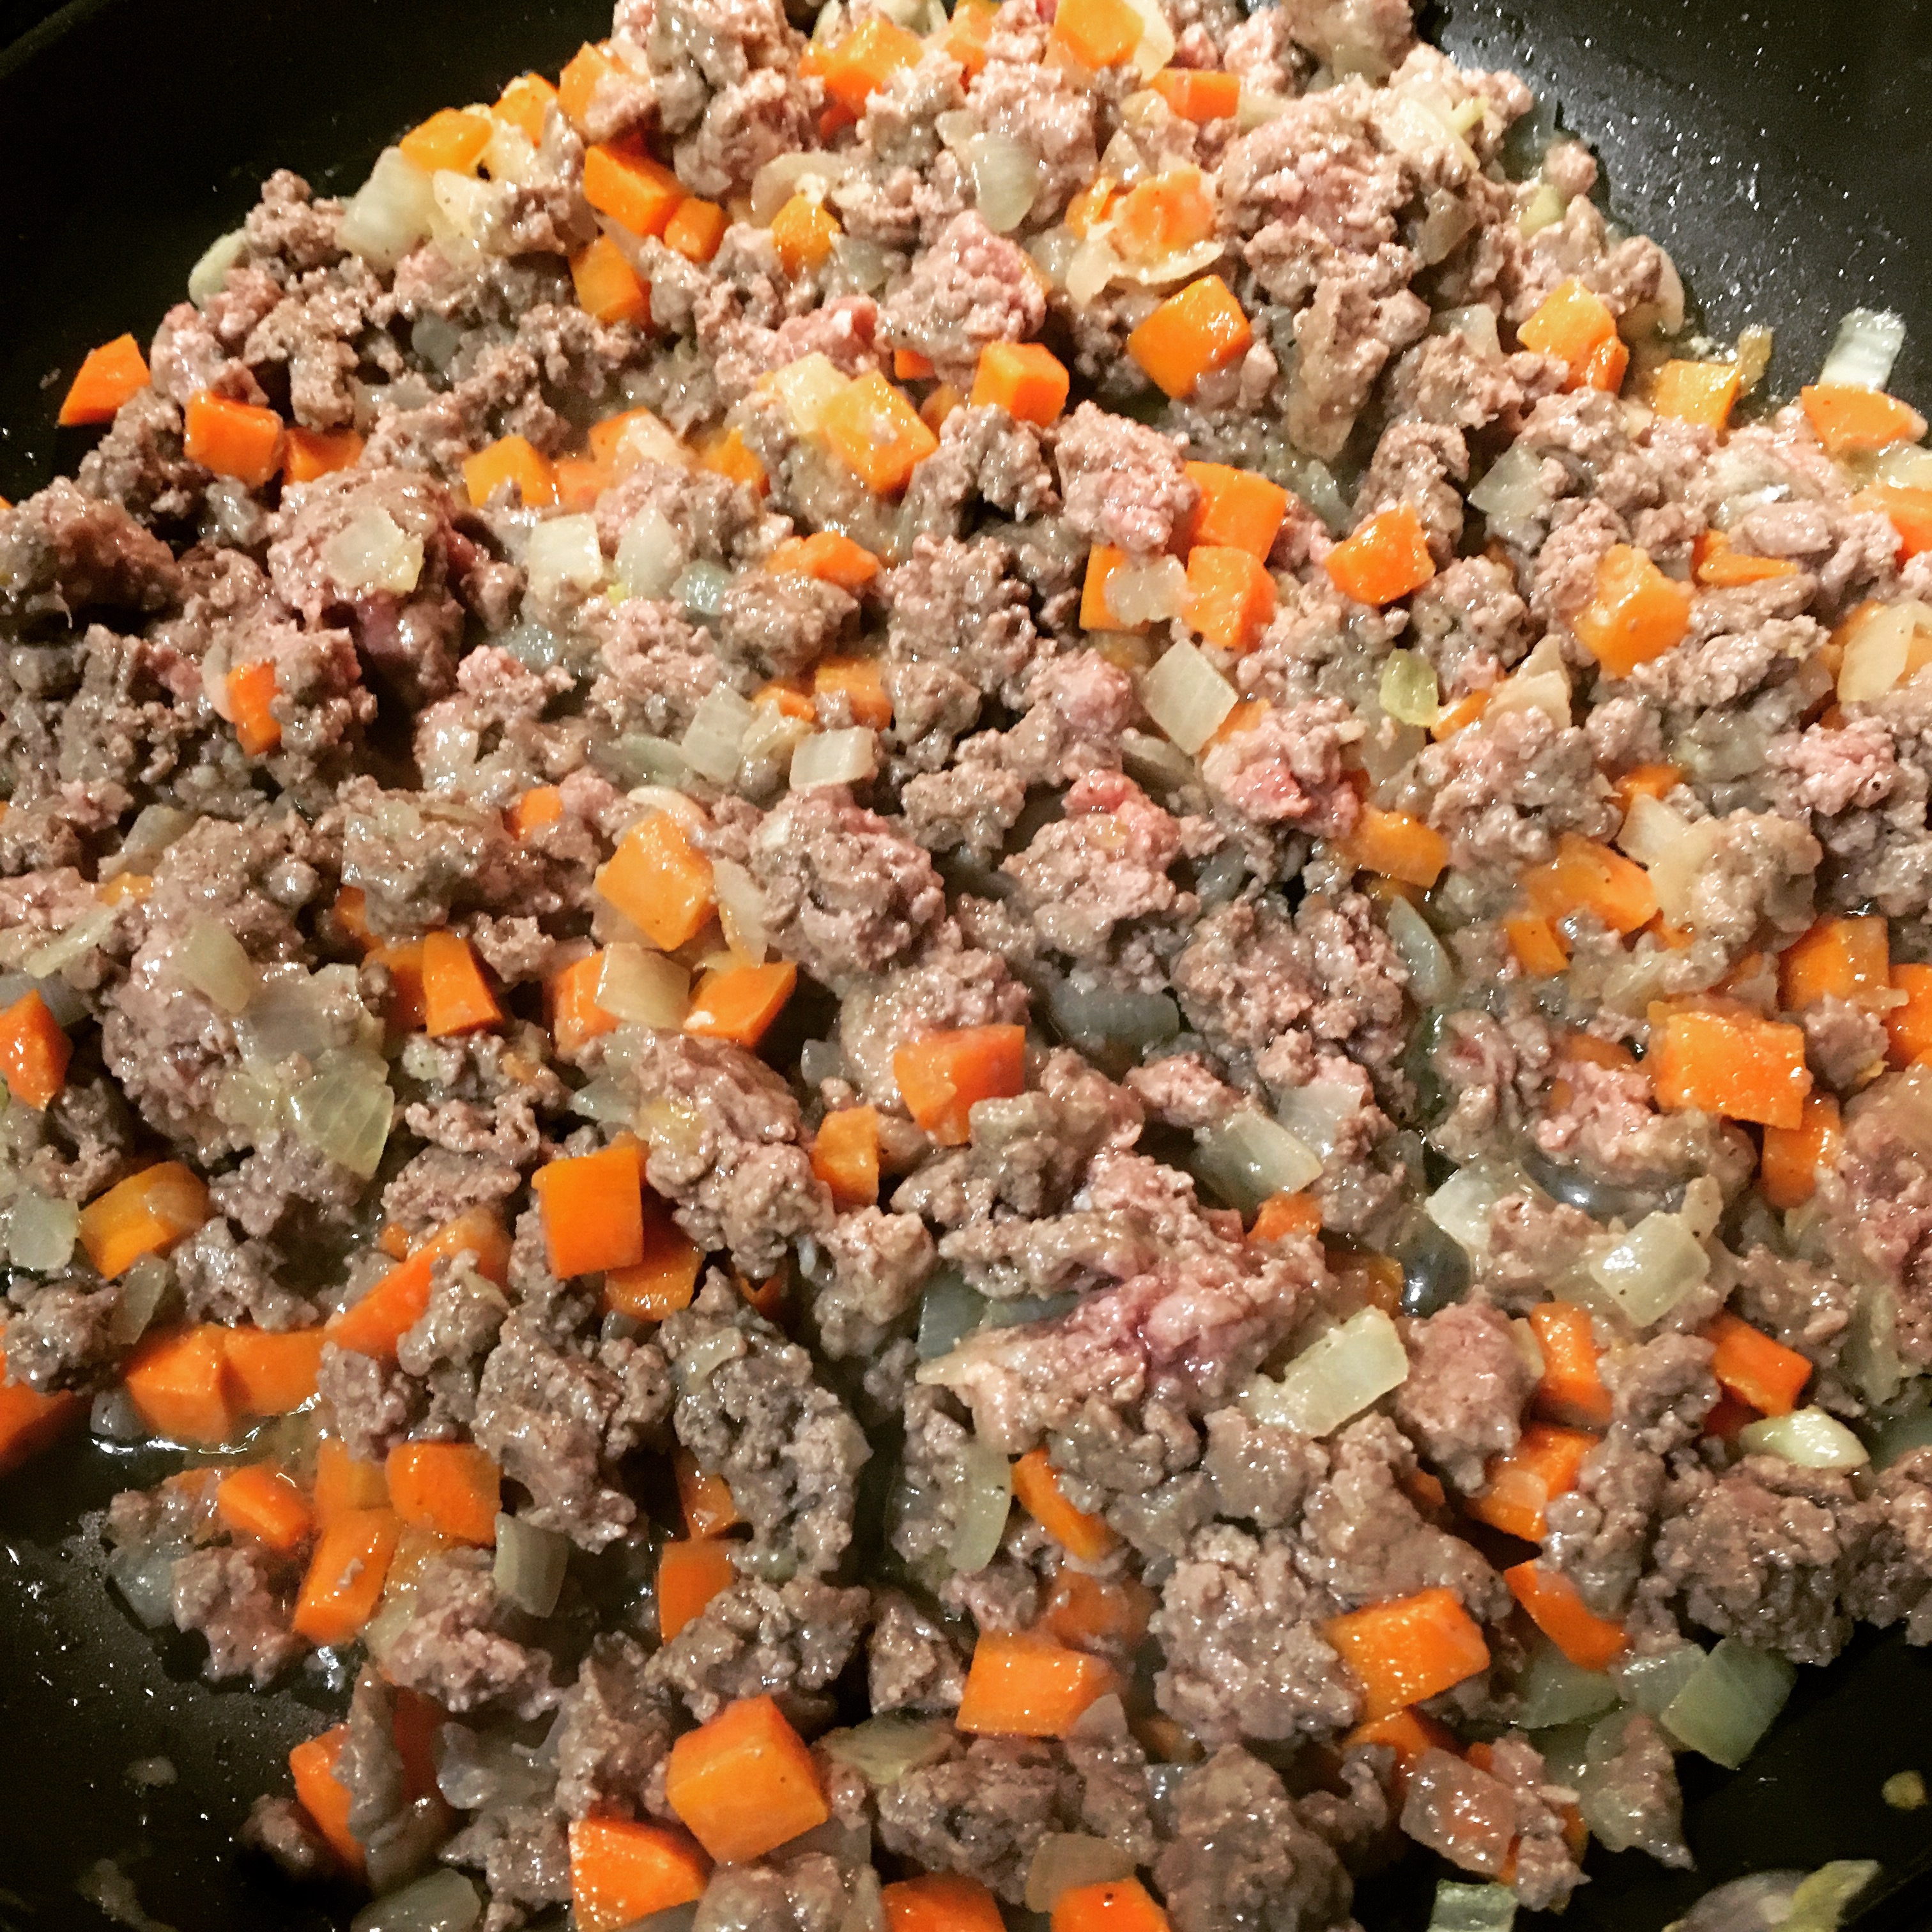
Meanwhile, I preheated the oven to 400 degrees and began on the meat filling. I cooked the onions and carrots for about 4 minutes, added the garlic, and then added the lamb. I seasoned with salt and pepper. Once that was cooked through, I added all of the remaining ingredients - tomato paste, Worcestershire sauce, rosemary, thyme and chicken broth.

img_2355

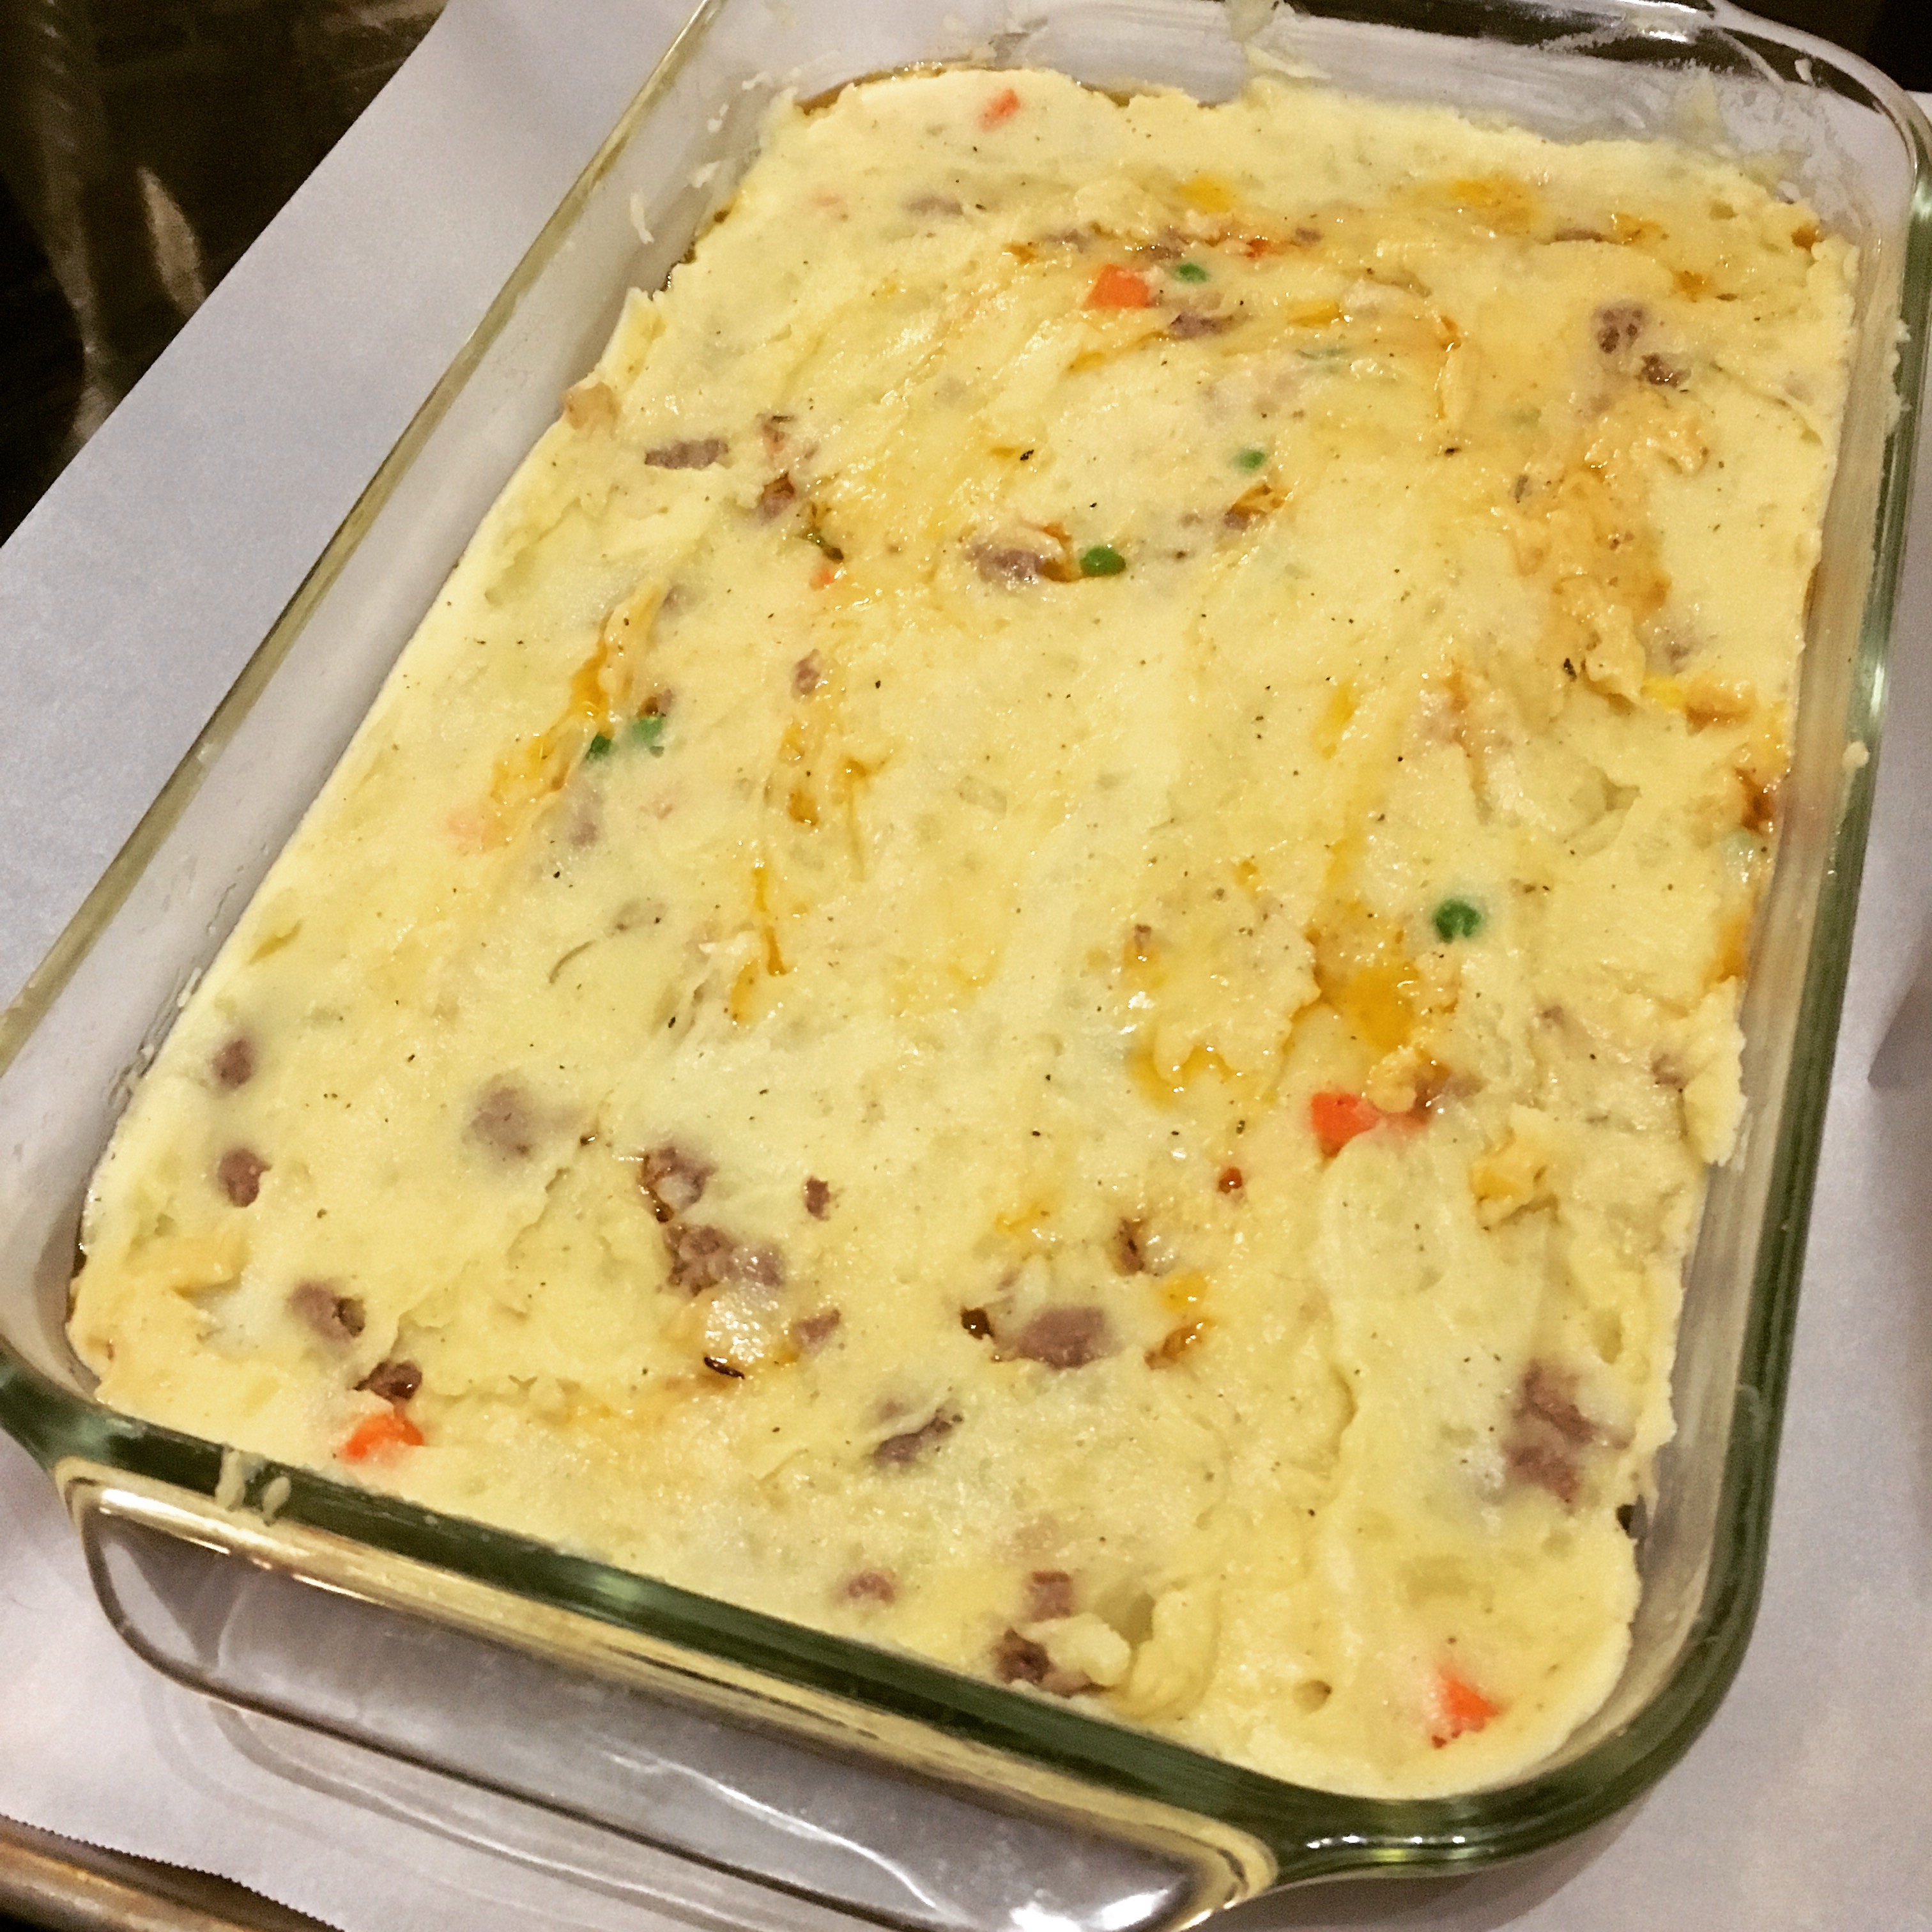
While the sauce thickened, I mashed the potatoes with the half and half, butter, salt and pepper. I separated an egg and stirred in the yolk.  Then, I added the peas and corn (both frozen) to the filling. It went into a glass baking dish and I did my best to smooth the mashed potatoes over the top.

img_2358

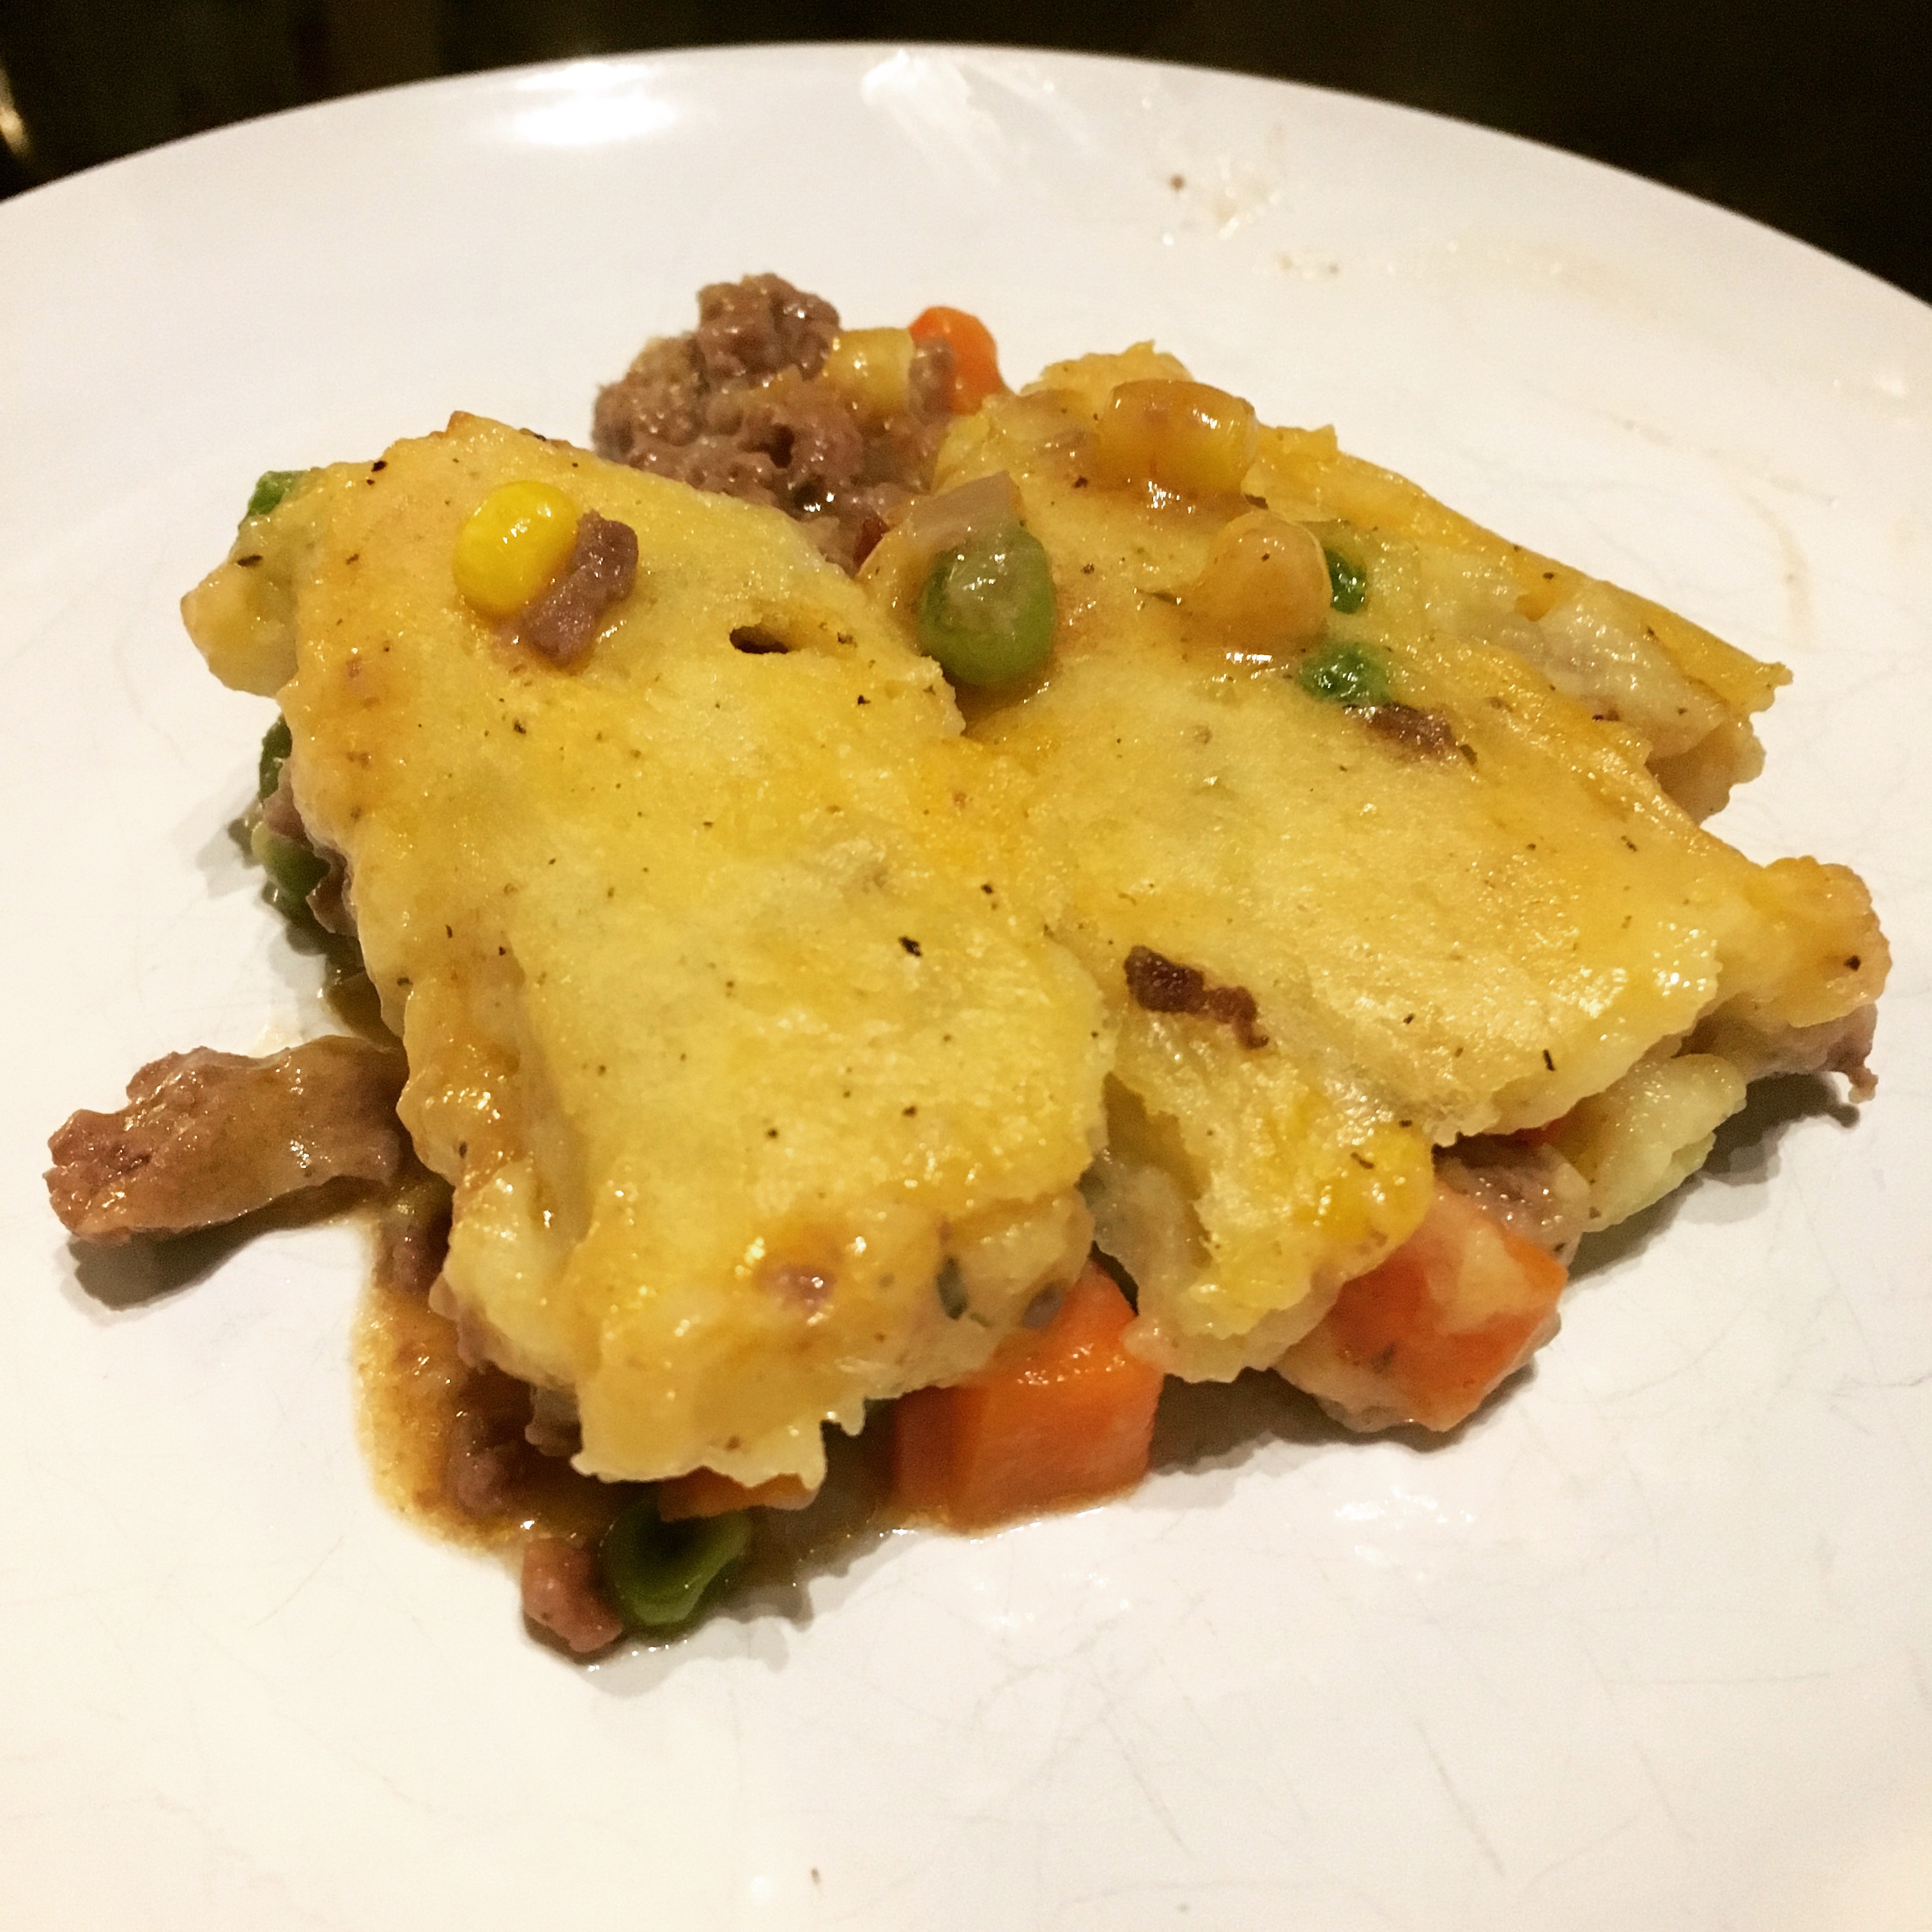
It baked for about a half hour and smelled delicious the entire time. It was torture waiting for it to cool before we could enjoy it.

img_2359

Shepherd’s Pie

  • Servings: 8
  • Time: 1½ hours
  • Print

From: Alton Brown, Food Network

Ingredients

    For the potatoes:
  • 1½ pounds russet potatoes
  • ¼ cup half-and-half
  • 2 ounces unsalted butter
  • ¾ teaspoon kosher salt
  • ¼ teaspoon freshly ground black pepper
  • 1 egg yolk
  • For the meat filling:

  • 2 tablespoons canola oil
  • 1 cup chopped onion
  • 2 carrots, peeled and diced small
  • 2 cloves garlic, minced
  • 1 ½ pounds ground lamb
  • 1 teaspoon kosher salt
  • ½ teaspoon freshly ground black pepper
  • 2 tablespoons all-purpose flour
  • 2 teaspoons tomato paste
  • 1 cup chicken broth
  • 1 teaspoon Worcestershire sauce
  • 2 teaspoons freshly chopped rosemary leaves
  • 1 teaspoon freshly chopped thyme leaves
  • ½ cup fresh or frozen corn kernels
  • ½ cup fresh or frozen English peas

Directions

  1. Peel the potatoes and cut into 1/2-inch dice. Place in a medium saucepan and cover with cold water. Set over high heat, cover and bring to a boil. Once boiling, uncover, decrease the heat to maintain a simmer and cook until tender and easily crushed with tongs, approximately 10 to 15 minutes. Place the half-and-half and butter into a microwave-safe container and heat in the microwave until warmed through, about 35 seconds. Drain the potatoes in a colander and then return to the saucepan. Mash the potatoes and then add the half and half, butter, salt and pepper and continue to mash until smooth. Stir in the yolk until well combined.
  2. Preheat the oven to 400 degrees F.
  3. While the potatoes are cooking, prepare the filling. Place the canola oil into a 12-inch saute pan and set over medium high heat. Once the oil shimmers, add the onion and carrots and saute just until they begin to take on color, approximately 3 to 4 minutes. Add the garlic and stir to combine. Add the lamb, salt and pepper and cook until browned and cooked through, approximately 3 minutes. Sprinkle the meat with the flour and toss to coat, continuing to cook for another minute. Add the tomato paste, chicken broth, Worcestershire, rosemary, thyme, and stir to combine. Bring to a boil, reduce the heat to low, cover and simmer slowly 10 to 12 minutes or until the sauce is thickened slightly.
  4. Add the corn and peas to the lamb mixture and spread evenly into an 11 by 7-inch glass baking dish. Top with the mashed potatoes, starting around the edges to create a seal to prevent the mixture from bubbling up and smooth with a rubber spatula. Place on a parchment lined half sheet pan on the middle rack of the oven and bake for 25 minutes or just until the potatoes begin to brown. Remove to a cooling rack for at least 15 minutes before serving.

Filed Under: book review, recipe Tagged With: comfort food, dinner, fiction, long read, meat

The House of the Spirits + Beef Empanadas

December 17, 2016 by Megan 2 Comments

Almost all books can open your eyes to new experiences - whether it be new cultures, new points of view, or just something you didn’t know before. The same book can have different meaning from person to person, and it can have a different meaning from reading to reading. I don’t love everything I read, but I do appreciate the opportunity I have to come away with a new knowledge of the world, be it big or small.

The House of the Spirits, a selection for one of my book clubs, was one such book. By Isabel Allende, and originally written in Spanish, it is the story of strong Chilean women, spanning three generations. I don’t have a strong opinion about it either way, but in the end, I’m glad I read it.

51RR9yHMRCL._SY344_BO1,204,203,200_.jpg

It was not the easiest book for me to get into, and if I hadn’t been on vacation with a limited selection of reading material, I might have put it down and called it a day. As captivating as these three women were, the common thread throughout all of their narratives was Esteban, a really rather unlikeable character, who outlived all of them.

With elements of magical realism, like many Latin American stories, we follow Clara the Clairvoyant, her daughter Blanca and her granddaughter Alba as they live in Esteban’s orbit. For all of the beautiful writing and the expansive time covered, it feels as though the story slags on, with so little happening in any given chapter. Until the end, when Alba - the joy of Esteban’s life and who feels like the most important character - takes revolutionary steps that not only change her family forever but her country too.

It is in this part of the book, while stuck in the house during a curfew, that the maids decide to make empanadas as a way of entertaining themselves. I have always loved empanadas and thought making them on a very snowy day in Detroit would be a great way to entertain myself too!

I found a recipe from The New York Times for beef empanadas and went to work. In an attempt to save time, I used refrigerated dough, as suggested by a different recipe. Looking back, I wish I’d made the dough included in the original recipe (I’ll include it below). If you do decide to use refrigerated dough, you will probably need 2 packages, or 4 total pie crusts.

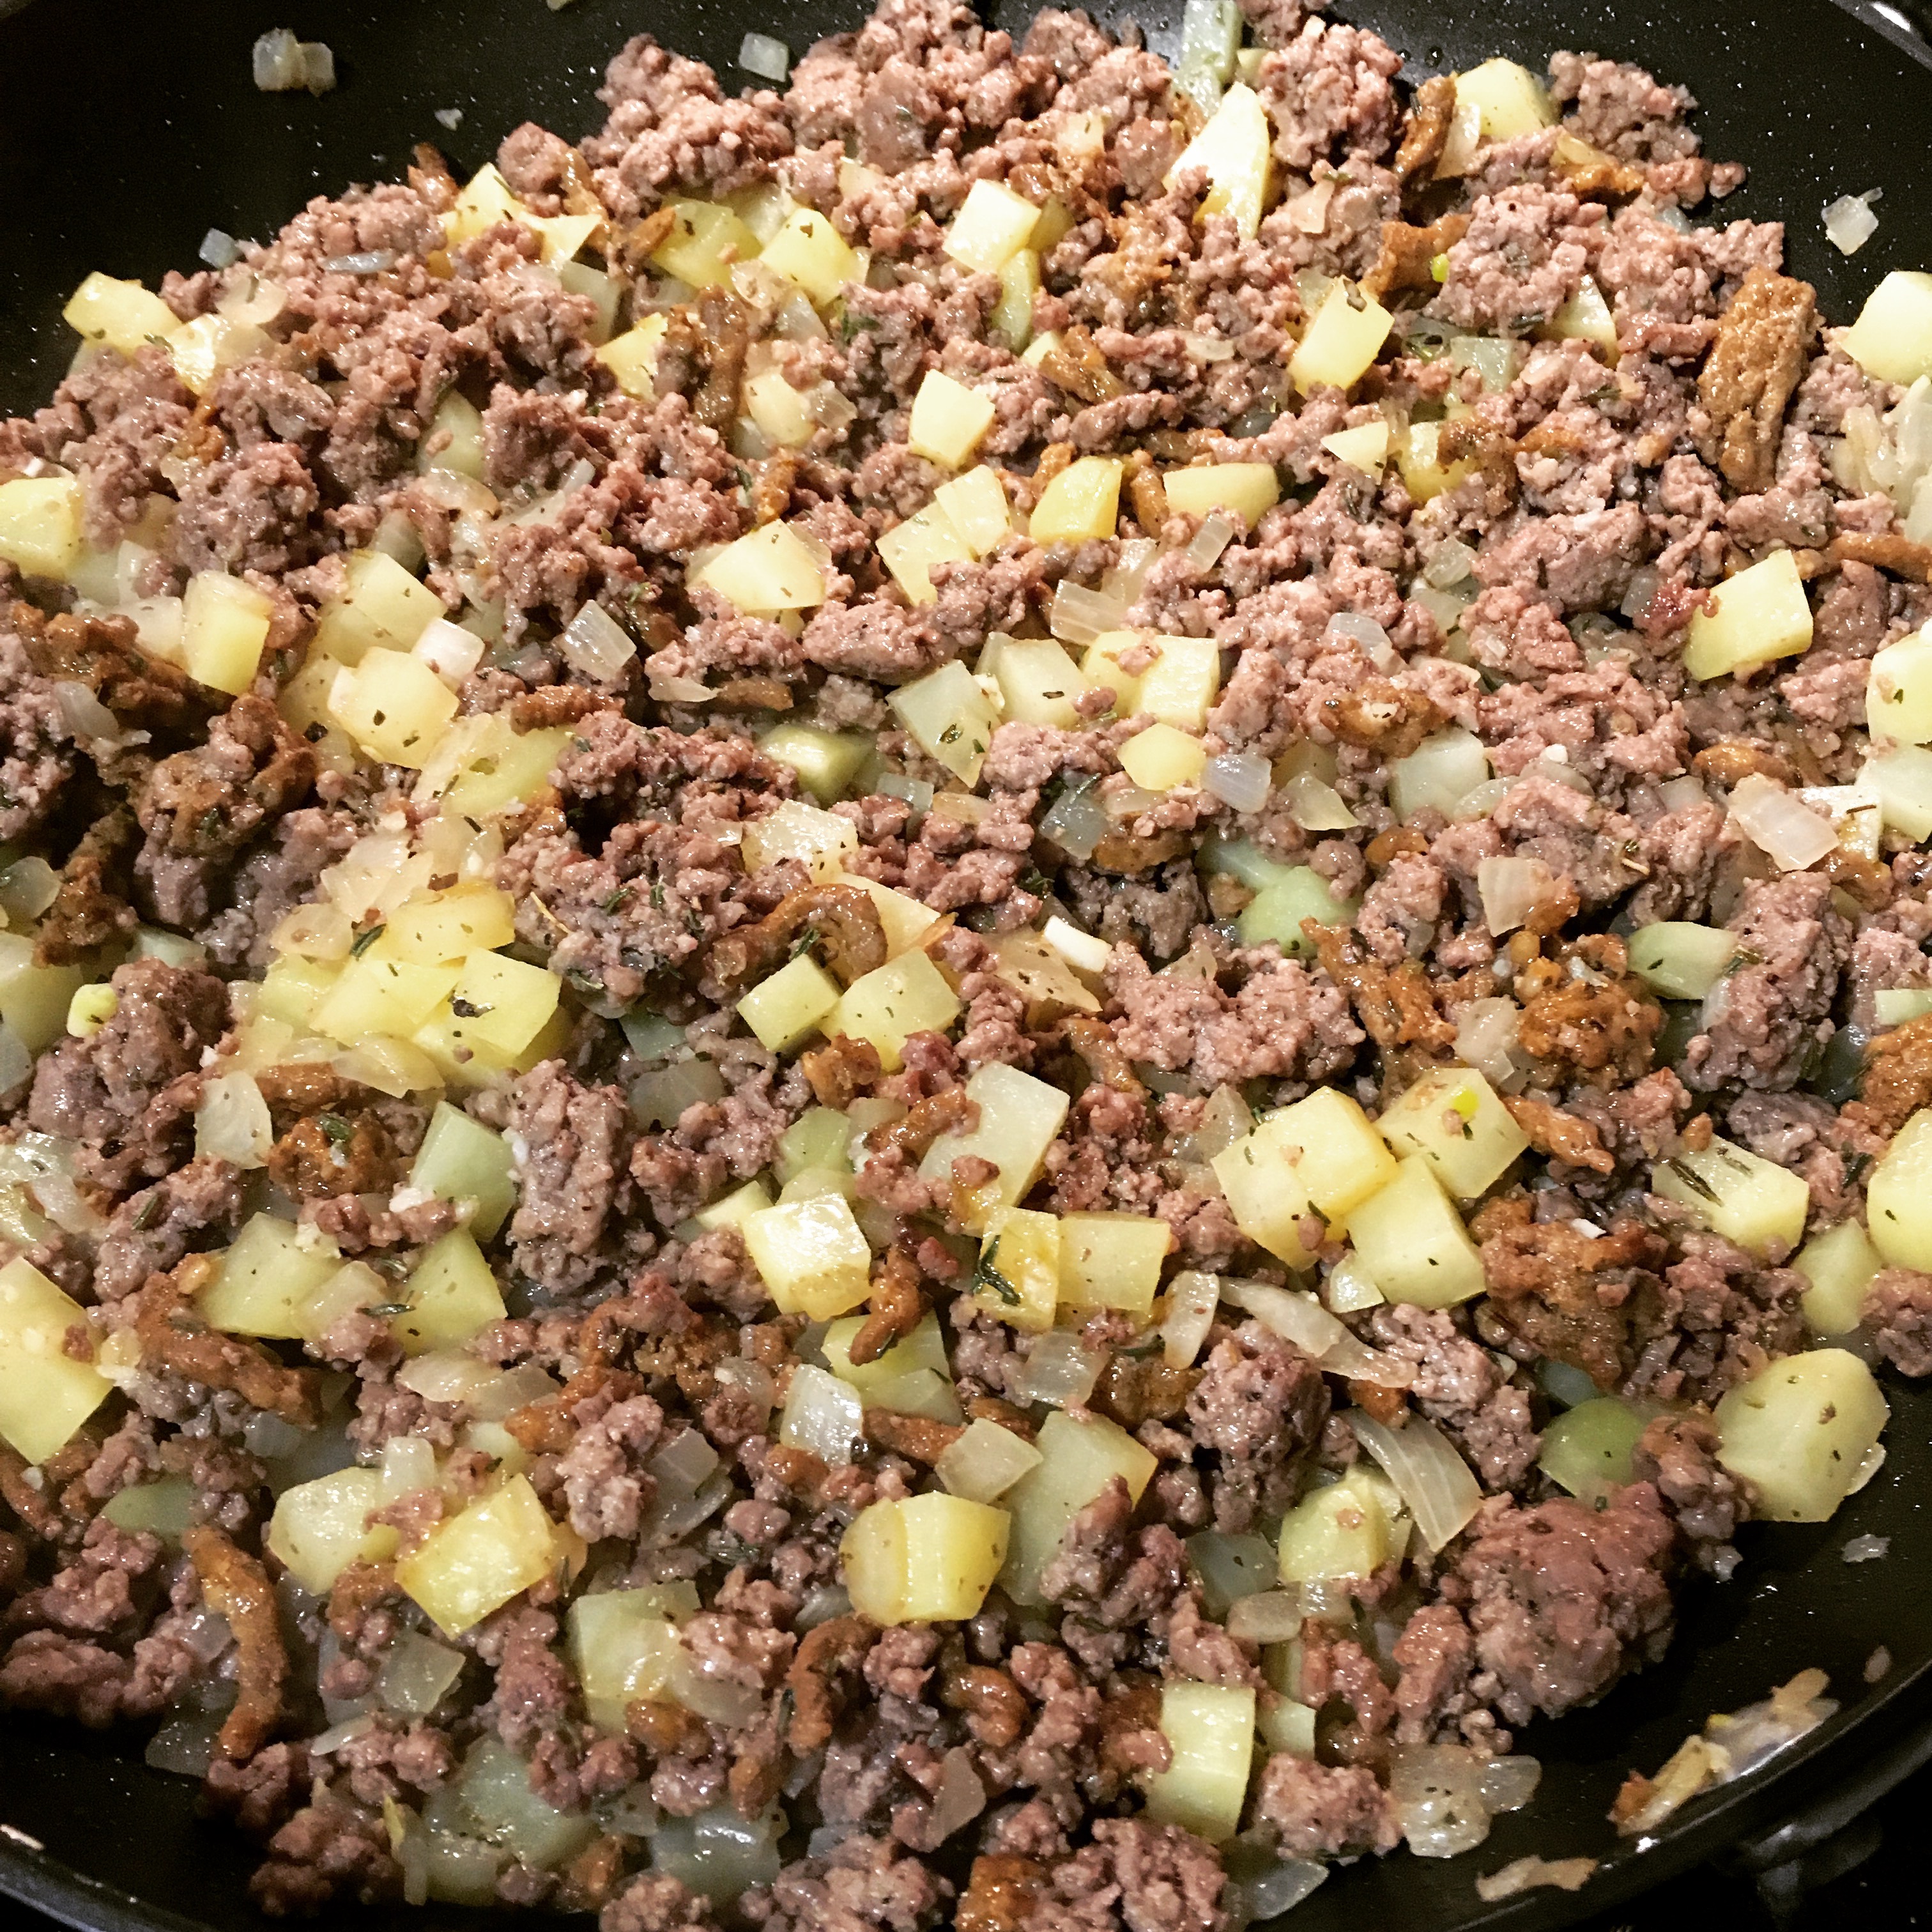
Since my dough was already made, I started with the filling. I used ground beef and ground chorizo, because I already had them on hand - I think they work just as well. I chopped the onion and set the beef to cooking on the stovetop.

img_2340

While the beef browned, I peeled and diced my potatoes. Once the beef was nearly cooked through, I added the onion and the chorizo to the pan, allowing them to cook for about 10 minutes. Then I added the potatoes, garlic and spices, seasoning with salt and pepper.

img_2341

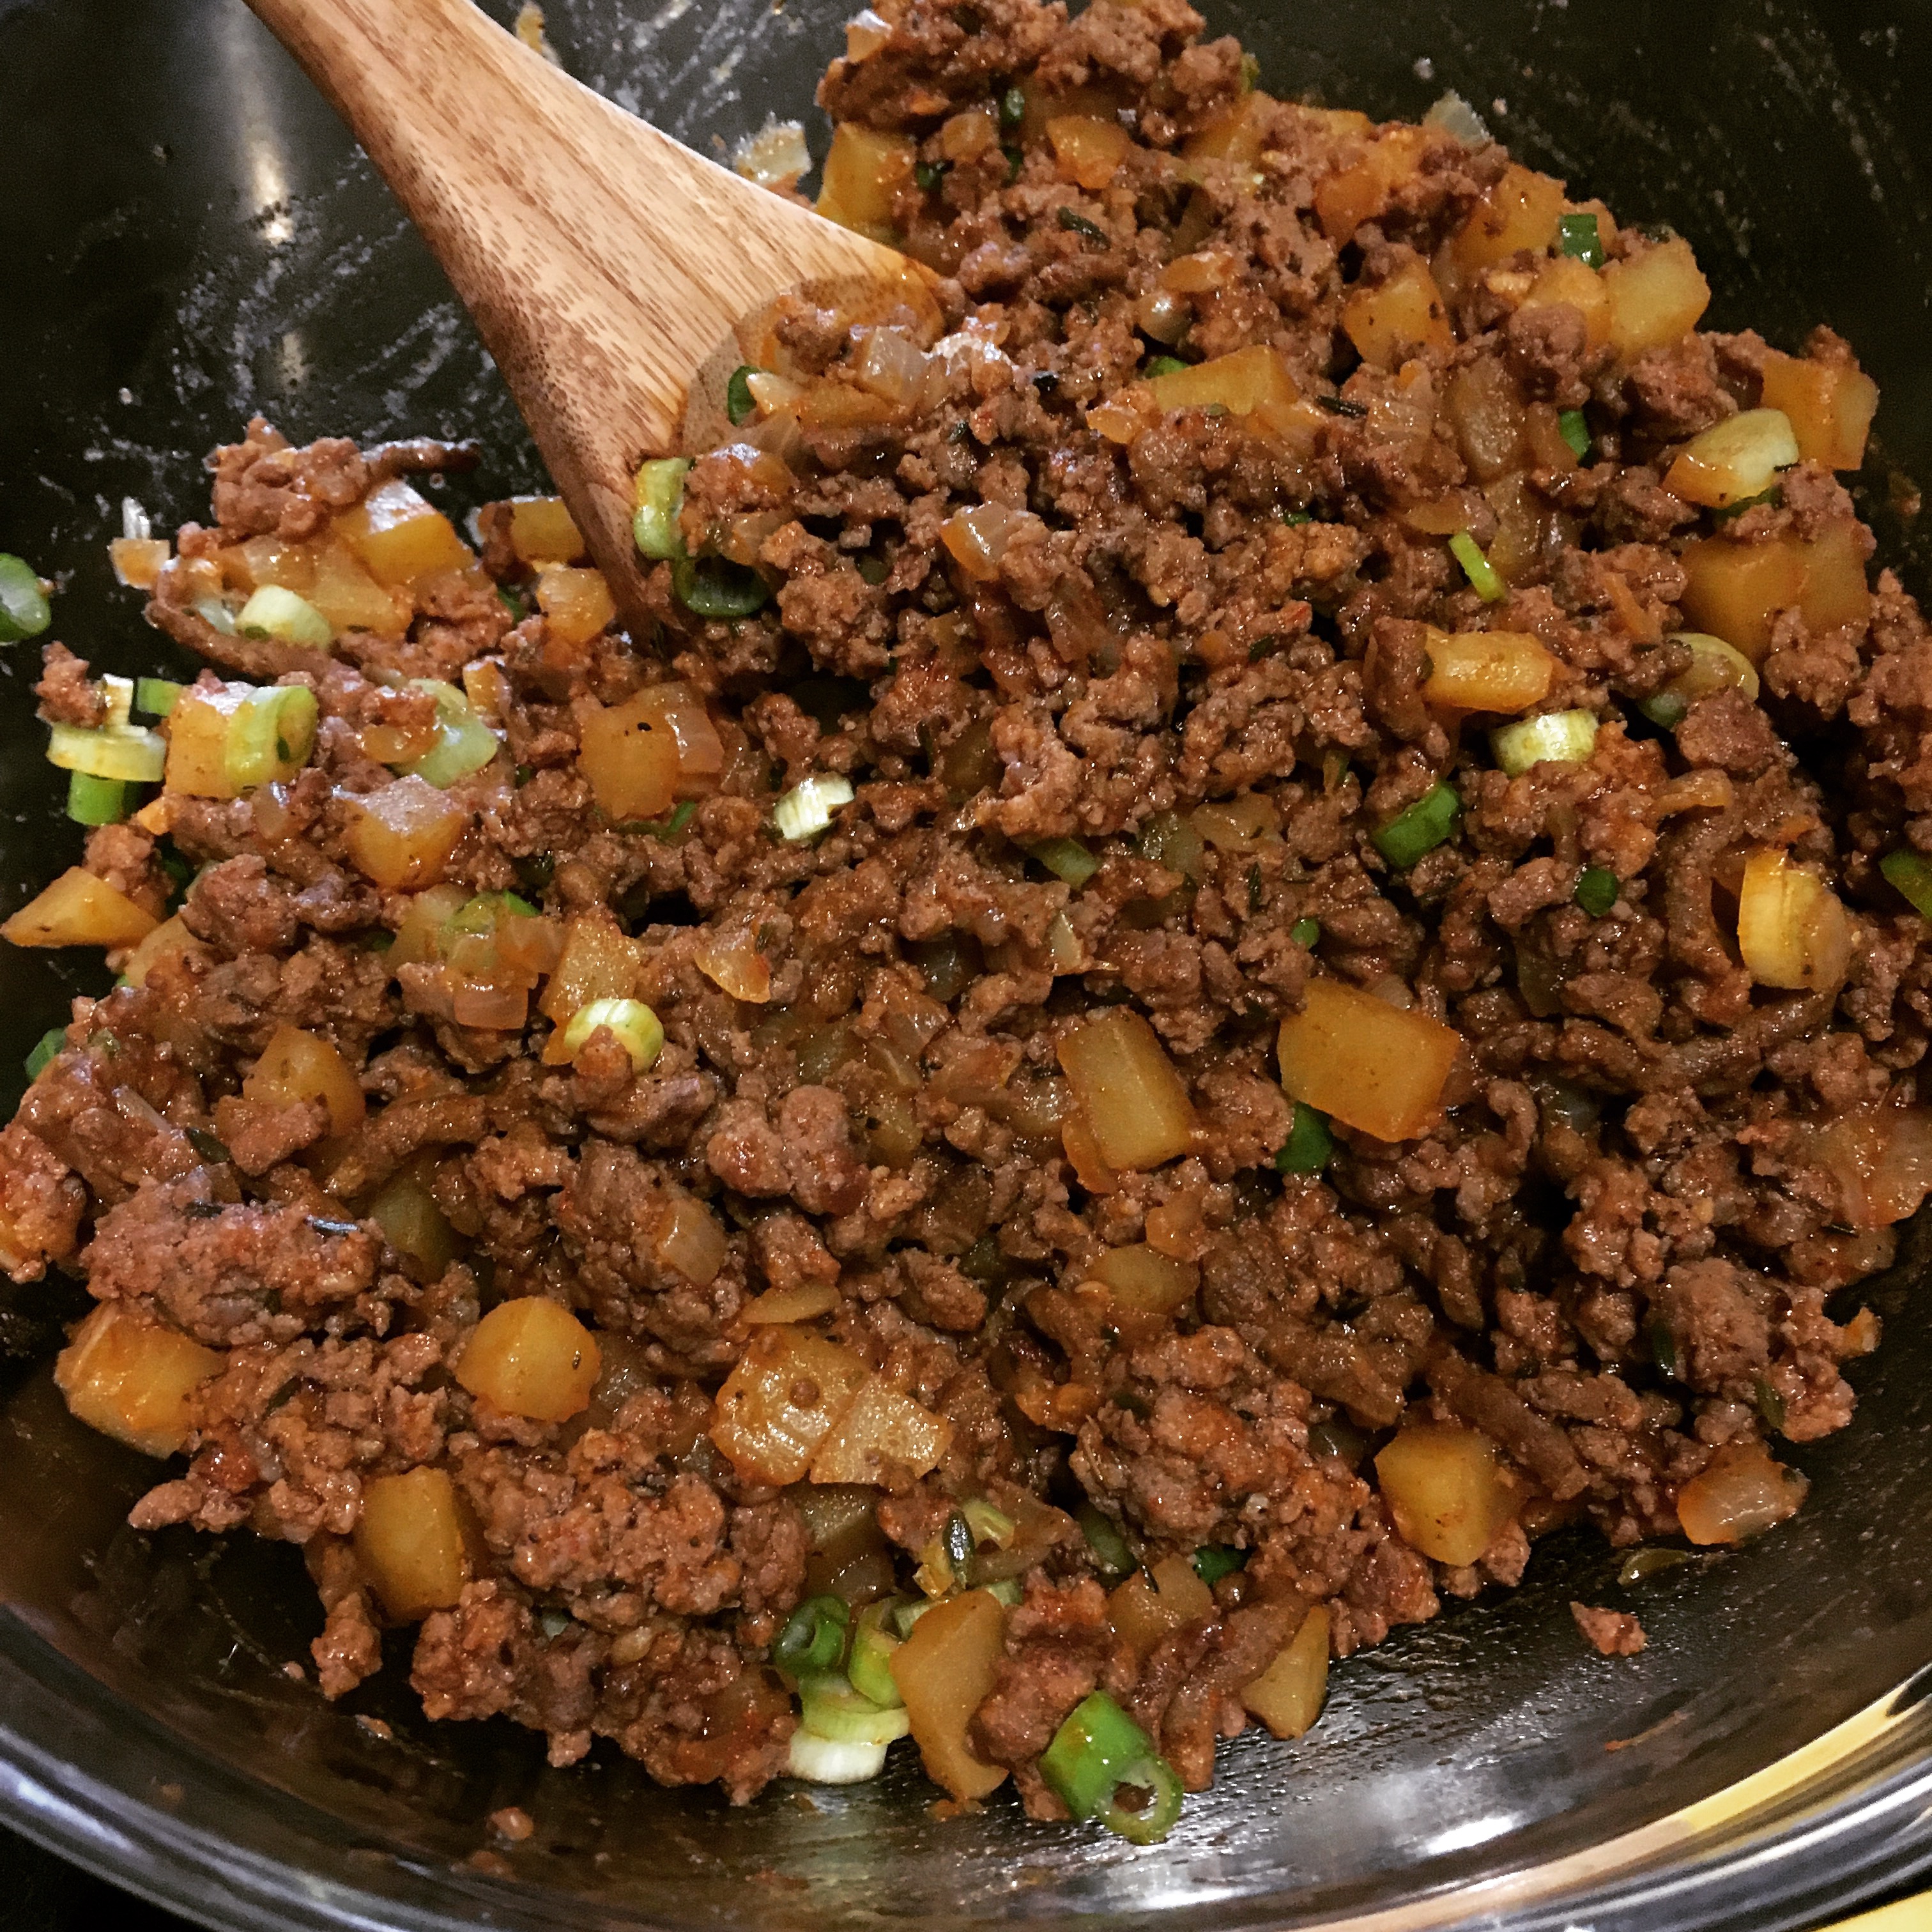
After a few more minutes, I added the tomato paste, paprika, cayenne pepper (about an ⅛ teaspoon) and a cup of water. It began simmering and I let it all cook together for another 10 minutes.

While that cooked, I also chopped my scallions and made two hard-boiled eggs. Once the filling was finished, I put it in a bowl to cool and added the sliced scallions.

img_2342

I preheated the oven to 375 degrees and started making the dough rounds. Unrolling the dough was surprisingly difficult, but it did add this bright spot to my cooking.

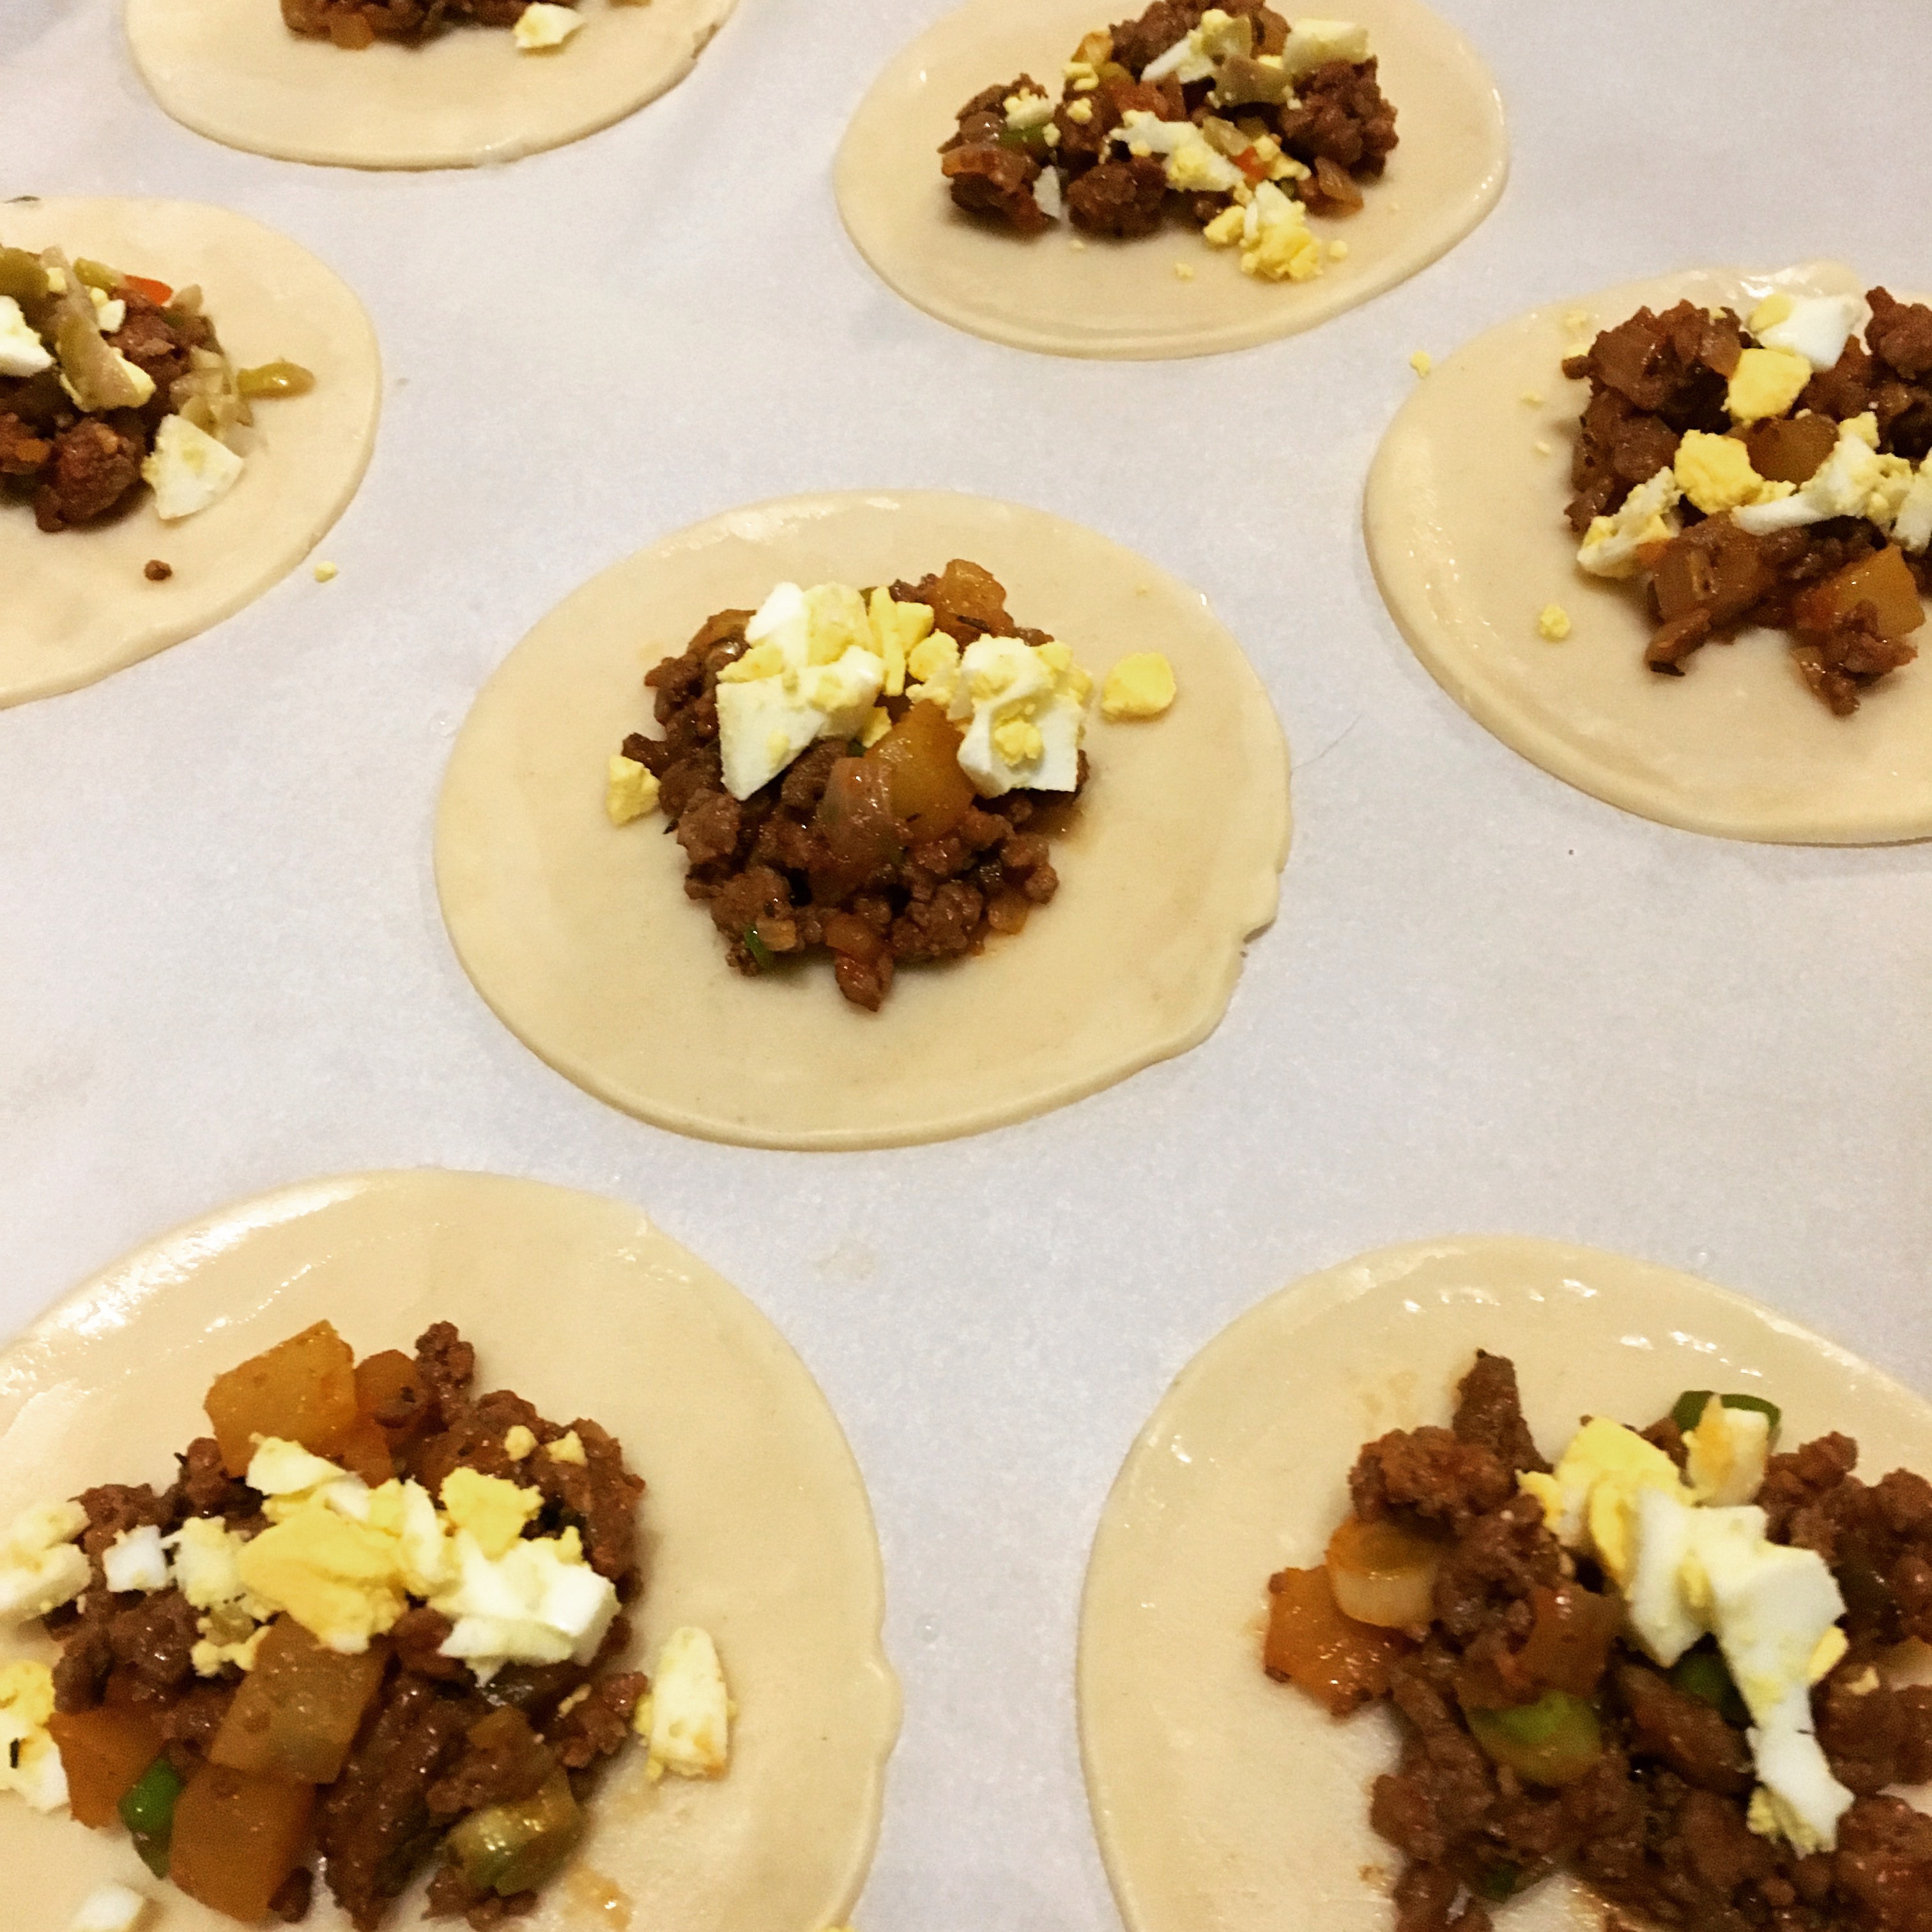
I got about 15 total rounds out of my two sheets of dough, only enough to use half the filling. (The rest of the meat and potato mixture made a great addition to breakfast burritos as well as a quick dinner of tacos.) On each round, I added about 1 tablespoon of the meat filling, a sprinkle of chopped hard-boiled eggs, and a sprinkle of finely chopped green olives. Using more filling made them difficult to close.

img_2345img_2346

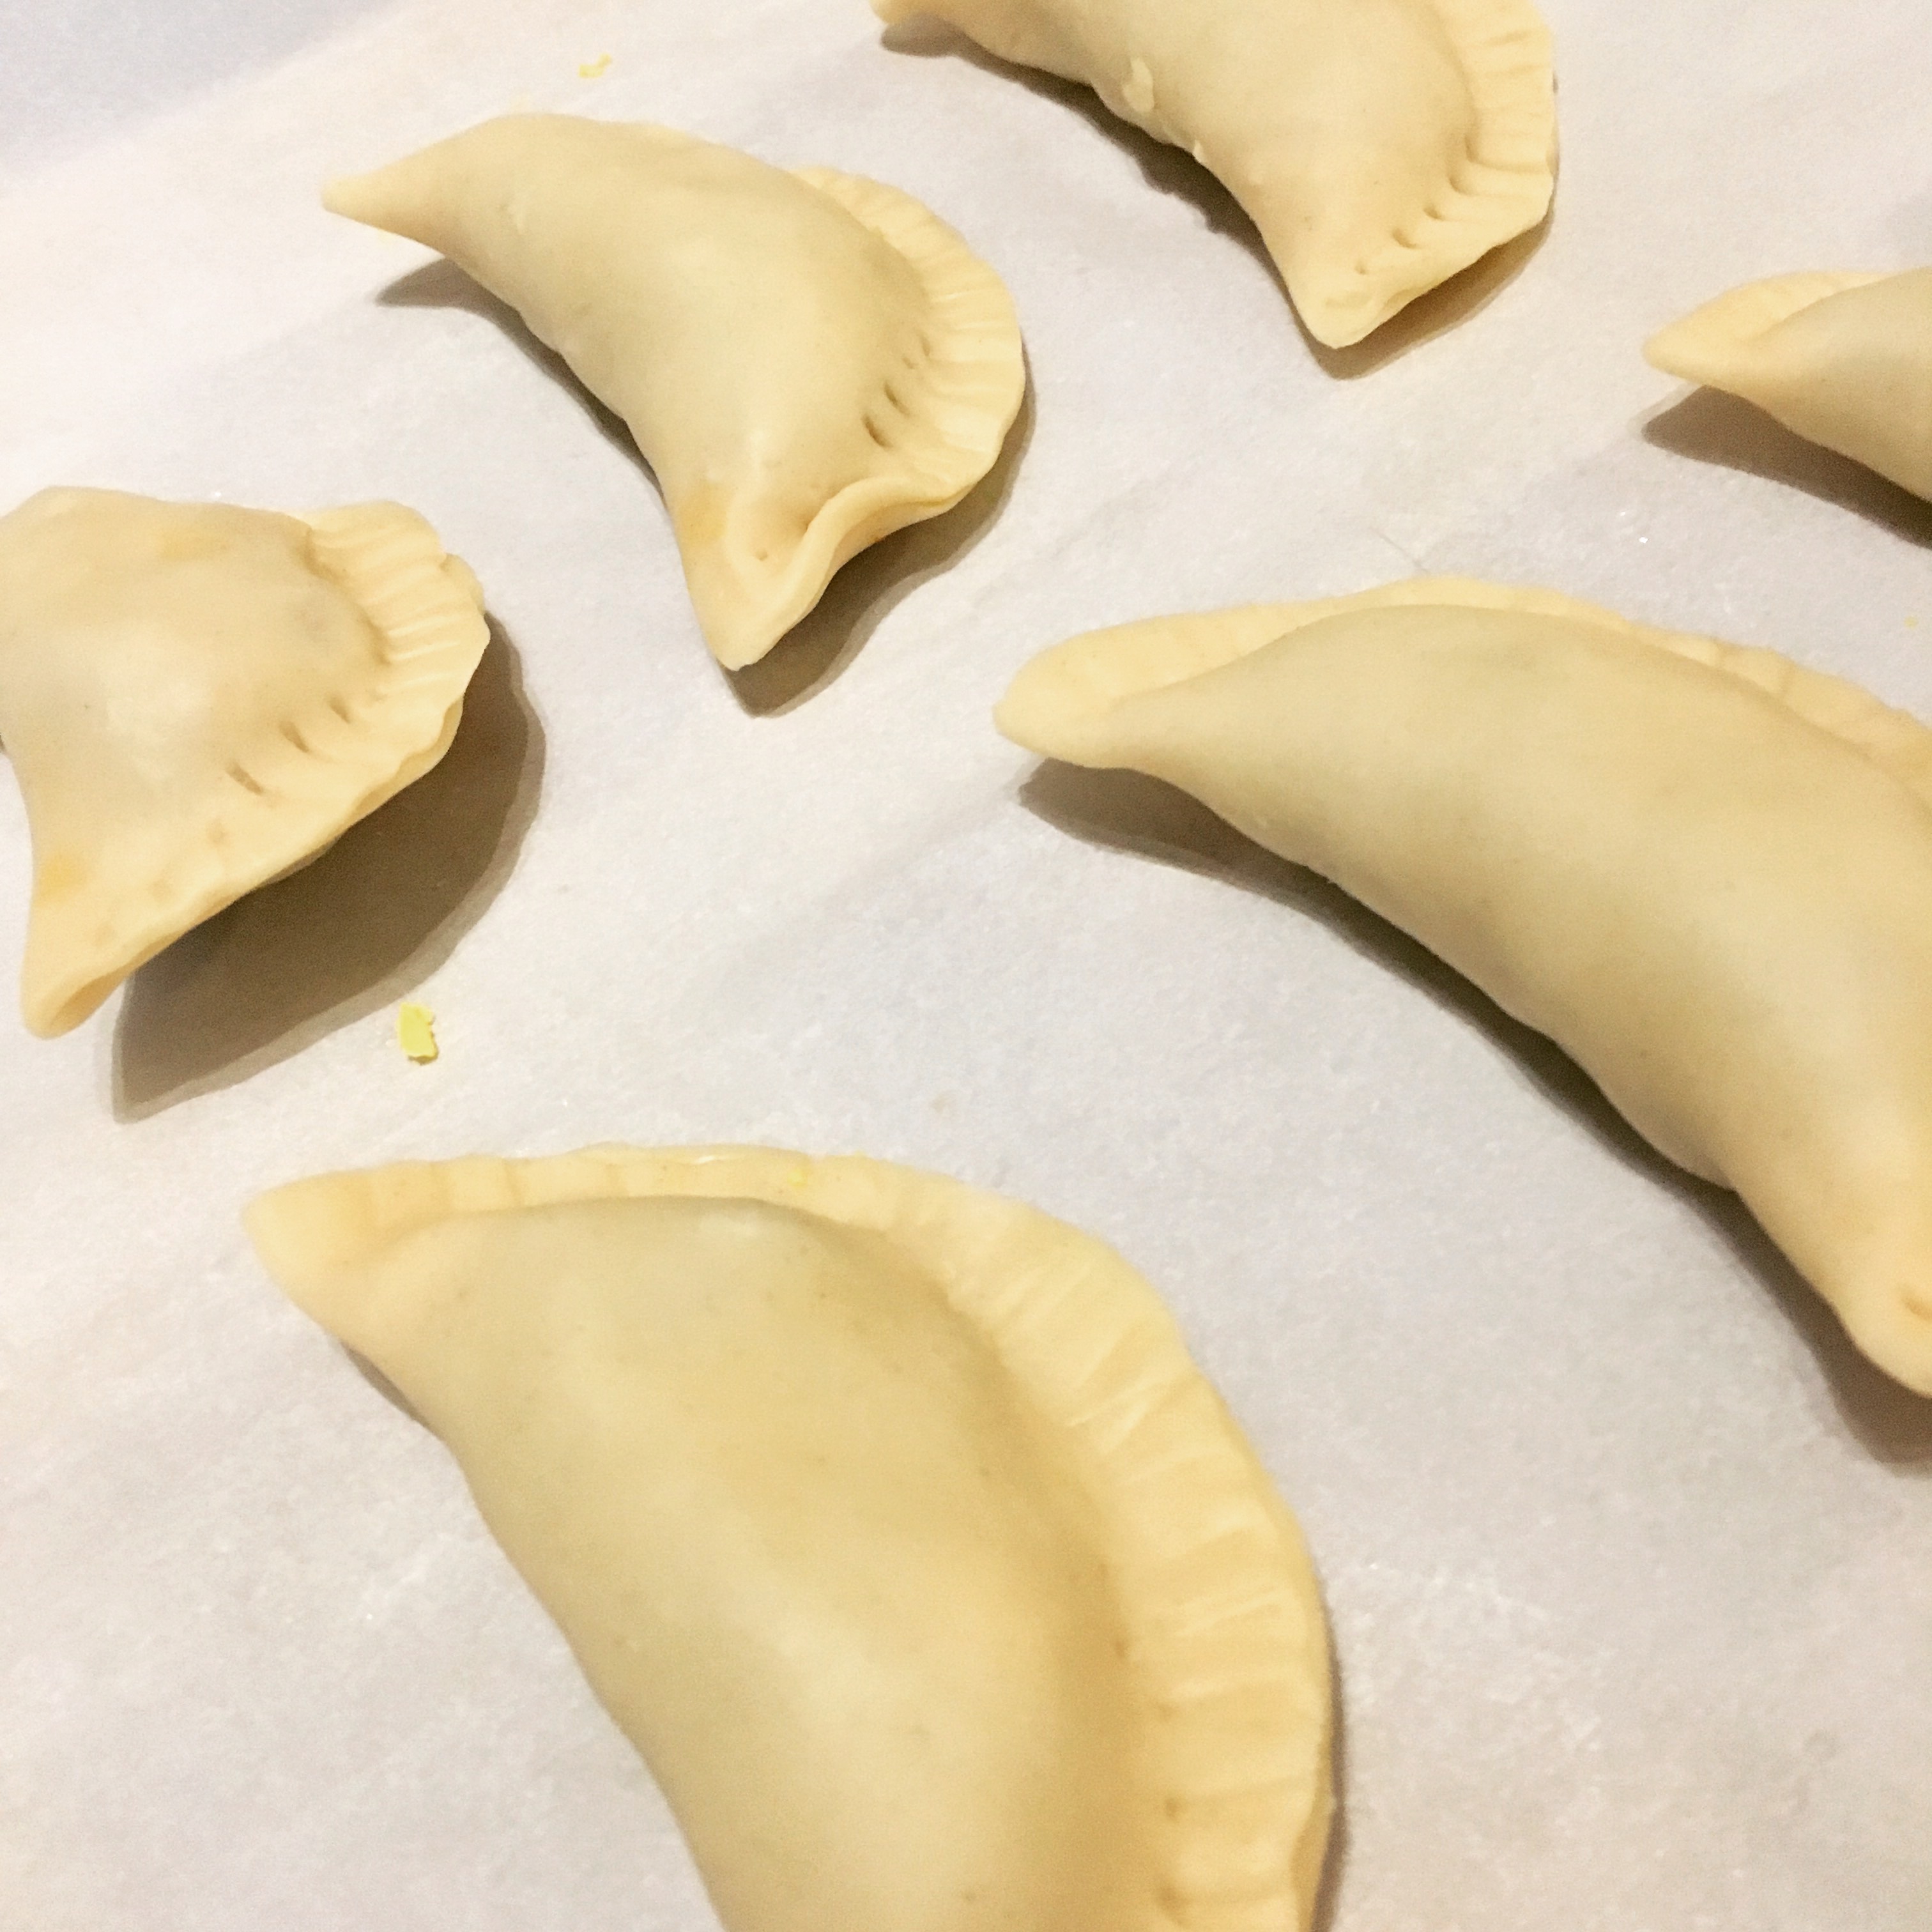
I brushed them with some melted butter and put them in the oven on a parchment lined baking sheet for 15 minutes. They didn’t come out quite as golden as they might have if I’d made my own dough, but they still tasted delicious.

img_2347

Beef Empanadas

  • Servings: makes 30-36
  • Time: 1½ hours
  • Print


From: The New York Times Cooking Section

Ingredients

    Dough Ingredients

  • 4 oz lard or butter, plus more for brushing tops
  • 1½ teaspoons fine sea salt
  • 750 grams all-purpose flour, about 6 cups, more as needed
  • Filling Ingredients

  • 1 pound beef chuck, in 1/8-inch dice (or very coarsely ground)
  • Salt and pepper
  • Lard or olive oil, or a combination, for sautéing
  • 1 cup diced onion
  • 2 ounces diced chorizo (or ground)
  • ½ pound potatoes, peeled and diced
  • 4 garlic cloves, mashed to a paste
  • 2 teaspoons chopped thyme
  • 2 teaspoons chopped marjoram or 1 teaspoon oregano
  • 1 tablespoon tomato paste
  • 1 tablespoon pimentón dulce or paprika
  • Large pinch cayenne
  • Beef or chicken broth, as necessary, or use water
  • ½ cup chopped scallions, white and green parts
  • ¼ cup chopped pitted green olives
  • 2 hard-cooked eggs, sliced

Directions

  1. Make the dough: Put 2 cups boiling water, 4 ounces lard and 1 1/2 teaspoons salt in large mixing bowl. Stir to melt lard and dissolve salt. Cool to room temperature.
  2. Gradually stir in flour with a wooden spoon until dough comes together. Knead for a minute or two on a floured board, until firm and smooth. Add more flour if sticky. Wrap and refrigerate for 1 hour.
  3. Make the filling: Season chopped beef generously with salt and pepper and set aside for 10 minutes. Melt 3 tablespoons lard in a wide heavy skillet over medium-high heat. Add beef and fry until nicely browned, stirring throughout to keep pieces separate, about 5 minutes.
  4. Turn heat down to medium and add onion and chorizo. Keep turning mixture with a spatula, as if cooking hash, until onion is softened and browned, about 10 minutes. Add potatoes, garlic, thyme and marjoram and stir well to incorporate. (Add a little more fat to pan if mixture seems dry.) Season again with salt and pepper and let mixture fry for 2 more minutes. Stir in tomato paste, pimentón and cayenne, then a cup of broth or water. Turn heat to simmer, stirring well to incorporate any caramelized bits.
  5. Cook for about 10 more minutes, until both meat and potatoes are tender and the sauce just coats them — juicy but not saucy is what you want. Taste and adjust seasoning for full flavor (intensity will diminish upon cooling). Stir in scallions and cool to room temperature, then cover and refrigerate until ready to use.
  6. Divide chilled dough into 1-ounce pieces and form into 2-inch diameter balls. Roll each piece into a 4 1/2-inch circle. Lay circles on a baking sheet lightly dusted with flour.
  7. Moisten outer edge of each round with water. Put about 2 tablespoons filling in the center of each round, adding a little chopped green olive and some hard-cooked egg to each. Wrap dough around filling to form empanada, pressing edges together. Fold edge back and finish by pinching little pleats or crimping with a fork.
  8. Heat oven to 375 degrees. Place empanadas on parchment-lined or oiled baking sheet, about 1 inch apart. Brush tops lightly with lard or butter and bake on top shelf of oven until golden, 10 to 15 minutes. Serve warm.

Filed Under: book review, recipe Tagged With: baking, book club, dinner, fiction, long read, lunch, magical realism, meat

The Nix + Norwegian Fish Stew

November 17, 2016 by Megan Leave a Comment

With my ambitious yearly goal to read between 48 and 52 books (depending on the year), I don’t usually take the time to read books that are longer than 500 pages. Too many times I have found myself slogging through a book I didn’t particularly enjoy just to get through it and move on to the next. I thought The Nix would be one of those books, but I’m glad I was wrong.

The Nix Book Cover

Nathan Hill’s lengthy debut novel - coming in at 628 pages - was suggested as the latest selection for one of my book clubs. We even gave ourselves extra time to read it, meeting again after 2 months instead of the usual 1-ish, which really just gave me more time to stall. Luckily, a well-placed work trip to California gave me ample time to catch up and fully dive in to a book I really enjoyed.

The Nix is all over the place - but in a good way. Hill takes you from 2011 to 1988 to 1968 and back again. You’ll see the world from the eyes of both minor and major characters, and while the reasons aren’t always clear, it definitely comes together at the end.

In 2011, Faye finds herself in a bit of a predicament - one that lands her all over the news and opens up a long-lost connection to her son Samuel, who she abandoned decades earlier. For reasons even he is still trying to figure out, Samuel begins to explore his mother’s past to uncover the truth. On her own journey, Faye sets out to face the haunting folktales of her youth.

What Samuel finds is not only surprising, but life-changing, too. Later, on a trip to her family’s native Norway, Faye also learns about her father’s past, which she confronts over a hot bowl of fish stew and some crusty bread.

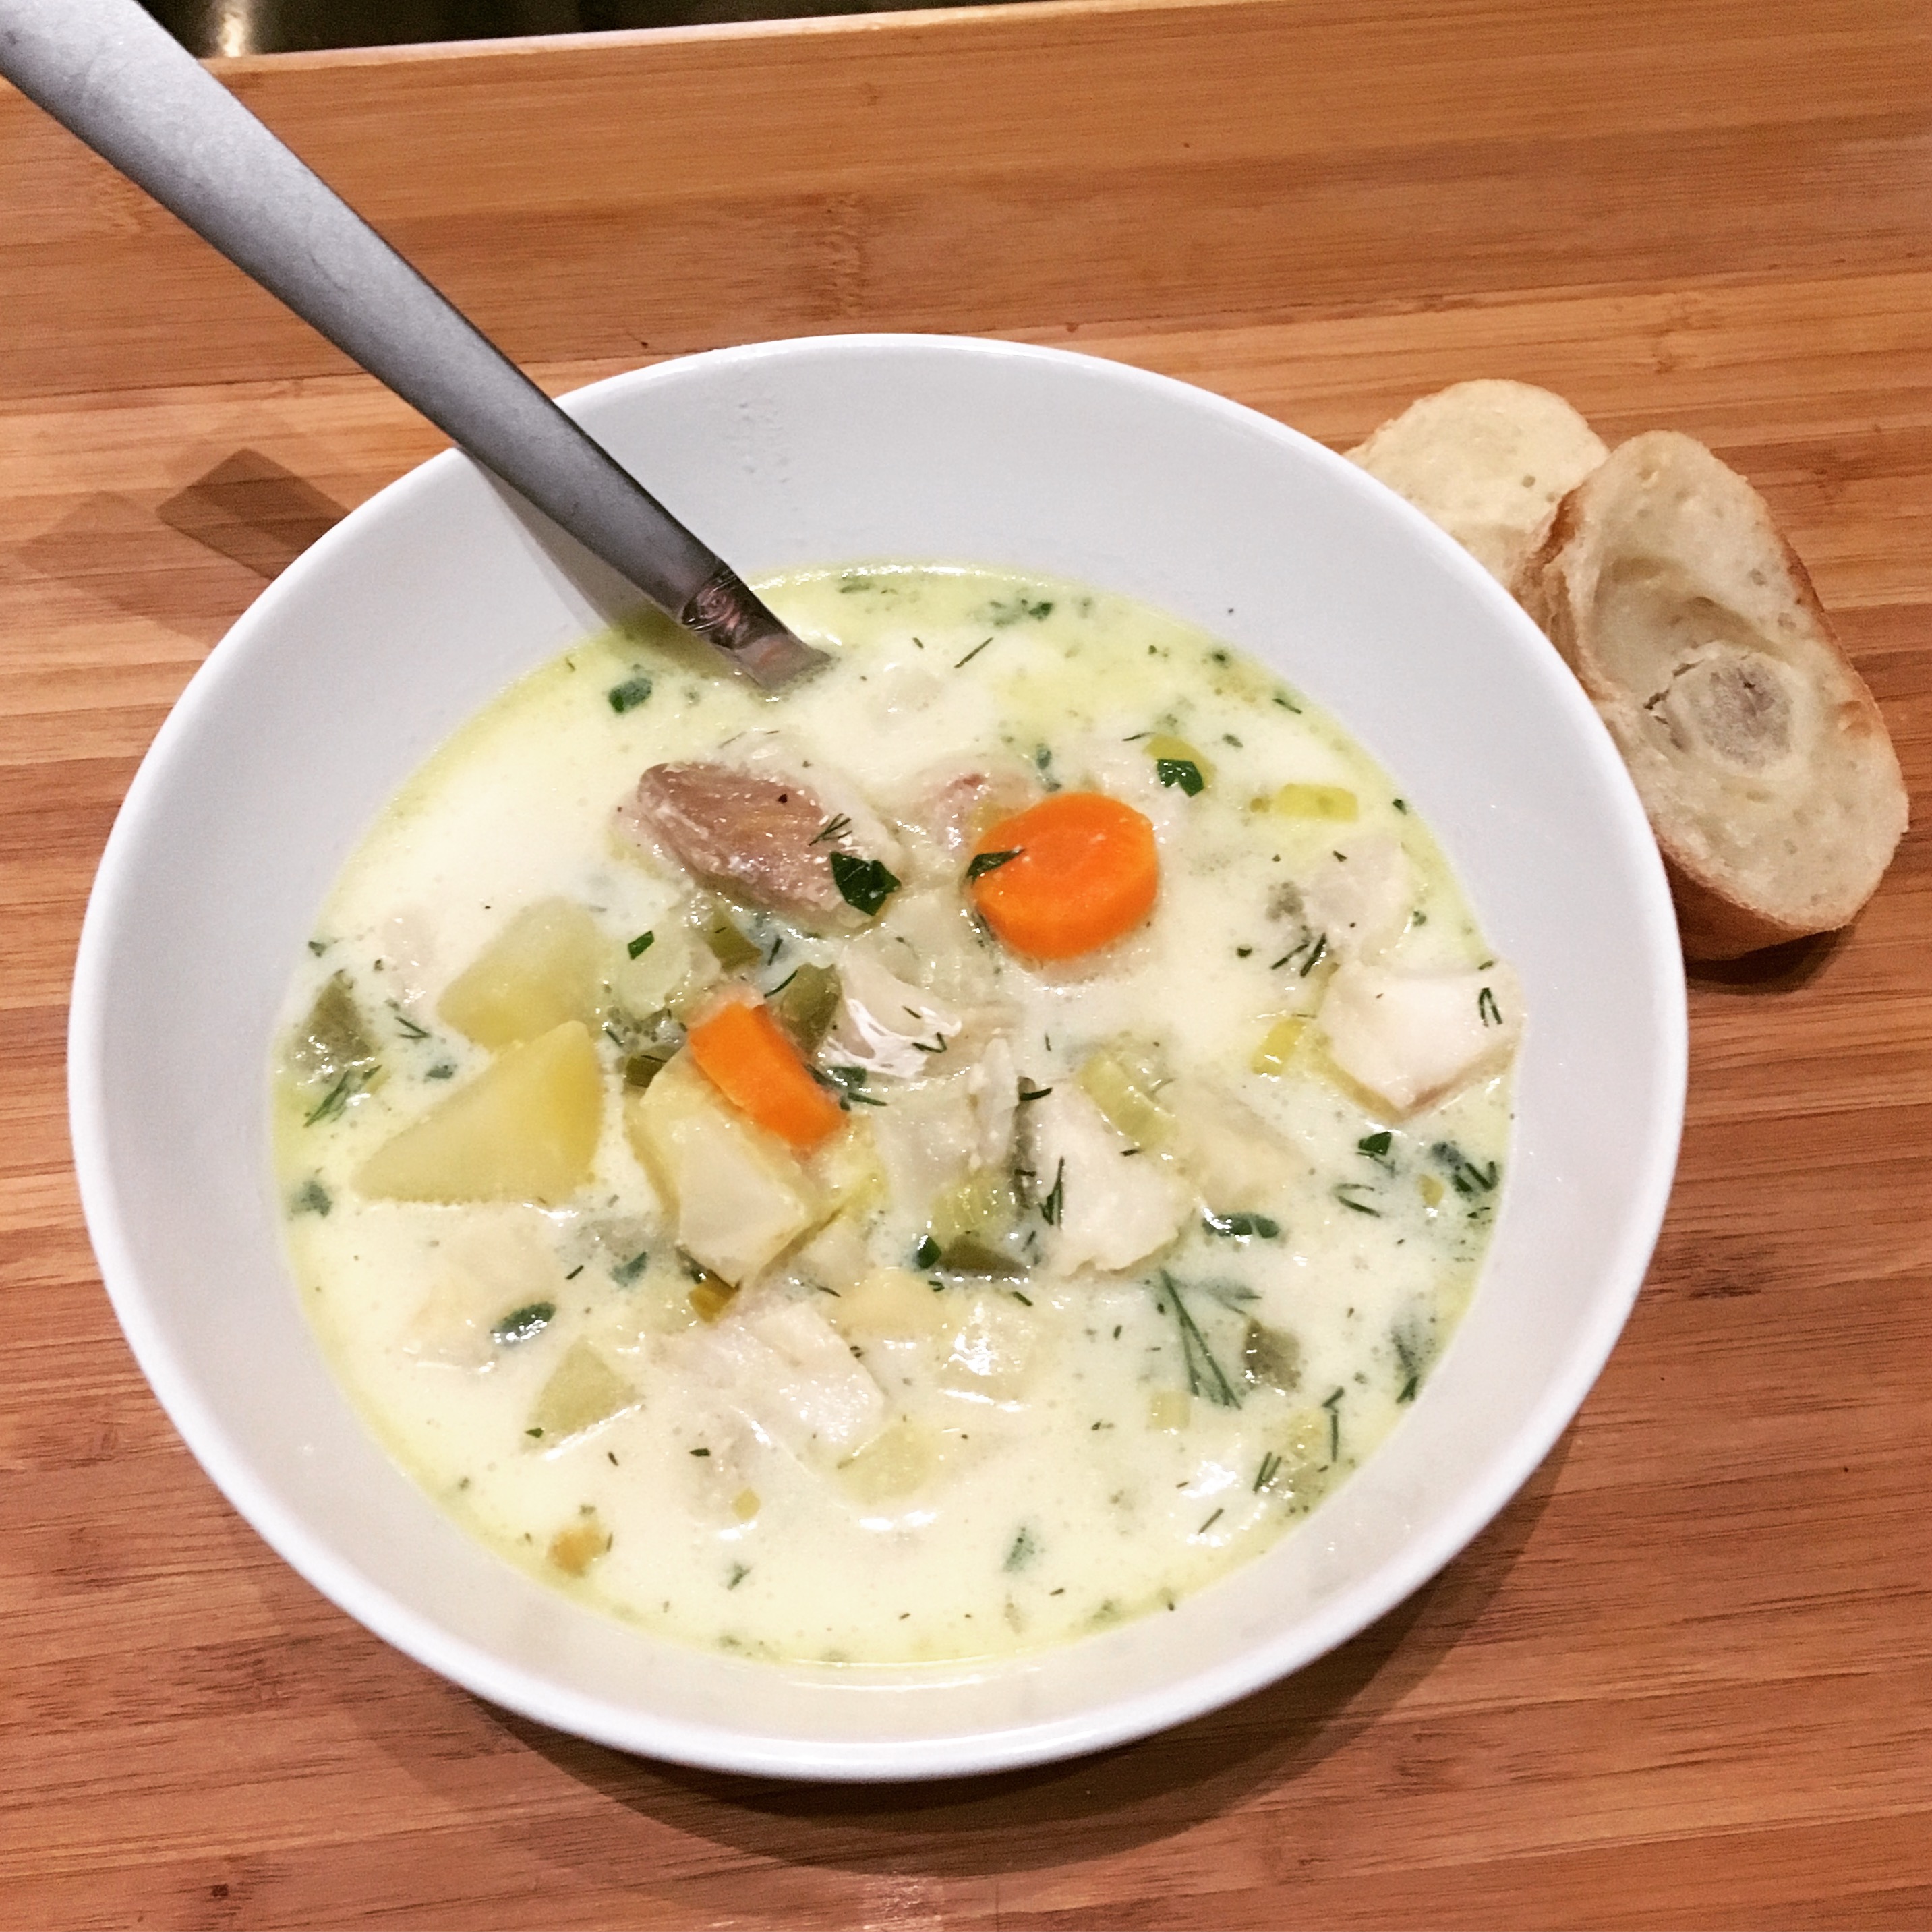
I found a recipe on Saveur’s website for Fiskesuppe, or a Norwegian Cod Vegetable Chowder, similar to the one Faye eats during her illuminating trip. It made the perfect meal for a cold fall evening, hearty and delicious. But, full disclosure, my apartment smelled like fish stew for days!

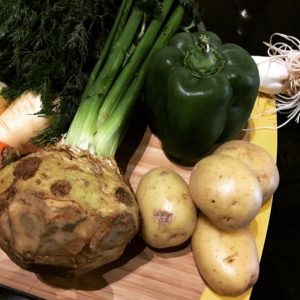
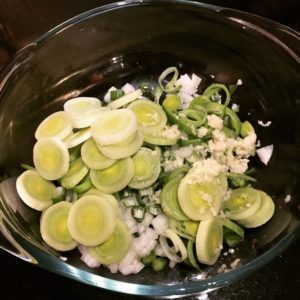
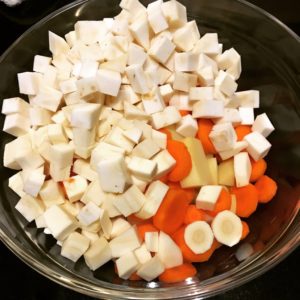
There are a lot of vegetables in this stew, so I suggest you start by prepping them all. I sorted them into two bowls so that they would be easy to add to the pot at the right time.

Heat the butter over medium-high heat until melted. The recipe calls for 6 tablespoons, but I would recommend 4 (or half of a stick). When cooking down the vegetables, the amount of butter was just a bit more than you needed, and trust me, it will make for more appetizing-looking leftovers. Add your first bowl of vegetables (garlic, celery, onions, peppers and leeks) and season with salt and pepper.

After those cook for about 8-10 minutes, or until soft, add your second bowl of vegetables (carrots, parsnips, celery root and potatoes) along with the milk, cream and fish stock - I was only able to find seafood stock at the grocery store - and Worcestershire sauce. Stir and bring to a boil.

Once boiling, reduce heat to medium and cook for about 25 minutes, or until the vegetables are tender, stirring occasionally. While the stew was cooking here, I prepped my cod, cutting it into bite-size pieces (mine were probably closer to an inch, rather than the recommended 2-inches). I also used this time to chop my fresh herbs.

After 25 minutes, add the cod and cook for an additional 6-8 minutes or until it’s cooked through. Remove from the heat and stir in lemon juice (I used a half lemon, but check the flavor and add more to taste), dill and parsley. Season with salt and pepper.

As in The Nix, I served it with some crusty bread.

img_1756

Norwegian Cod and Root Vegetable Chowder (Fiskesuppe)

  • Servings: 6-8
  • Time: 1½ hours
  • Print


From: Saveur.com

Ingredients

  • 6 TBS unsalted butter [I recommend 4 TBS]
  • 4 cloves garlic, chopped [I minced mine]
  • 2 stalks celery, chopped
  • 1 small onion, chopped
  • 1 green bell pepper, seeded and chopped
  • 1 small leek, sliced ¼" thick
  • 2 medium carrots, sliced ¼" thick
  • 1 large parsnip, peeled and chopped
  • 1 small celeriac, peeled and chopped
  • 4 medium new potatoes, peeled and cut into 1" pieces
  • 3 cups fish stock
  • 2 cups milk
  • 1 cup heavy cream
  • 1½ TBS Worcestershire sauce
  • 2 lb. boneless, skinless cod fillet, cut into 2" pieces [or bite-size]
  • ⅓ cup dill, chopped, plus more for garnish
  • ¼ cup parsley leaves, chopped
  • Kosher salt and black pepper, to taste
  • Juice of ½ - 1 lemon
  • Crusty bread, for serving

Directions

Heat butter in a 6-qt. saucepan over medium-high heat. Add garlic, celery, onions, peppers, and leeks, and season with salt and pepper. Cook, stirring, until soft, 8-10 minutes. Add carrots, parsnips, celeriac, potatoes, stock, milk, cream, and Worcestershire; bring to a boil. Reduce heat to medium, and cook, stirring occasionally, until vegetables are tender, about 25 minutes. Add cod, and continue to cook, stirring gently, until fish is cooked through, 6-8 minutes. Stir in dill, parsley, lemon juice, and salt and pepper. Serve with bread.

This post contains affiliate links. Full disclosure here.
Filed Under: book review, recipe Tagged With: contemporary, dinner, fiction, historical fiction, long read, lunch, seafood, soup

The Nightingale + Summer Vegetable Galette

August 22, 2016 by Megan Leave a Comment

Even though Kristin Hannah’s historical novel The Nightingale was one of last year’s bestsellers, I just now got around to reading it. I actually checked it out of the library a few times before but always put it down in favor of a shorter (and generally happier) selection. Thankfully, one of my book clubs - the sporadically-meeting one at work - chose it for our next meeting, so I finally had no choice but to pick it up, and I’m glad I did.

63dea91c-b6f1-11e4-bfeb-8537e3ca55f1-300x456

Set primarily in France during WWII, The Nightingale tells the story of two sisters, Vianne and Isabelle. Though they take different paths, both sisters do what they must to make a difference in others’ lives, even while struggling to survive their own.

As with any novel set during a war, you shouldn’t head into this expecting an “enjoyable” read because it isn’t. In fact, just when I thought things couldn’t get any worse for the sisters, they inevitably did. The Nazis’ brutality came alive on the page.

Hannah certainly didn’t spare her characters any heartache or physical pain, but she wrote with such poignancy that tender moments became that much more tender and triumphs that much more victorious. Her writing painted a vivid picture of life in German-occupied France. Her descriptions of food, in particular, helped to contrast times of bounty against times of hardship.  

“Two years ago this pantry had been full to overflowing with hams smoked in ash and jars full of duck fat set beside coils of sausage. Bottles of aged champagne vinegar, tins of sardines, jars of jam. Now, they were nearly to the end of the chicory coffee. The last of the sugar was a sparkly white residue in the glass container, and the flour was more precious than gold. Thank God the garden had produced a good crop of vegetables in spite of the war refugees’ rampage.”

Throughout much of the novel, food was scarce but Le Jardin, Vianne’s residence, continued to provide. In a nod to her garden, I opted to make a French galette, or sort of rustic tart, filled with local summer vegetables. I found a recipe from Foodie Crush and made it my own.

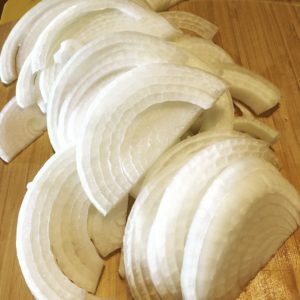
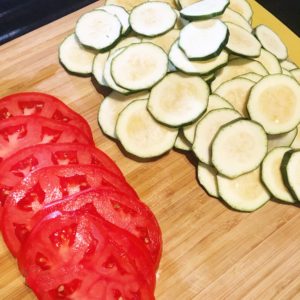
I caramelized the onions for about an hour, but if you have the time, I’d recommend going longer. Mine weren’t quite as caramelized as I like them, but I was hungry and impatient. While they cooked down on the stove, I prepped the Michigan-grown tomatoes and zucchini, which were gorgeous.

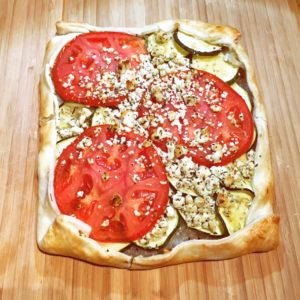
I assembled the galettes with some pre-made trimmed pie crusts (time saver!) by brushing the edges with egg white and then coating the center with Dijon mustard. I topped each pastry with the caramelized onions, some neat rows of zucchini coins (sprinkled with thyme) and thinnish slices of tomato. A generous coating of crumbled goat cheese and some salt and pepper finished them off.

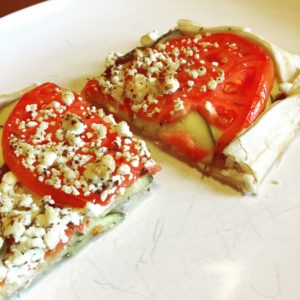
One more brush of egg white along the folded edges to add some color while baking and into the oven they went. After 25 minutes, they came out like this:

Summer Vegetable Galette
Print Recipe

Summer Vegetable Galette with Goat Cheese

Prep Time35 mins
Cook Time1 hr 25 mins
Total Time2 hrs
Course: Main Course
Cuisine: French
Keyword: vegetables
Servings: 4

Ingredients

  • 1 large yellow onion peeled, halved and sliced
  • 1 tablespoon olive oil
  • 1 tablespoon butter
  • 2 refrigerated pie crusts 1 box
  • 1 egg white beaten
  • 2 tablespoons Dijon mustard
  • 1-2 large tomatoes sliced
  • 2 medium zucchini thinly sliced
  • 3/4 cup crumbled goat cheese
  • Dried thyme
  • Salt and freshly ground black pepper

Instructions

  • Preheat a large saute pan over medium heat and melt the butter and olive oil together. Add the sliced onions, season with salt and pepper. Reduce the heat to medium-low and slowly cook the onions for about 1 hour (longer if desired), stirring occasionally until the onions are soft and caramelized. Set aside to cool.
  • Preheat the oven to 400 degrees F.
  • Cut one of the refrigerated pie crusts into a square (removing the rounded edges, discarding or saving for later use), roughly 7” x 9”. Place the pie crust onto a large baking sheet covered in parchment paper. Lightly brush the pie crust with the beaten egg white, inward about 1” from the edges.
  • Spread 1 tablespoon of Dijon mustard on the interior of each pie crust. Scatter the caramelized onions onto the mustard. Layer the zucchini slices over the onions (approximately 3-4 rows). Sprinkle dried thyme onto the zucchini. Top with the tomato slices.
  • Sprinkle the entire tart with goat cheese, as desired. I used about 3/4 cup of Provençal Herb goat cheese, which included basil among other seasonings. (You can use whatever goat cheese you prefer.) Season with salt and pepper.
  • Fold the long edges of the pie crust over and then the short edges on each galette. Brush the edges of the crust with egg white.
  • Bake the galettes for 20 - 25 minutes, or until the crust is golden and the vegetables are softened. Slice and serve warm or at room temperature.

Notes

Adapted from: Foodie Crush

This post contains affiliate links. Full disclosure here.
Filed Under: book review, recipe Tagged With: appetizer, baking, book club, brunch, fiction, historical fiction, long read, lunch, vegetarian

Primary Sidebar

About

The Hungry Bookworm brings together literature and food. Megan has an insatiable appetite for both.

As C.S. Lewis said, “Eating and reading are two pleasures that combine admirably.” Enjoy!

  • Bloglovin
  • Facebook
  • Instagram
  • Pinterest

Subscribe

Don't miss out on bookish content, exclusive giveaways, and of course, book club-friendly recipes. Get notified of new posts via email.

Join 2879 subscribers.

Search for Ingredients, Recipes, or Books

Recent Posts

  • Subscriber Box Review: Literati Book Club - Roxane Gay's Audacious Book Club
  • Arsenic and Adobo + Ensaymada
  • Review of The Kindred Spirits Supper Club
  • Kids Edition: Sometimes I Like to Curl Up in a Ball + "Dirt" Pudding Cups
  • The Midnight Library + Broccoli and Ricotta Toast

Goodreads

Tags

5 ingredients or less appetizer baking book club book list book of the month books about food bread breakfast brunch chicken contemporary cookies cultural dessert dinner dinner party dystopia easy prep favorites fiction fruit historical fiction holiday ice cream linkup lunch meat memoir mini review nonfiction pasta quick read reading challenge science fiction seafood show us your books side dish snack soup TBR list thriller top ten tuesday vegetarian veggies

Archives

Other Great Book Blogs

Literary Quicksand
Never Enough Novels
Death by Tsundoku
Professional Reader 25 Book Reviews
Privacy & Cookies: This site uses cookies. By continuing to use this website, you agree to their use.
To find out more, including how to control cookies, see here: Cookie Policy

Footer Widget Header

Megan’s Instagram

Copyright © 2023 · Hungry Bookworm