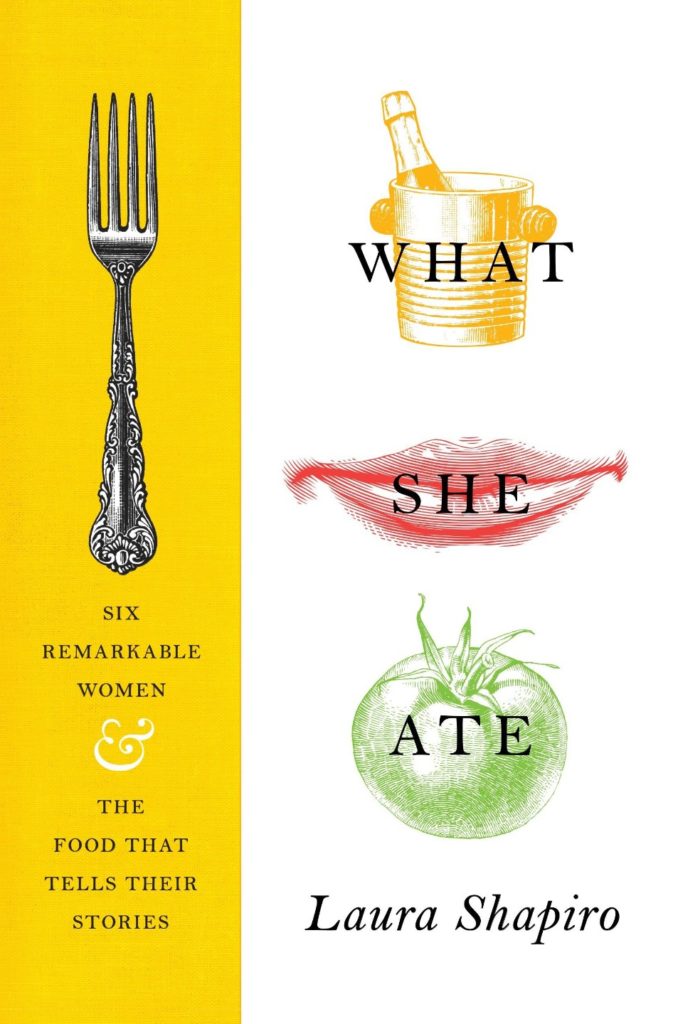
As a lover of food memoirs, culinary news and food in general, Laura Shapiro’s nonfiction What She Ate: Six Remarkable Women and the Food That Tells Their Stories has been on my TBR since it’s release two years ago. I have been meaning to do a review-recipe series on it for far too long, and that day has finally come! This post is the first in the series, so I’ll give a brief overview of the book before diving into the first woman’s story.
As the blurb says, “everyone eats, and food touches on every aspect of our lives—social and cultural, personal and political. Yet most biographers pay little attention to people’s attitudes toward food.” Those of you who enjoy food memoirs like me know that, while food plays an important part in the storytelling, those memoirs are rarely just about food. They are about the human experience. So much insight can be drawn from not only what people eat, but how and why.
Naturally, Laura Shapiro, a culinary historian, took it upon herself to take a deeper look at six remarkable women -- famous in their own time and some of them still famous today -- and, more specifically, how food played a role in their lives. They include First Lady Eleanor Roosevelt, Hitler’s mistress Eva Braun, and Helen Gurley Brown, the editor of Cosmopolitan. I will get to them all in good time (following the order in which they appear in the book), but first up, is Dorothy Wordsworth.
Though she has come to fame in her own right, I personally didn’t know who Dorothy Wordsworth was despite having heard of her brother, the famous poet William Wordsworth, with whom she was very close. Shapiro chronicles Dorothy’s life in three stages: the time she lived with and kept house for her brother, the time when she did the same for her beloved nephew, and her later life in which she begins to decline. She draws heavily on Dorothy’s journals, which have revealed posthumously how important her presence and observations were to her brother’s successes.
Dorothy loved taking care of William, and even remained living with him when he eventually married, likely because she was considered “too old” at 31. (She never married.) Despite some food-related differences, Dorothy seemed happy with the arrangement -- at least outwardly. Shapiro chooses a food at the beginning of each woman’s section to “define” her life, and for Dorothy, she chose black pudding. I’m not quite sure I agree with that assessment, though it does get a curious callout in her journal while she’s living with William and Mary.
I didn’t really want to get into making black pudding (or eating it…). Instead, I wanted to focus on a food Dorothy herself enjoyed and made. According to Shapiro, before Mary came along, Dorothy and her brother “had dined constantly on savory meat pies.” I knew they would be a wonderful fit for her story.
Also, if I’m being entirely honest, making meat pies appealed to me as huge fan of The Great British Baking Show. (Whether you like baking or not, I highly recommend it. It’s uplifting and soothing in a way American cooking shows are not, and if you’re paying attention, you may learn a thing or two. Check out this NPR article on why it’s capturing so many hearts.) Several times over the course of the half a dozen seasons, the contests of GBBS have been required to make savory meat pies. They look intimidating, and they look delicious. I was looking forward to the challenge.
I found a recipe from a Daily Mail article about the show, and knew it would be the perfect fit. It was for 6 mini pork pies, which seemed a little more doable than a full-size pie. The recipe is also described as an excellent introduction to hot water crust pastry, which I’d never made before.
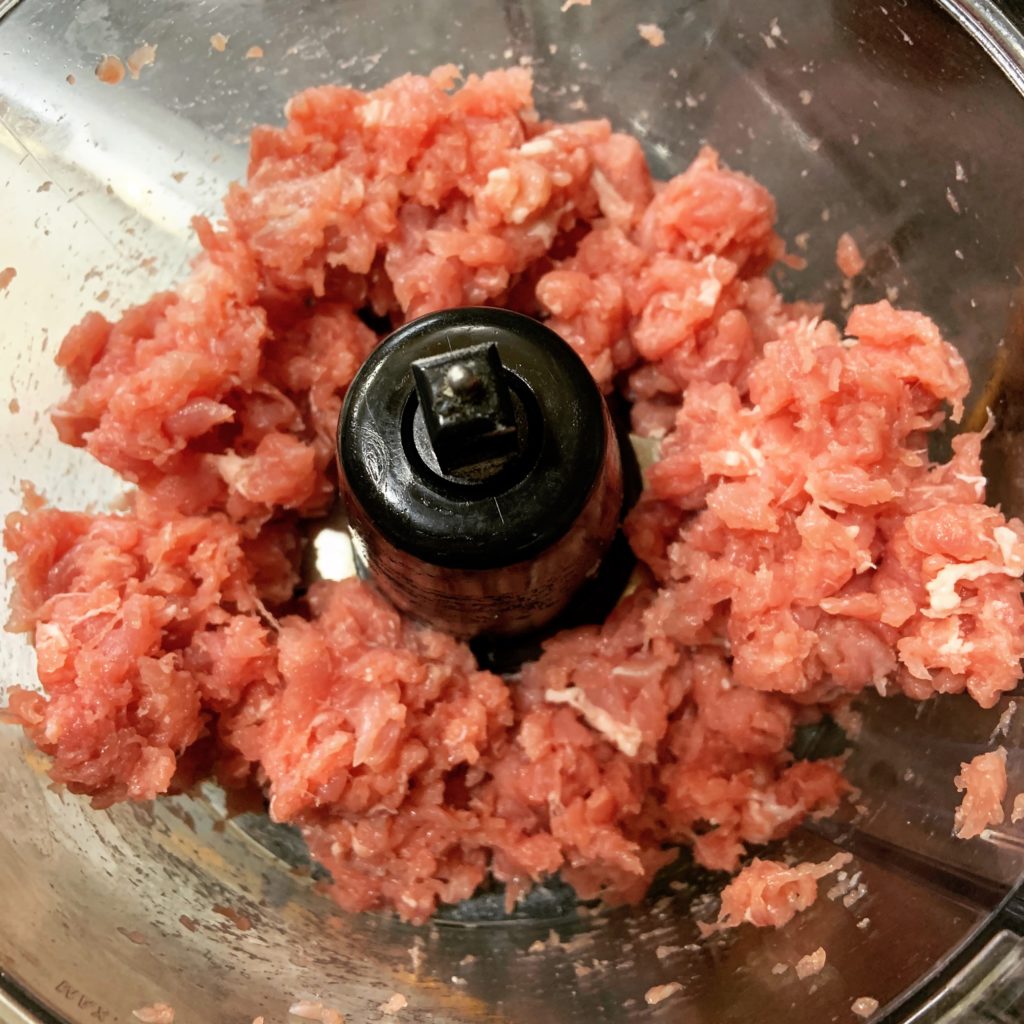
To start, I made my pork pie filling. I took a just-over-1-pound pork tenderloin, cut into roughly even chunks, and threw it into the food processor. I didn’t grind it too much, as it’s important to keep some of the texture.
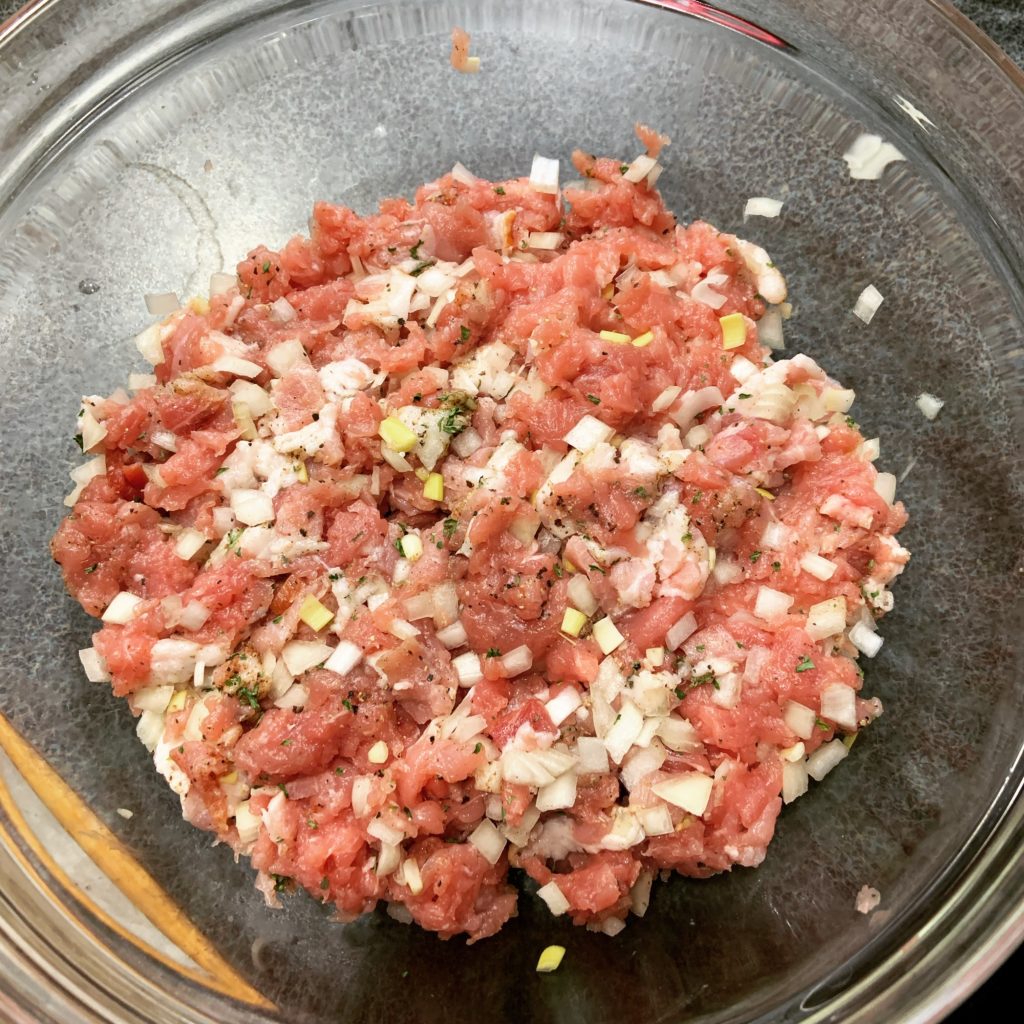
To the pork, I added chopped “streaky bacon” (or regular, not thick-cut American bacon), about 5 slices, chopped onion, dried sage and parsley, nutmeg, salt and pepper. The recipe calls for fresh parsley and fresh sage, but I had some issues running to the store with recent bad weather and opted to substitute dried. When subbing dried herbs for fresh, you should use about a third of what the recipe calls for. Since I used ground sage which is more fine than dried sage leaves, I used just a quarter teaspoon (instead of ⅔). I thought the flavoring worked well.
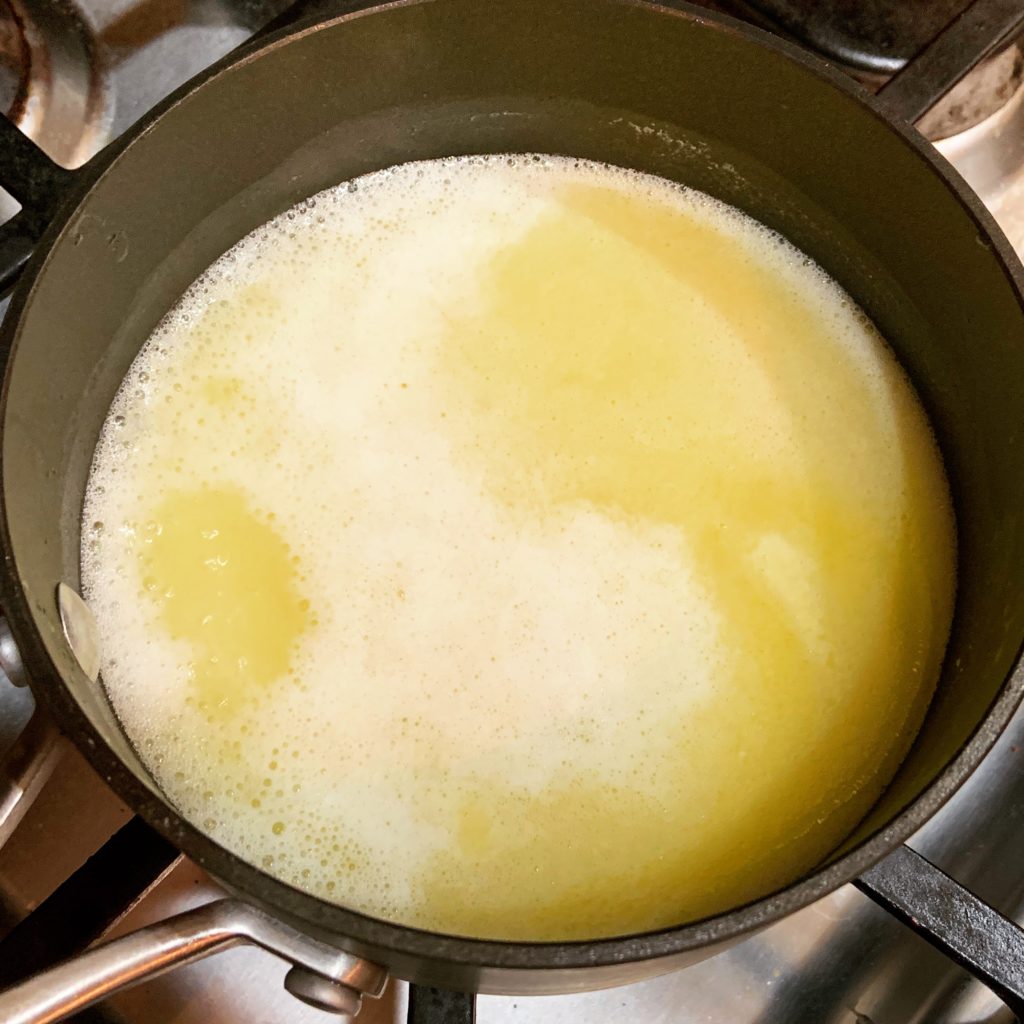
I put the filling in the fridge, covered, while I made the pastry. First, I combined the flour and salt. Then, in a saucepan, I melted butter and a bit of shortening (in place of lard) with some water, allowing the water to just come to a boil.
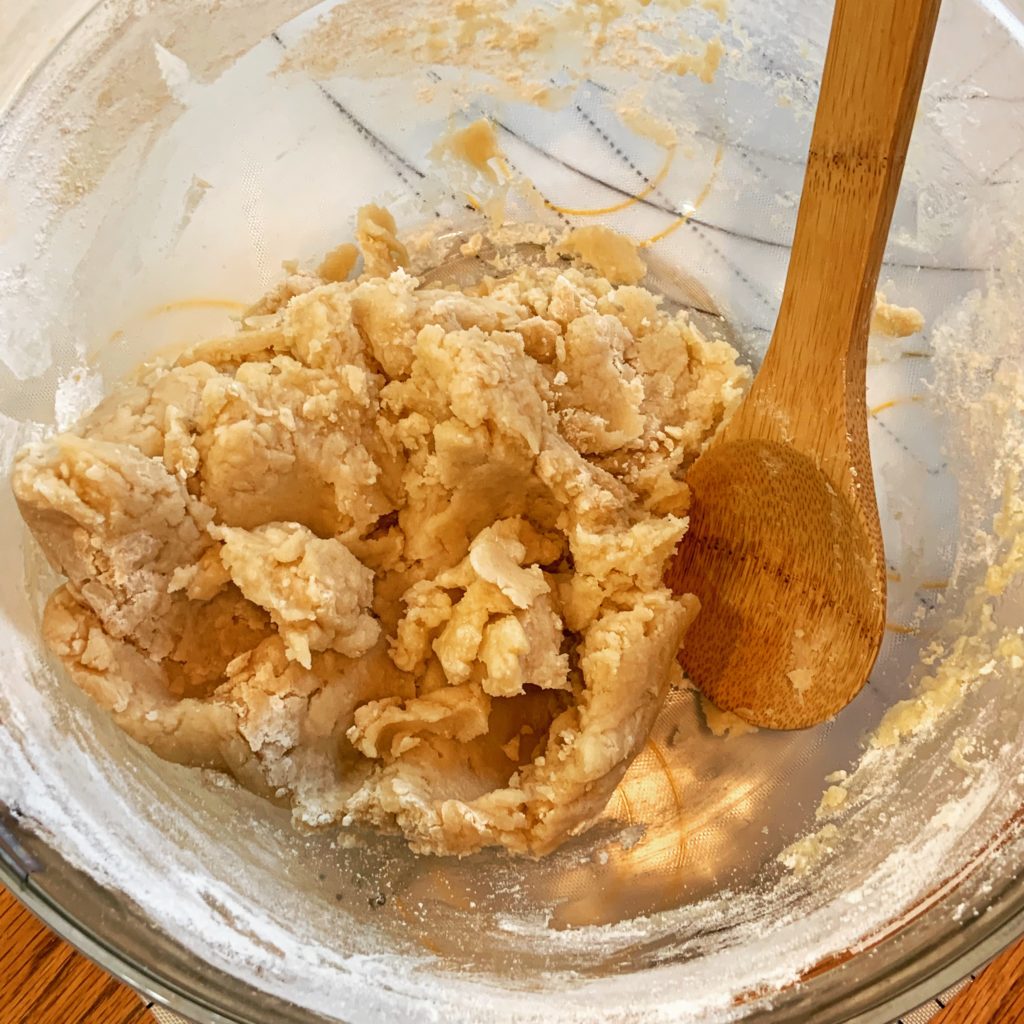
At that point, I poured the hot butter-water mixture into the bowl with the dry ingredients, stirring with a wooden spoon until a dough formed.
I allowed it to cool for just a minute, and then kneaded it until smooth. I wrapped it in cling wrap and put it in the fridge to chill for about 30 minutes. According to the directions, it’s important that it isn’t left too long or it will harden and become difficult to work with.
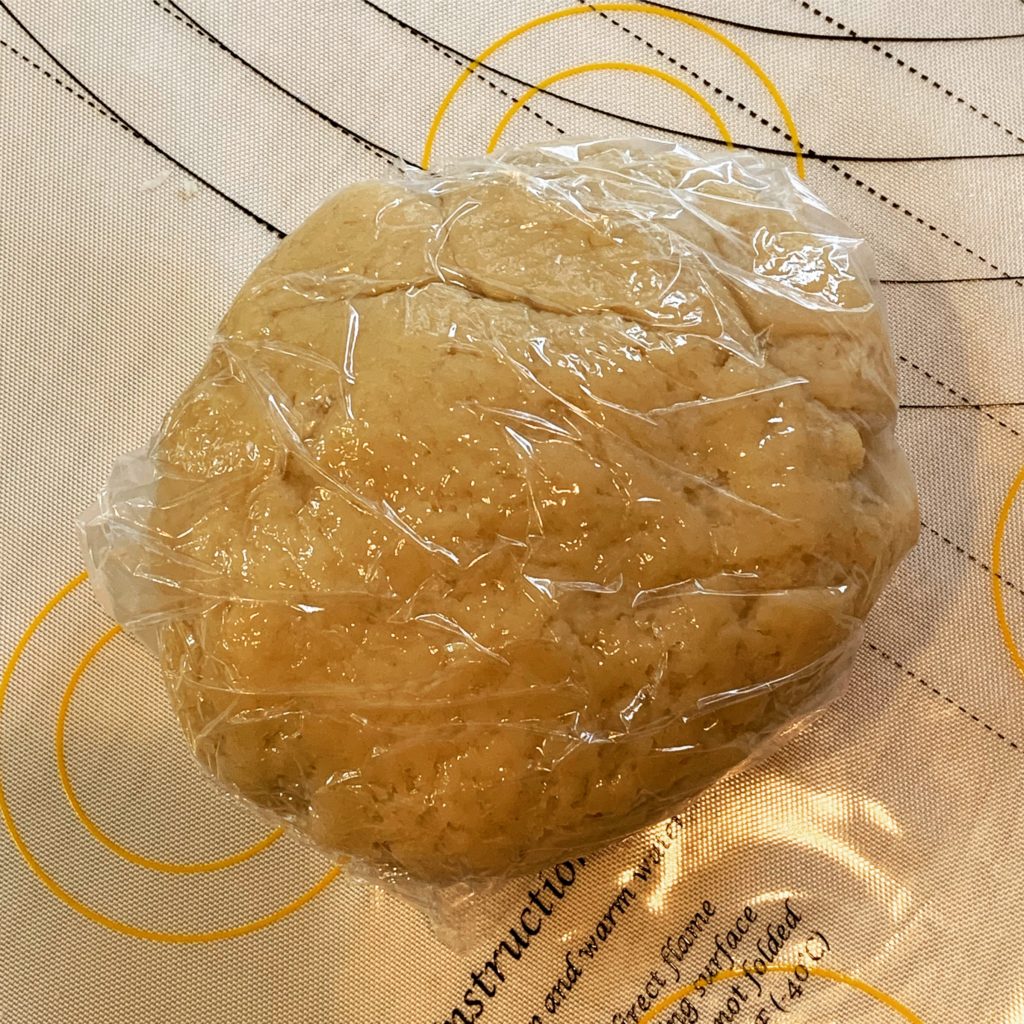
Just before taking the dough back out, I buttered the tins and preheated the oven. I also separated the pork mixture into 6 equal parts; I used a scale to weigh and measure it, but if you don’t have one, you can make your best estimates.
Then, I rolled the dough to about ⅛” thick and used bowls to cut out the circles I needed to fill the tins. The bottoms were 5½” in diameter, and the tops 3¼”.
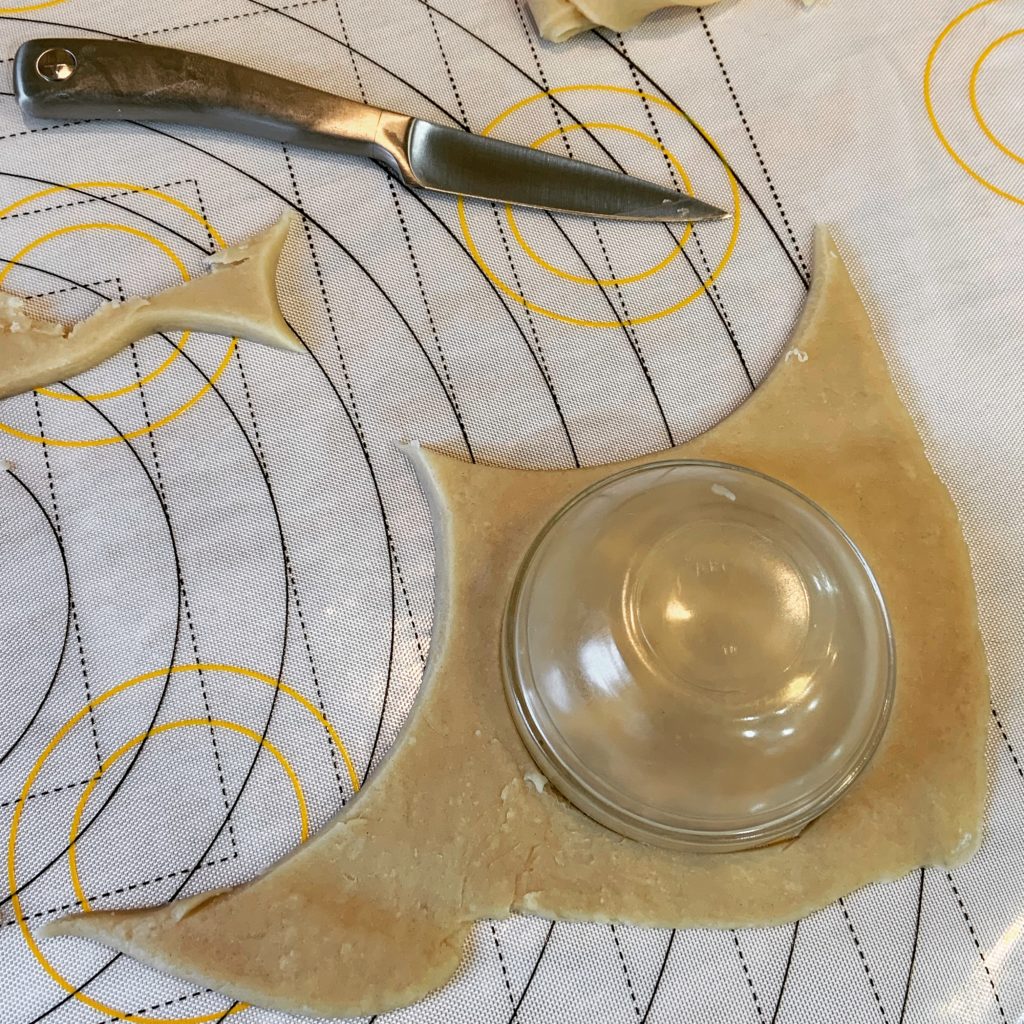
It’s important to only work with one half of the dough at a time (keeping the other half wrapped), and make 3 tops/bottoms at a time. I tried to do all of the dough work at once, and it definitely got a little more difficult as the dough hardened over time.
Once you’ve got 3 sets of the tops/bottoms, you can fill them with the pork mixture, doing your best to pack it in tightly.
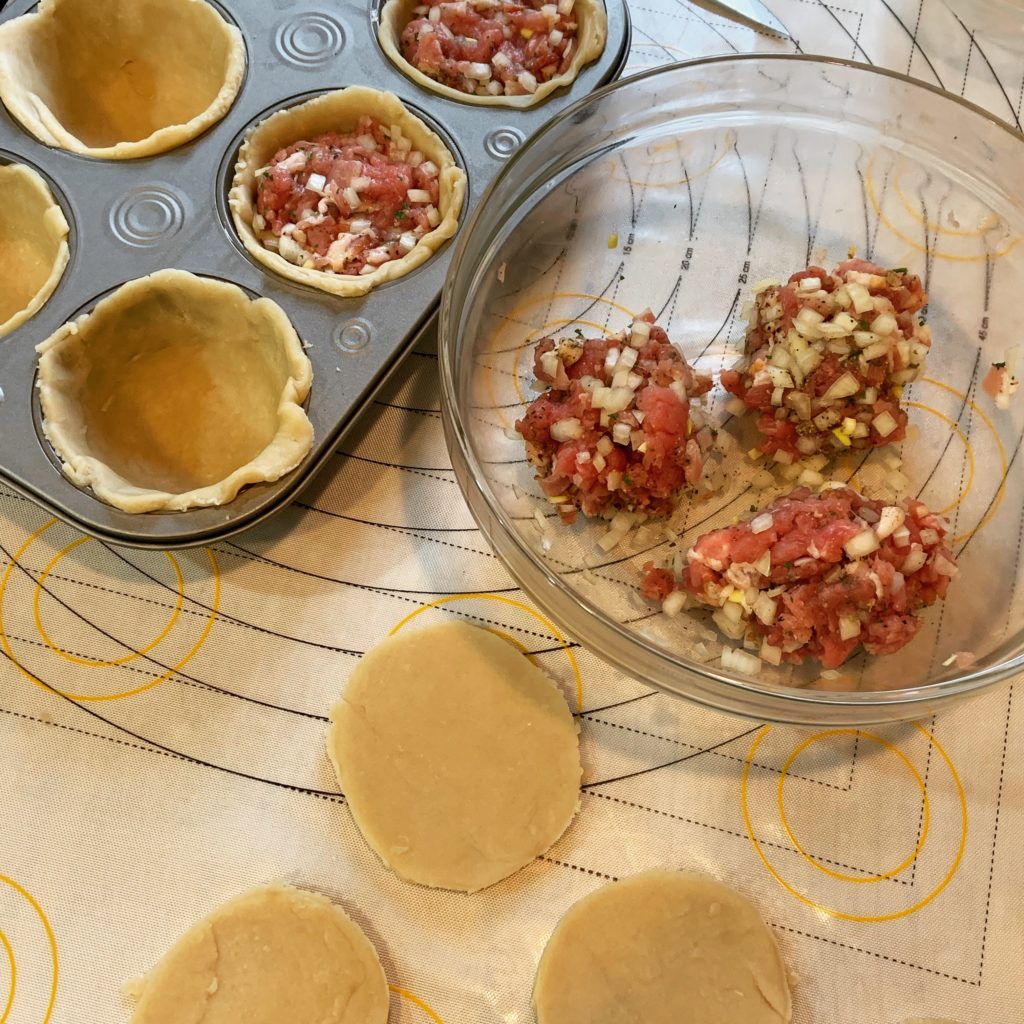
To seal the pies, brush the edges of the crust with egg and then place the lid over the pork, pressing down lightly to remove any air and make sure the filling is packed in. Press the edges together well to seal and flute, if desired, for decoration.
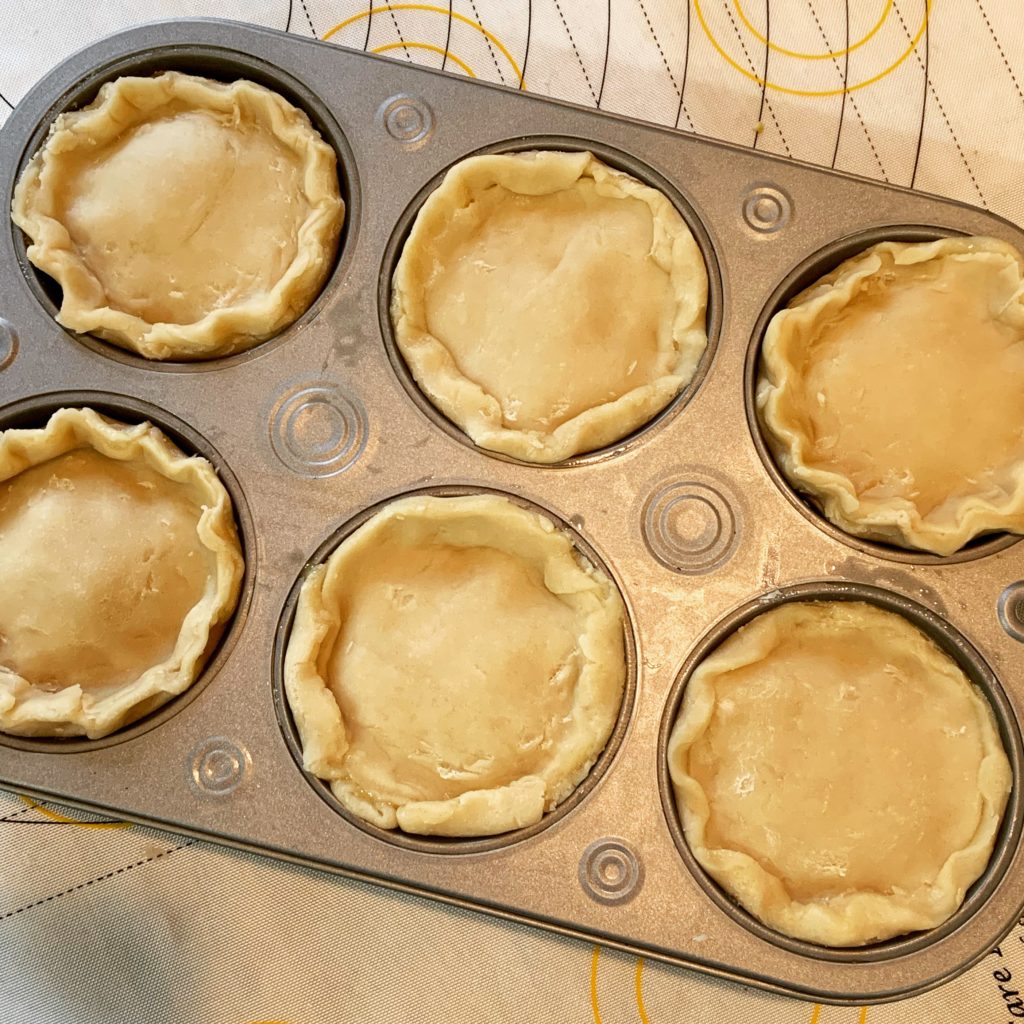
Brush the lids and edges with more of the beaten egg, and then use a skewer or thin knife to poke a hole in the center to create a steam vent. Place the tin(s) on a baking sheet and bake for 40-45 minutes, until the pies are golden brown.
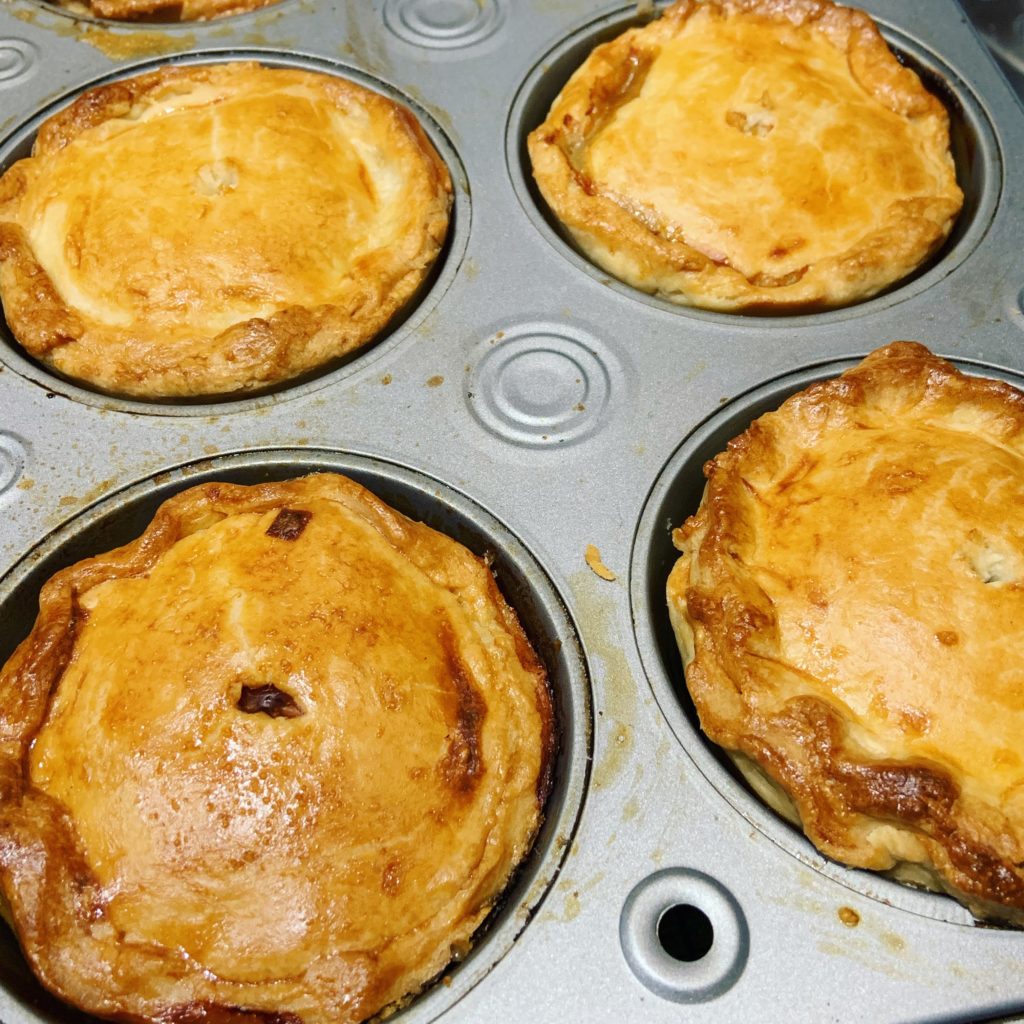
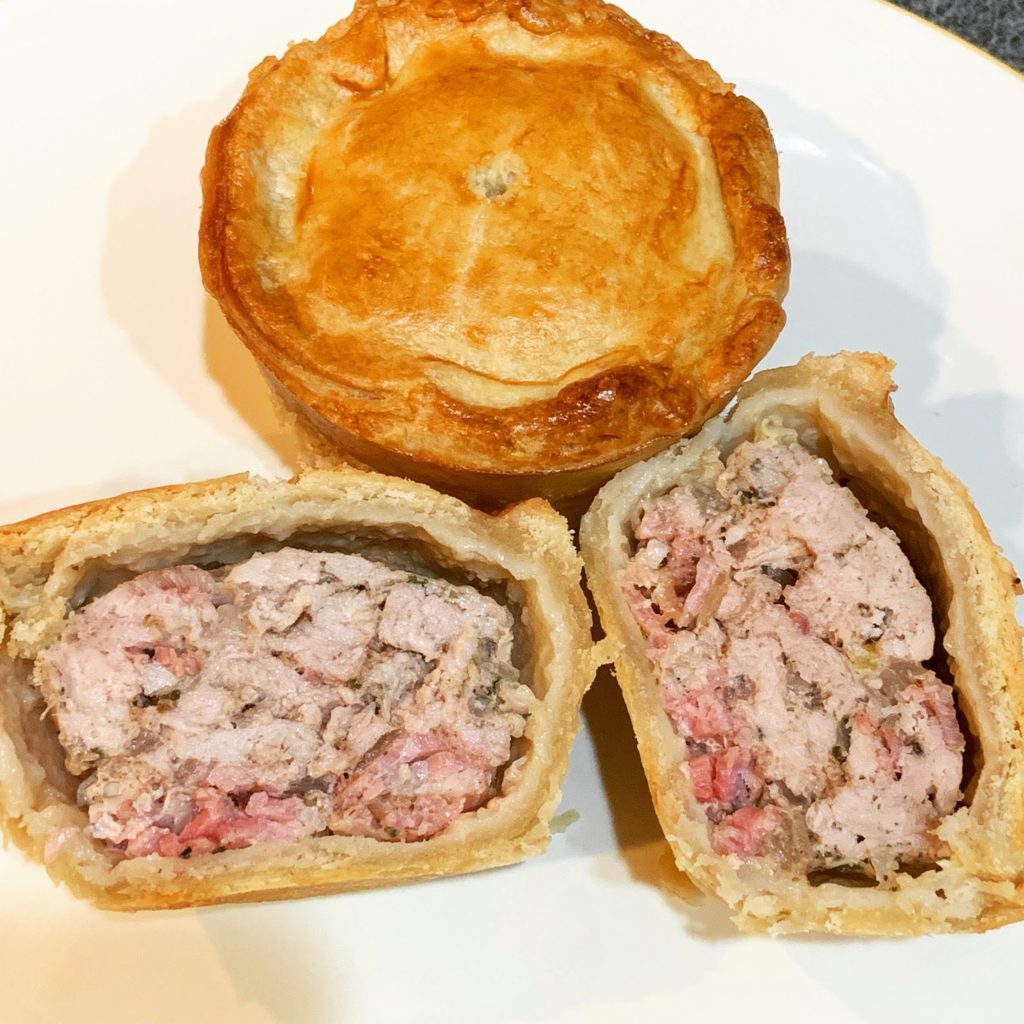
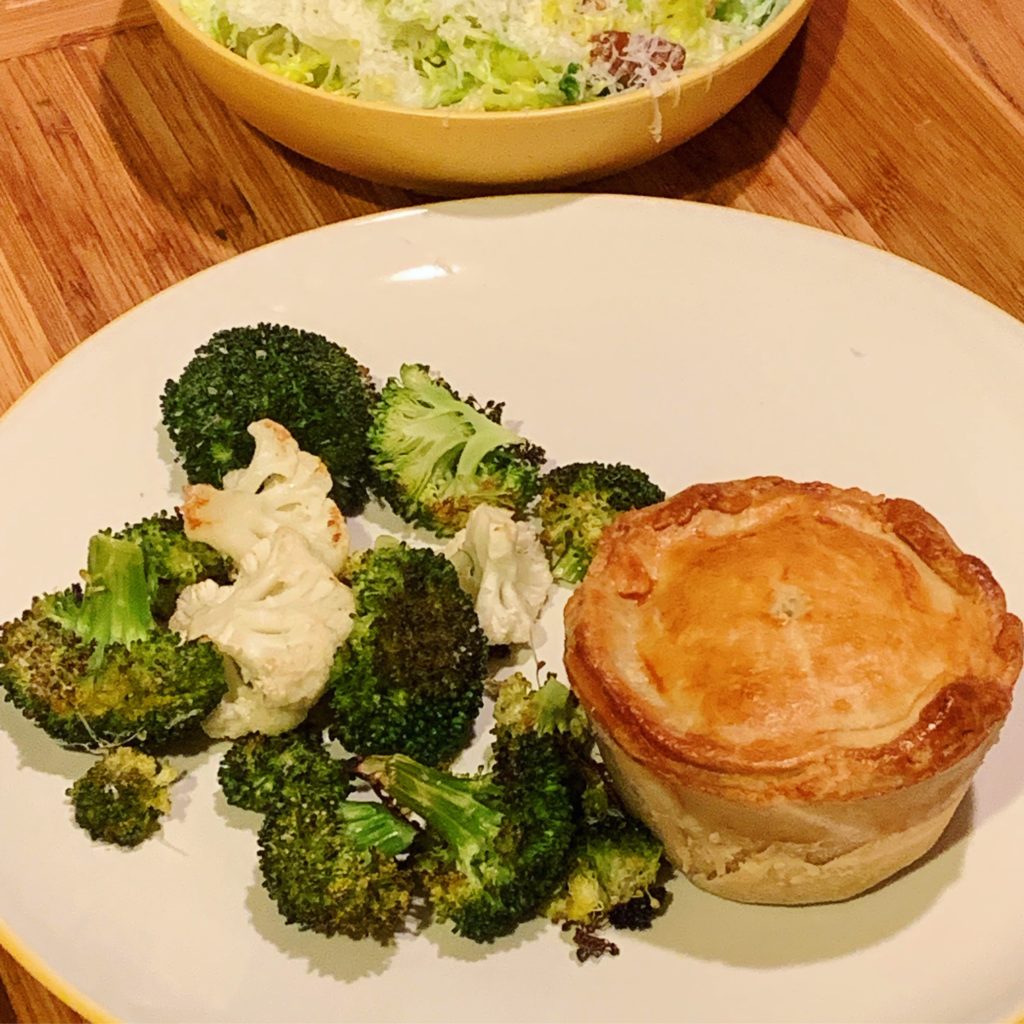
I allowed them to cool for about 30 minutes in the pan before running a knife inside around the edges of the tins to ensure they didn’t stick. Then, I let them cool for another couple of hours and turned them out. Since they’re all meat, I served them alongside roasted vegetables and a salad.
These little pies were hearty and flavorful. I was actually surprised at how well they turned out (no soggy bottoms!). I would definitely recommend this recipe for any hot pastry crust newbies, like myself.
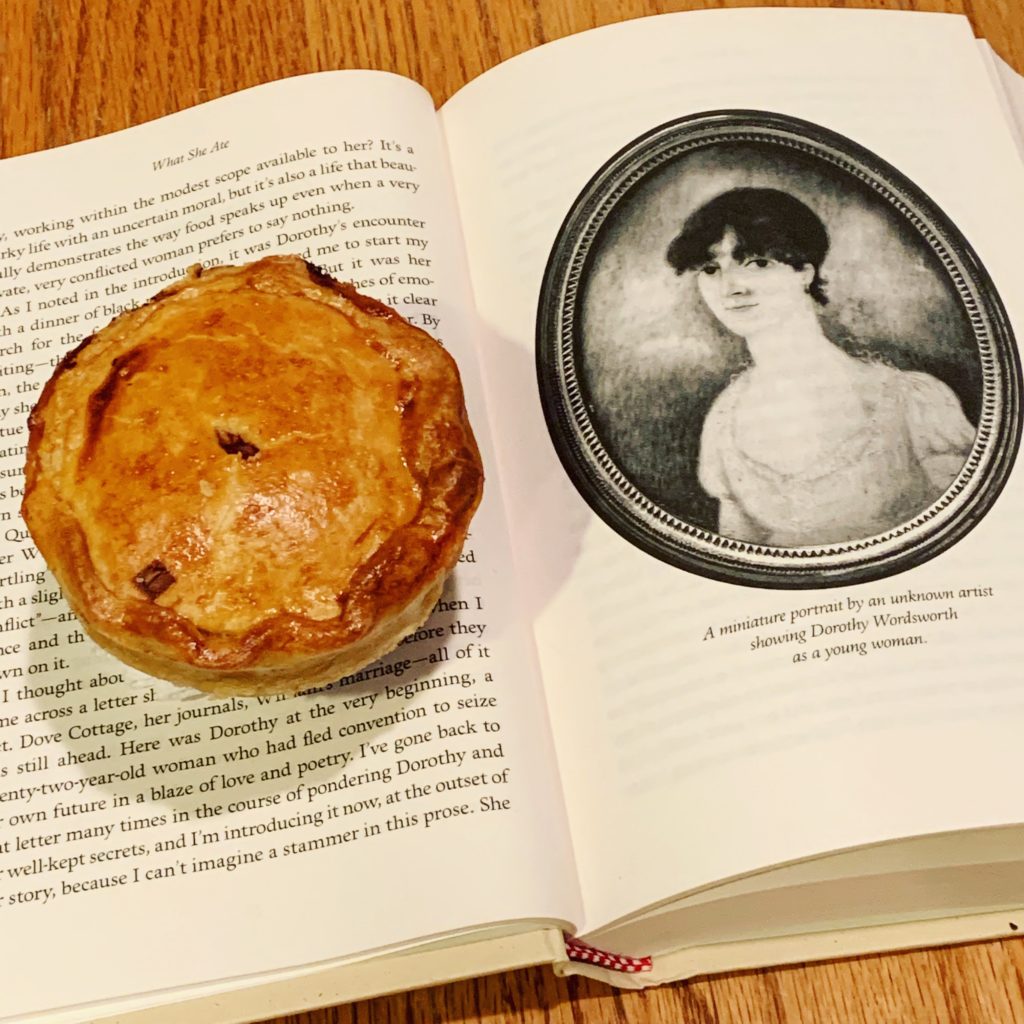
Interested in more of What She Ate? New posts will be published every couple of weeks, twice a month through early May.
Mini Pork Pies
Ingredients
For the pork filling
- 475 g 1lb pork tenderloin
- 125 g 4½ oz unsmoked streaky bacon
- 1 small onion finely chopped
- 2 tsp finely chopped sage
- 1 tbsp finely chopped flat-leaf parsley
- ¼ tsp ground nutmeg
- ¼ tsp ground black pepper
- Salt
For the hot water crust pastry
- 375 g 13 oz plain flour
- ½ tsp salt
- 100 g 3½ oz lard*, cut into small pieces
- 40 g 1½ oz butter, cut into small pieces
- Beaten egg to glaze
Special Tools
- 1 6-section jumbo muffin tin or 6 x 200ml (⅓ pint) capacity small metal pudding molds 3½ in diameter x 2in tall
Instructions
- For the filling, roughly chop the pork and put it into a food processor. Pulse briefly until it looks like coarse minced meat. (Be careful not to over-process or it will become too smooth — you want to have a bit of texture.) Or you can chop it very finely with a sharp knife.
- Transfer the pork to a bowl. Finely chop the streaky bacon, leaving the fat on to keep the filling moist. Add to the bowl along with the onion, sage, parsley, nutmeg, pepper and a little salt. Cover and chill until ready to use. It is good to have the filling all ready to go, as you want to deal with the pastry quickly once it is ready to roll out.
- Now make the pastry. Put the flour and salt into a large heatproof bowl. Tip the lard and butter into a small pan and pour in 150ml (¼ pint) water. Put this over a medium heat so the fats can melt, then raise the heat. As soon as it all comes to a boil, pour it into the flour. (Don’t let it simmer away or you will lose some volume.) Stir well with a wooden spoon until it forms a soft dough. Leave it for a minute or two so the dough is a bit cooler to handle.
- Tip the dough onto a lightly floured surface and knead briefly until smooth. Wrap it in clingfilm and chill for 30-40 minutes. Try not to leave it much longer as this type of pastry can easily harden over time and become difficult to handle. It just wants to have cooled down a bit so it is easier to roll out.
- Lightly butter six small pudding moulds. Preheat your oven to 400 degrees F. Divide the meat filling into six equal amounts. Cut the dough in half and keep one half wrapped while you shape the other half into a disc and roll out on a well-floured surface, to about ⅛ in thick. Using an upturned bowl or saucer as a cutting guide, cut out three 5½” circles for the base of each pie and three 3¼” circles for the lids. Re-roll any pastry trimmings if needed so you can cut out all three lids.
- Line three of the small pudding moulds with the larger circles, pressing the pastry up the sides with your fingers so that it evenly covers the inside of the moulds, smoothing out any thicker folds that have formed. It should reach just above the top of each pudding mould.
- Spoon a portion of the filling into each pastry-lined mould and press it down so that it is well packed in. It should sit slightly below the top.
- Brush the pastry edges with egg and cover with the pastry lids, pressing them down on to the filling. Press the edges well together to seal, then flute them to decorate.
- Brush the pastry with egg to glaze and make a hole in the middle of each lid with a skewer, to create a vent. Repeat with the remaining half of the pastry and filling so you have six pies.
- Sit the pies on a baking sheet and bake for 40-45 minutes until the pastry is a rich golden brown. Remove them from the oven and let them sit for about 30 minutes. While they’re still warm, and in case any juices have bubbled over and stuck to the insides of the tins, loosen all round the edges of the pastry to make sure they can be released easily later. Leave the pies in their moulds for a couple more hours until completely cold and the juices have all gone back into the meat before turning them out.
Notes
_______________
This post contains affiliate links. This does not increase the price you pay, but I may receive a small commission for any products you choose to buy. Purchases made through affiliate links help to cover my blogging costs. Thank you for helping to support The Hungry Bookworm! Full disclosure here.


This is awesome!! I'm glad the pies turned out nicely!
Erica | Erica Robyn Reads
I have meat pies on my Baking Bucket List solely because of The Great British Baking Show. There are a million variations though so I've been avoiding choosing one. These look perfect! I'm very impressed with your lack of soggy bottoms 🙂 Paul Hollywood would approve!
The GBBS is an ongoing inspiration, definitely. It also helps me to remain calm in the kitchen, which I appreciate 🙂 Thanks for the kind words. Paul's approval would be amazing!